
This tutorial will demonstrate:
- Explain the “git difftool” Command in Git
- How to Set up the Git diff Tool in Git?
- How to Use the “git difftool” Command in Git?
Explain the “git difftool” Command in Git
The “git difftool” command is used to launch a graphical diff tool to compare differences between several versions of files in the Git repository. It provides a convenient way to visually inspect and review changes made to files. When users run the “git difftool” command, it compares the changes between two versions of a file, such as the differences between the working directory and the index, or between the index and the latest commit. Then, it launches a specified graphical diff tool to display these differences in a user-friendly way.
When the “git difftool” command is executed, it looks for a configured diff tool in Git configuration. Users can configure their preferred graphical diff tool using the “git config” command.
How to Set up the Git diff tool in Git?
To set up the Git diff tool, check out the provided instructions:
- Redirect to Git local directory.
- Set the diff tool in the stated repository.
- Check the added tool by executing the “git config –global diff.tool” command.
Step 1: Move to Git Local Directory
Execute the “cd” command along with the path of a local Git directory and navigate to it:
Step 2: Set Git Diff Tool
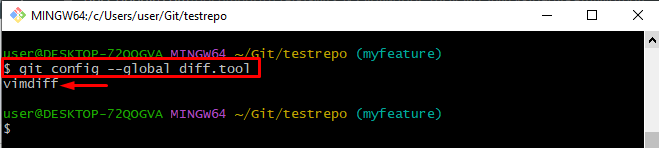
Use the “git config –global” command along with the “diff.tool” to set a tool in Git local directory:

Step 3: Verify Tool
To verify the added tool, run the below-stated command:
It can be noticed that the diff tool has been added to Git local directory successfully:
How to Use the “git difftool” Command in Git?
To use the “git difftool” command in Git, try out the below-mentioned steps:
- Navigate to the Git local Directory.
- View Git log history.
- Compare commits using the “git difftool” command.
Step 1: Go to Git Local Directory
First, navigate to the Git local directory by specifying the path along with the “cd” command:
Step 2: Check Git Log History
Run the “git log” command along with the “–oneline” option to display each commit on a single line:
The resultant image shows that the complete history of the Git log has been listed successfully. Select any two commits of your choice for further use:

Step 3: Compare Commits
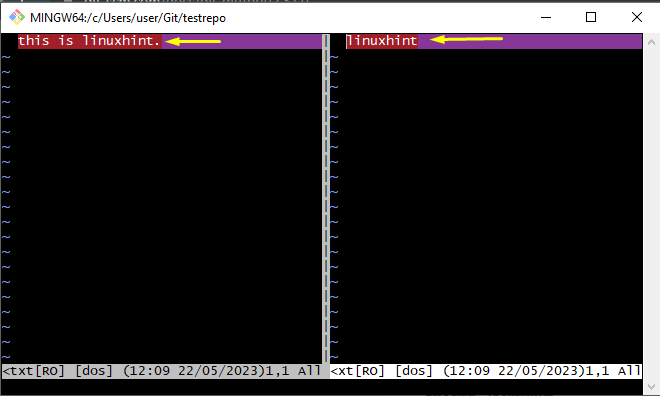
To compare the commits, run the “git difftool” command and add the commit HASH to compare in the diff tool:

After executing this command, both files have been launched on the specified tool for comparison:
That’s all about the “git difftool” command in Git.
Conclusion
The “git difftool” command is used to launch a graphical diff tool to compare differences between multiple versions of files in the Git repository. To use this command, first, set a tool in the Git local directory, then, compare commits, branches, and files by using the “git difftool” command. This tutorial has expressed the “git difftool” command in Git.