This tutorial will briefly explain the “git checkout” command with examples.
Explain the “git checkout” Command With Examples | Checkout Branch, Checkout Commit
The “git checkout” command is a versatile Git command that permits users for switching between different branches, commits, or even individual files in the specified repository. To do so, check out the given examples discussed below:
Example 1: Checkout Branch in Git
Users can utilize “git checkout” for switching between different branches in the same repository. For practical demonstration, check out the below-stated instructions:
- Move toward the Git local repository.
- List all branches using the “git branch” command.
- Switch from one branch to another by executing the “git checkout” along with the branch name.
Step 1: Go to the Git Local Repository
Initially, Move to the Git local repository with the help of the “cd” command:
Step 2: List all Available Branches
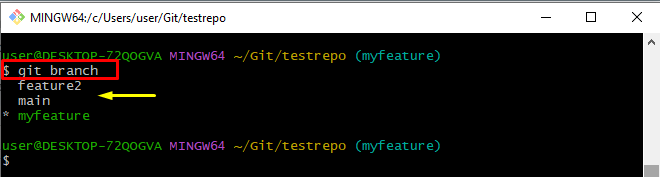
Execute the “git branch” command to list all the local branches:
In the below-stated output, the asterisk “*” beside the “myfeature” branch indicates that it is the current working branch:
Step 3: Switch Between Branches
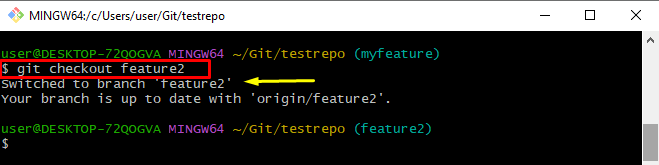
To switch between branches, execute the “git checkout” branch along with the branch name:
As a result, we have been switched from the “myfeature” branch to the “feature2” branch successfully:
Example 2: Checkout Commit in Git
The “git checkout” command is also used for temporarily moving to a specific commit in the repository. To do so, check out the given instructions:
- View the Git log with the help of “git log –oneline” to show each commit in a single line.
- Checkout commit by executing the “git checkout” command along with a specific commit id.
Step 1: View Git Log
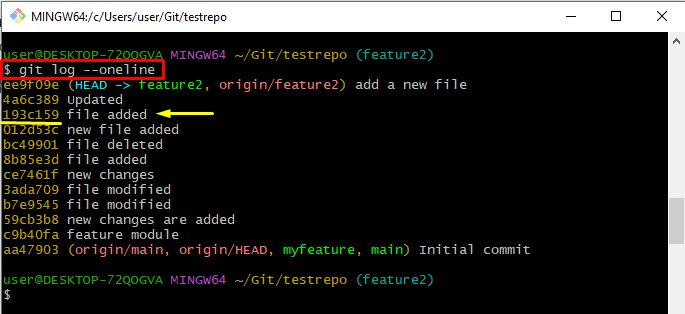
Run the “git log –oneline” command to represent each commit in a single line:
From the provided output, choose any one commit SHA hash. For instance, we have selected the “193c159” commit hash:
Step 2: Checkout Commit
Now, execute the “git checkout” command along with a specific commit id and switch to it:
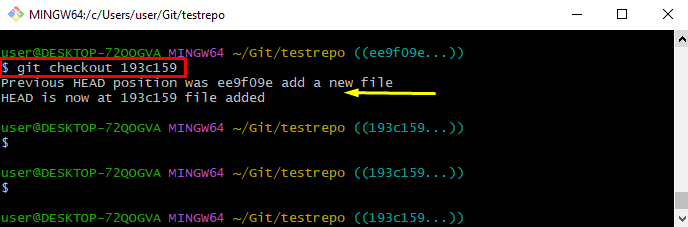
Note: When users will check out to a commit, they will be in a “detached HEAD” state, which means they are not on any branch, and any changes that are made will not be associated with a branch.
That’s all about the “git checkout” command with various examples.
Conclusion
The “git checkout” command permits users to switch between different branches and commits. Use the “Git checkout <branch name>” command to switch between branches. Furthermore, the “git checkout <commit_hash>” command is used for checking out a specific commit. This blog elaborated on the “git checkout” command with different examples.