This guide will explain how to get output in CSV files using the Export-CSV PowerShell command. Let’s get started!
Getting output in a CSV file using PowerShell
To get the output of any command in a CSV file, the Export-CSV cmdlet is used. It saves the output as comma-separated values.
Syntax
The Export-CSV command uses the following syntax:
Here, the Export-CSV command will fetch the output of the Data_object and save it as a CSV file at the specified Path.
Let’s check out some examples related to Export-CSV command usage.
Example 1
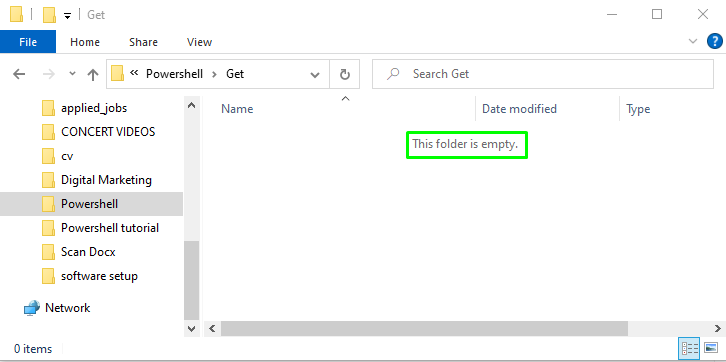
First, we will create a folder named Get in the E drive, where we want to save the CSV file. This newly created folder is currently empty:
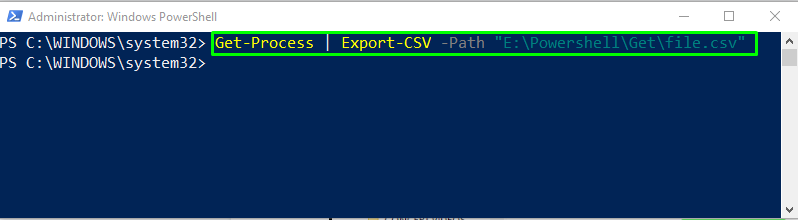
Now, open the PowerShell window and type the below-given cmdlet:
The above command will fetch the running processes with the help of the Get-Process and save it to a file.csv by utilizing the Export-CSV cmdlet:
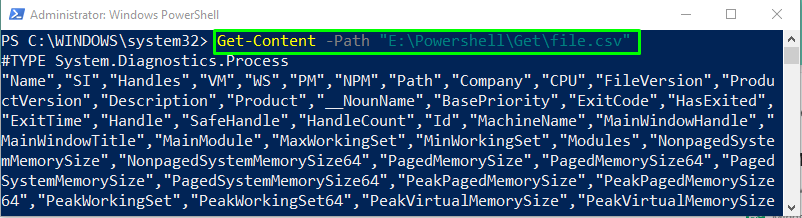
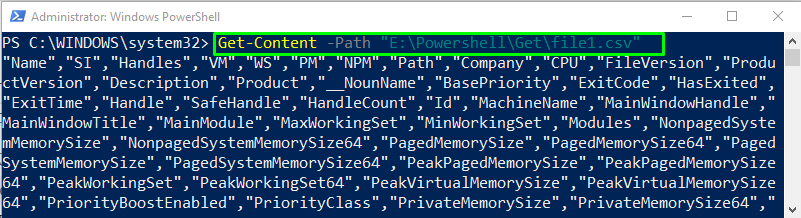
Next, check the file content using the Get-Content cmdlet:
The output shows all the comma-separated values of file.csv:
The generated output file will be saved as file.csv in the E:\Powershell\Get folder:

Example 2
In the example mentioned above, after getting the content of the file, you may have noticed that there is one extra line in the output, which is the #TYPE header:

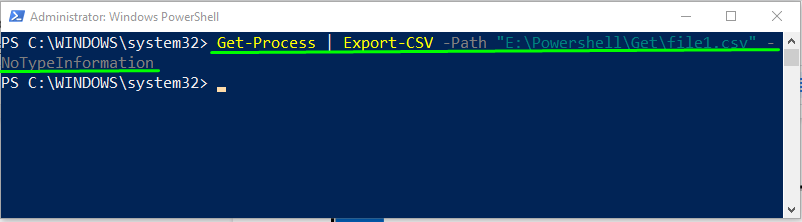
If you want to save the output without a #TYPE header, use the -NoTypeInformation parameter in the Export-CSV command:
Get the content of the CSV file by using the Get-Content cmdlet and view the output:
Example 3
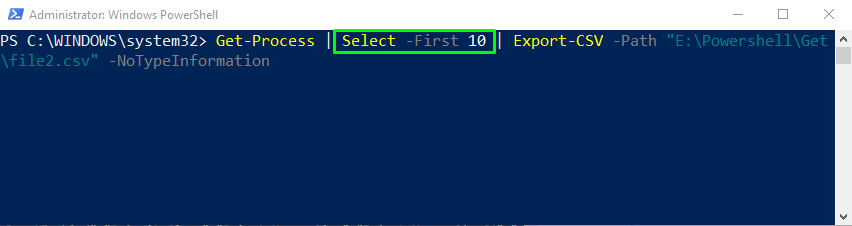
We will consider the same example and tell you something more interesting. If you don’t want to get the complete data as an output, try the below code block and specify the number of records you want to select from the output of the given command:
The first ten records of the processes will be saved in the CSV file named file2.csv:
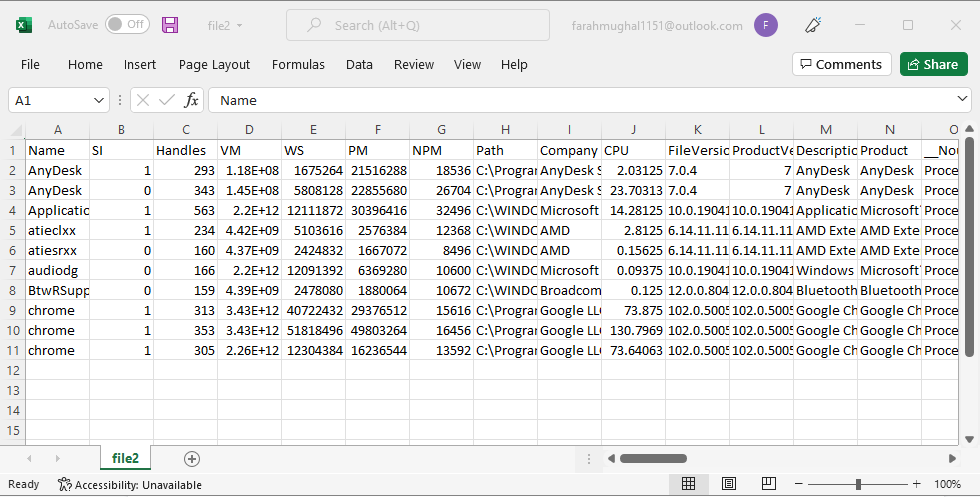
Print out the content of the file2.csv by using the Get-Content command:
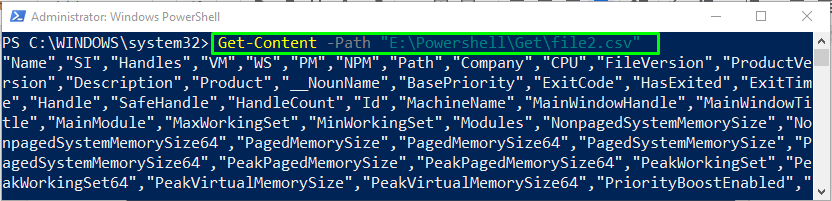
With the help of Export-CSV command, we have successfully saved the first ten output records of the Get-Process command in our file2.csv:
We have provided all of the relevant information to get the output in a CSV file using PowerShell.
Conclusion
To get output in a CSV file, use PowerShell Export-CSV cmdlet. Its syntax is given as <Data_object> | Export-CSV [-Path] <string>, where the Export-CSV command will fetch the output of the Data_object and save it as a CSV file at the specified Path. It also supports different options, such as saving output without the #TYPE header or saving a selective number of records in the CSV file. This guide discussed how to use the Export-CSV command to get output in a CSV file.