This article will elaborate on the method for getting the latest version of code.
How to Access/Get the Latest Code Version Git?
To get the latest code version in the Git repository, go to the local Git repository and access the remote repository through the Git “fetch” command. After that, utilize the “git reset” command and set the local repository to the remote version.
For this purpose, the below provided instructions are effective enough.
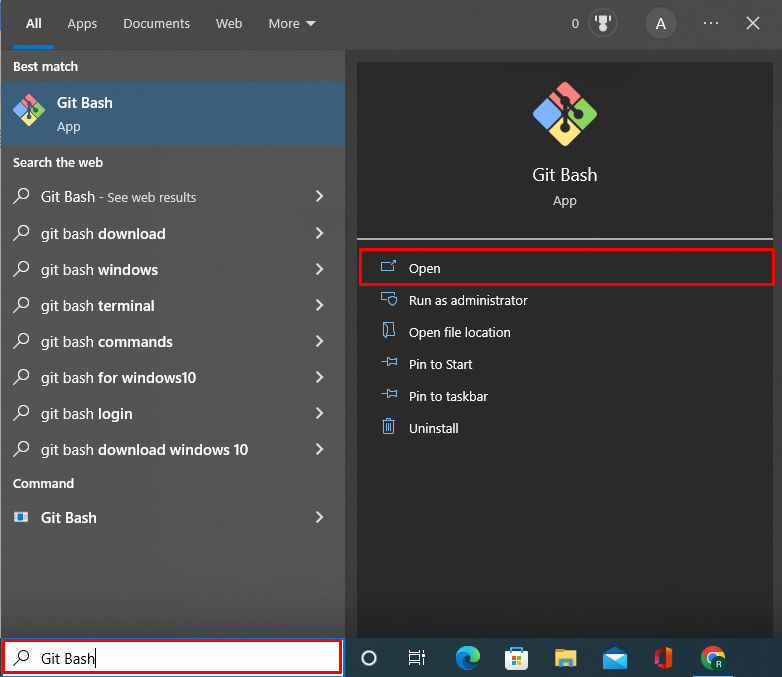
Step 1: Launch Git Terminal
From the Windows Start menu, launch the Git terminal:
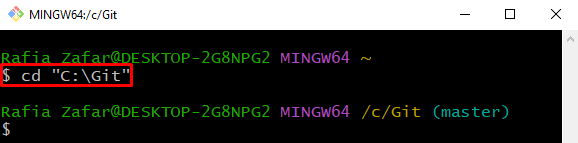
Step 2: Go to Git Repository
Go to the working repository of Git:
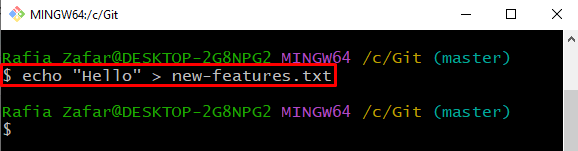
Step 3: Generate a New File
Generate a new file and add content directly to the file by executing the “echo” command:
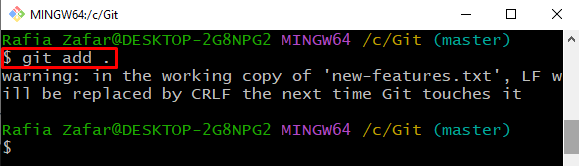
Step 4: Add File to Tracking Index
Now, move the untracked file or change to the staging index (tracking index) with the help of the “git add” command:
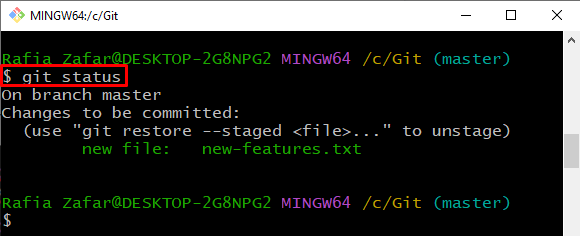
Check the repository state to confirm if the changes are added or not to the tracking index:
Step 5: Save and Commit the Stage Changes
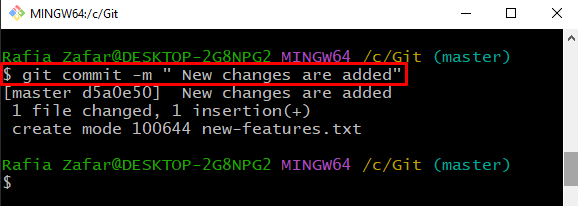
After that, move the tracked changes to the local Git repository through the “git commit” command:
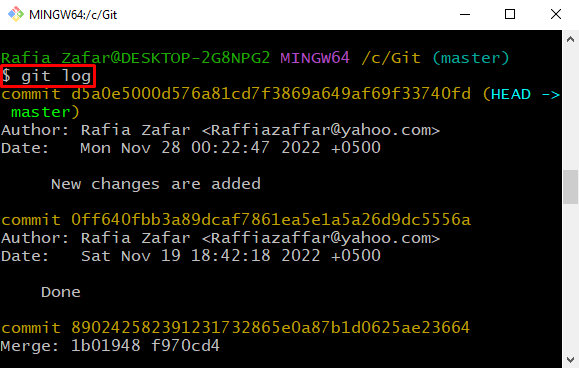
Verify if the changes are added or not in the local repository by checking the repository log:
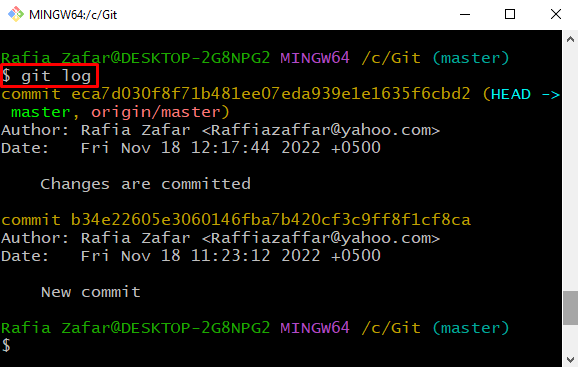
The output shows that changes are successfully added to the repository:
Step 6: Fetch Remote
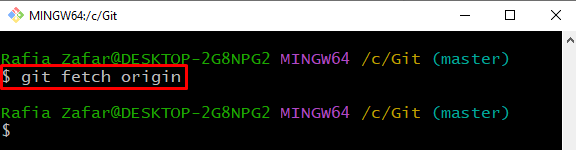
To access the remote repository locally, utilize the “git fetch <remote-name>” command:
Step 7: Access the Latest Version of Code
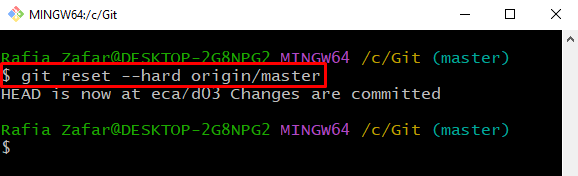
Now, access the latest version of the code from the remote repository and reset the current open branch to the remote version by executing the provided command:
Check the Git log to confirm whether we have got the latest version of the code or not:
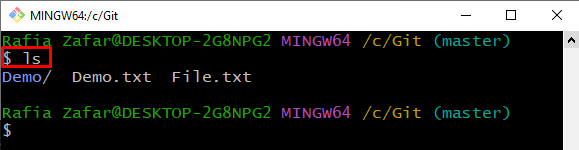
Users can also view the file and directory with the help of the “ls” command:
The file “new-feature.txt” is removed, and the repository is set to a remote version which means we have got the latest version of the code from the remote:
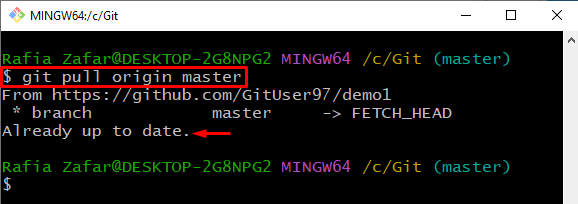
Alternatively, git users can utilize “git pull <remote-name><branch-name>” command to access the latest version of code:
We have explained the method to get the latest version of code in Git.
Conclusion
To access the latest version of your project code, first, go to the working repository and fetch the remote changes into your repository with the help of the “$ git fetch <remote-name>” command. After that, set the Git repository to a remote version through the “$ git reset –hard <remote-name>/<branch-name>” command. This article has demonstrated the method for getting the latest version of code in Git.