This write-up will demonstrate three different methods for generating the keys that are with the help of “–gen-key”, “–full-gen-key”, and the “–quick-gen-key” GPG options. Before moving ahead, install GPG if you do not have it already.
How to install GPG on Linux
To install GnuPG or GPG on your Linux system, firstly press “CTRL+ALT+T” and then type the below-given command in the opened terminal:
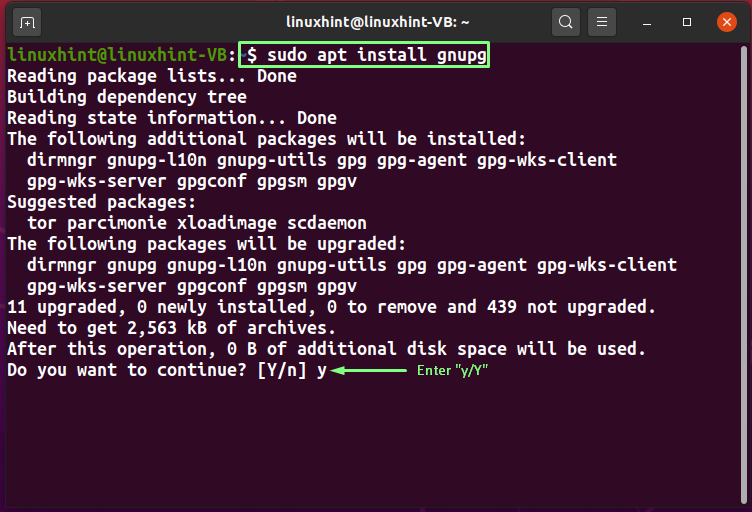
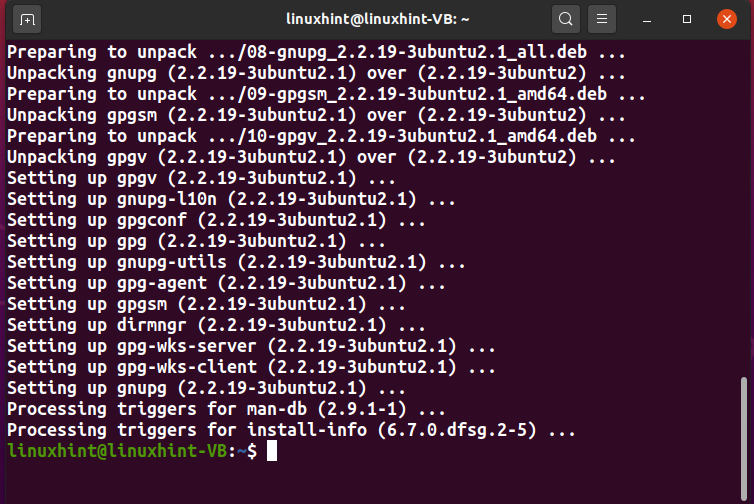
The error-free output indicates that GPG is now installed on your system.
Types of PGP keys
The PGP key pair comprises two types of keys: Private and Public keys. You can use the public key for the data encryption, and that encrypted data will be decrypted using the Private key. As a Linux user, you can only share your Public key. For security reasons, you must keep your Private key secret. Anyone can use your public key to encrypt the data; however, the private key will be needed to decrypt it.
Now, move ahead towards the process of generating PGP keys.
How to generate PGP keys with –gen-key option
In Linux, you can generate the PGP keys with the GPG command using three different methods. In the standard GPG command, the “–gen-key” or the “–generate-key” option is added for the specified purpose. The “–gen-key” option assists in generating the PGP key pair and saves the generated revocation certificate in the “/root/.gnugp/” directory.
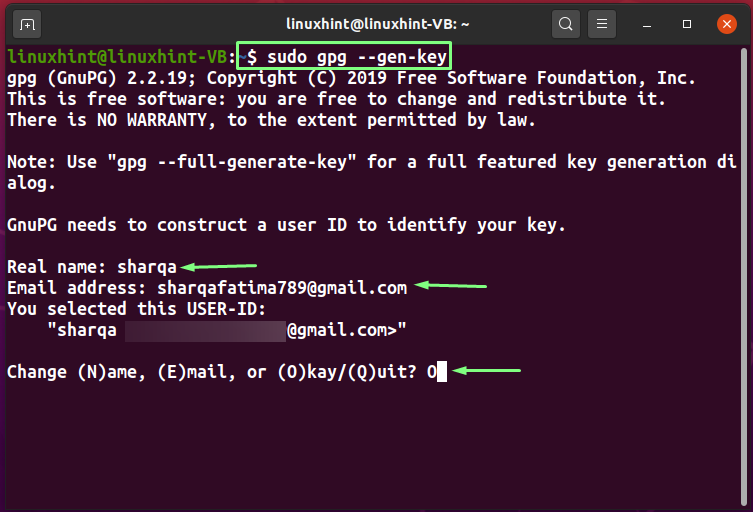
To generate the PGP key with the “–gen-key” option, write out the following command:
At the time of execution, the GPG or the GnuPG will ask you to enter information for creating a user ID, such as your Real name and Email address. Verify the added information and press “O”:
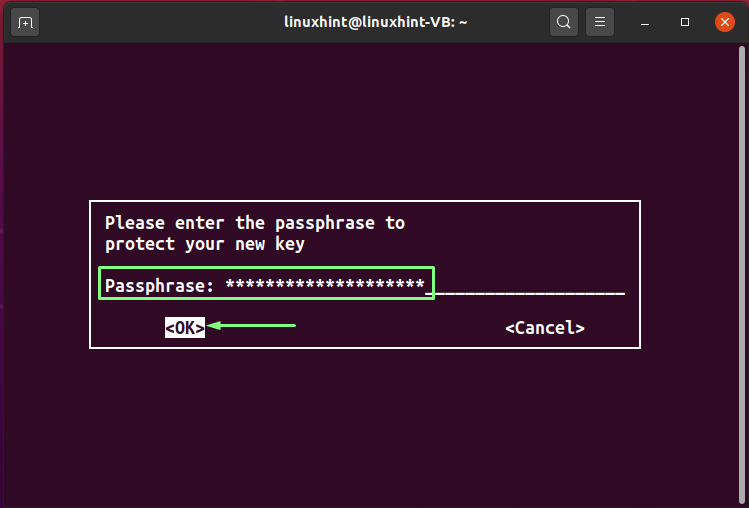
In the next step, you will enter a “passphrase”. The added passphrase will be used for encrypting the private key of the user and protecting it from any attack. So, choose a strong passphrase for protecting your GPG keys:
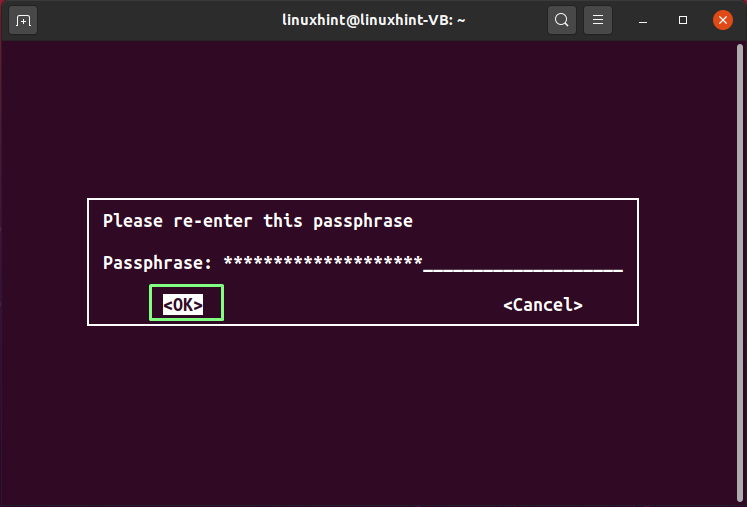
Then, re-enter your passphrase for the confirmation:
Till this point, GPG has created your user ID and added the related information such as your Real name, Email Address, and Passphrase to it.
After clicking the “OK” button, the GPG will create a “/root/.gnugp/openpgp-revocs.d” directory and store the generated revocation certification in it. After that, your public key “pub”, user ID “uid”, and the subkey “sub” will be shown on the terminal:

How to generate PGP keys with –full-gen-key option
You can also use the “–full-gen-key” or the “–full-generate-key” GPG command to generate the PGP keys. It is a user-friendly method that permits you to generate the PGP keys in batch mode and access the options provided in the dialog.
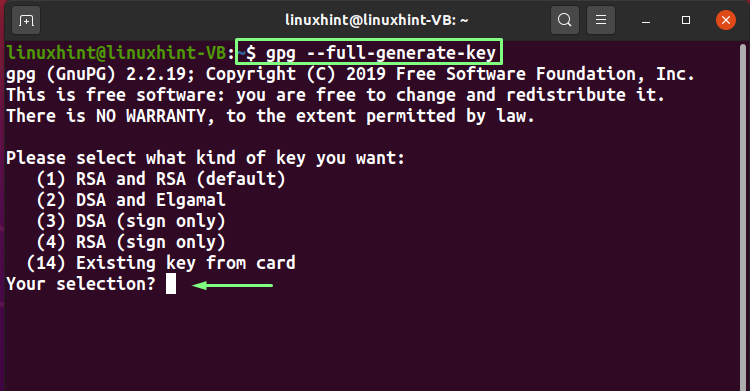
Want to generate PGP keys using the “–full-gen-key” option? If yes, then execute the below-given command:
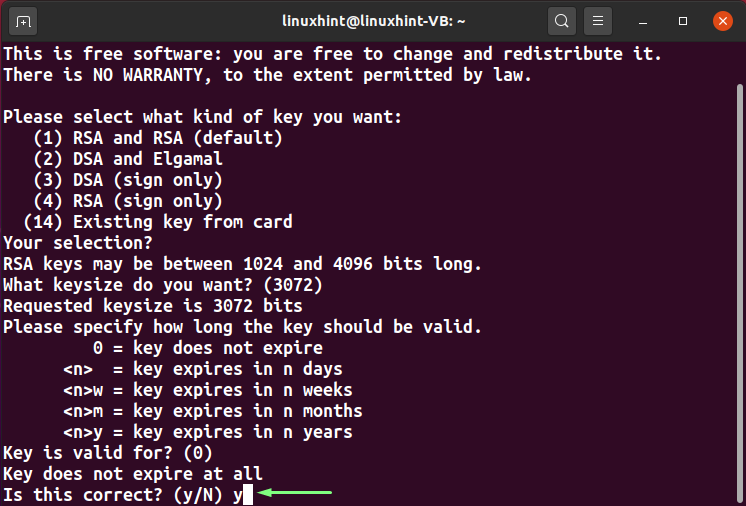
The first prompt on your terminal will ask you to select the type of key you want to generate. Your encryption key will be public in the “RSA” algorithm, and the decryption key will be kept private. The “DSA” is an algorithm based on digital signing and verification, and lastly, the “Elgamal” uses asymmetric encryption for communication.
We will select the “RSA and RSA (default)” option. To do so, you can type “1” or hit enter:
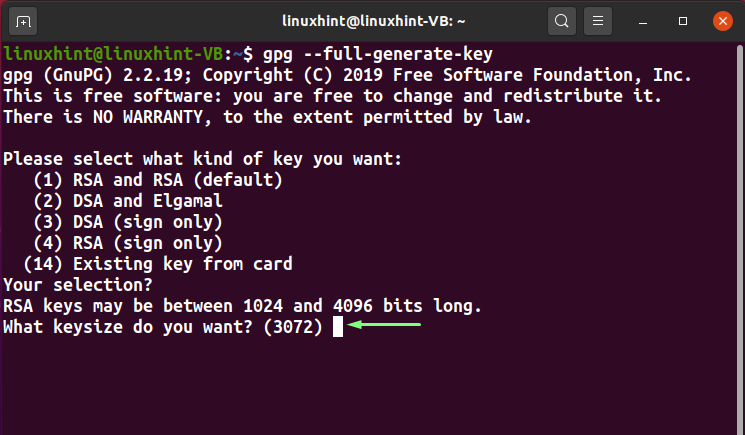
The RSA key size is the number of bits in the modulus. You can set its value between “1024” and “4096”. Either specify your key size or hit enter to go with the default “3072” bits:
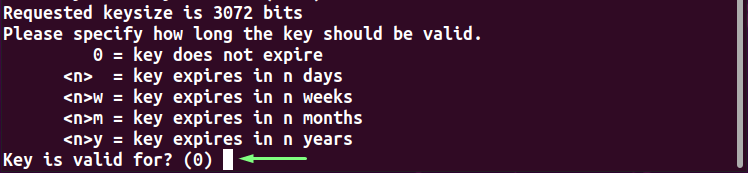
Now, input the expiry time for the PGP keys. You can select any “n” number of days “n”, “nw” weeks, “nm” months, and “ny” years for the specified purpose. However, we will press “Enter” to use the default settings:
You will be asked to confirm the entered expiry time for the PGP keys. Type “y” to mark the information as correct:
In the next step, enter your “Real name” and “Email address” and any “Comment”. After doing so, type “O” to proceed:

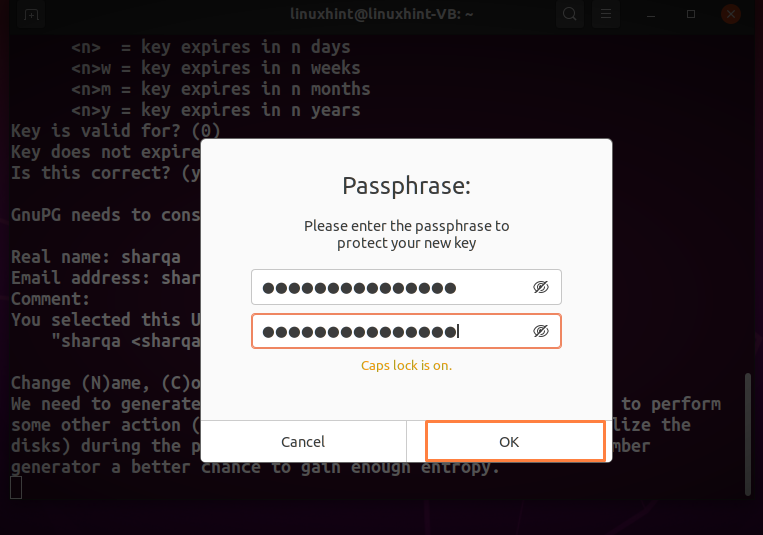
Choose a passphrase for protecting your PGP keys and type it in the following dialog box:
Now the GPG will take a moment for generating the PGP keys, and your Public key, User ID, and the Subkey will be printed out on the terminal screen:

How to generate PGP keys with –quick-gen-key
As the option name suggests, the GPG key with the “–quick-gen-key” option offers a quick method for generating the PGP keys. It only requires the “userID,” and GPG will handle the rest of the settings according to the default options. This method also eliminates the need to respond to a lot of prompts in the terminal.
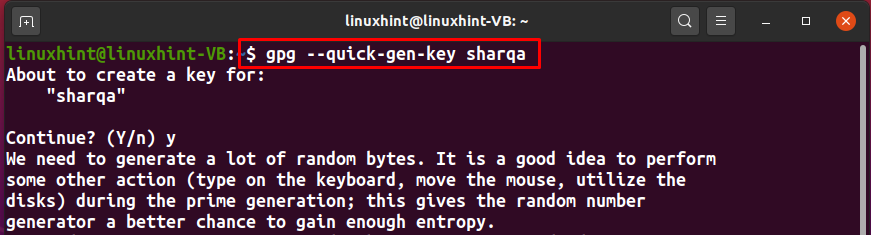
Here is the syntax of the GPG command with the “–quick-gen-key” option:
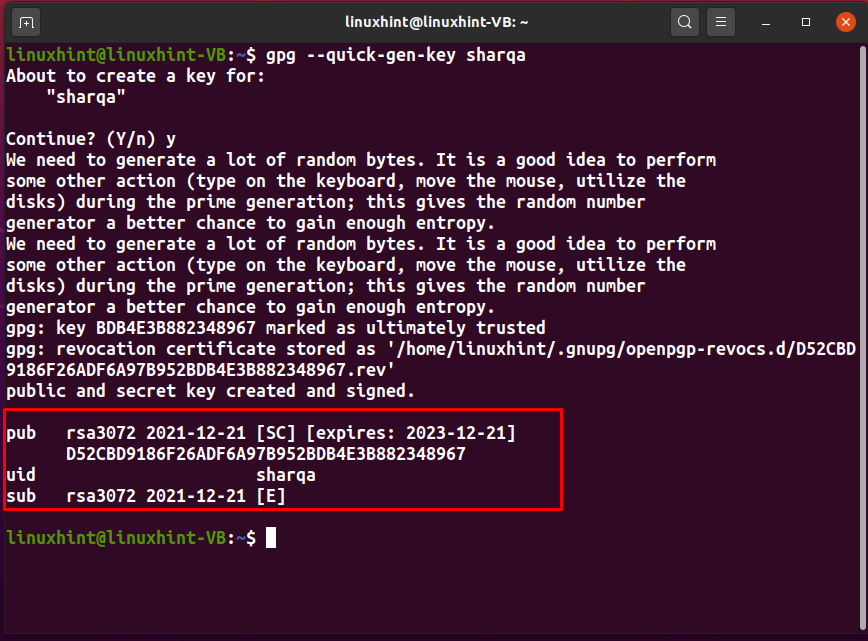
We will use “sharqa” as our userID and then execute the below-given GPG key command:
You will be only asked to confirm your userID and enter the passphrase for the PGP keys that are going to be generated:
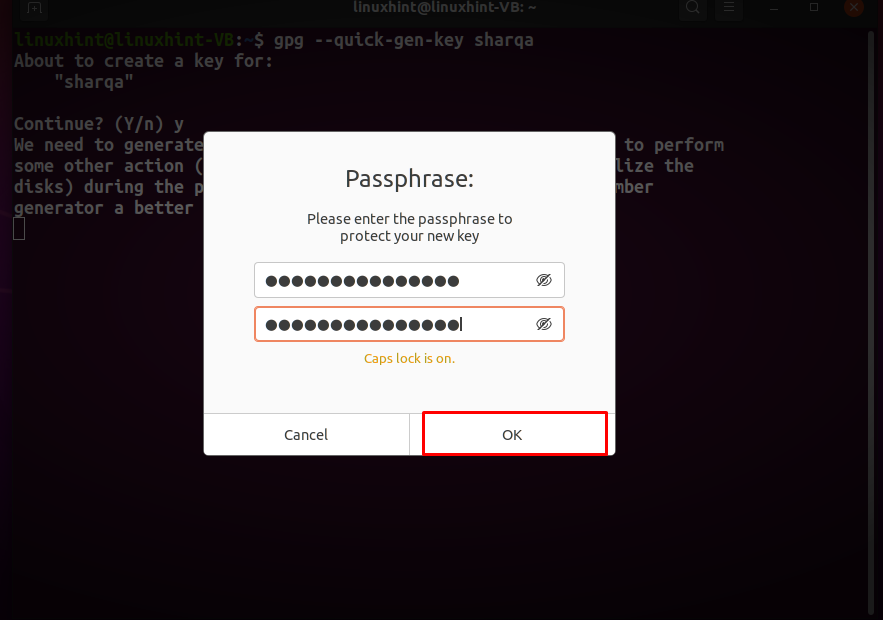
After entering the passphrase, the GPG command will generate your PGP key pair:
How to list PGP keys with the GPG command
To list out the generated keys in your Linux terminal, execute the simple GPG command with the “-k” option:

Conclusion
The most common usage of PGP is to deliver encrypted messages in communication. It uses the sender’s public key for encrypting the message and then decrypts it with the private key of the intended user. You can use the “GPG” command for generating your public and private PGP key pair. This write-up demonstrated how to generate PGP keys with the GPG “–gen-key”, “–full-gen-key”, and the “–quick-gen-key” options. Moreover, the procedure of listing the generated PGP keys is also provided.