In your Ubuntu system, gedit is installed by default. In this guide, we will explain everything about the gedit command in Linux.
How to Use the Gedit Command in Linux?
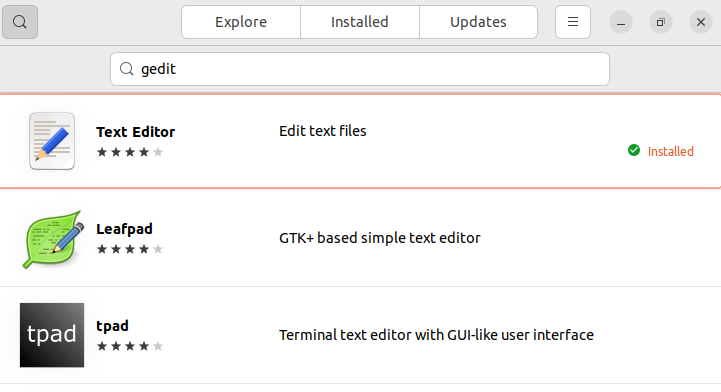
Let’s install gedit in Linux so either we can use the software center or run the installation command in the terminal:
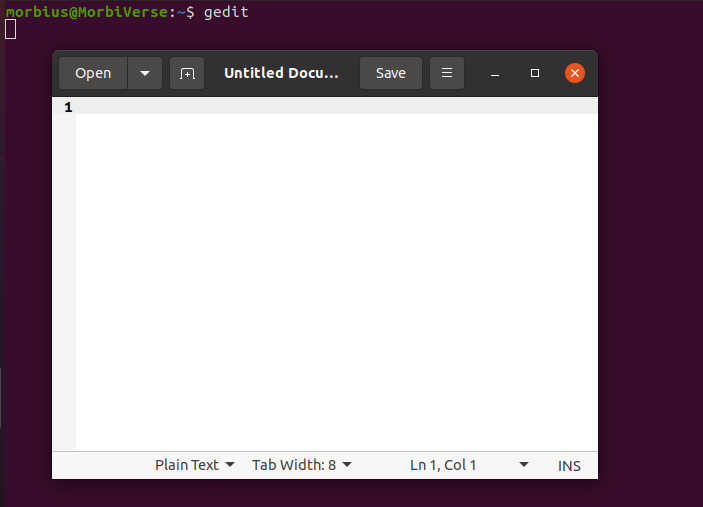
You can open the gedit by searching it in the application search box. Here you will get the gedit text editor.
Use the below command to launch gedit text editor to open and edit the text files from the terminal:
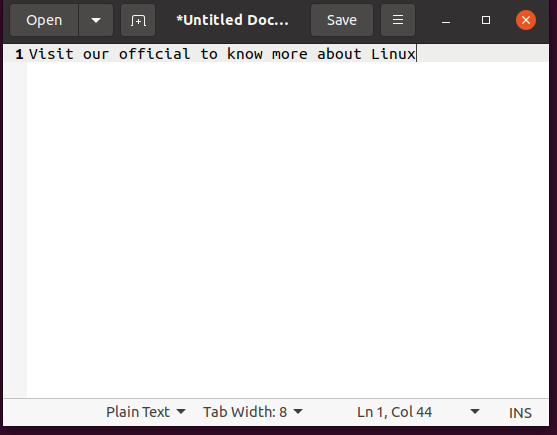
Once you create the file, click on the save button to save the file in the Documents directory.
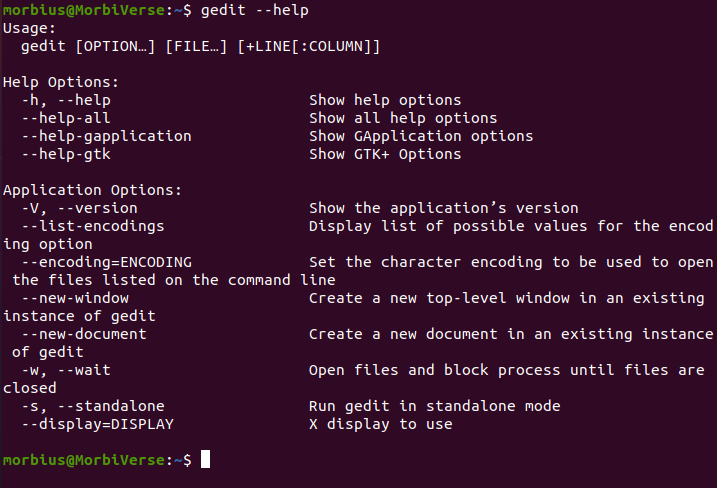
In case you want to know more about gedit, use the following command in the terminal to open the help related information:
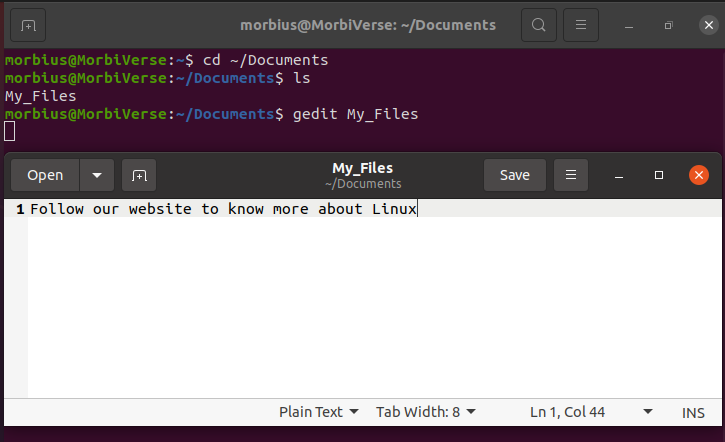
To open the edited file from the terminal, add the file’s name with the gedit command. For example, we have saved the “My_Files” file in the Documents directory, so we use the ls command to show you the available file. Hence, we will execute the gedit My_Files command to open it in the GUI text editor:
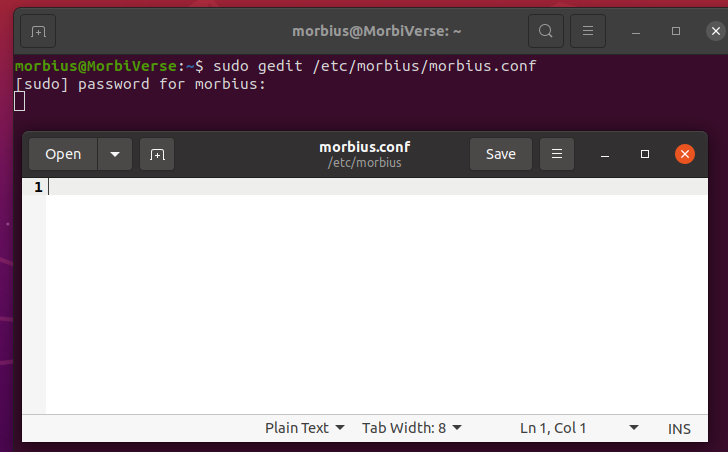
Use the following command to open the config file directly from the terminal and edit it.
Now you can edit the config file and save it without having any issues.
Wrapping Up
This guide has included all the basic options available in gedit, which you can use from the terminal. Hence, this guide may help you understand the gedit command’s standard options. Gedit is a good tool that can replace vim or nano editor because of its excellent GUI integration. We recommend you use gedit commands and its GUI text editor as it will save lots of time and effort.

