Sometimes users work on multiple projects in Git simultaneously and they need to frequently switch between branches. Before switching from one branch to another they are required to save changes each time. However, they want to switch branches without saving changes in the repository. To do so, the “git checkout” command can be used along with the “-f” or “–f” options.
This post will demonstrate the method for forcing Git checkout.
How to Force Git Checkout?
To force Git checkout, follow the below stated steps:
- Navigate to the Git root repository.
- Check all previous data by running the “ls” command.
- Execute the “start” command to start a file.
- Move the modified file to the Git tracking area.
- Use the “git status” command to view the current state of the Git working repository.
- Use “-f” or “–f” along with the “git checkout” command for switching branches.
Step 1: Move to Git Root Directory
First, run the “cd” command and navigate to the Git root directory:
Step 2: List All Content
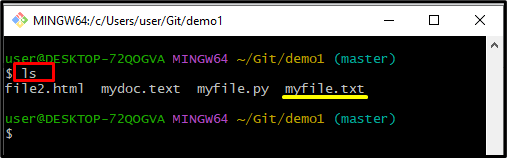
List all the available content of the Git root directory with the help of the “ls” command:
It can be observed that the content has been listed successfully:
Step 3: Update the File
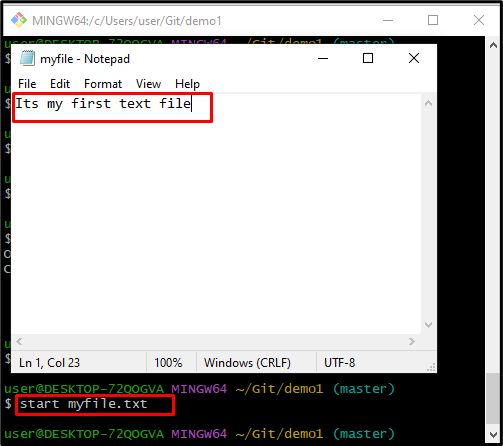
Execute the “start” command along with the file name and open it for modifications:
After executing the above command, enter the desired data in the file and save it:
Step 4: Add File
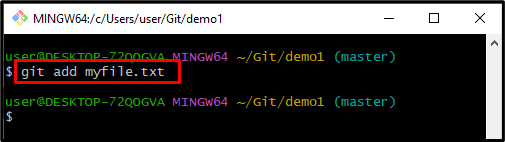
To save a modified file in the Git repository, run the “git add” command:
Step 5: Check Status
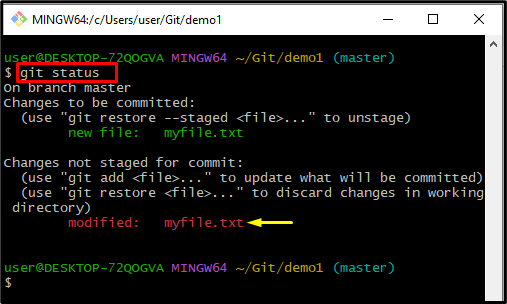
Utilize the “git status” command for viewing the current status of the working directory:
The below-provided output stated that the “myfile.txt” has been modified successfully and placed in the working area:
Step 6: List all Branches
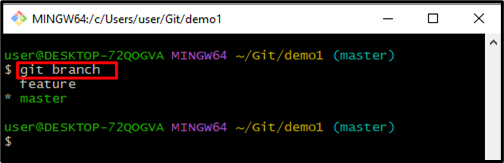
Execute “git branch” to list Git local branches:
According to the below-given output, the “master” is the current working branch, and want to switch to the “feature” branch:
Step 7: Force Git Checkout
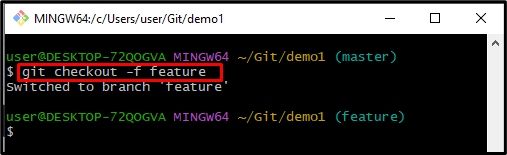
To check out forcefully from one branch to another, run the “git checkout” command along with the “-f” or “–force” option and branch name:
As you can see, we have successfully switched from the “master” branch to the “feature” branch:
That’s all! You have learned the method for forceful checkout in Git.
Conclusion
To force Git checkout, first, navigate to the Git root repository and check all available data by executing the “ls” command. Furthermore, modify the file and insert an updated file into the repository with the help of the “git add” command. Then, check the current status of the repository and use the “git checkout” command with the “-f” or “-force” option for switching between branches. This blog described the procedure for forcing the Git checkout.