We often came across some faulty errors and faced some serious system issues like a broken Operating system. We are only left with a black screen, and it seems like the ultimate fix will be to reinstall the Operating system. That is not the only solution; we can fix a broken Operating system without reinstalling it using some different techniques that we are going to perform in this article. Reinstalling a whole Operating system is not a good option because it may lead to data loss of all important files and folders.
Fixing process
If you came across the error something like, ‘Could not get lock /var/lib/apt/lists/lock’ or ‘Could not get lock /var/lib/dpkg/lock’, then you can fix this broken issue by following the step by step guide provided below:
Step 1: Login from Live CD or bootable USB
First of all, sign in using the live CD or bootable USB drive, and back up your data in some external hard drive so that you can save it somewhere else and reinstall the operating system if needed.
Step 2: Remove the lock files
Open tty1 using the keyboard shortcut keys CTRL + ALT + F1, and type the commands provided below to remove the lock files.
If your error is ‘Could not get lock /var/lib/apt/lists/lock’, then type the command:
![]()
If your error is ‘Could not get lock /var/lib/dpkg/lock’, then type the command:
![]()
Along with the lock files, remove the lock-frontend file too using the command:
![]()
If you have broken apt-cache as well, then type the command:
![]()
After removing the lock files, Reconfigure the dpkg.
Step 3: Reconfigure dpkg
To reconfigure all the packages installed, type the command provided below;
Step 4: Clean local repository
To clear out all the local repository, type the command given below:
Step 5: update all the packages
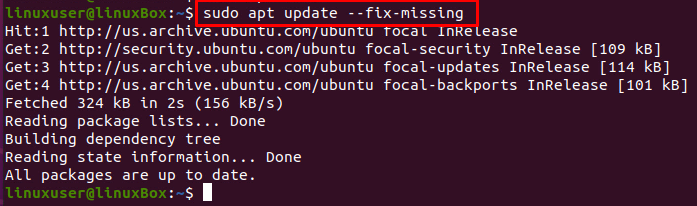
After clearing the local repository, update the installed packages with the –fix-missing option.
Step 6: install all broken packages and dependencies
Now, force the package manager to install all the broken packages or missing dependencies using the command provided below:

After installing the broken packages and missing dependencies, reconfigure dpkg once again using the command:
![]()
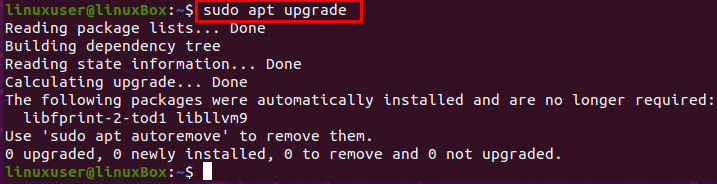
Upgrade the system’s packages:
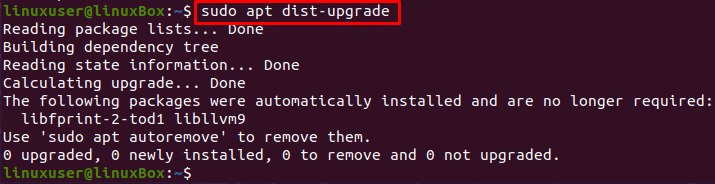
Upgrade the dependencies as well using the dist-upgrade command:
Step 7: Reboot the system
After fixing everything up, restart eh system using the command provided below:
![]()
Once you have followed all the steps given above, everything will be back in order and work smoothly.
Conclusion
This post gives a brief and in-detail solution on how to fix broken Ubuntu 20.04 without reinstalling it. After following all the steps provided in this post, you can save the reinstallation time and get back to the real work in a couple of minutes.