Everybody checks their computer’s hardware details from time to time. These details include information about RAM, processor, motherboard, GPU, and much more. Through this information, we can gauge how strong a computer is, what kind of drivers it needs, and its configuration. Hardware details are essential knowledge for a computer user; therefore, we will be discussing the best 5 GUI tools you can use to view them.
Hardinfo
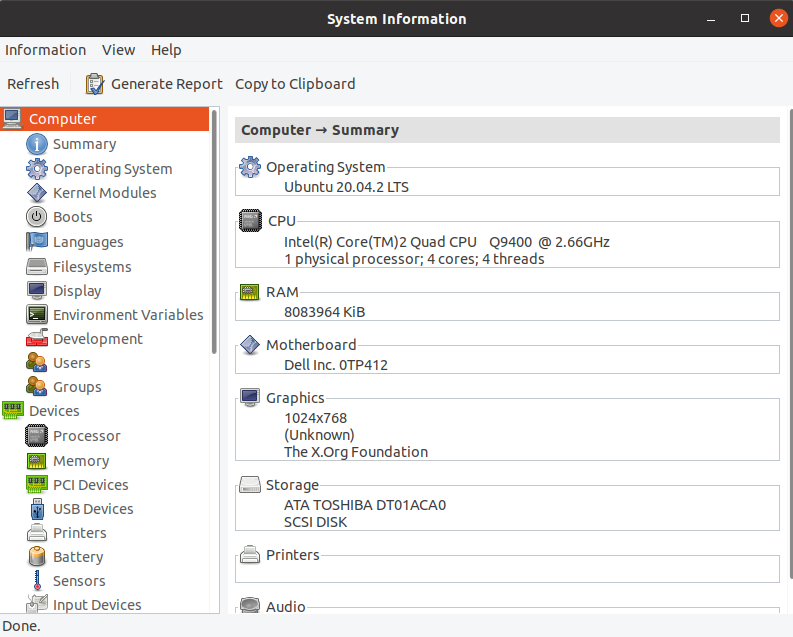
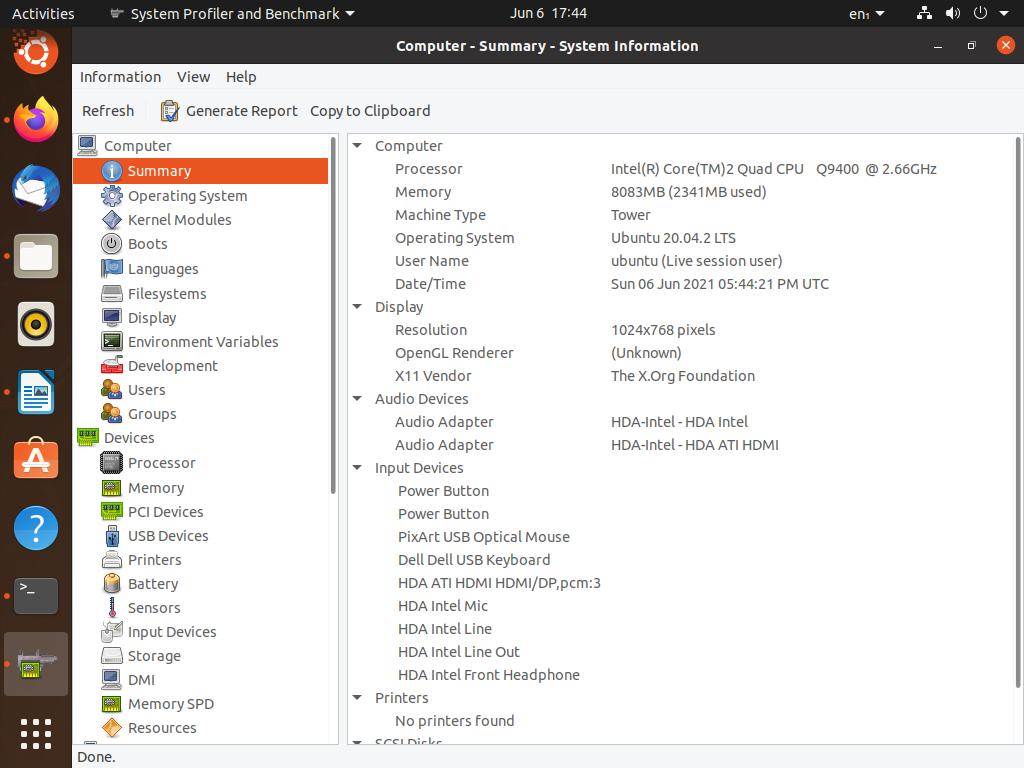
Hardinfo is one of the best GUI tools designed for displaying hardware details. It is also known as a system benchmark tool that performs hardware analysis and generates reports. A long, vertical list of hardware items is displayed on the left, from where you can select which one you would like to analyze. All you have to do is simply click on the unit of your choice, and its details will be revealed. An overview of your entire system can be viewed through the Summary entry. Hardinfo generates reports in HTML and allows you to compare your system with other ones through the help of its benchmark tools located at the bottom.
Now, let’s come to the installation of Hardinfo. In Linux Mint, it comes preinstalled. However, for other distributions, all you need is a simple command to get this awesome tool. Open up a new Terminal window either through the sidebar or hit Ctrl + Alt + T on your keyboard. Next, please type in the following command and run it.
You will need to have the Universe repository enabled, so if you do not have it, run the command below.
If you are on Fedora, run the command below.
Here is the package for openSUSE and here for Arch Linux.
And with that done, you should have installed Hardinfo successfully. The next step is to start using it. Run it by typing hardinfo in the terminal, and a new instance of the program should pop up.
You can go to the Summary tab to see a short breakdown of your whole computer.
As you can see, Hardinfo is a comprehensive tool that detects all of your devices and peripherals. Furthermore, you can perform comparison tests and generate reports of your system. Feel free to play around with this tool, as there definitely is a lot to explore.
I-Nex
Next on our list is I-Nex, perhaps the best Linux alternative to CPU-Z. Its UI and style are very similar to CPU-Z, and we are sure you’d enjoy it. Let’s see what it has to offer.
I-Nex displays your hardware details in a very refined manner. Each major hardware device has its own tab. These tabs contain relevant information about their respective hardware units, such as name, manufacturer, model, drivers, and more. Using I-Nex, you can create customizable reports on your computer and take screenshots as well. Furthermore, you can also find operating system details (distribution, version, X.Org version, GCC version, and much more).
Run the commands given below in the specified order to install I-Nex on Ubuntu, Debian, or Linux Mint.
$ sudo apt-get update
$ sudo apt-get install i-nex
Arch Linux, openSUSE, and Manjaro users can visit this link to find their installation methods.
Lshw-gtk
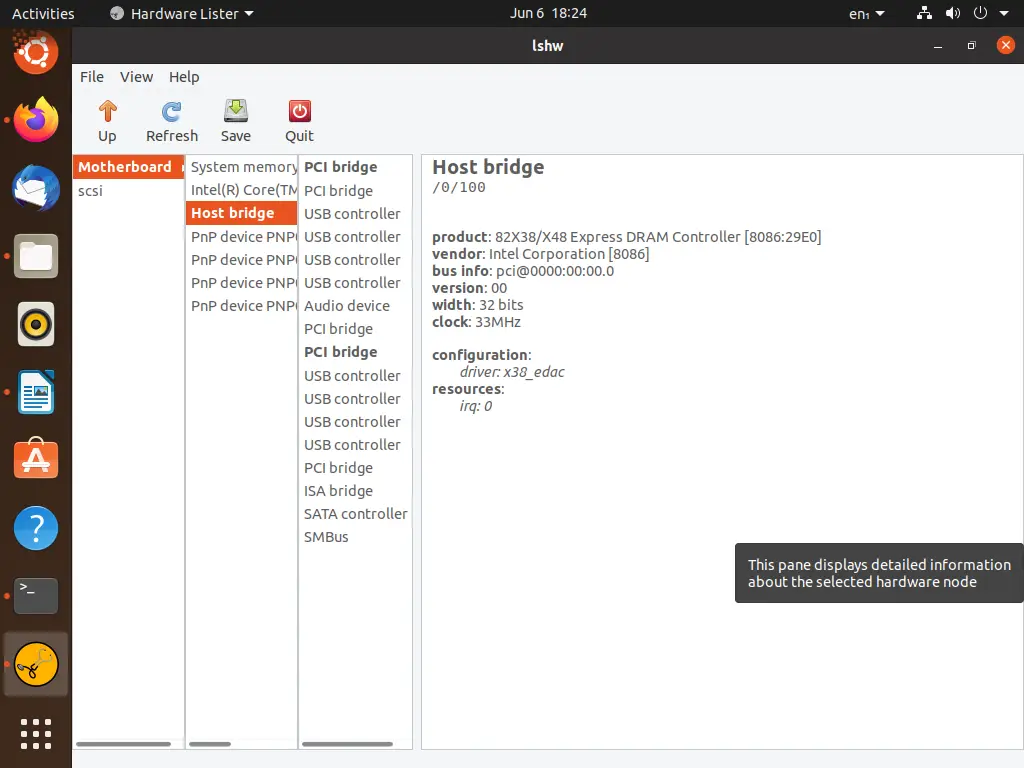
Lshw is popularly known to be a command-line tool; however, this is its graphical version. It has a very simple-looking user interface, but it packs a mean punch in terms of functionality. The hardware details it displays are extensive and convincingly comprehensive; therefore, you can check every nook and cranny of your computer through Lshw-gtk.
On startup, you may see a blank window. You can fix that by simply clicking the Refresh button. The Save button will let you export the report of your system. Furthermore, Lshw-gtk supports exporting options with HTML, plain text, and XML.
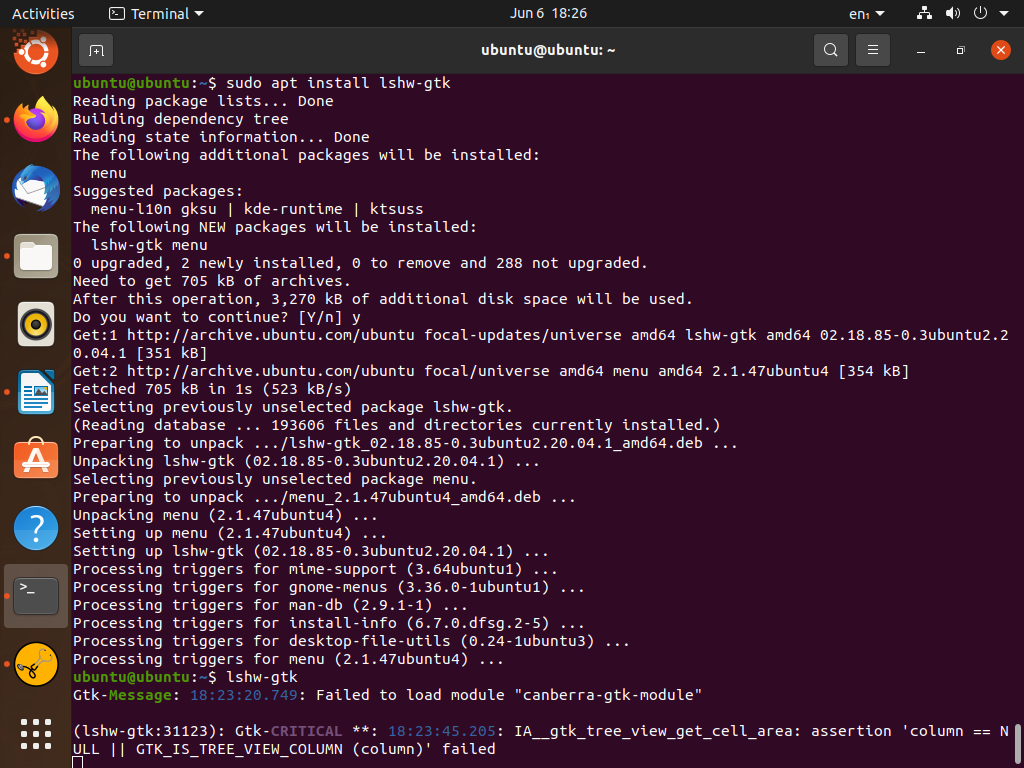
You can install this handy system information tool by running the command below.
Fedora users can install this utility by running the following command.
KInfoCenter
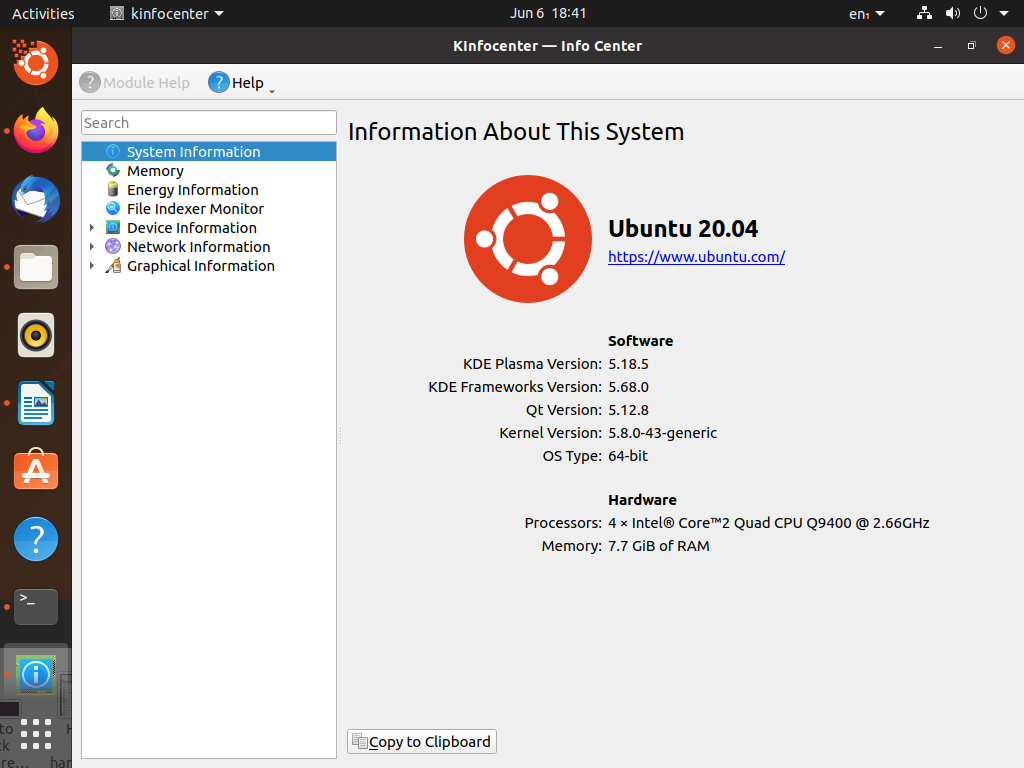
KInfoCenter, also known as KDE Information Center, comes as a part of the KDE environment. The good thing, however, is that it is available for install on other desktops as well. Through KInfoCenter, you can get information about PCI, USB devices, network interfaces, IO ports, XServer, in addition to the main hardware components of the computer. This utility may already be installed on your computer if you run a KDE Environment on your Linux system. Either way, we will provide you with the installation instructions nonetheless.
Ubuntu or Linux Mint users can get KInfoCenter by running the command below.
Fedora users should run the following command.
If you are on Arch Linux, click here to download KInfoCenter.
Once the installation is finished, run the program by entering kinfocenter in the Terminal.
Sysinfo
Among all the heavy-lifters here on this list, Sysinfo is a frail but daring rival. Sysinfo is a lot more lightweight than the other utilities mentioned here. As promised, it is GUI-based, but it does not show a whole lot of system information. If you are a casual user who does not bother looking at all the ins and outs of their computer but still requires a hardware info tool, Sysinfo is your best bet.
It is simple and smart, and most importantly, it gets the job done.
Conclusion
In this article, we went over the 5 best GUI hardware details tools out there. We saw which ones had the most impressive features and extensive functionality. Finally, we also considered a lightweight option for casual users.

