When the user creates an EC2 instance, the creation wizard asks the user about the “Instance Type” they want the EC2 instance to be a part of. This instance type essentially defines the amount of RAM and Storage the EC2 virtual machine should have.
After using the EC2 instance over a period of time, applications start taking up more space and memory. When this occurs, the user has to change the Instance type and increase the volume attached to the EC2 instance.
This post will teach how to extend the RAM and Storage of an EC2 instance in AWS.
Extend the RAM of an EC2 Instance
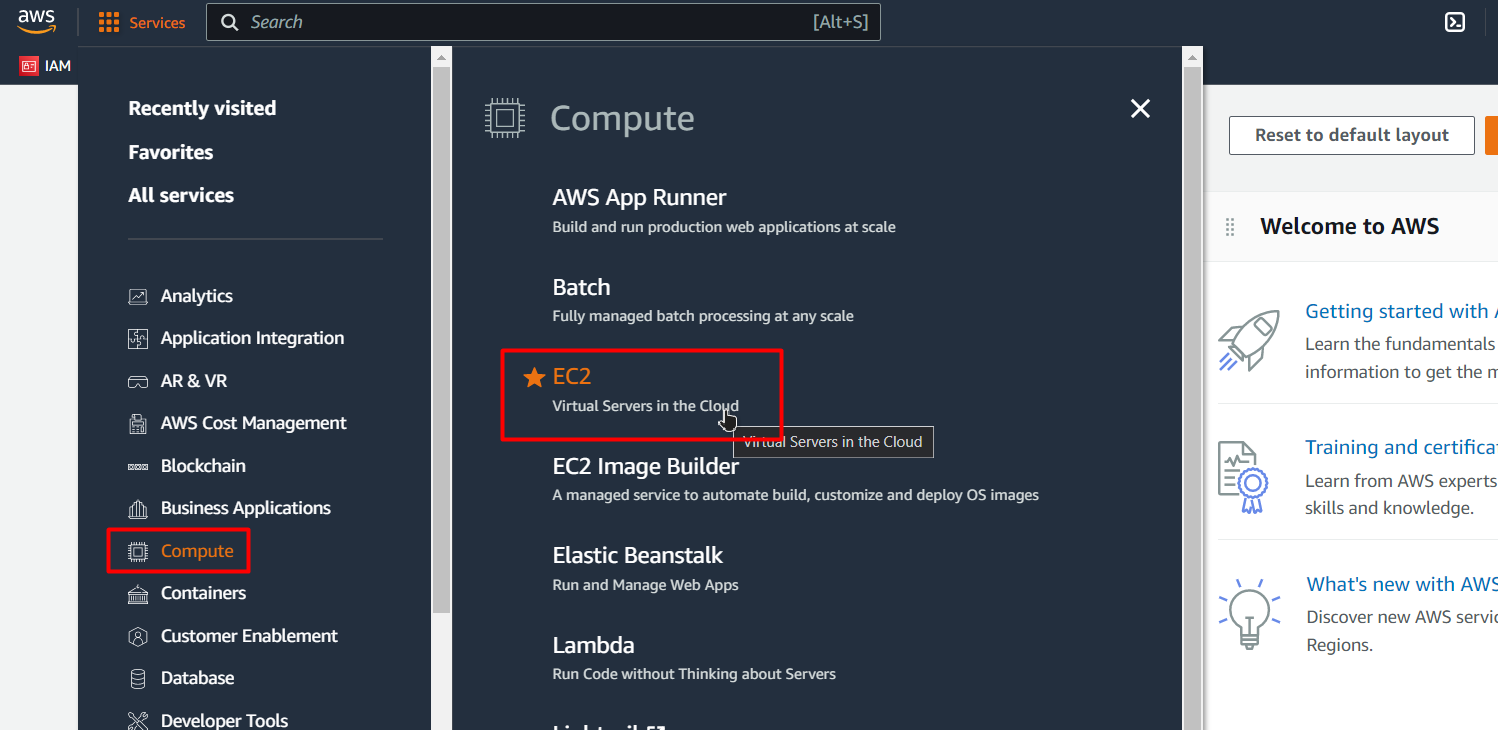
To extend the memory of the EC2 instance, first, log in to the AWS Console and head inside the EC2 Management Console:
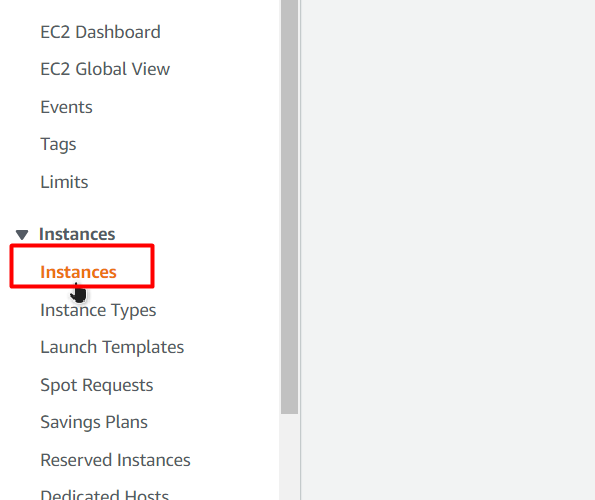
Click on the “Instances” option from the side navigation panel to head inside the Instances Dashboard:
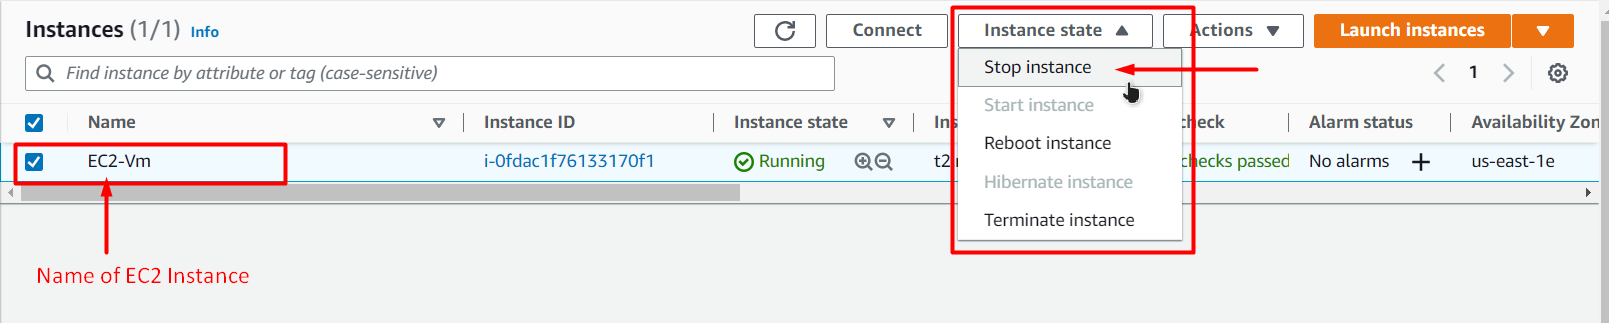
From the list of EC2 instances, select the instance whose memory needs to be extended and from the “Instance State” button, choose “Stop Instance”:
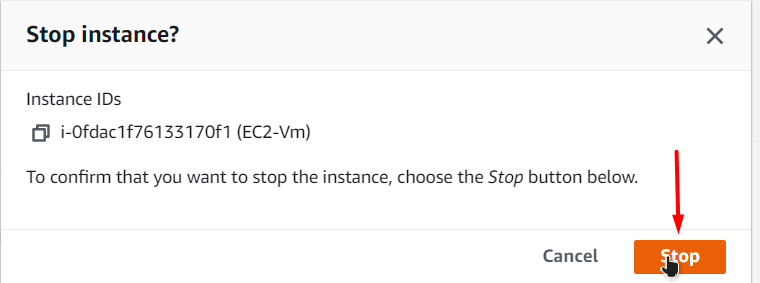
For the confirmation pop-up, click on the “Stop” button:
An EC2 instance needs to be in the Stopped state before changing its memory:

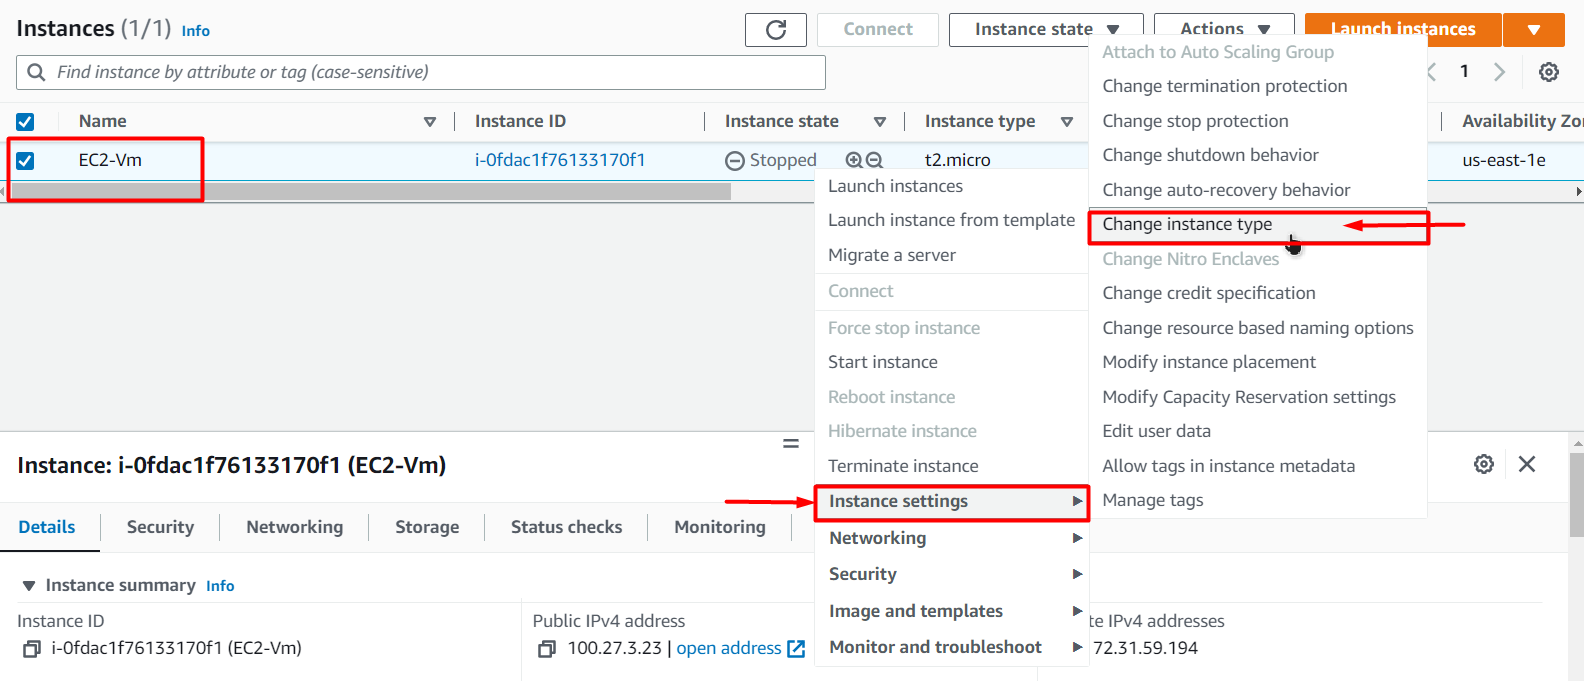
Once the instance is in the stopped state, right-click on it, and then from the menu, hover over the “Instance Settings” and from the extended menu, click on the “Change instance type” option:
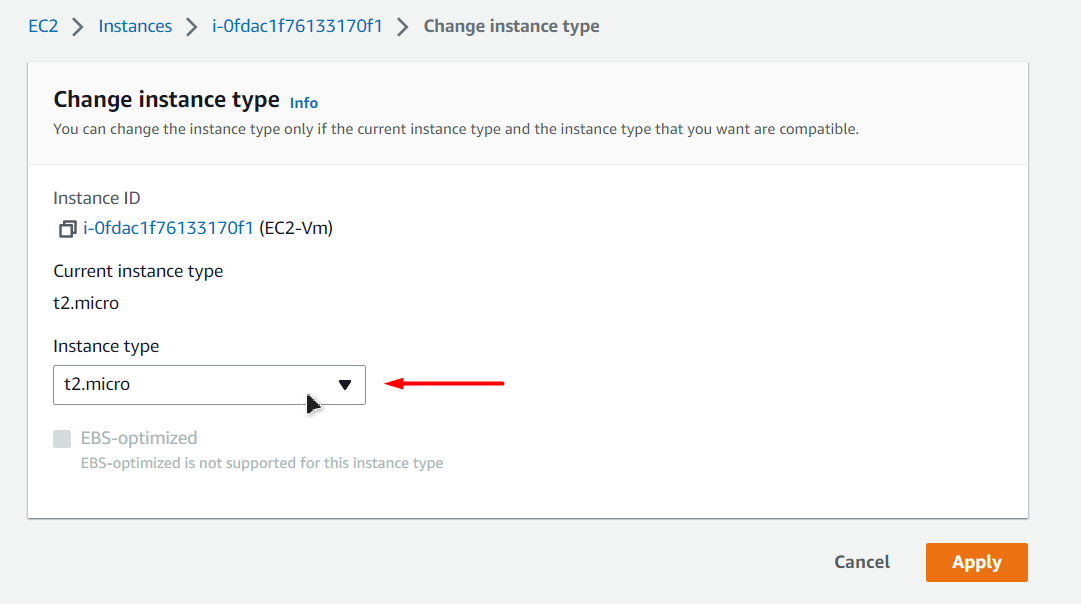
Then the user will be brought to the “Change Instance Type” page, where there is a drop-down list of instance types:
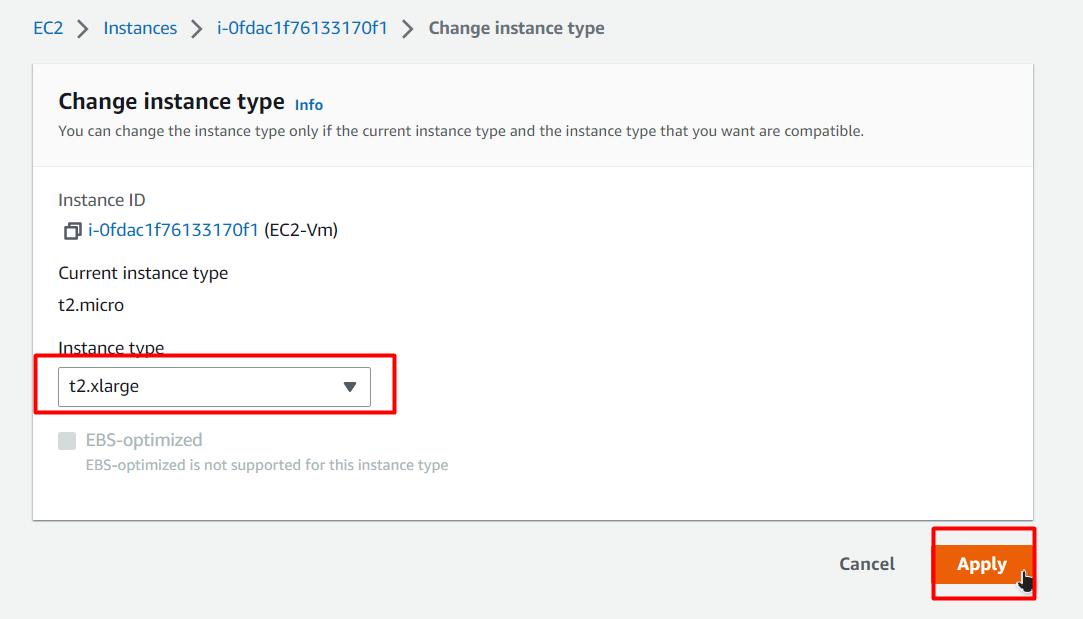
Click on this drop-down menu and choose a different instance type with more CPU and Memory and then click on the “Apply” button:
If you are unaware of the instance type and their CPU and Memory details, read them here!
After that, the user will be brought to the EC2 list with the following prompt:

You have successfully changed the instance type and increased the RAM of the EC2 instance.
Increasing Storage of EC2 Instance
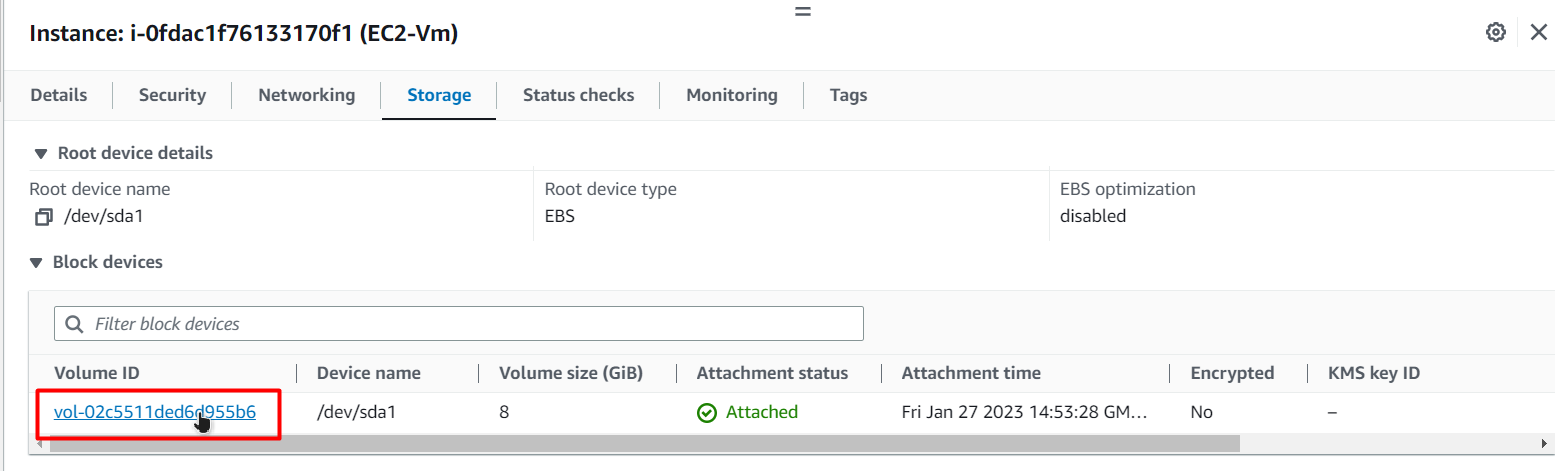
To increase the storage of the EC2 instance, you need to change the size of the volume attached to the EC2. For this, from the EC2 list, click on the name of the EC2, and from the details section, switch over to the storage to view the storage details:

The instance currently has 8 GiB of storage. To change this, click on the name of the Attached Volume:
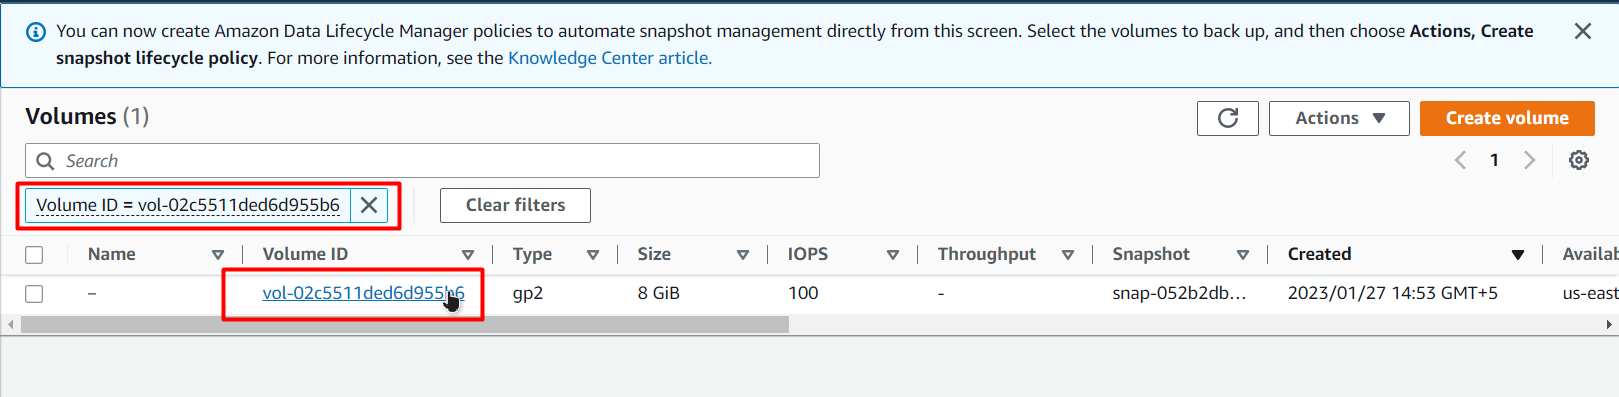
This will open up the Volume Dashboard with a filter set to the ID of the selected volume:
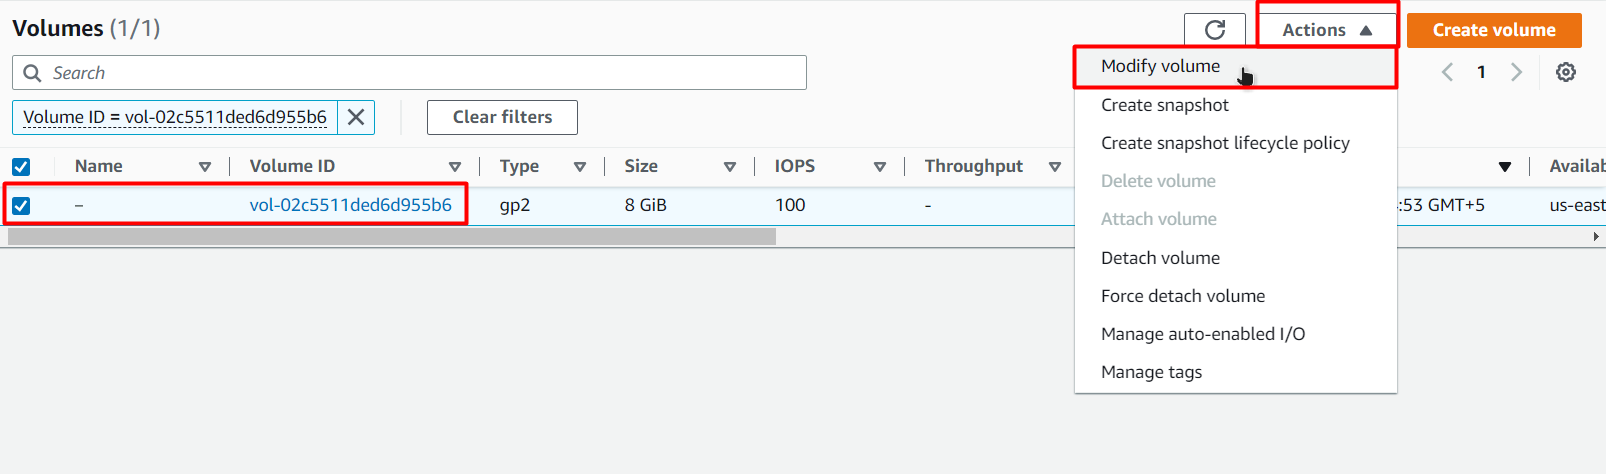
Select the Volume, click on the “Actions” button and then choose the “Modify” volume option:
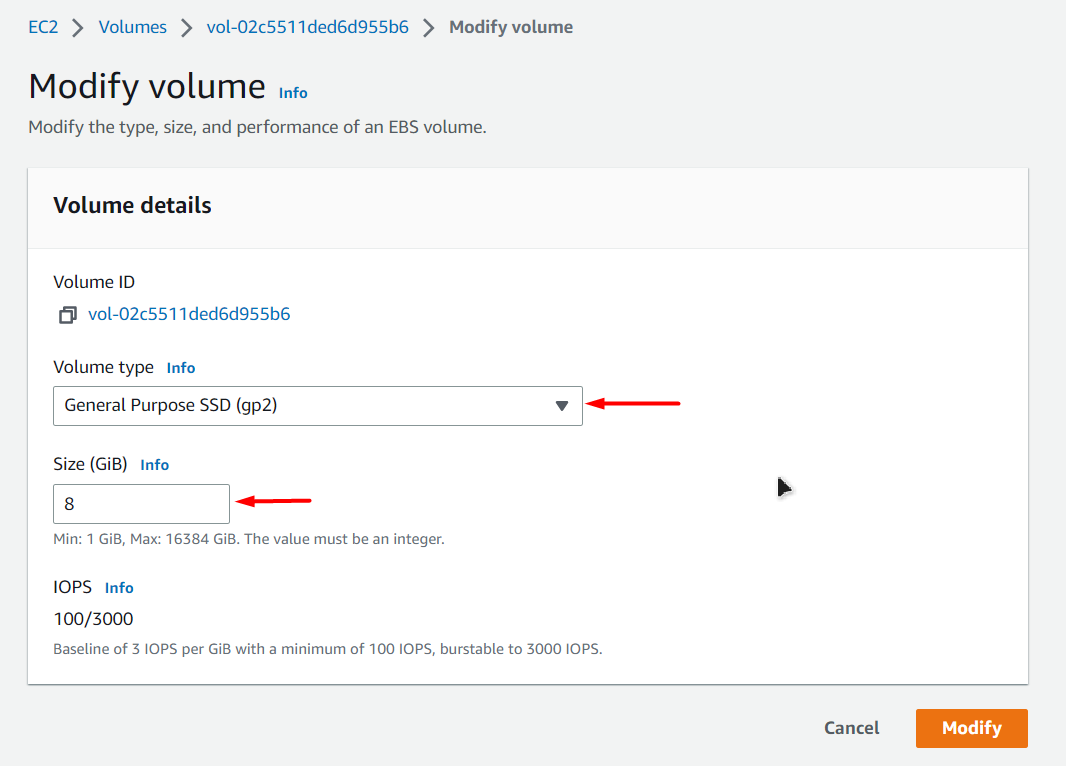
On the next page, the user can easily choose the “Volume Type” and the “Size” of the volume:
Increase the size and change the type according to the requirements and then click on the “Modify” button:
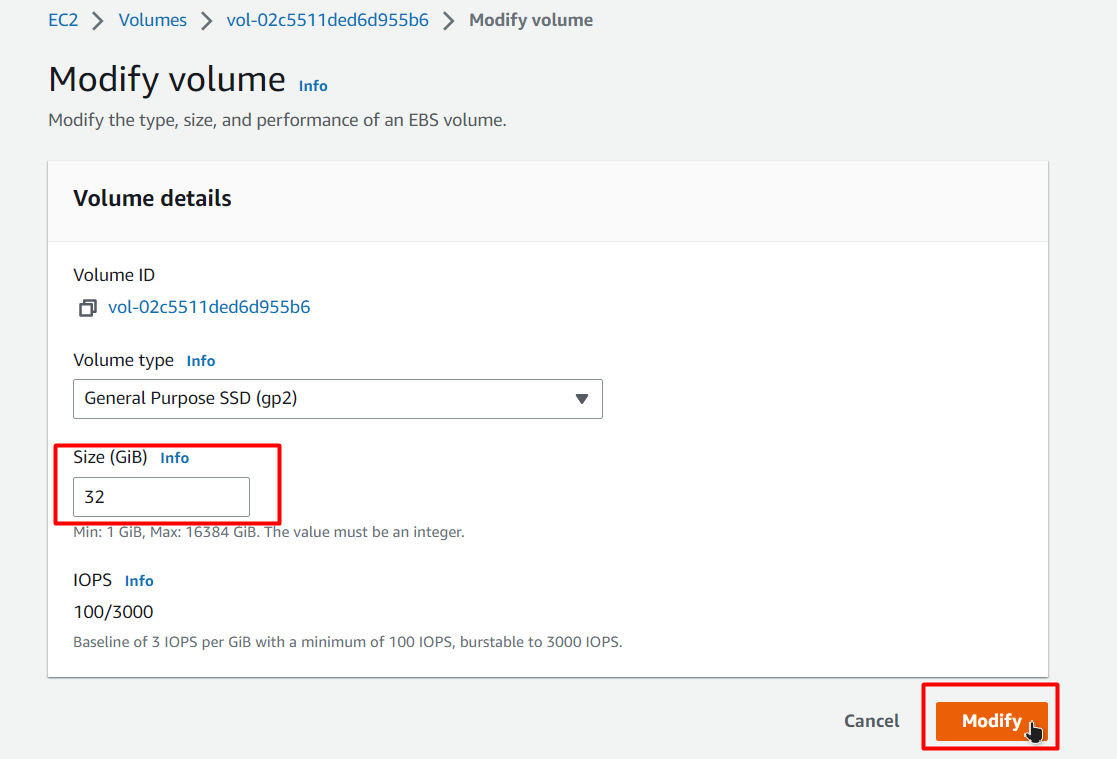
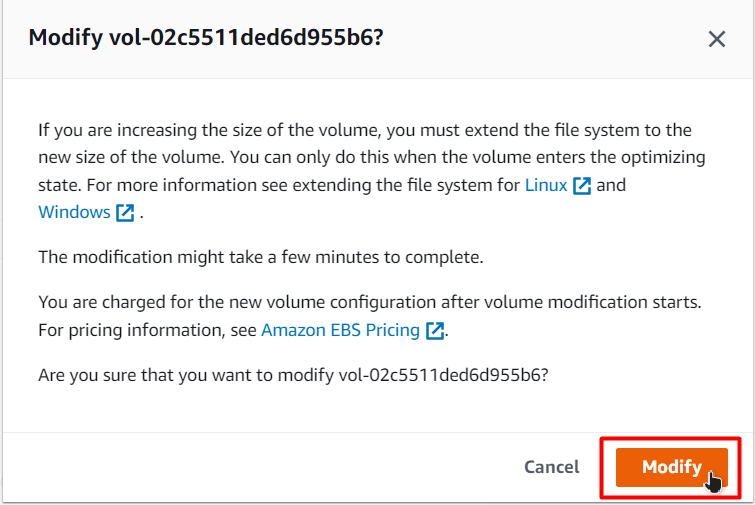
For the confirmation Pop-up box, click on the “Modify” button:
After that, head back over to the EC2 Instance dashboard, select the EC2 instance, and view the Storage Details:
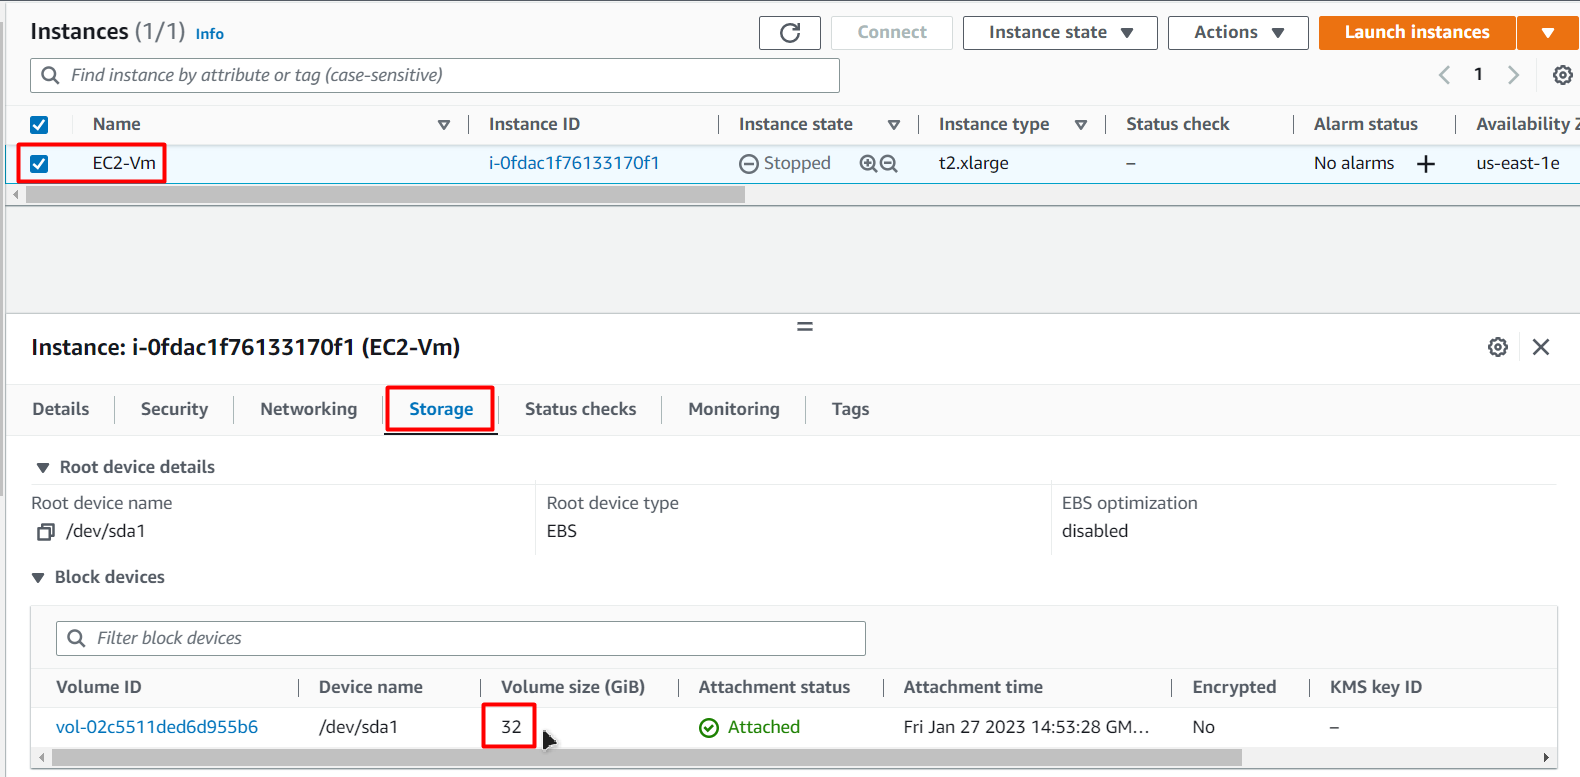
You have successfully increased the Storage of the EC2 instance in AWS.
Conclusion
To change the RAM and the storage space of the EC2 instance in AWS, simply head over to the EC2 Management console and stop the instance if it is in the running state. When in the stopped state, change the Instance Type to extend the RAM and the size of the volume associated with the EC2 to increase the storage of the EC2 instance. The post has taught you how to extend RAM and storage in AWS.