The term CSV also has other meanings, for example, “Character Separated Values”, “Comma Delimited Files” etc.
In this guide, we’ll demonstrate how to export data in CSV in PowerShell.
The CSV file structure
The CSV format follows a very simple structure. Any CSV file will have “.csv” as the file extension. Here, I’ve generated a sample CSV file containing
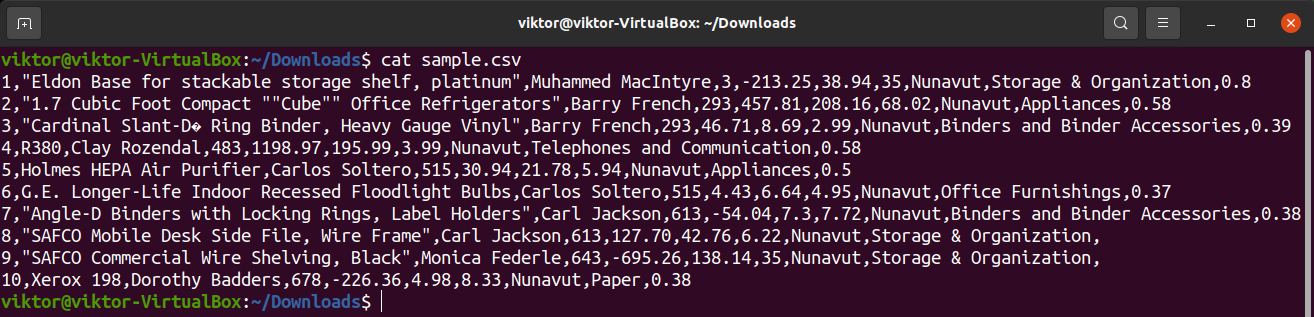
As we can see, each line contains several values separated by commas. There’s no limit to how many entries a CSV file can contain.
The simplicity of the structure is the key feature. The CSV format is designed so that it can easily be used to export data into other programs. The result is also human-readable and can be viewed using any text editor. Office apps like MS Excel, Calc, etc., also support CSV by default.
Exporting to CSV from PowerShell
PowerShell is a powerful shell and scripting language. It supports numerous basic and advanced features, including exporting various data to CSV format.
Similar to any other shell, PowerShell has its own set of commands, called cmdlets. To export to CSV, PowerShell comes with a dedicated cmdlet Export-CSV. It takes an object as the input and exports it to a CSV file.
Because of the simple structure, it could also be achieved using the Set-Content cmdlet. However, it requires you manually defining the CSV structure. Using Export-CSV significantly reduces the workload.
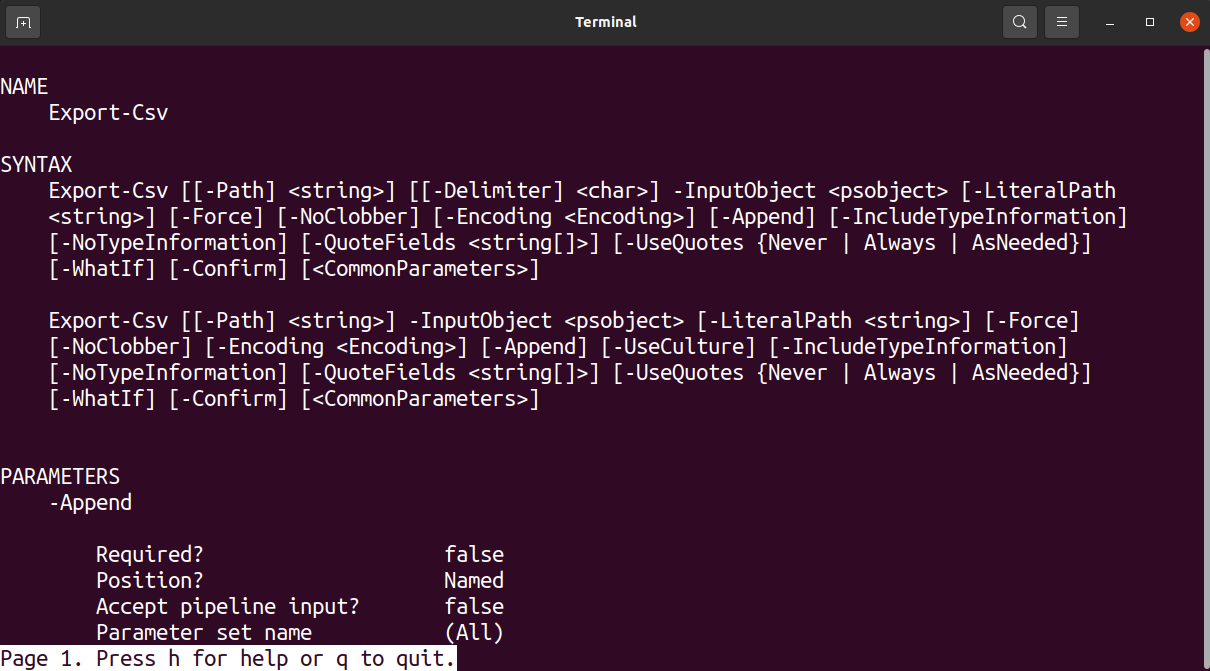
The help page of Export-Csv will show all the supported commands.
A practical example would be exporting the list of running processes. It can be useful in certain debugging/monitoring scenarios. To get the list of processes, we’ll use the cmdlet Get-Process.

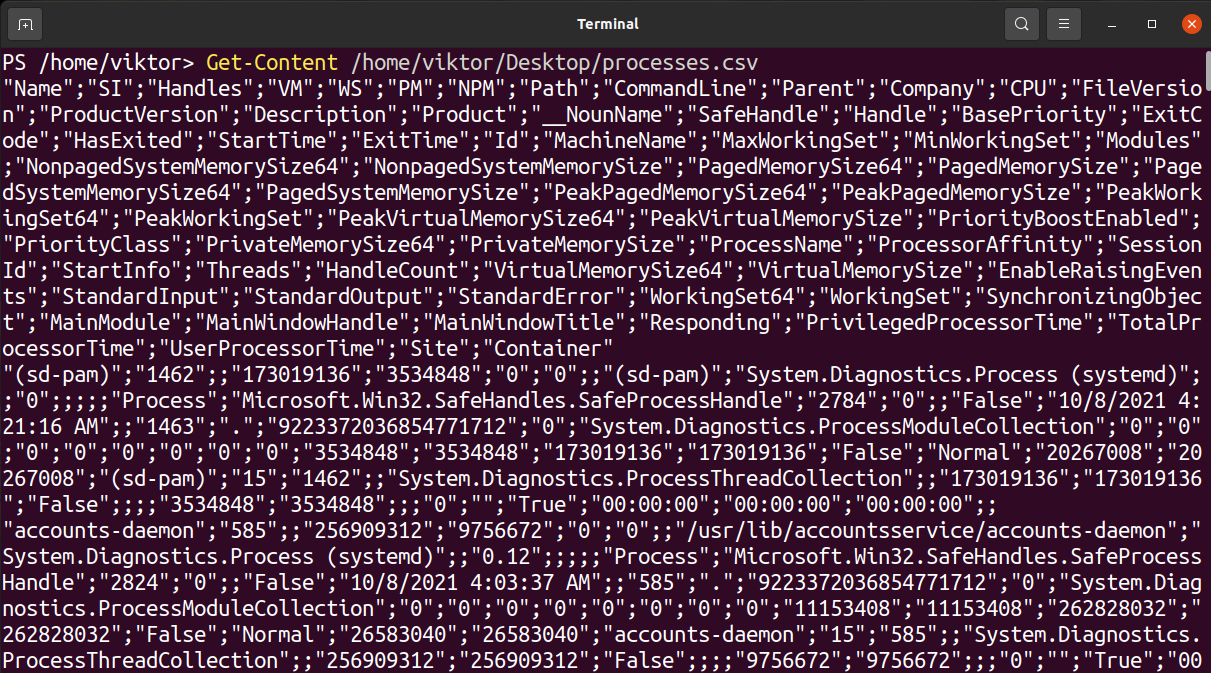
Now, pipe the output to Export-CSV.

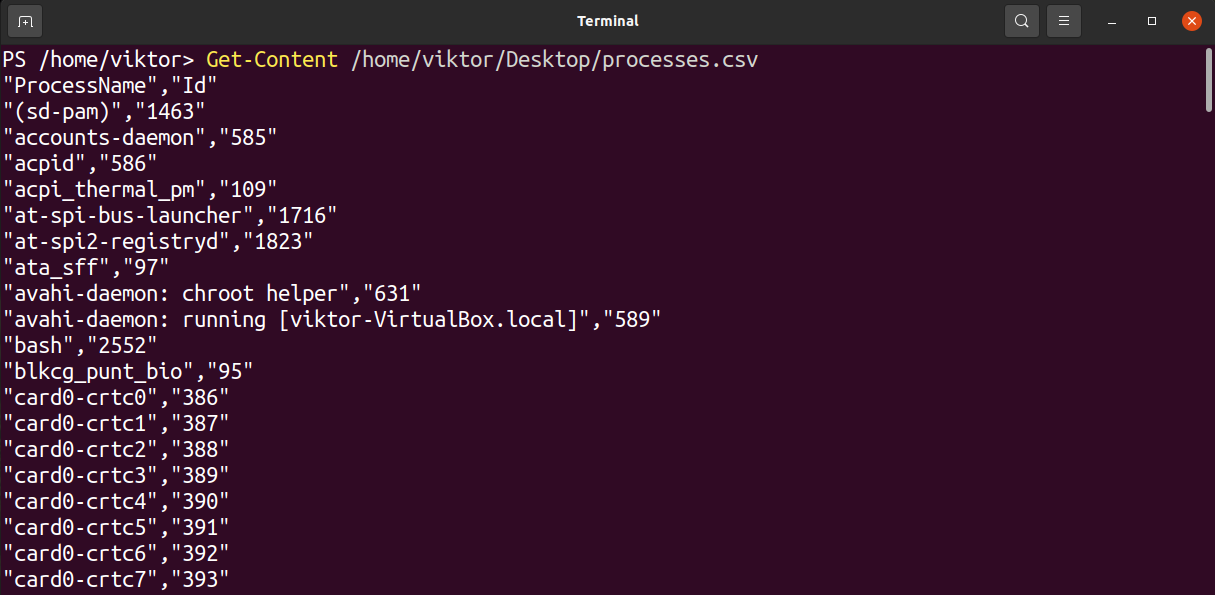
Here, the flag “-Path” describes the location to save the generated CSV file. To check the content of the CSV file, use the cmdlet Get-Content.

Custom delimiter
For any CSV file, it’s standard to use comma (,) as the delimiter. However, you may want to change the delimiter to something other than a comma in certain situations. The Export-CSV cmdlet supports setting a custom delimiter for the CSV file. It can be any character.
In the following example, we’ll be using a semicolon (;) as the delimiter.

Let’s check the output of the command.
Appending to existing CSV file
The Export-CSV cmdlet supports adding content to existing CSV files. It can help to compile data into a single database.
To append, add the flag “-Append”. Use the location of the existing CSV file as the value for “-Path”.

Selecting properties to write to CSV
Let’s have a quick look at the output of Get-Process first.
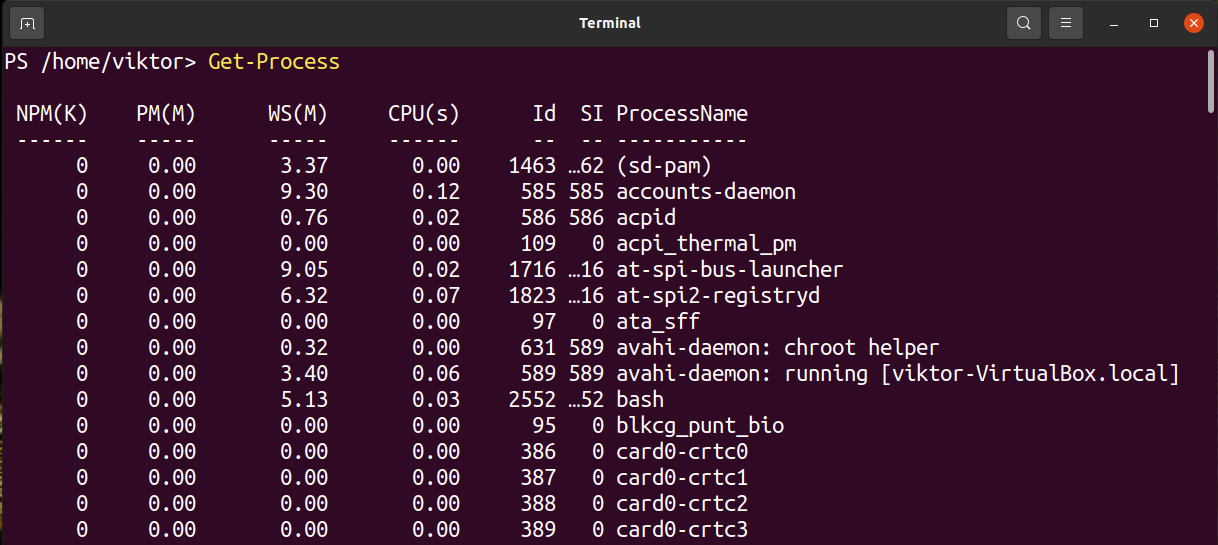
Here, every single column showcases a certain type of info about the currently running processes. Each of the columns represents a property of the associated process. So far, we’ve been working with all the properties of the processes (transferring them to a CSV file). However, not all the properties are necessary for every single situation.
We can add an intermediate filter to get only a select few of the properties. To do so, we’ll take the help of another cmdlet Select-Object.
We’ll only export the process name (ProcessName) and ID (Id) in the following example.

No overwriting
If not appending to the existing file, Export-CSV will overwrite the existing file by default. In many situations, this may cause unwarranted deletion of important logs. To avoid such accidents, we can tell Export-CSV not to overwrite an existing file by default.
To do so, add the flag “-NoClobber”.

As you can see, it now throws an error mentioning that the file already exists.
Overwriting read-only files
By default, a read-only file doesn’t allow editing. However, we can use PowerShell to force edit to the file. This feature is baked right into Export-CSV. The way it’s done is by unmarking the file as read-only, performing the edit, then marking it read-only again.
To overwrite the existing read-only file, use the flag “-Force”.

File encoding
For file encoding, Export-CSV uses UTF-8 by default. It’s the universal encoding for all the text files. However, in specific situations, different encoding makes more sense. Thankfully, Export-CSV supports defining specific encoding.
To specify a specific encoding, use the flag “-Encoding”.

Here’s a list of all the supported encoding formats.
- ASCII
- Unicode
- UTF7
- UTF8
- UTF8BOM
- UTF8NoBOM
- UTF32
- BigEndianUnicode
Final thoughts
The Export-CSV cmdlet in PowerShell is a powerful tool to export information into CSV format. This guide demonstrates some of the ways to Export-CSV. It can also be implemented in PowerShell scripts to automate data transfer. It converts structured data into a simpler and user-readable format that a lot of applications can use.
Happy computing!