It is important to close the telnet session you need some specific command as you cannot directly close the session by pressing the ctrl+c keys. In this guide, I will cover how to establish a telnet connection and to exit it.
- In what Scenarios the telnet Command can be Used
- How to Begin the telnet Session on Linux
- How to Exit the telnet Command on Linux
- How to Begin the telnet Session on Windows
- How to Exit the telnet Command on Windows
- Why telnet Connection is Refused and How to Fix it
- What is the Escape Character in Telnet
- Is telnet Secure to Use
- Conclusion
In what Scenarios the telnet Command can be Used
telnet is a cross-platform command line tool, which means it can be used in Linux, Mac, and Windows but you may need to install or enable it.
- telnet is used to test the connectivity between client and server. Accessing a remote machine via telnet helps in identifying whether it is accessible or not.
- It can also be used to configure remote devices since configuration does not involve any security risk therefore telnet can be an easy tool to perform such configurations.
- It can also be used to manage the servers remotely.
- telnet can be used to test and debug the applications remotely.
- Some old systems still rely on telnet tools, in that situation, it can be beneficial.
- Managing remote systems in local area networks can also be done through telnet as it does not involve any security risk.
Overall, telnet can be used when security is not an issue.
How to Begin the telnet Session on Linux
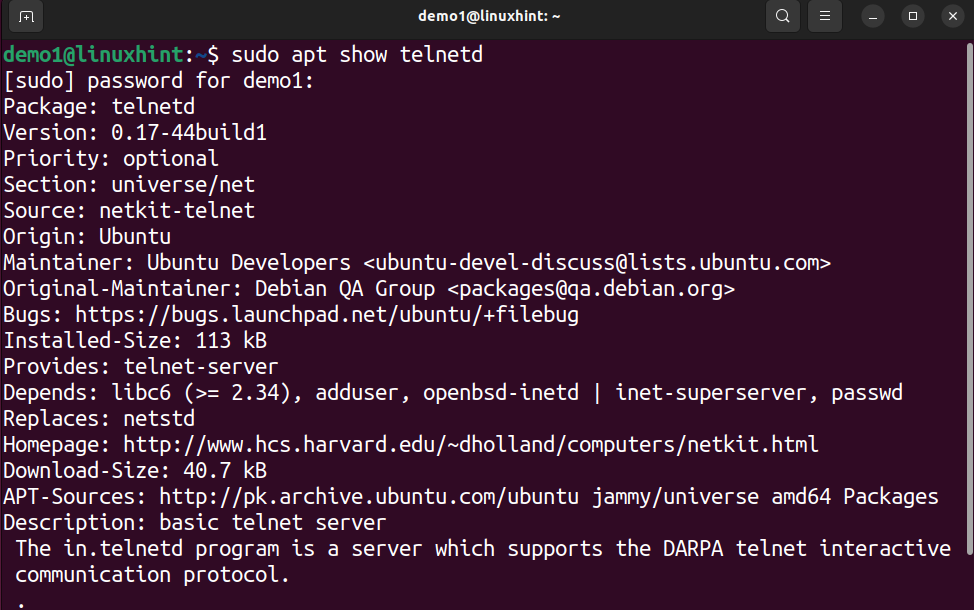
To exit a telnet session, you first have to establish a connection. To establish a connection ensure you have telnet installed and enabled.
Note: For the instructions on Linux, I am using Ubuntu 22.04.
Now, begin a session using the command given below:
It will begin a session where you can run various commands. Such as:
| close | Close the current connection |
| open | Open a new connection |
| help | Provides help related to various commands in the telnet session |
| mode | Switch modes between line and character |
| set | To set the operating parameters, for more help type set ? in the telnet sessions |
| unset | Unset the operating parameters |
| status | Displays the current session status |
| z | Suspend the telnet session |
| environ | Change the environment variable |
| logout | Forcefully logout from the remote machine |
To connect to a remote server, use the following syntax. Note that the following command will only work if you are in the telnet session.
Here the <options> and <port> addresses are optional.
For example:
You can also directly begin the session by using the command mentioned below:
How to Exit the telnet Command on Linux
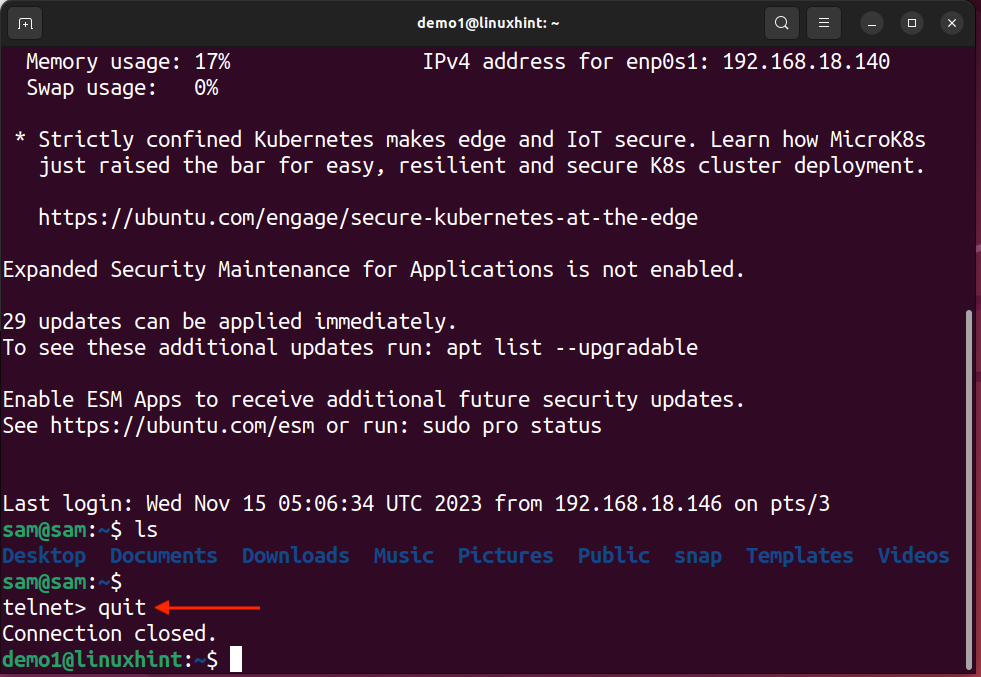
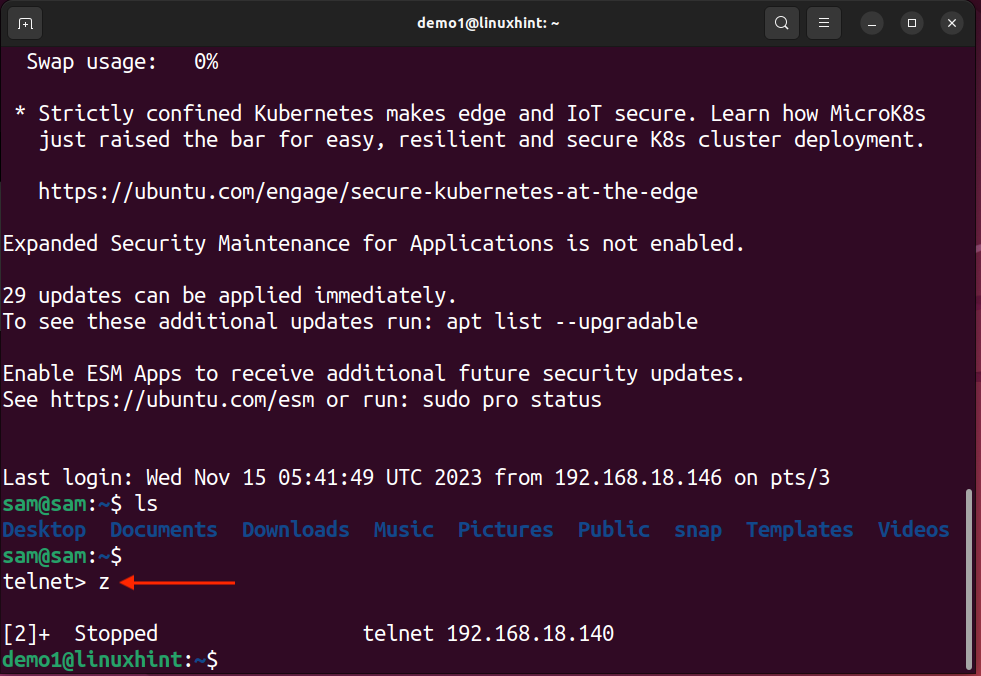
To exit the telnet command on Linux press ctrl+], and you will be entered into the telnet mode. Now, in the telnet mode, multiple commands can be used to exit the current session.
i. Type quit or q, and press Enter to close the telnet session.
ii. Type z to suspend the session.
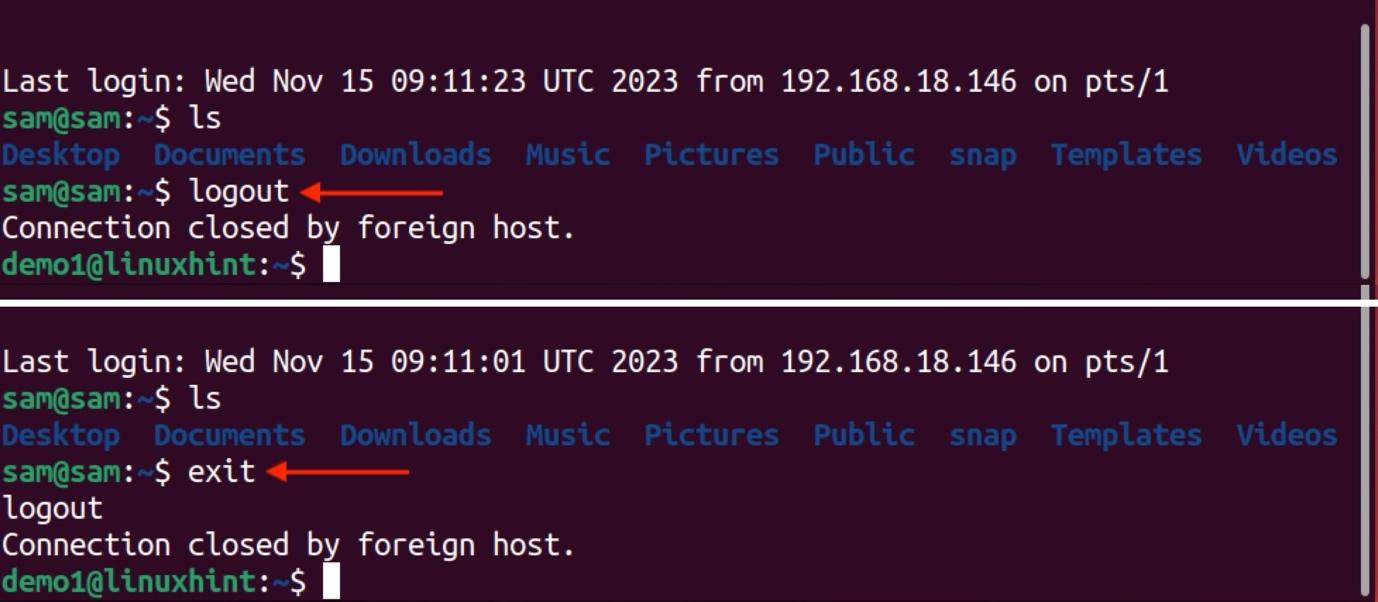
You can directly exit from the session by typing exit or logout and pressing the Return key.
How to Begin the telnet Session on Windows
To begin a telnet session on Windows, first, you need to enable it. To enable telnet in Windows, see the following steps.
Note: For the instructions on Windows, I am using Windows 11.
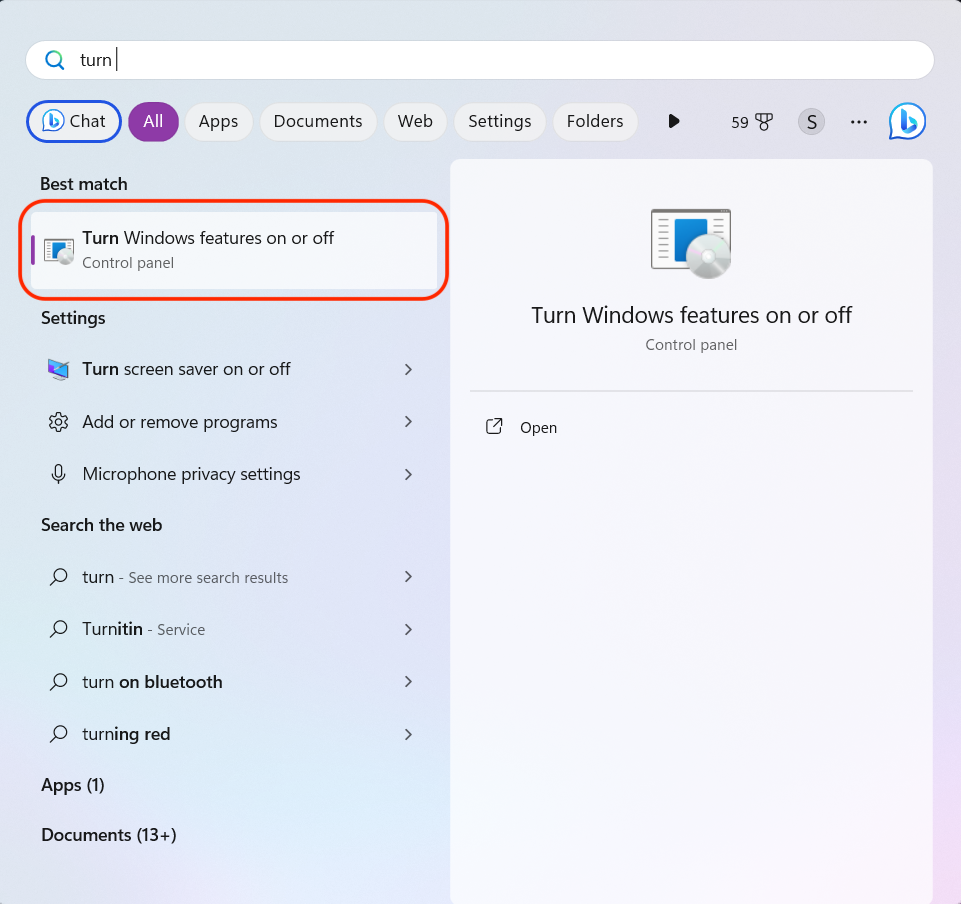
1. Search Turn Windows features on and off in the Windows search bar.
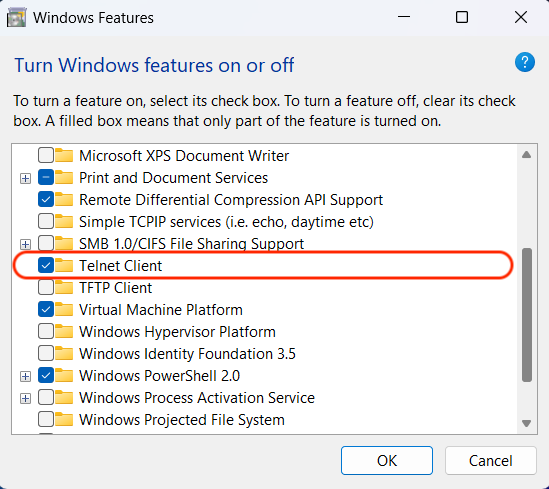
2. Find the Telnet Client and click on the checkbox to enable it.
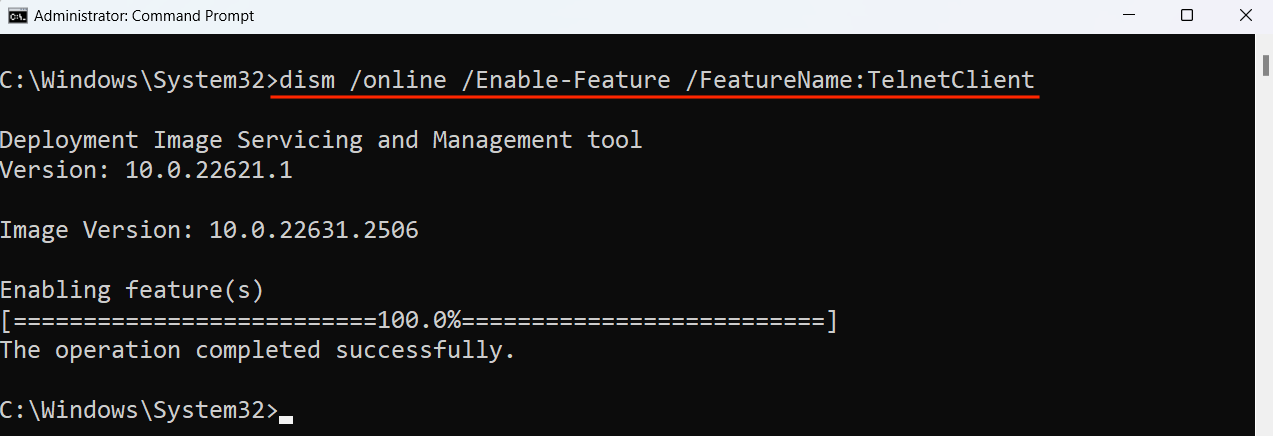
To enable telnet from Command Prompt, use the command given below:
Note: You can directly open Turn Windows features on and off from the Windows search.
How to Exit the telnet Command on Windows
The procedure of exiting the telnet command is a little bit different. Open a session using:
For example:
It will ask for the credentials of the remote machine. I am accessing Ubuntu 22.04 system. Provide the username and password of the remote machine.
To exit the telnet command in Windows press ^+] or ctrl+], type q/quit and press Enter.
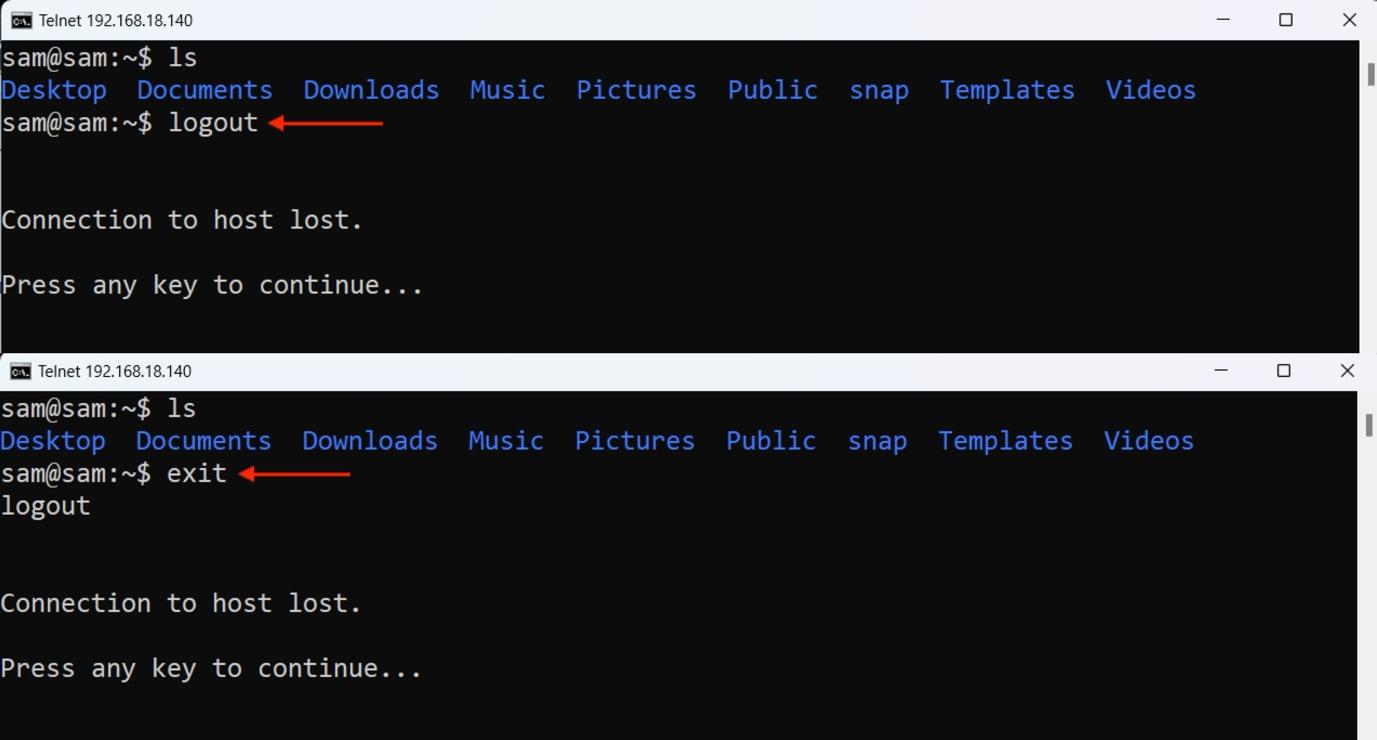
While being on a remote system use exit or logout, and press the Enter key to get into the telnet mode.
Then use q/quit to exit the telnet command on Windows.
Why telnet Connection is Refused and How to Fix it
The telnet connection is refused or timeout due to various reasons. Firstly, the telnet must be installed on both client and remote machines to begin the communication.
Some key reasons are mentioned below for Windows and Linux systems:
Windows: The Telnet Client is not enabled. In order to connect with any remote system, the telnet must be present on both devices. Ensure that the telnet client is enabled from the Turn Windows features on and off option.
Linux: On Linux, ensure that the client is installed and enabled. If it is not installed try to install it using:
If the UFW firewall is enabled, then ensure that port 23 is allowed for traffic through UFW.
What is the Escape Character in Telnet
The telnet escape character is a set of characters ^] also control+] that is used to exit the running telnet session in case any problem occurs. It also appears when the telnet command takes time to find the remote server.
Is telnet Secure to Use
No, the telnet is not secure, the communication over the telnet is not encrypted instead the messages are sent in the form of plain text. This plain text can be read by anyone with the packet’s access between the client and host.
Use telnet only when there are no security issues, such as troubleshooting networks, managing remote servers, and debugging apps.
Conclusion
telnet is a legacy command-line tool used to access remote systems over the internet. telnet is deprecated due to security reasons, but it can still be used to troubleshoot various networking and connection issues. Creating a session using the telnet command is straightforward, but to exit it is a bit complex. To exit the telnet command press ctrl+] keys to enter into the telnet command mode and then type q/quit to close the session. If you want to exit from the in-session remote system, then use logout instead to end the telnet session on Linux or Windows.

