This write-up will discuss how to encrypt a file with password using GPG. Moreover, we will also demonstrate the method of file encryption using the command-line and Seahorse Linux tool. So, let’s start!
Before jumping into the file encryption procedure, install GPG if you do not have it already.
How to install GPG in Linux
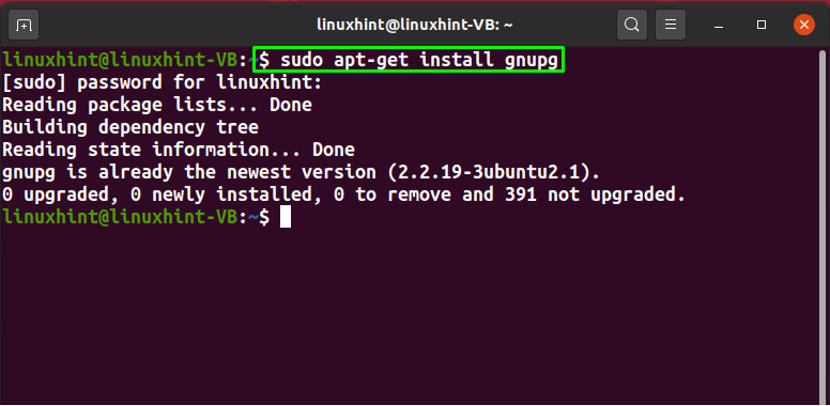
To install GnuPG or GPG on your Linux system, firstly press “CTRL+ALT+T” and then type the below-given command in the opened terminal:
After installing, move ahead towards the file encryption procedure.
Note: For the demonstration purpose, we will share the encrypted files to another user account so that you can have a better idea of the file decryption process.
How to encrypt a file with password using GPG through command-line
In Linux-based systems, you can secure the files or documents with a password. For this purpose, we will use GPG and show you how to perform the specified operation through the command line.
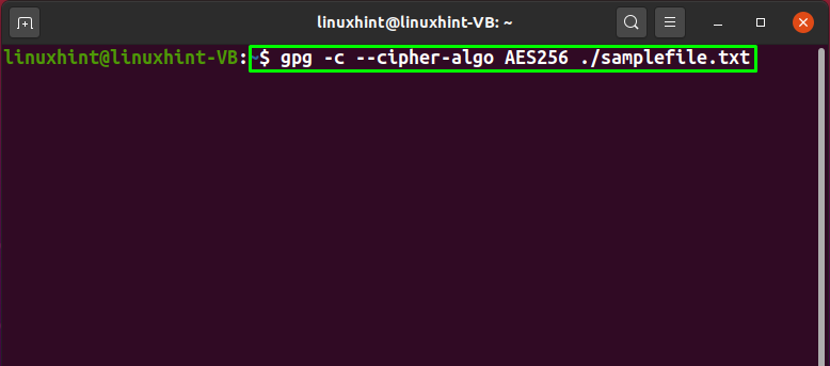
The syntax of the gpg command for encrypting a file is given below:
Here, the “-c” option is added to encrypt the file with the help of a symmetric cipher passphrase or password.
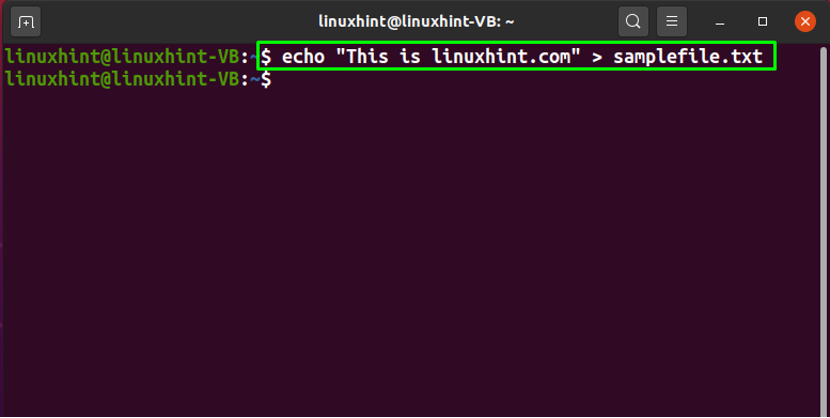
Now, firstly we will create a “samplefile.txt” file and add some content to it by executing the following “echo” command:
GPG used “CAST5” as an encryption algorithm in the older versions; however, since version 2.1, the AES symmetric algorithm is embedded in the GPG software. Three block ciphers are now included in AES:
- “AES128” encrypts and decrypts a block of messages by utilizing a 128-bit key length.
- “AES192” encrypts and decrypts a block of messages by utilizing a 192-bit key length.
- “AES256” encrypts and decrypts a block of messages by utilizing a 256-bit key length.
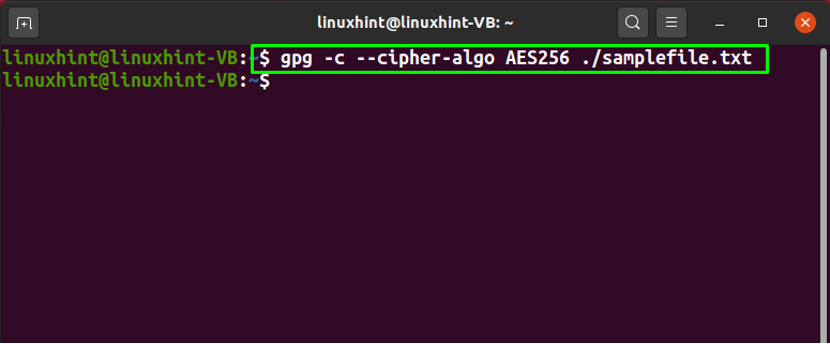
We have selected the GPG “AES256” to encrypt the “samplefile.txt”:
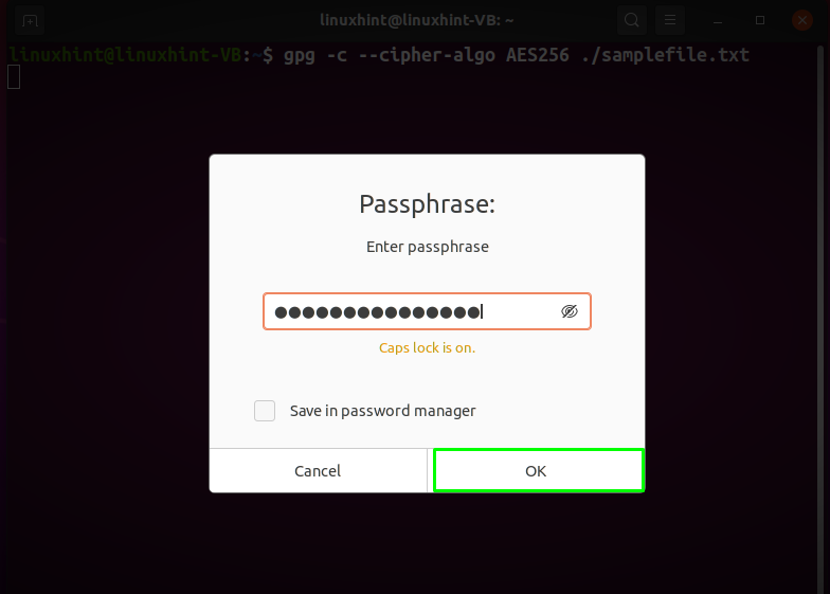
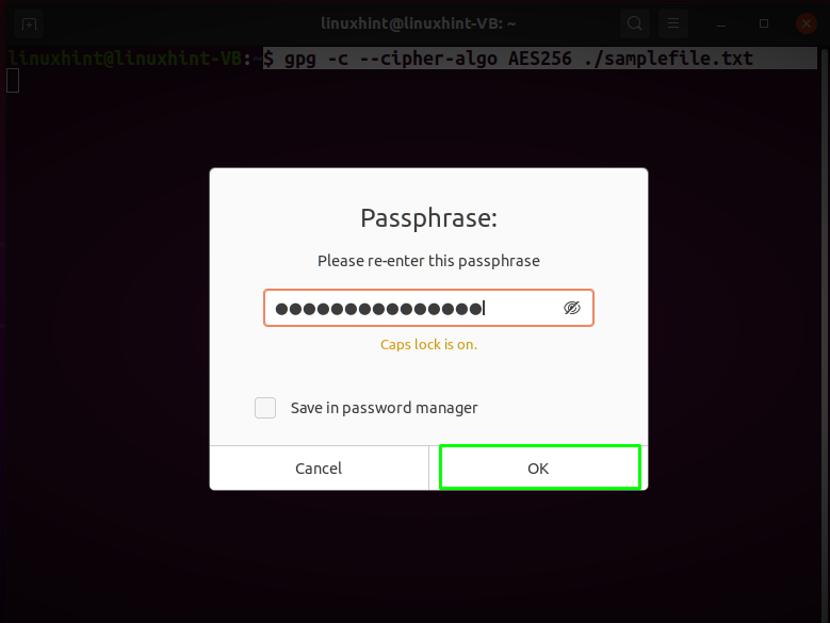
Now, you will be asked to type a passphrase. In the encryption process, the passphrase is used to encrypt the private key of the user and protect it from any attack. So, choose a strong passphrase to secure the selected file:
Re-enter your passphrase for the confirmation:
The error-free execution of the “gpg” command indicates that we have successfully encrypted the “sampefile.txt” file:
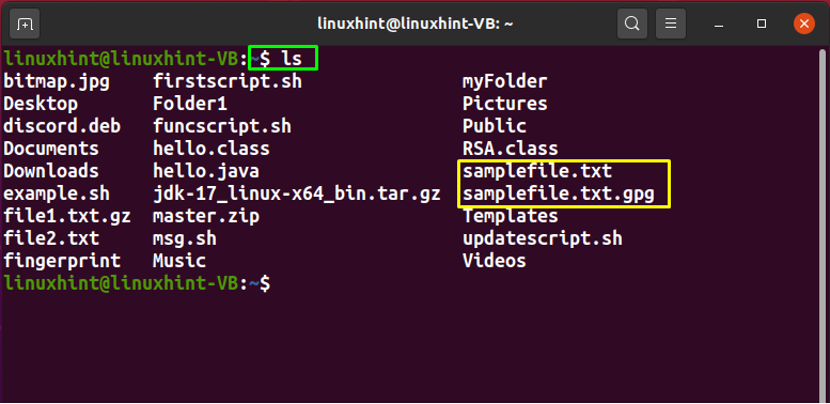
After doing so, list out the content of your current working directory and notice the encrypted “samplefile.txt.gpg” file:
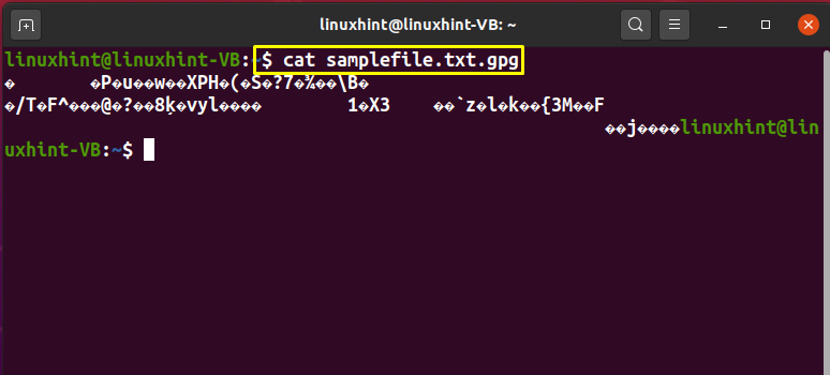
Till this point, you have encrypted the selected file with a password using the GPG command. Now, check out its content by executing the “cat” command:
The output will print out the encrypted form of the “samplefile.txt” file’s content:
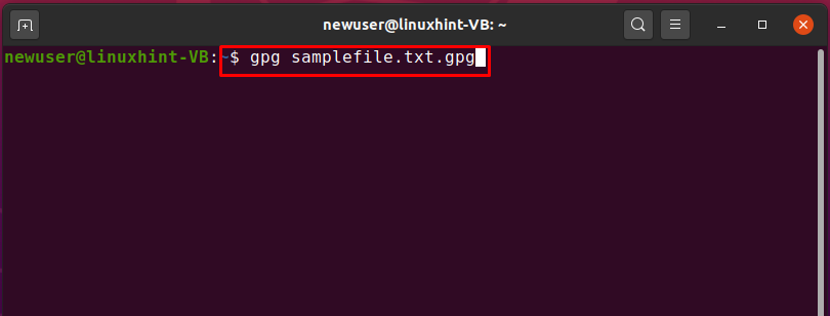
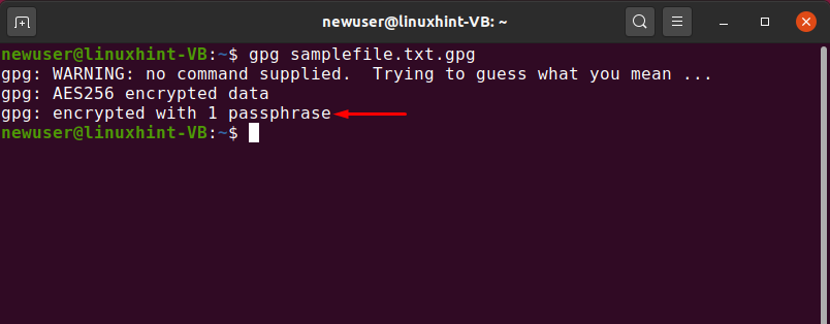
Next, execute the simple “gpg” command with the encrypted filename to generate its decrypted file:
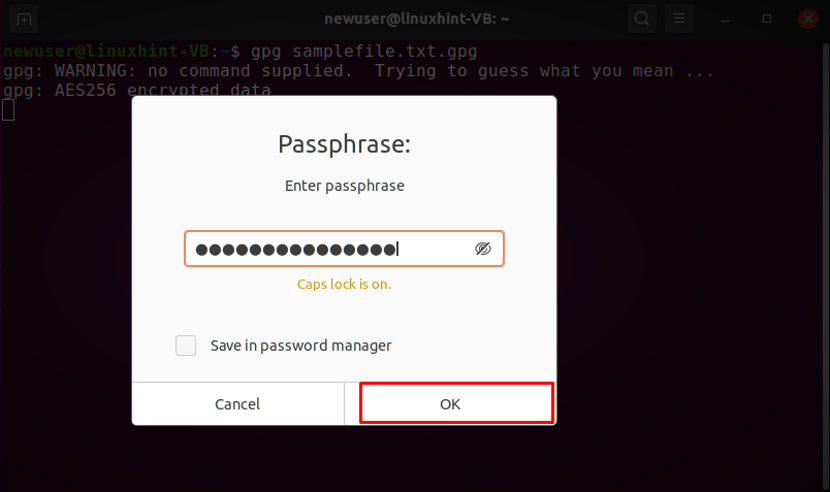
You will be asked to enter the “Passphrase” which was used to encrypt the “samplefile.txt” file:
A “samplefile.txt” decrypted file will be generated after entering the passphrase. To check out its content, write out the following command:
How to encrypt a file with password through GUI
Most of the users prefer to use Linux GUI, as it permits them to encrypt a file with a password using a few clicks. More specifically, the “Seahorse” is one of the popular Linux applications that is used for the same purpose.
Seahorse is a GNOME front-end program that is used for managing SSH, PGP, and the password related to encrypted files. It was released as free software under the GPL 2.0 License. In the Seahorse program, the GPG is used for implementing the PGP support and the GNOME keyring helps to secure the passwords.
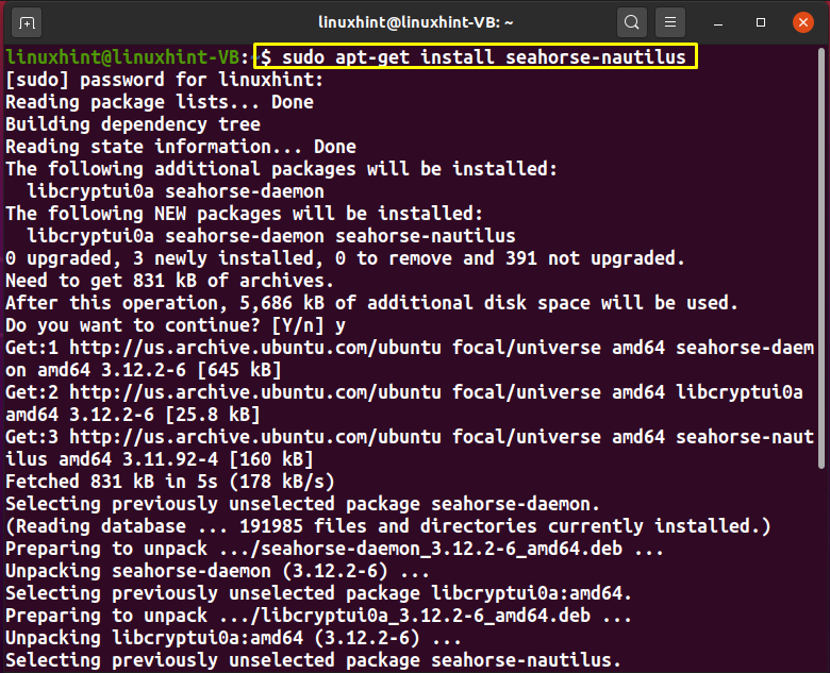
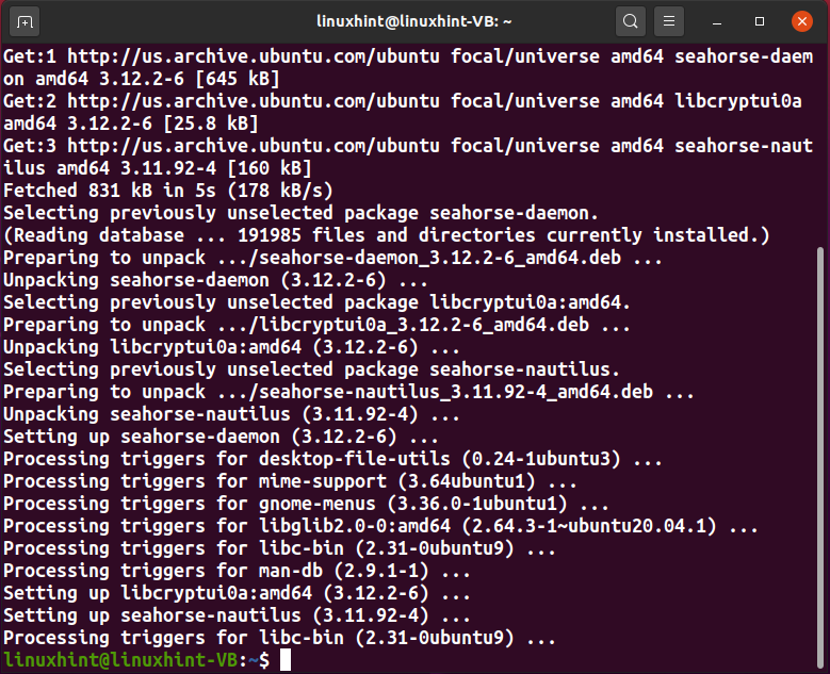
Now, execute the following command for installing “seahorse-nautilus” package on your Linux system:
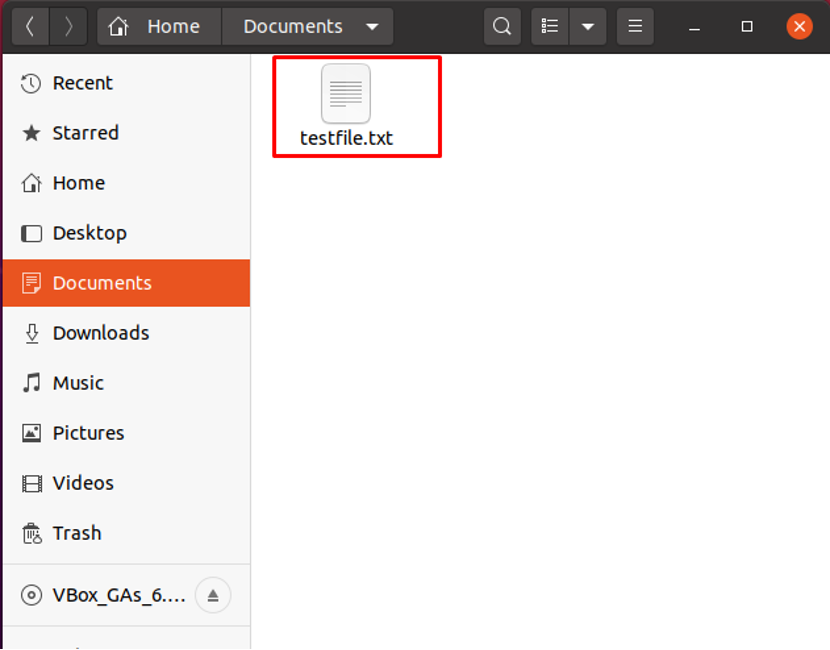
The error-free output indicates that “Seahorse” is installed on your system. Now, select the file which you want to encrypt with a password. In our case, we have selected the “testfile.txt” which is present in the “Documents” Directory:
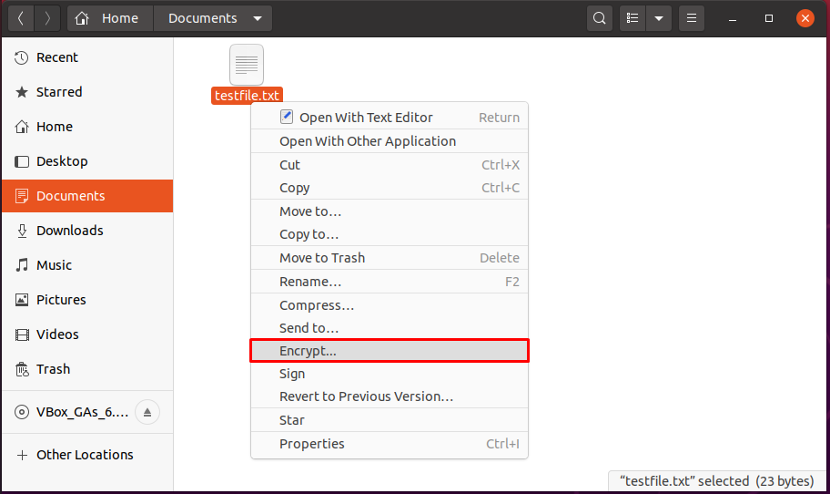
Next, click on the selected file and choose the “Encrypt” option:
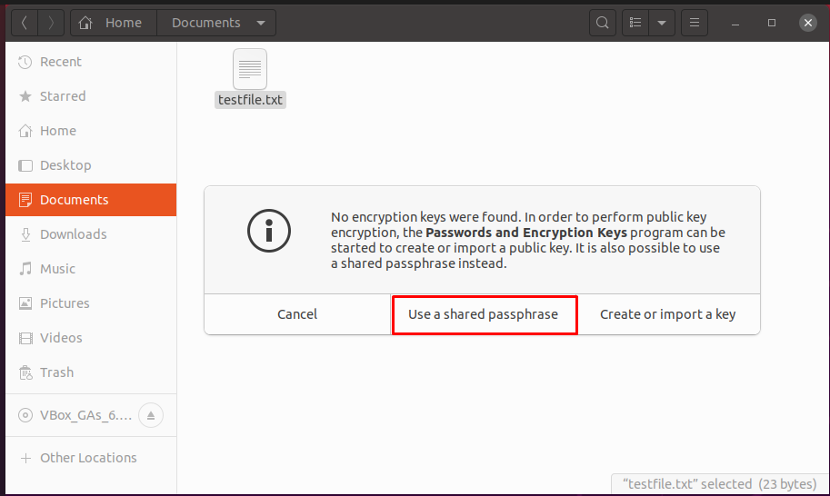
A pop-up dialog box will appear on your screen, click on the “Use a shared passphrase” option to associate a password with the file encryption procedure:
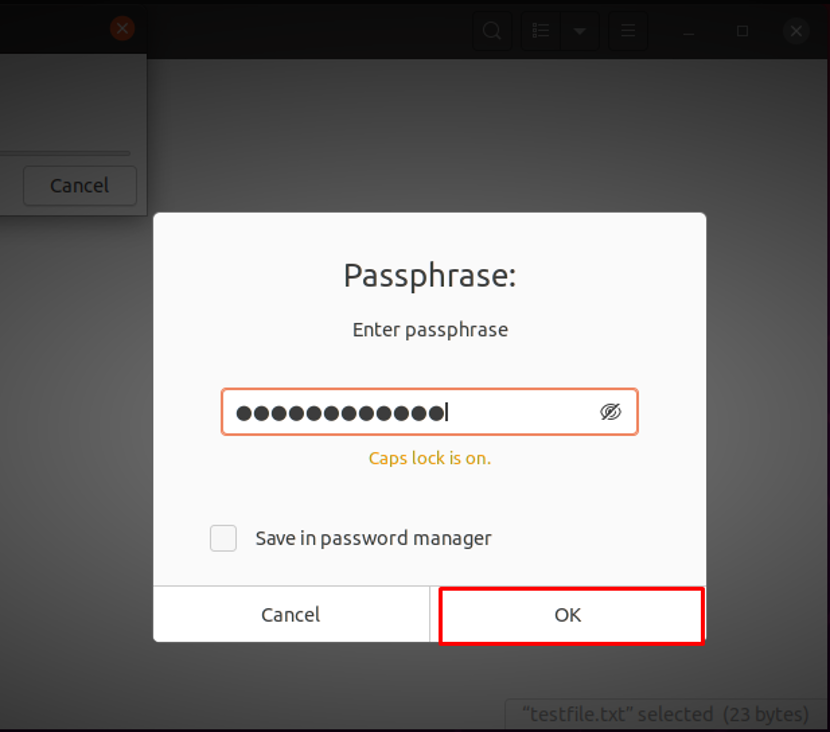
Now, type out a strong passphrase to complete the file encryption process:
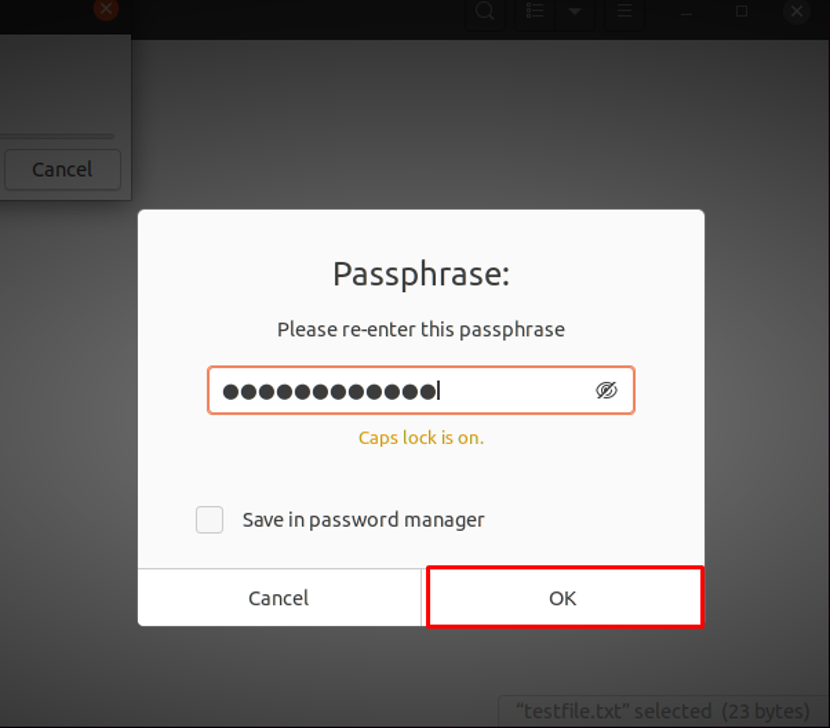
Re-enter the added passphrase for the verification:
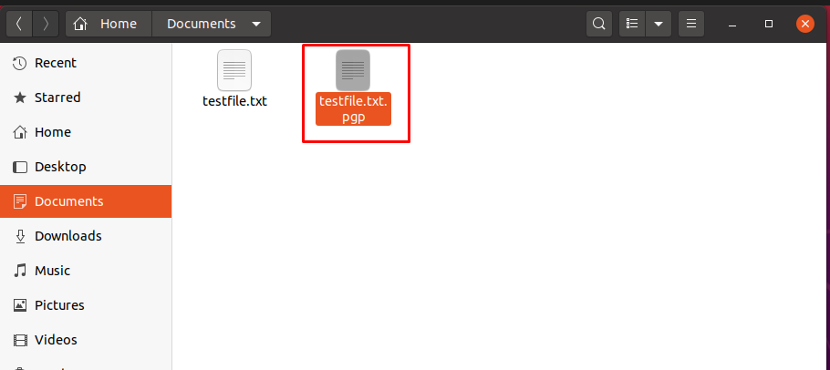
After doing so, you will see a new encrypted file having the same filename as the original one with the “.gpg” extension. For instance, in our case, the “testfile.txt.pgp” is the encrypted file having a password:
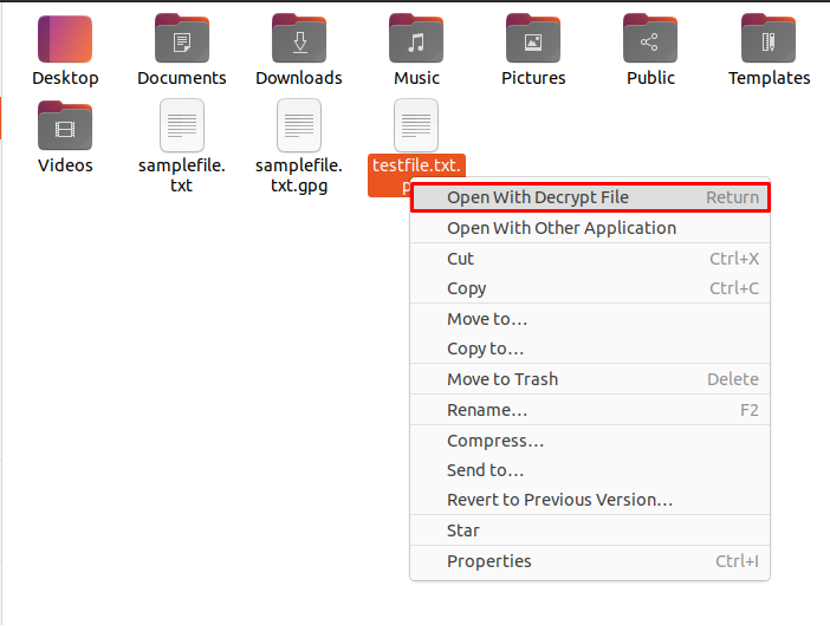
To decrypt this “samplefile.txt.gpg” file, you have to select the “Open With Decrypt File” option from its left-click menu:
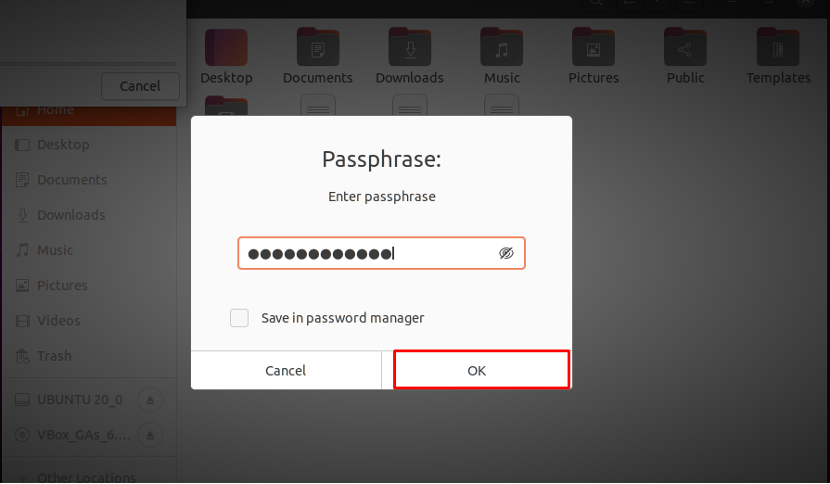
Then, a passphrase window will appear on your screen asking you to input the passphrase which you have used for encrypting the “testfile.txt” file:
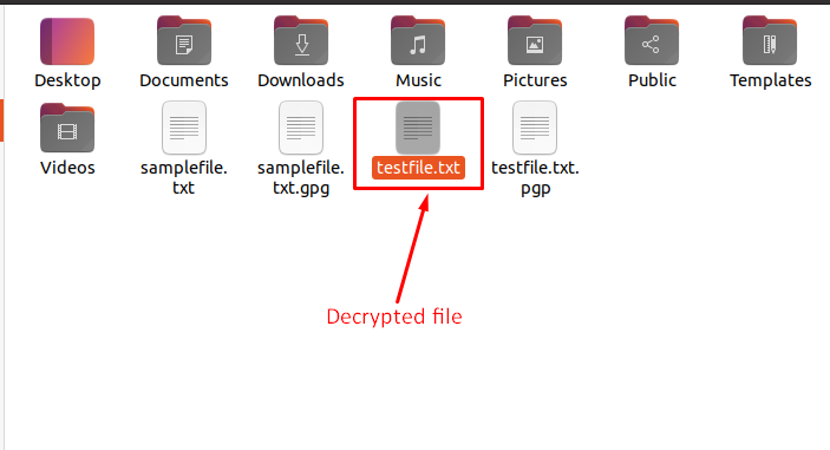
After entering the passphrase, a decrypted file will be generated which is “testfile.txt” in our case:
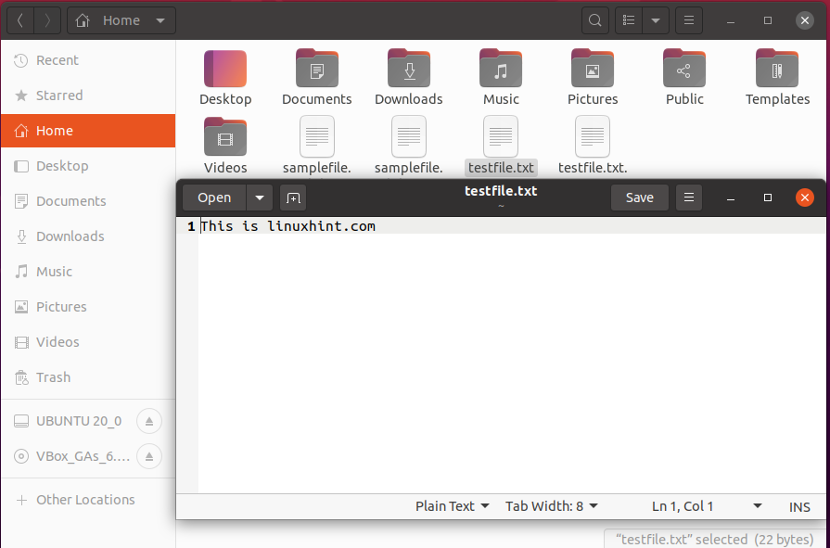
Now, click on the generated file and view its decrypted content in your text editor:
Conclusion
When it comes to security, encrypting files with passwords in Linux is a must. GPG permits you to encrypt your files and documents before you send them in ongoing communication. It also has a flexible key management system as well as access modules for a variety of public key directories. This write-up discussed how to encrypt files with a password using GPG. Moreover, we have also demonstrated the method of file encryption using the command-line and Seahorse Linux tool.

