The procedure of encrypting and decrypting files with PGP comprises some simple steps. Firstly, the sender has to export your public key and send it to the receiver. Then, the receiver will import the public key in its keyring. After this, the receiver can encrypt any file utilizing the public key of the sender. On the other hand, the receiver will then decrypt the shared file using its private key.
This write-up will guide you about how to encrypt and decrypt with PGP. From exporting and importing public keys to encrypting and decrypting files, step-by-step instructions will be provided for each procedure. So, let’s start!
Note: We have already generated two GPG keypairs for the demonstration purpose, one for “john” and the other for “fred” on two separate systems. Now, we will export john’s public key, and then import it on the other system.
How to export public key with GPG
Before sending your public key to a correspondent, you have to export it first using the gpg command. In the gpg command, an additional argument is specified for identifying the public key which will be the user ID in our case, and to generate the output of the exported file in ASCII format the “-a” or “–armor” option is added in the “gpg” command.
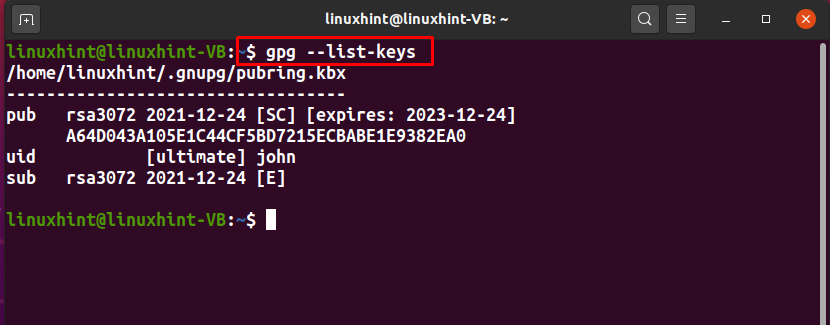
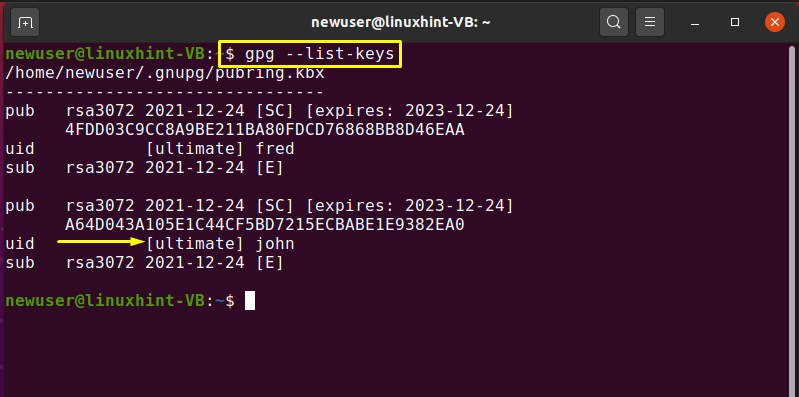
To export a particular public key, first of all, list out the generated GPG keys on your system and select the key which you want to export. To do so, execute the below-given “GPG” command:
For instance, for exporting the public key of the user “john” we will note down its user ID “uid” from the list:
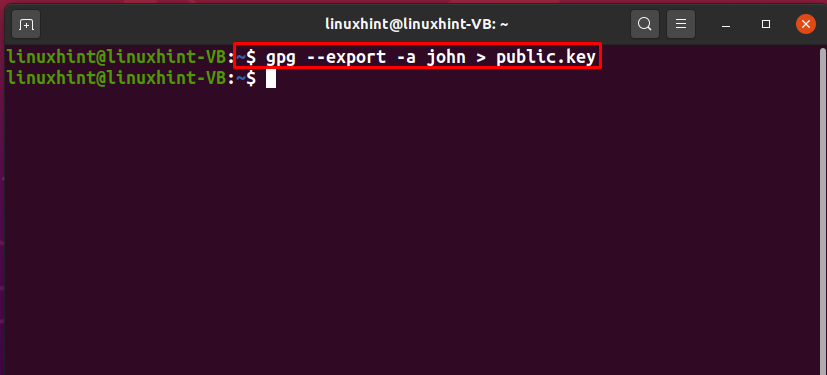
To export the public key of “john” we will add the “–export” option in the GPG command. Here, the “-a” option is utilized for creating an ASCII representation of the public key, and the “>” redirect operator is used for redirecting the output of the GPG command to the “public.key” file:
Here the “.key” extension indicates that the encrypted content is present inside of the specified file:
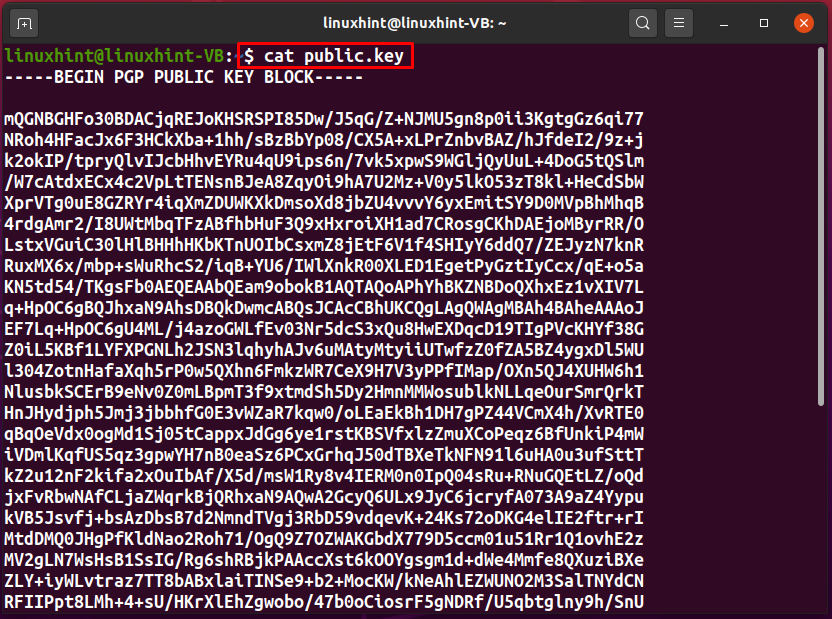
The error-free output declares that our “public.key” file is all ready to export. To check out its content, execute the following “cat” command:
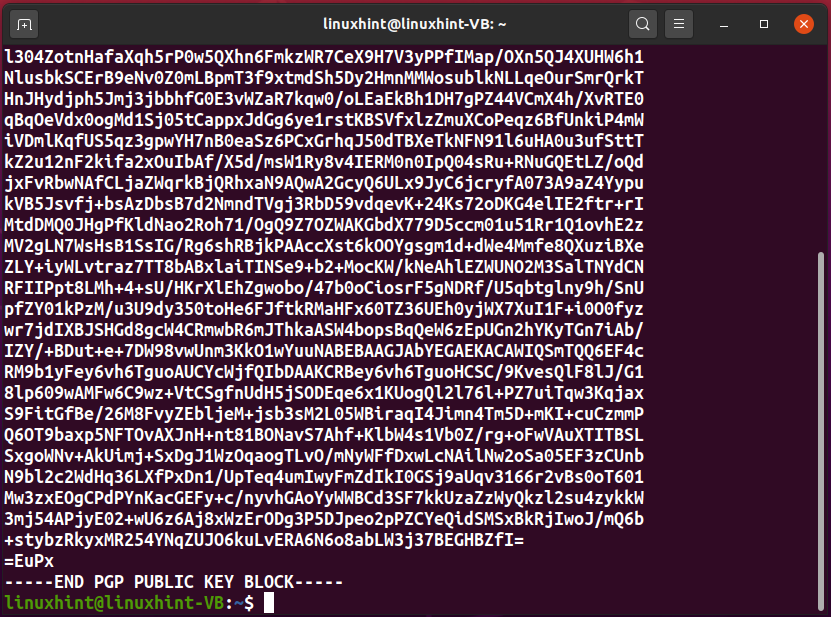
As you can see, the “public.key” has stored the ASCII representation of john’s public key:
Till this point, we have created a file “public.key” that contains the ASCII representation of the public key of “john”. Now, we will share this file with another system user, so that the “newuser” can import the GPG key to its keyring.
How to import public key with GPG
With the GPG command, importing public key to your keyring is as simple as exporting them. By importing the public key of the sender, you can decrypt the received encrypted files, documents, or emails.
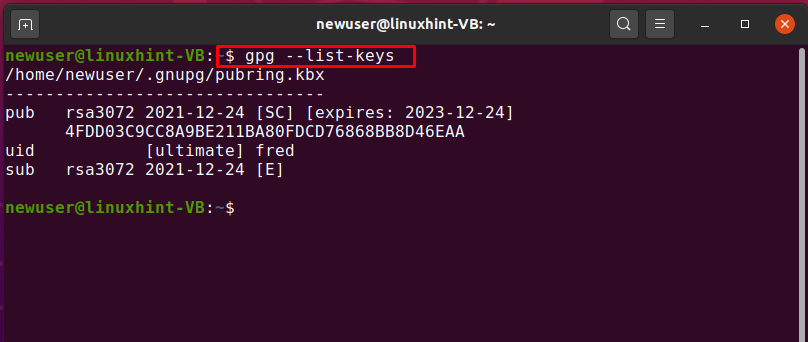
The previous section showed the procedure to export john’s “public.key”. Now, we will guide you about the procedure of importing it on another “newuser” account. Before importing the “public.key”, we will list out the keys present in the newuser’s keyring:
Currently, “newuser” has only the GPG keypair for “fred” uid, which can be seen in the following output:
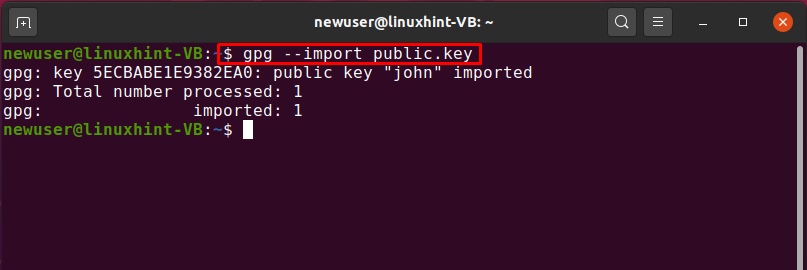
Now, to import the john’s “public.key”, we will execute the “gpg” command with the “–import” option:
The below-given output is showing that the public key of “john” is imported successfully:
For the confirmation of the specified operation, we will list out the “newuser” Public keyring:
John’s public key is imported successfully which can be seen in the below-given image:
How to edit the key trust value with GPG
After importing john’s public key to the “newuser” keyring, we will set its trust value which is “unknown” at this point:
You can execute the following gpg command for editing the trust value of john’s public key:
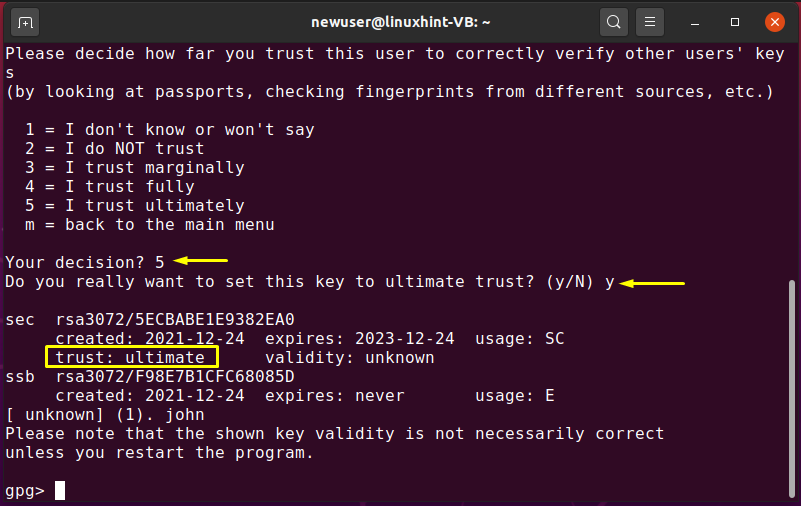
Now, type “trust” and hit “Enter” to check out the trust menu options:
Here, we will enter “5” to make sure that we trust john’s public key “ultimately”:
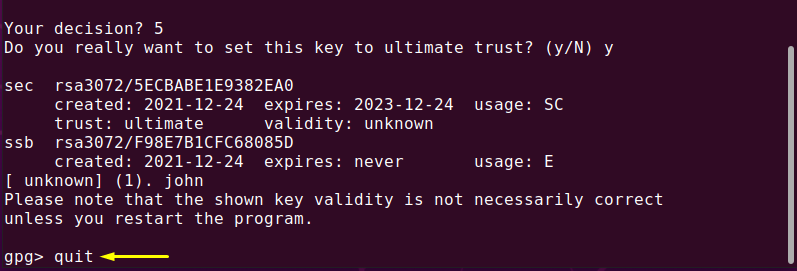
Exit from the gpg editing window by writing out “quit” and press “Enter”:
Again, list out the “gpg” keys and check out the trust value of the “john” key:
How to encrypt file with GPG
On the “newuser” system, we have a file named “encryptfile1.txt” which we are going to encrypt with john’s public gpg key. Before moving towards the encryption procedure, we will show the content present inside the specified file:
To encrypt a file using the gpg command, follow the below-given syntax:
Here, the “-u” option is utilized for specifying the uid of the sender and “-r” for the recipient. The sender’s secret key and the receiver’s public key is used for encrypting the file.
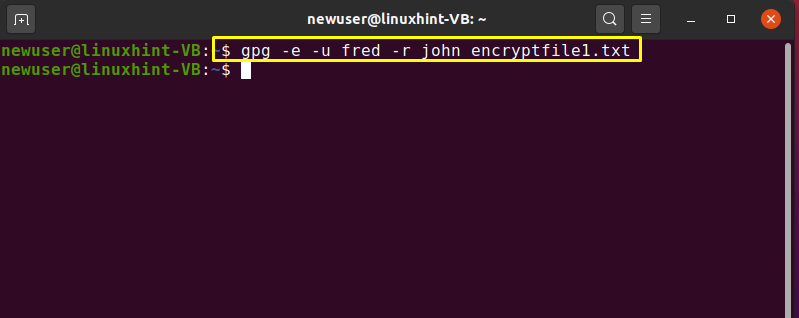
Now to encrypt the “encryptfile1.txt” with the fred’s secret key and john’s public key, we will write out the following command:
The error-free output declares that an encrypted file is generated successfully. To confirm this action, we will list out the content of the current directory:
The output shows that the “encryptfile1.txt.gpg” is created for our selected file:
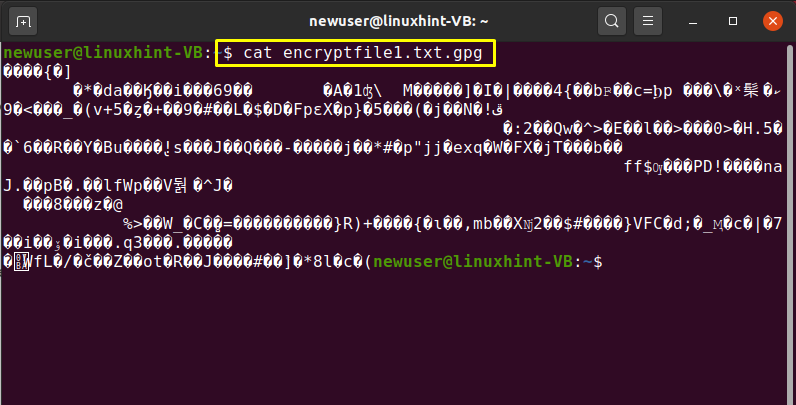
Check out the “encryptfile1.txt.gpg” content by executing the “cat” command:
The encrypted content of the “encryptfile1.txt.gpg” will be shown in the terminal:
Now, share the encrypted file with the intended recipient over the email or using some other source.
How to decrypt file with GPG
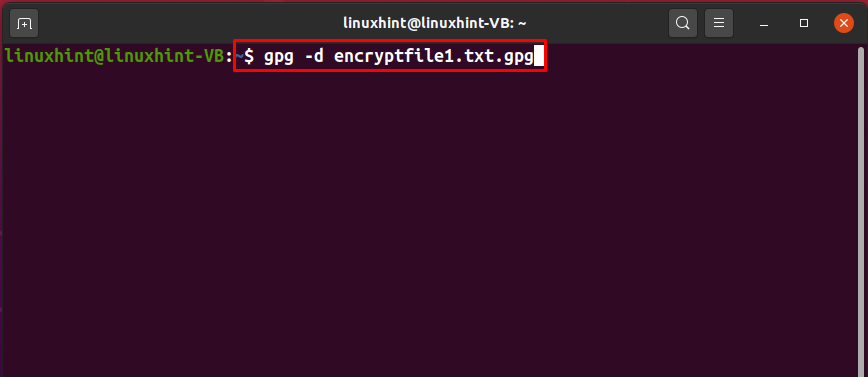
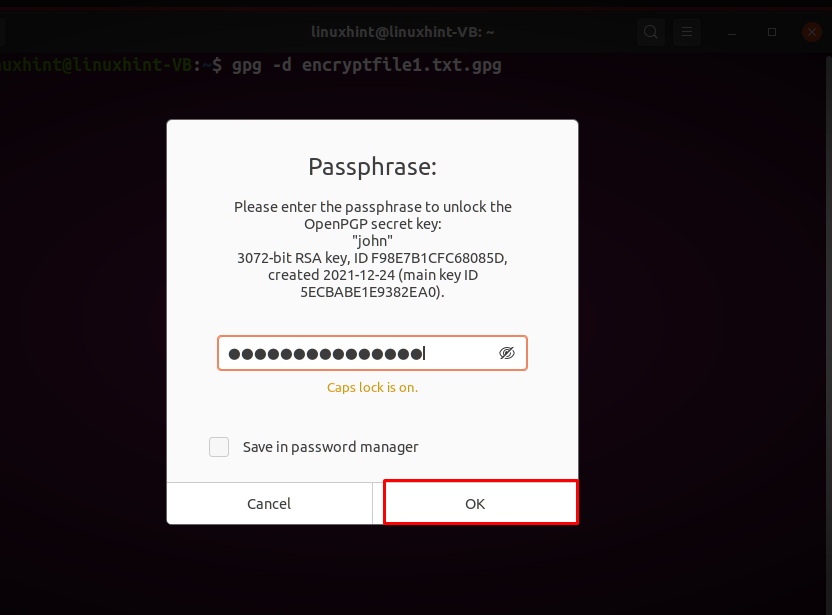
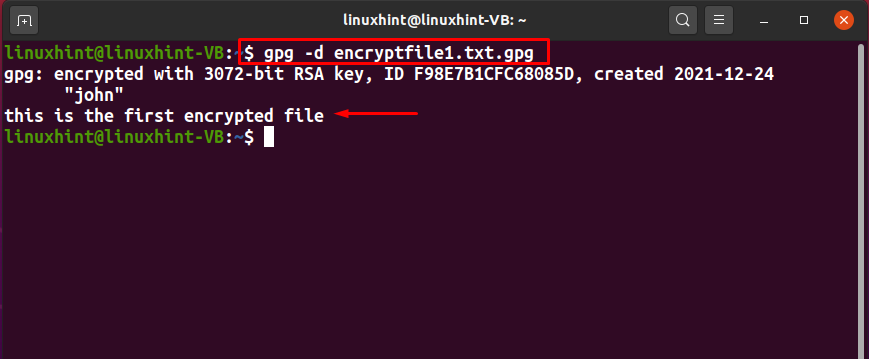
The “-d” option is added to the “gpg” command to decrypt the encrypted file. In our case, we have shared the “encryptfile1.txt.gpg” with the “linuxhint” user, which owns john’s GPG key pair. Now to decrypt the received file, we will type out this command:
You will be asked to enter the “Passphrase” to unlock john’s secret key. Write the passphrase in the input field and click on the “OK” button:
After entering the correct passphrase, the specified file will be decrypted, and its content will be displayed on the terminal:
Conclusion
PGP encryption is used by most companies for exchanging data such as files, documents, and emails over the internet. It secures sensitive information from being misused through email attacks. The public and private GPG keys are utilized to encrypt and decrypt files. Without a GPG key, no one can decrypt the data. We have guided you on how to import and export your GPG public key. Moreover, the procedure for encrypting and decrypting files with PGP is also provided.

