Like many other file systems, the ZFS file system also supports file system-level compression.
The benefits of ZFS file system compression are:
i) Saves Disk Spaces: As I have mentioned, when ZFS compression is enabled, the files you store on your ZFS pool/file system are compressed to save disk space.
ii) Reduces File Access Time: Processors these days are very fast. They can decompress files in real-time. So, it takes less time to decompress a file than to retrieve it from a storage device (i.e., hard drive). As compressed files take less storage area, they can be retrieved faster from the storage device (i.e., hard drive) than uncompressed files and can be decompressed on the fly. Overall, this reduces file access time and improves the file system performance.
This article will show you how to enable compression on your ZFS pool and file systems. I will also show you how local and inherited compression of ZFS pool and file systems works. So, let’s get started.
Creating a ZFS Pool:
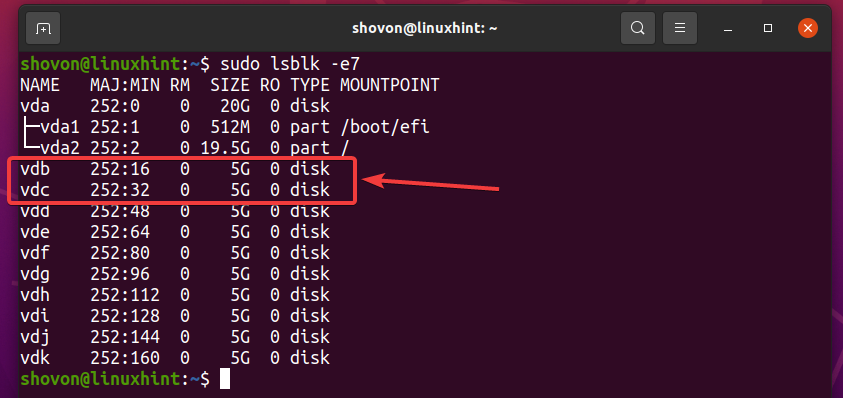
To experiment with ZFS compression, you should create a test ZFS pool pool1 with two storage devices in a mirrored configuration.
This article will use the vdb and vdc storage devices to create a vdev (virtual device) in mirrored configuration and use it to create a pool pool1.
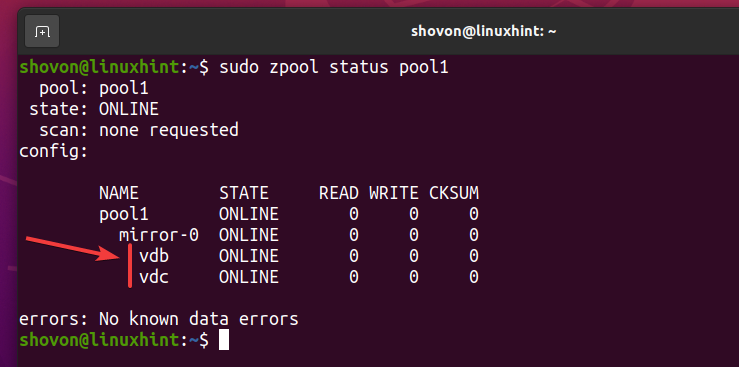
To create a new pool pool1 using the vdb and vdc storage devices in a mirrored configuration, run the following command:

A new ZFS pool pool1 should be created using the vdb and vdc storage devices in a mirrored configuration, as shown in the screenshot below.
Creating ZFS File Systems:
To test local and inherited compression, you also need to create some ZFS file systems on your ZFS pool pool1.
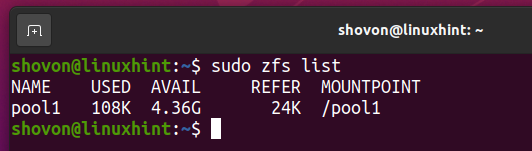
When you create a ZFS pool, ZFS creates a file system with the same name as the pool name and mounts it automatically in your computer’s root (/) directory. The mount point will have the same name as the pool name.
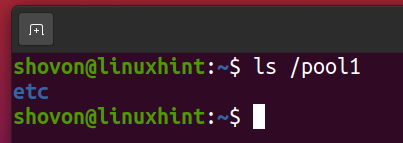
For example, the ZFS pool pool1 that you’ve created earlier will automatically create a ZFS file system pool1 and mount it on the /pool1 directory of your computer, as you can see in the screenshot below.
NOTE: I will call the top-level file system pool1 of the pool pool1 a ZFS pool in this article. You are free to call it a pool or a file system. It’s alright.
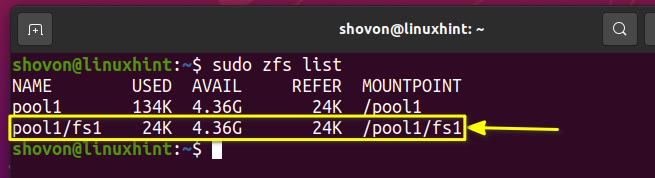
To create a new ZFS file system fs1 in the pool pool1, run the following command:

As you can see, a new ZFS file system pool1/fs1 is created, and it is mounted in the /pool1/fs1 directory.
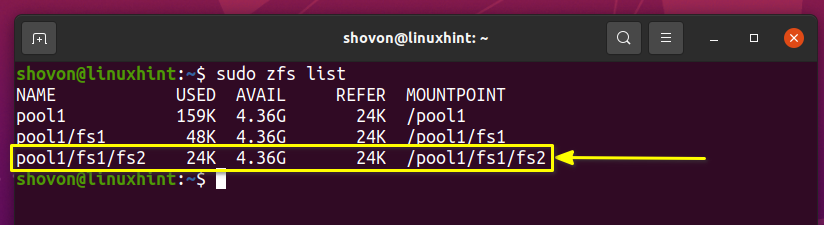
You can create a file system fs2 in the fs1 file system, which is in the pool pool1 as follows:

As you can see, the file system fs2 is nested within the file system pool1/fs1.
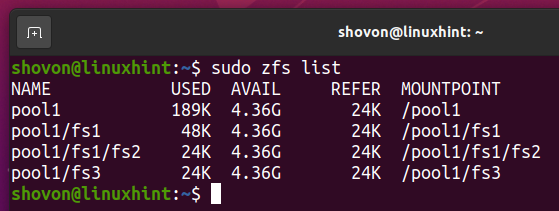
Create another file system fs3 in the pool pool1 as follows:

A file system fs3 should be created in the pool pool1, as you can see in the screenshot below.
The file systems fs1, fs2, and fs3 should create the following directory structure in the pool pool1:
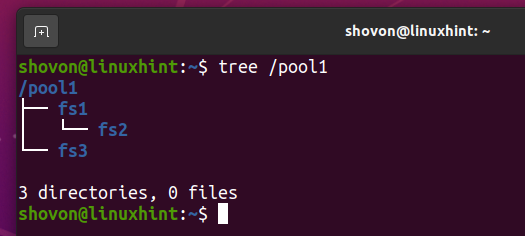
ZFS file systems are like directories that you create on any other file system. They can be nested within one another. Usually, they are mounted in the pool’s mount point (i.e.,/pool1 for the pool pool1). You can configure ZFS to mount them anywhere on your computer like any other file system. This is a topic for another article.
Now, you should have a basic understanding of how file systems are nested within each other in ZFS. That’s enough to understand ZFS local and inherited compression in the upcoming sections of this article.
Enabling Compression on ZFS Pools:
If you enable compression on a ZFS pool, then compression will also be enabled on all the file systems of that ZFS pool.
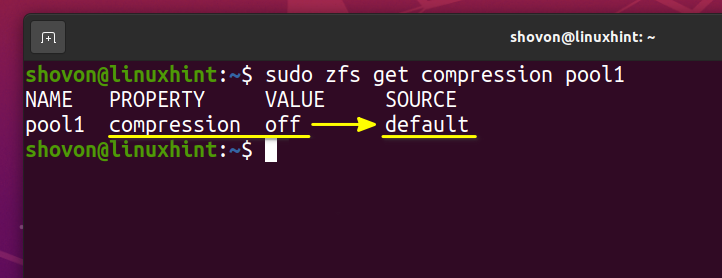
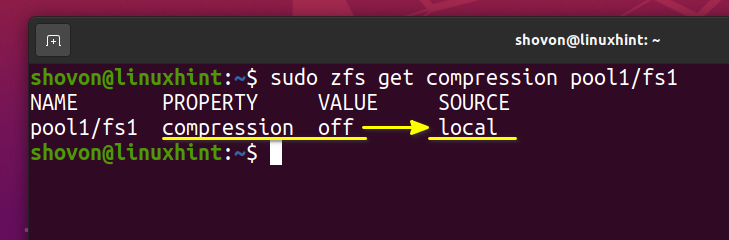
You can find out whether compression is enabled on your ZFS pool pool1 with the following command:

Compression is not enabled on ZFS pools by default, as you can see in the screenshot below.
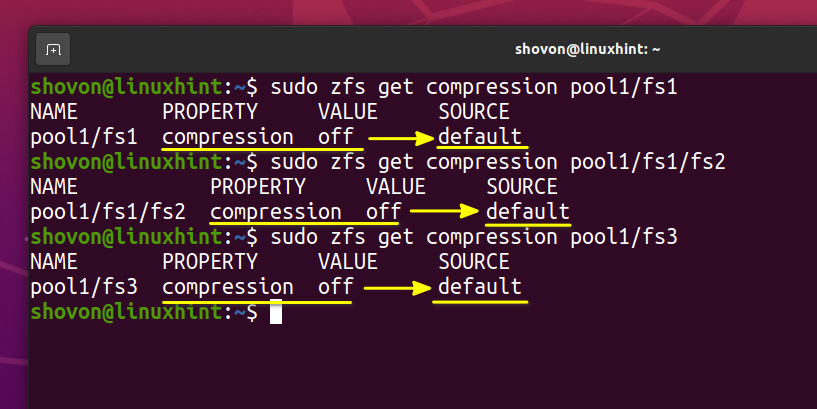
In the same way, you can check whether compression is enabled on the fs1, fs2, and fs3 file systems. Compression is not enabled on ZFS file systems by default as well.
$ sudo zfs get compression pool1/fs1/fs2
$ sudo zfs get compression pool1/fs3
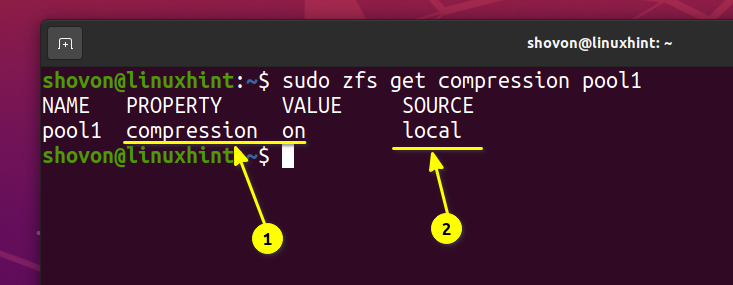
You can enable compression on the pool pool1 by setting the compression property of the pool to on as follows:

As you can see, compression is enabled (on), and it is a local property of the pool pool1.
NOTE: If a property is local, it means that the property is directly set on the pool or file system. It’s not inherited from its parent (pool or file system).
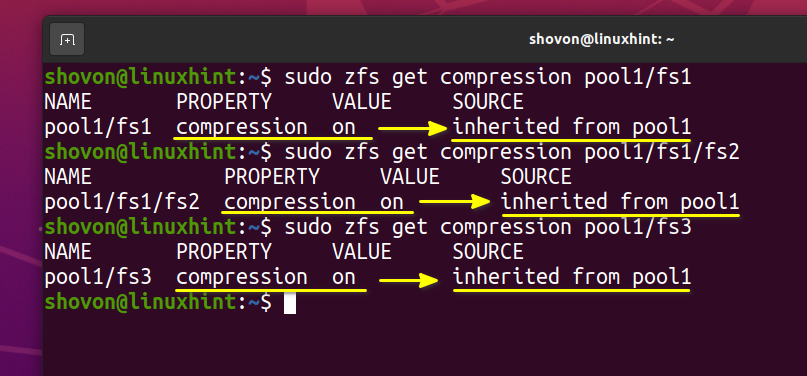
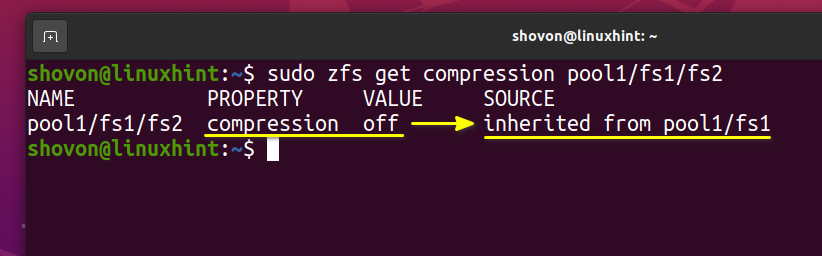
Now, if you check the compression property of the fs1, fs2, and fs3 file systems, you should see that compression is enabled (on) in all of them, and the property is inherited from pool1.
As you haven’t set the compression property for the fs1, fs2, and fs3 file systems, it is inherited from the pool pool1.
$ sudo zfs get compression pool1/fs1/fs2
$ sudo zfs get compression pool1/fs3
You can disable compression only for the fs1 file system by setting the compression property of the fs1 file system to off as follows:

As you can see, compression is disabled (off) for the fs1 file system. Now that the compression property is set locally for the fs1 file system. It’s not going to be inherited from the pool pool1.
The fs2 file system is a child of the fs1 file system. So, it inherited the compression property from the fs1 file system (parent), as you can see in the screenshot below.
As you have enabled compression on the pool pool1, the property is automatically inherited by all the nested file systems (child – fs1, fs2, and fs3) of the pool pool1 (the parent). This is how properties are inherited in ZFS file systems – child file systems get their properties from the parent file systems or pool unless you explicitly set specific properties for the child file system.
If you go crazy with nesting ZFS file systems without any prior planning, it may be very hard for you to manage compression on your ZFS pool. So, don’t go crazy with nesting ZFS file systems.
Enabling Compression on ZFS File Systems:
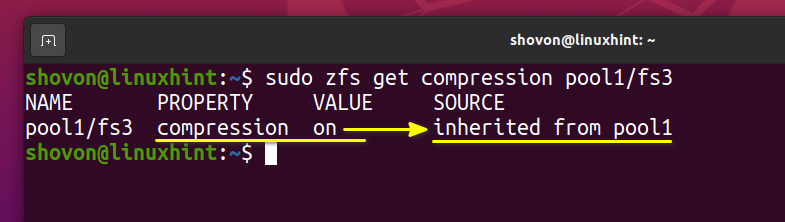
You can also enable compression on specific ZFS file systems. Let’s enable compression on the fs3 ZFS file system that you’ve created earlier.
At this point, compression is enabled for the fs3 ZFS file system because compression is enabled on the pool pool1, as you can see in the screenshot below.
The compression property for the fs3 file system is inherited from the pool pool1.
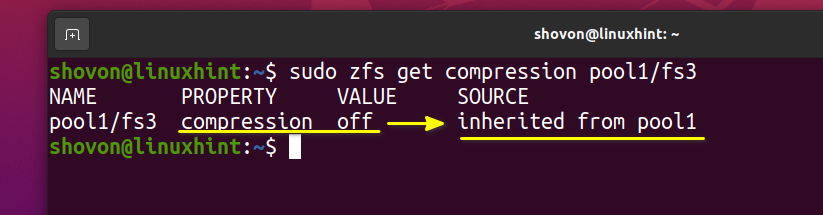
If you disable compression on the pool pool1, compression will also be disabled for the ZFS file system fs3.

As you can see, compression is also disabled (off) for the file system fs3 as it inherited it from the pool pool1. If you enable compression for the fs3 file system locally, then this won’t happen.
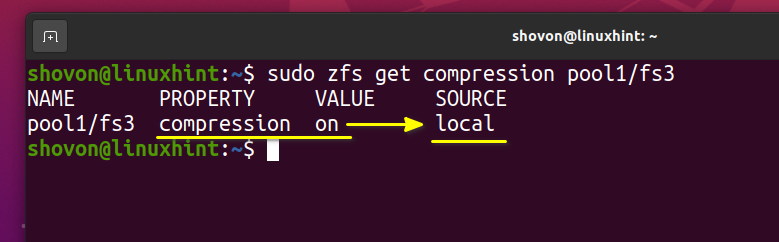
To enable compression for the fs3 file system, set the compression property of the fs3 file system to on as follows:

As you can see, compression is enabled (on) for the fs3 file system locally.
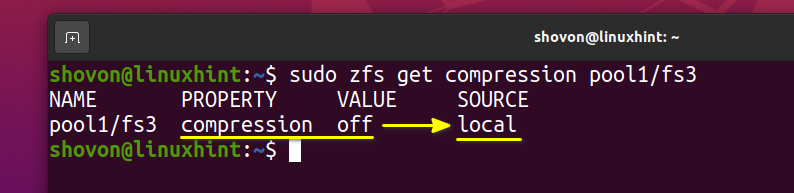
If you want, you can disable compression for the fs3 file system as follows:

Compression should be disabled for the fs3 file system, as you can see in the screenshot below.
Checking How Well Data is Being Compressed:
Once you’ve enabled compression on your ZFS pool or file system, you will want to know how well the data stored on the ZFS pool or file system is compressed. In this section, I will show you how to do that.
Let’s destroy the ZFS pool pool1 that you’ve just created and recreate it to make things a little bit simpler.
To destroy the ZFS pool pool1, run the following command:

Now, create the ZFS pool pool1 again using the vdb and vdc storage devices in mirror configuration as follows:

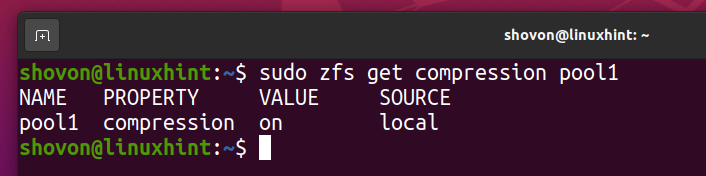
Enable compression on the pool pool1 as follows:

Compression should be enabled for the ZFS pool pool1.
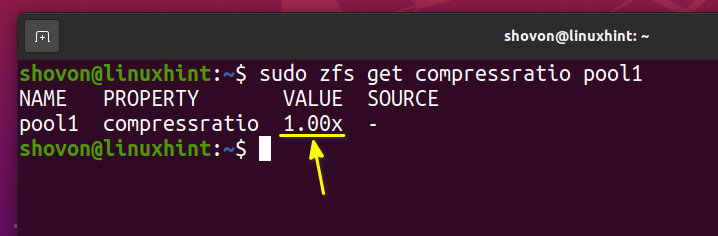
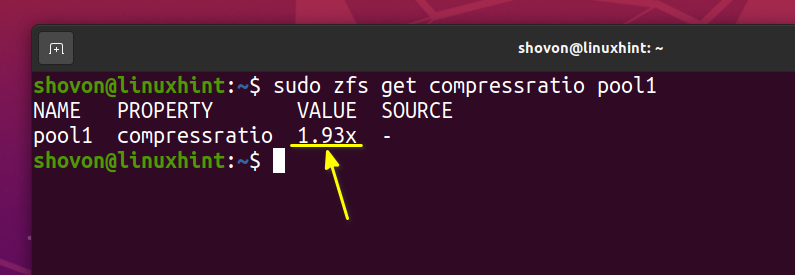
You can see the compression ratio of the ZFS pool pool1 with the following command:

Right now, the pool pool1 is empty. So, the compression ratio is 1.00x. It means no data is compressed yet.
As you can see, only 108 KB of data is used from the pool pool1.

Let’s copy the /etc directory to the ZFS pool pool1.

As you can see, the /etc the directory is copied to the ZFS pool pool1.
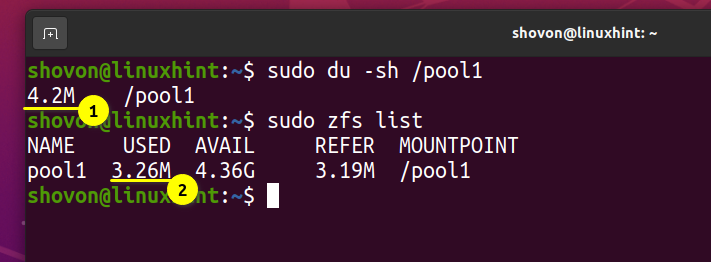
Notice that the size of the /etc directory on the pool is 4.2 MB1. But only 3.26 MB2 of space is used from the pool pool1.
$ sudo zfs list
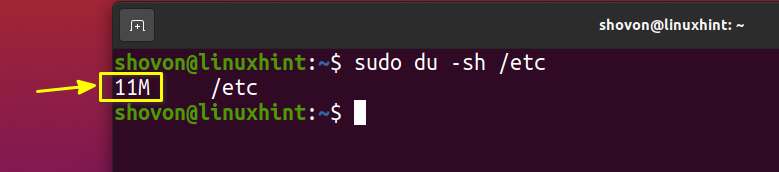
In reality, the /etc directory is 11 MB in size, as you can see in the screenshot below.
The compression ratio is about 1.93x. It is a very good compression ratio. The higher the compression ratio, the more disk space you will save with ZFS compression.
ZFS Supported Compression Algorithms:
At the time of this writing, ZFS supports the following data compression algorithms:
i) lzjb: This algorithm is optimized for performance. It also provides a decent data compression ratio.
ii) lz4: This algorithm is a replacement for the lzjb algorithm. It provides faster compression and decompression. The compression ratio is moderately higher than the lzjb algorithm.
iii) gzip: Uses the same compression algorithm as the gzip command. The gzip compression algorithm supports different levels of compression. The compression level can be 1-9. You can use gzip-N (N is the level) to define a level for the gzip compression algorithm. If you don’t specify a level for the gzip compression algorithm, ZFS uses level 6 (gzip-6) by default.
gzip-1: Level 1 gzip – fastest but lowest compression ratio.
gzip-2: Level 2 gzip – slower than level 1 but higher compression ratio than level 1.
gzip-3: Level 3 gzip – slower than level 2 but higher compression ratio than level 2.
gzip-4: Level 4 gzip – slower than level 3 but higher compression ratio than level 3.
gzip-5: Level 5 gzip – slower than level 4 but higher compression ratio than level 4.
gzip-6: Level 6 gzip – slower than level 5 but higher compression ratio than level 5.
gzip-7: Level 7 gzip – slower than level 6 but higher compression ratio than level 6.
gzip-8: Level 8 gzip – slower than level 7 but higher compression ratio than level 7.
gzip-9: Level 9 gzip – slowest but highest compression ratio.
iv) zle: This algorithm is optimized for compressing runs of zeroes.
lzjb is the default data compression algorithm of the ZFS file system.
If you have the lz4_compress feature enabled on your ZFS pool, then the default data compression algorithm will be lz4.
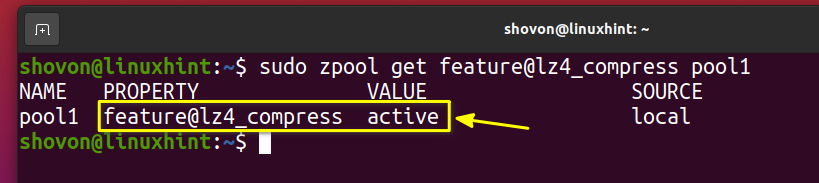
To check whether the lz4_compress feature is enabled on your ZFS pool pool1, run the following command:

As you can see, the lz4_compress feature is enabled on the ZFS pool pool1.
You can set a different compression algorithm on your ZFS pool or file system as follows:
Replace <algorithm> with one of the ZFS supported compression algorithms and <pool/fs> with the ZFS pool or file system where you want to enable compression using the compression algorithm <algorithm>.
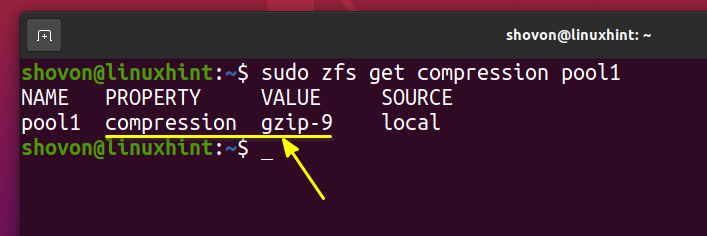
For example, to enable compression and use the gzip-9 compression algorithm on the pool pool1, run the following command:

As you can see, gzip-9 compression is enabled on the pool pool1.
Now, create a ZFS file system fs3 on the ZFS pool pool1 as follows:

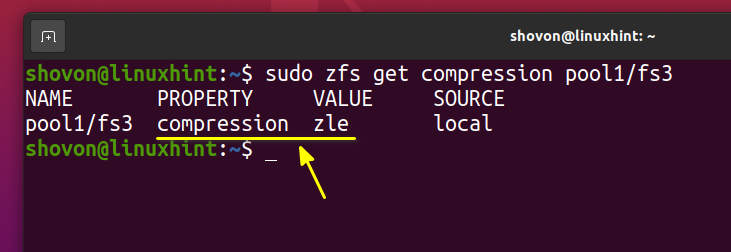
In the same way, you can enable compression on the fs3 ZFS file system using the zle compression algorithm as follows:

As you can see, zle compression is enabled on the ZFS file system fs3.
Should I Enable ZFS Compression?
The size of every type of file is not reduced when compressed. Video (i.e., MP4), audio (i.e., MP3), and image (i.e., JPEG) files, for example. Instead of their size being reduced, at times, they get bigger when compressed. This is a downside of file system compression.
If you’re storing video, audio, and images only on your ZFS pool/file system, compression may not give you many benefits. But if you’re storing text files and other compressible files (i.e., Word Document, Executable Binaries/Programs), then enabling compression on your ZFS pool/file system is worth it. It will save you a lot of disk space and improve your ZFS pool/file system performance.
Conclusion:
In this article, I have shown you how to enable compression on your ZFS pools and file systems. I have also shown you how to check the compression ratio of your ZFS pools and file system to find out how effectively data is being compressed. I have discussed the available ZFS compression algorithms and shown you how to enable compression on your ZFS pools and file systems using specific ZFS supported compression algorithms as well.
References:
[1] Manpage of ZFS