AWS provides the services of EC2, which allows the user to run the operating system on virtual machines that are hosted on the AWS cloud, known as EC2 instances. However, when the user has launched the EC2 instance, then the user can connect to the EC2 instance using the SSH connection, and in case the user wants the GUI of the operating system, then the user can use an RDP connection with the EC2 instance.
However, that is not the case when the user has launched macOS in EC2 because the RDP is not available for macOS EC2s. Although, the user can get the GUI interface of the macOS through the SSH connection, and that is exactly what this guide will teach you. So let’s begin.
Step 1: SSH into the macOS EC2
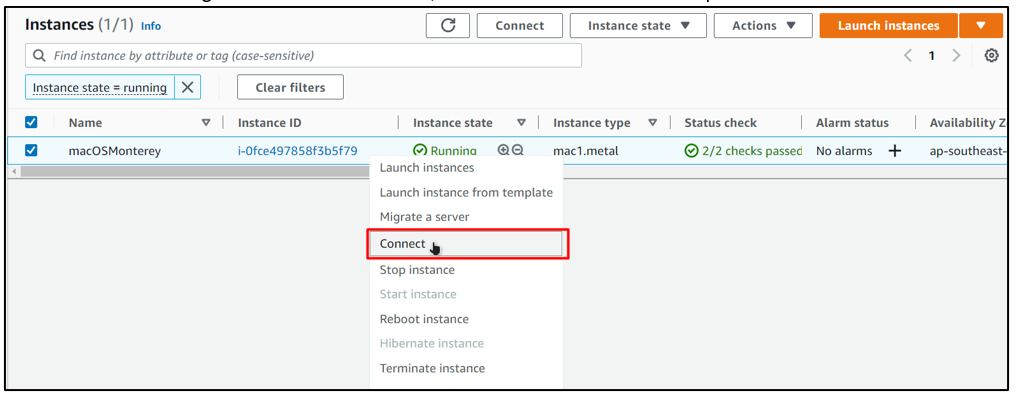
The first step is to connect to the EC2 instance that is running the macOS for that, head over to the list of EC2 instances and right click on the instance, and choose the “Connect” option:
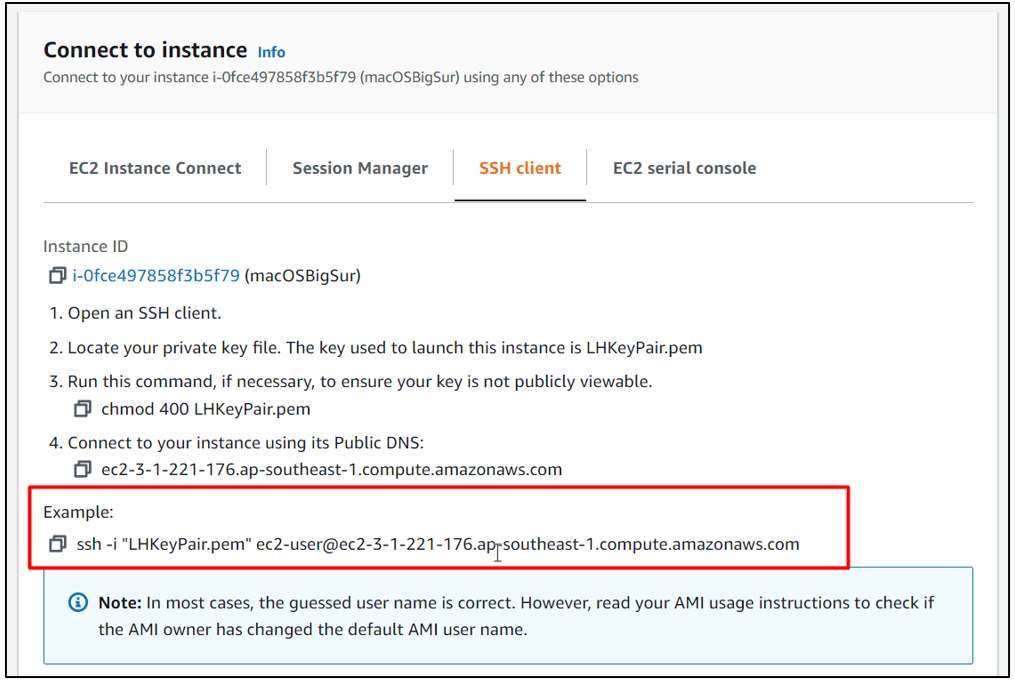
After that, on the connect page, head on over to the SSH client tab:

After that, copy the last command on this tab:
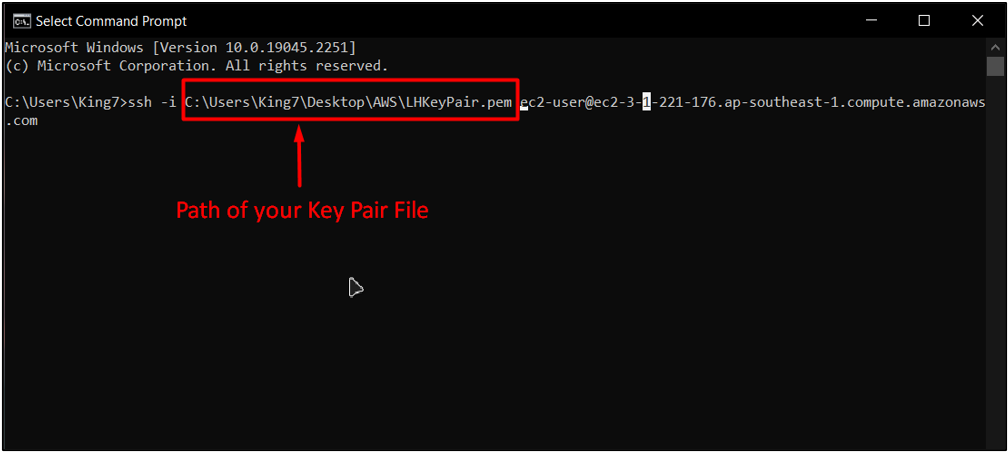
After that, open up a command prompt and paste in the command and replace the “key pair name” for the path of the key pair:
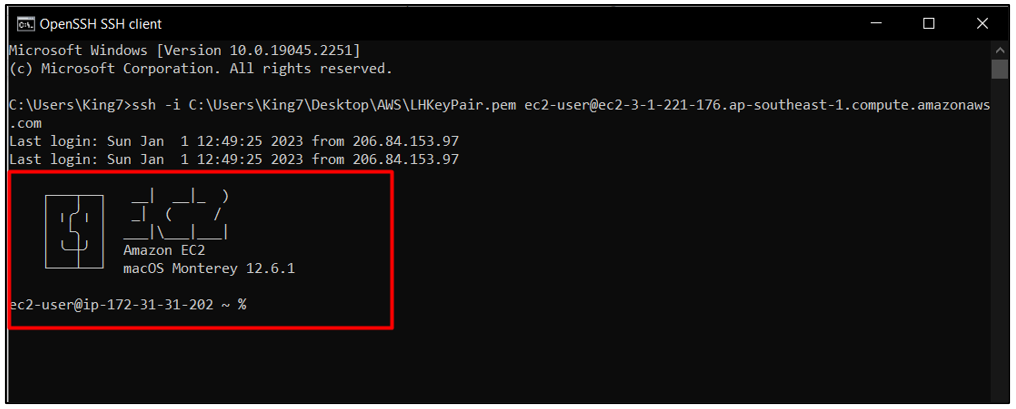
Hit the “Enter” key and for confirmation, type “yes” and hit the “Enter” key once again after that, you will be inside the SSH of your macOS EC2 Virtual Machine:
Step 2: Enabling VNC Screen Sharing Service
Once you are inside the SSH of your macOS, you need to install and then enable the VNC service, which is a screen-sharing service for macOS, using the following commands:
sudo launchctl load -w /System/Library/LaunchDaemons/com.apple.screensharing.plist
After that, you will see the following on the SSH terminal:

The next is to change the password of the user of the macOS.
Step 3: Change the User’s Password
To change the password of the root user, you need to type in the following command:
Alternatively, it is a good practice to use this command:
After that, you will get a prompt to type the new password and reconfirm that password:

After you have entered the new password you will get the following result on the terminal:
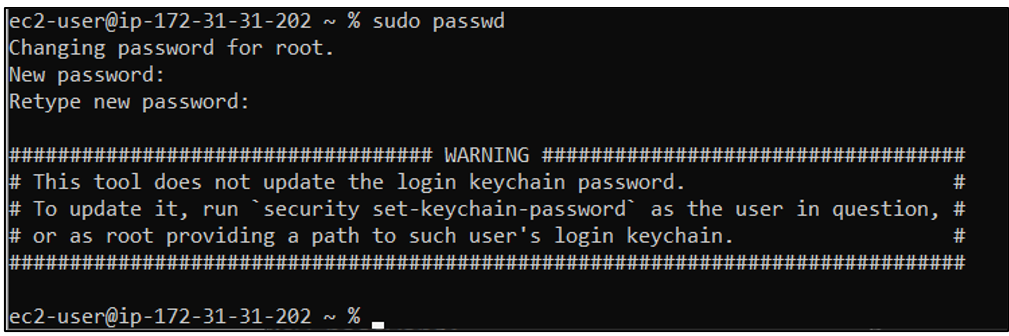
You need this password when you are trying to view the GUI of the macOS also to login inside the User account of the macOS. Also, the username is “ec2-user”
Step 4: Install & Launch VNC on Your Machine:
The next step is to download and launch the VNC on your local machine. To download the VNC, visit its official page or simply click here. After you have installed the VNC, launch it up and you will see the following interface:
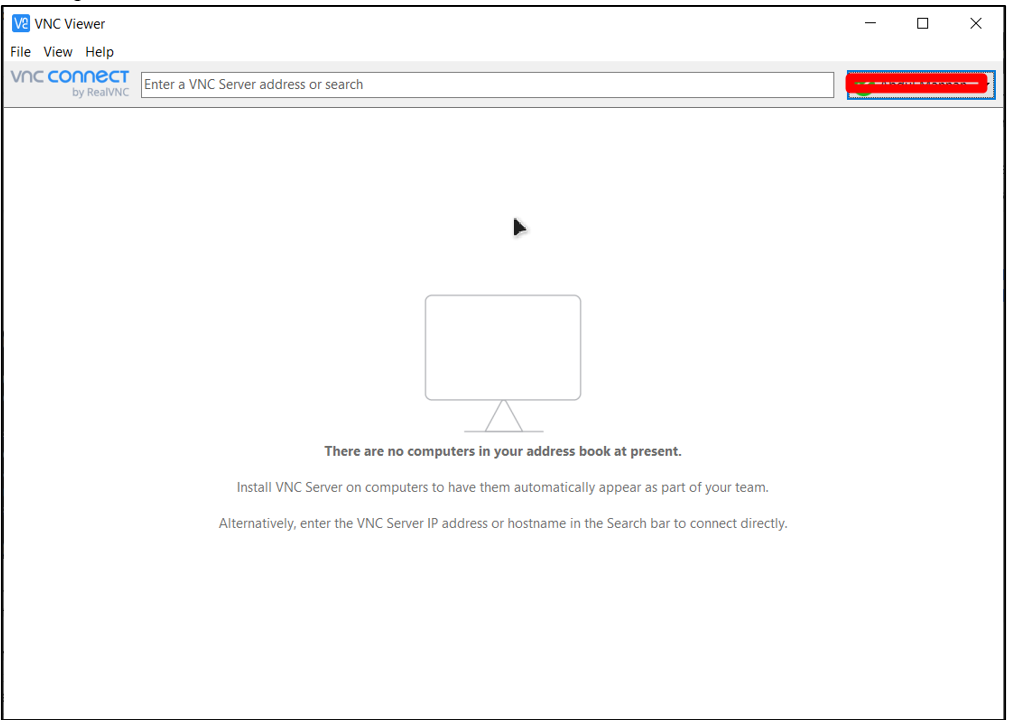
After that, you simply need to type the address of the screen or operating system that you want to view through the VNC, and for that, head on over to the next step.
Step 5: Enabling Local Hosting Through SSH
What you want to do now is, establish the SSH connection but with local hosting at port number 5900. For that, head back to the SSH terminal and type “exit” to terminate the previous SSH connection:

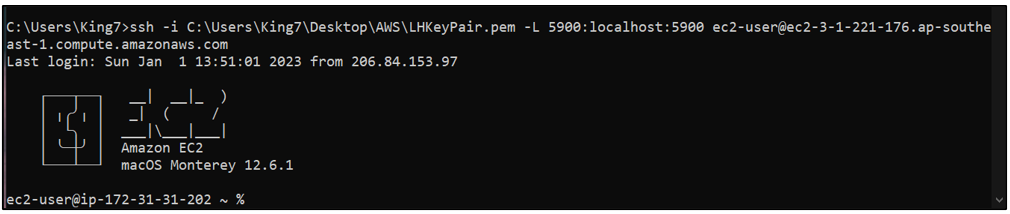
After that, use the following command to re-establish the SSH connection:
In this above command:
- Replace the “keypair_file” for the path of your key pair file on your machine
- Ip-address for the IP Address of your EC2 instance
For this tutorial, the command morphs into (according to my EC2 IP and Key pair path):

After typing the command with your EC2 IP-address, and key pair path, hit enter to establish the SSH connection:
Once you are back inside the SSH, move to the next step.
Step 6: Access macOS GUI With VNC
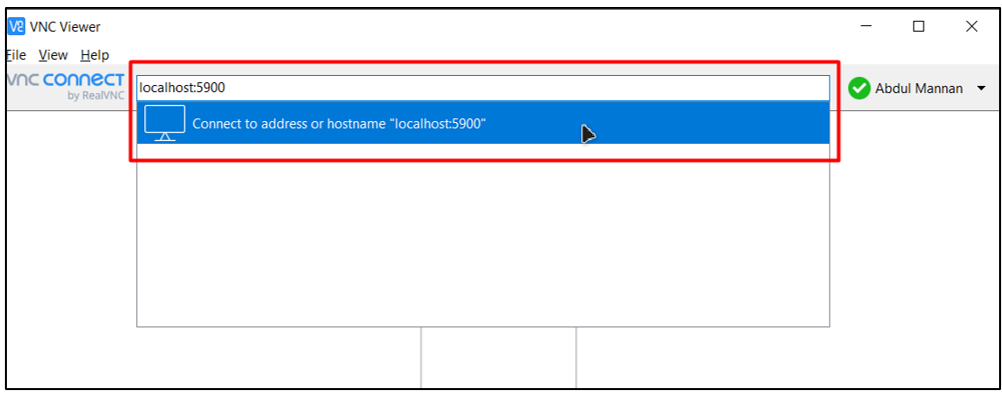
Head back to the VNC application, and in the address bar, simply type the following:
After that, click on the connect button or press the “Enter” key:
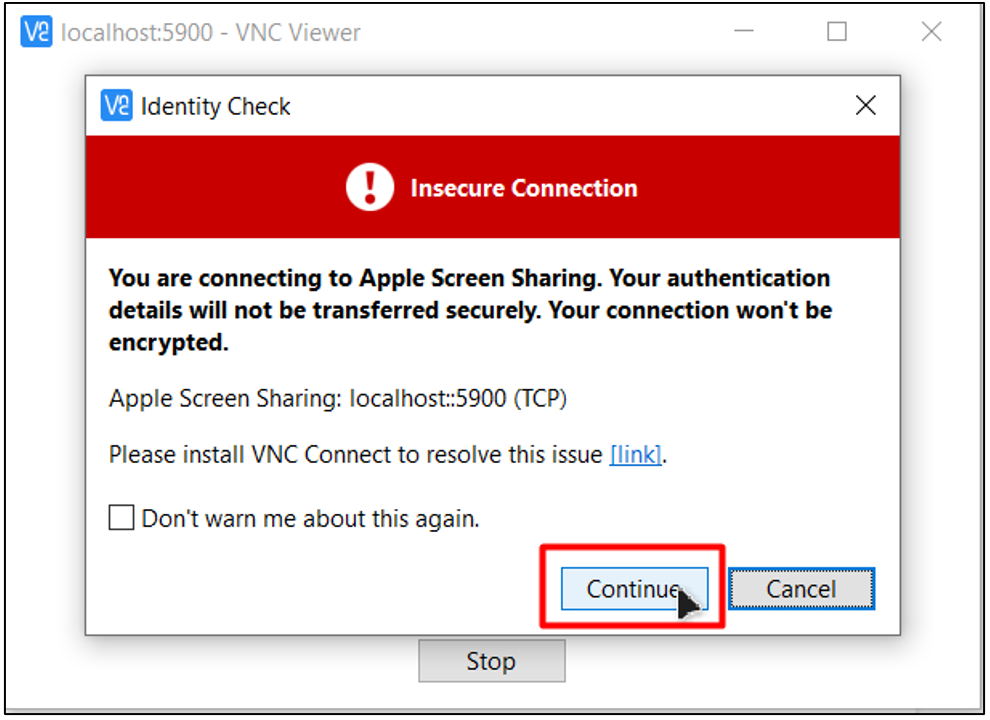
After that, you will get a confirmation alert, click on the continue button:
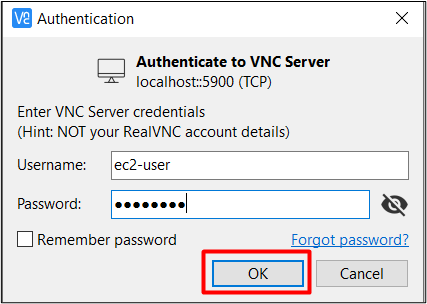
After that, you will be asked about the Credentials, the username is “ec2-user” and the password is the one that you wrote in step 3, type those in and click on the “Ok” button:
After that, you will be inside the GUI of your macOS:
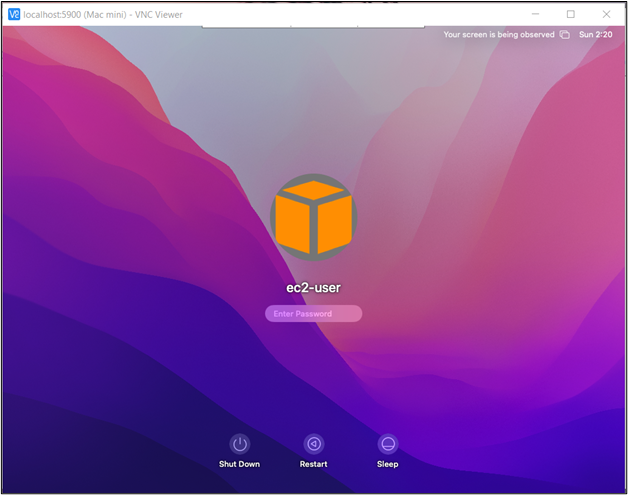
To log in to the “ec2-user”, type in your password again and then hit enter:
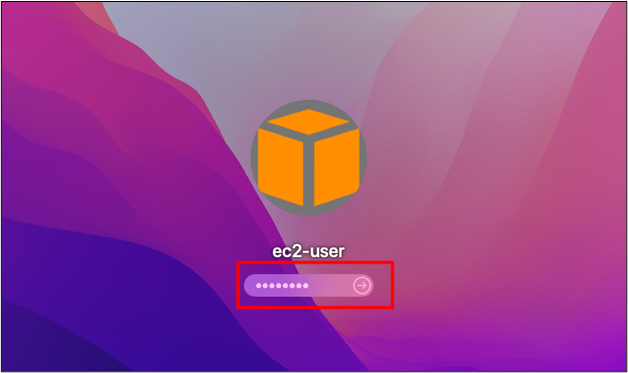
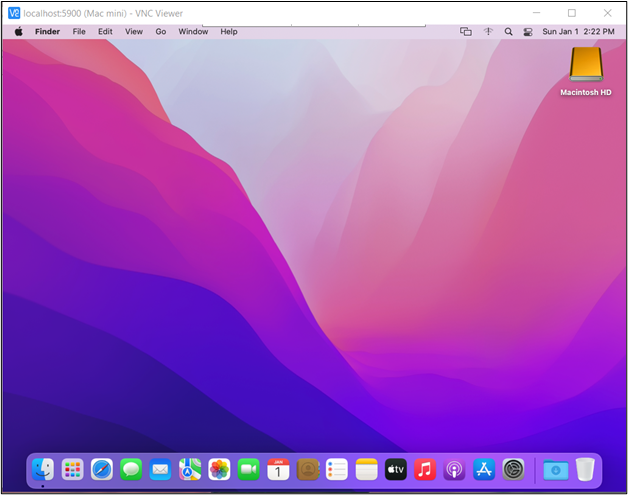
Once you do that, you will be inside the desktop of your macOS running inside the EC2 VM on AWS:
That’s all about this guide
Conclusion
Enabling the GUI mode for the SSH connection with your EC2 running a macOS is quite different from establishing an RDP connection with EC2 instances. It requires you to connect to your EC2 macOS and then enable the VNC screen sharing, after that, you need to use the VNC to connect to your EC2 macOS instance. This post has taught you how to enable the GUI for the macOS EC2 instance’s SSH connection.