
In this article, we will talk about Cockpit access modes and how to toggle the administrative access for Cockpit from the Cockpit Web UI.
Topic of Contents:
- Cockpit Access Modes
- Finding the Current Cockpit Access Mode
- Enabling the Administrative Access for Cockpit from the Cockpit Web UI
- Disabling the Administrative Access for Cockpit from the Cockpit Web UI
- Conclusion
Cockpit Access Modes
Cockpit has two access modes:
- Limited access: This is the default access mode of Cockpit. In this access mode, you can’t configure your Linux server from the Cockpit Web UI; you can only monitor your Linux server.
- Administrative access: In this mode, you can monitor and configure your Linux server from the Cockpit Web UI.
Finding the Current Cockpit Access Mode
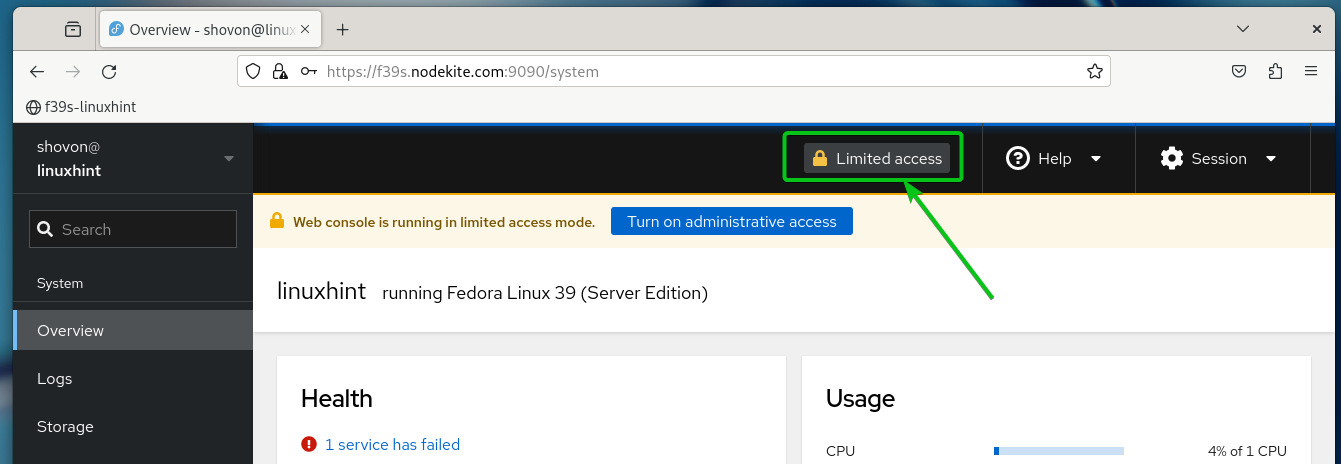
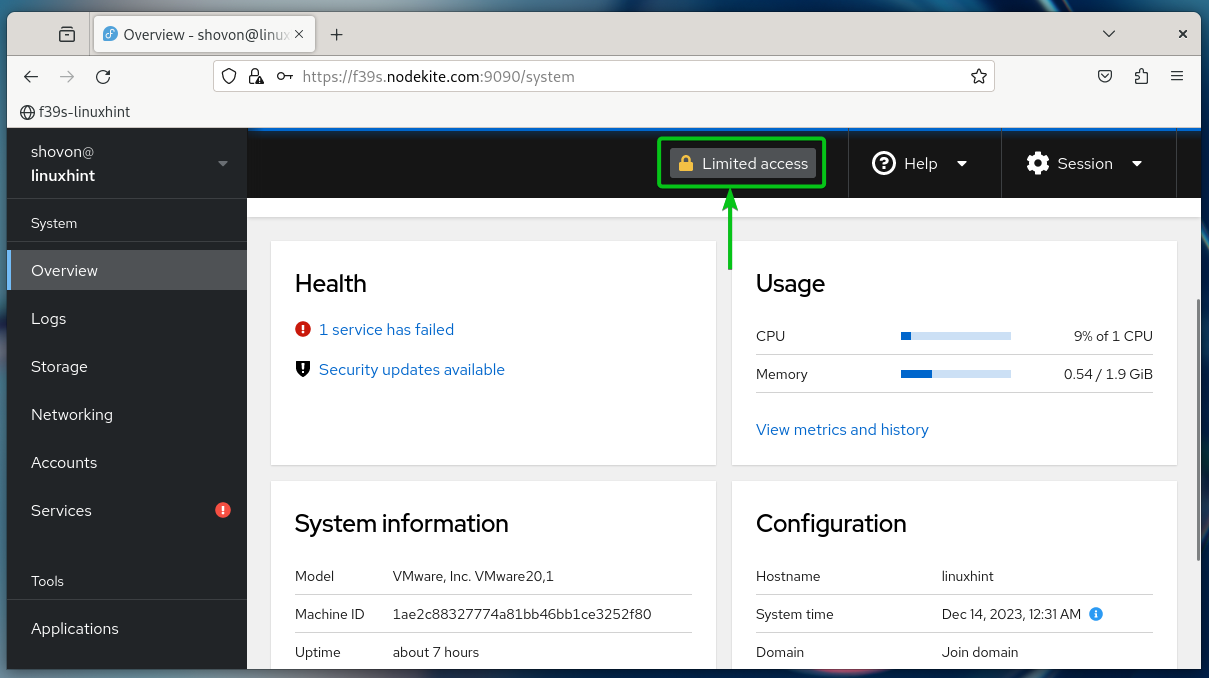
The current Cockpit access mode is displayed on the top-right corner of the Cockpit Web UI. As you can see, the “Limited access” mode is enabled by default on Cockpit which won’t allow you to configure your Linux server from the Cockpit Web UI.

Enabling the Administrative Access for Cockpit from the Cockpit Web UI
To configure your Linux server from the Cockpit Web UI, you have to enable the “Administrative access” mode for Cockpit from the Cockpit Web UI.
To enable the “Administrative access” mode on Cockpit, click on “Limited access” from the top-right corner of Cockpit Web UI as marked in the following screenshot:
Type in the password for your login user[1] and click on “Authenticate”[2].
NOTE: The login user must have sudo privileges for this to work. The user that you create during the installation of your operating system (i.e. Fedora, Ubuntu/Debian) should have sudo privileges that are enabled by default.

The access mode of Cockpit should be changed to “Administrative access” as you can see in the following screenshot:
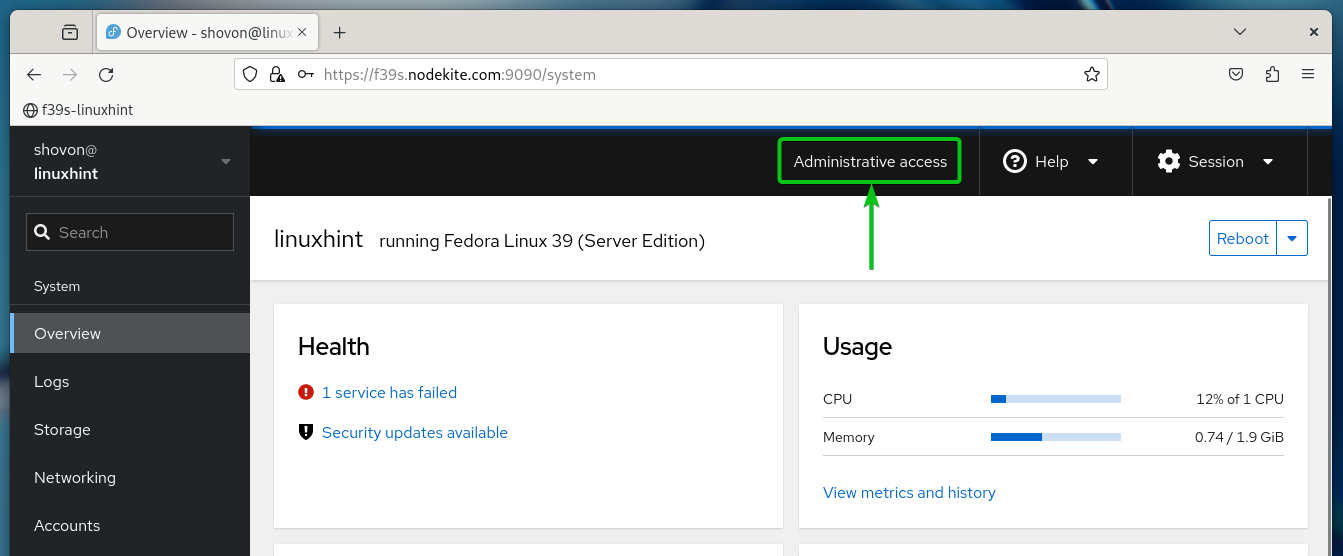
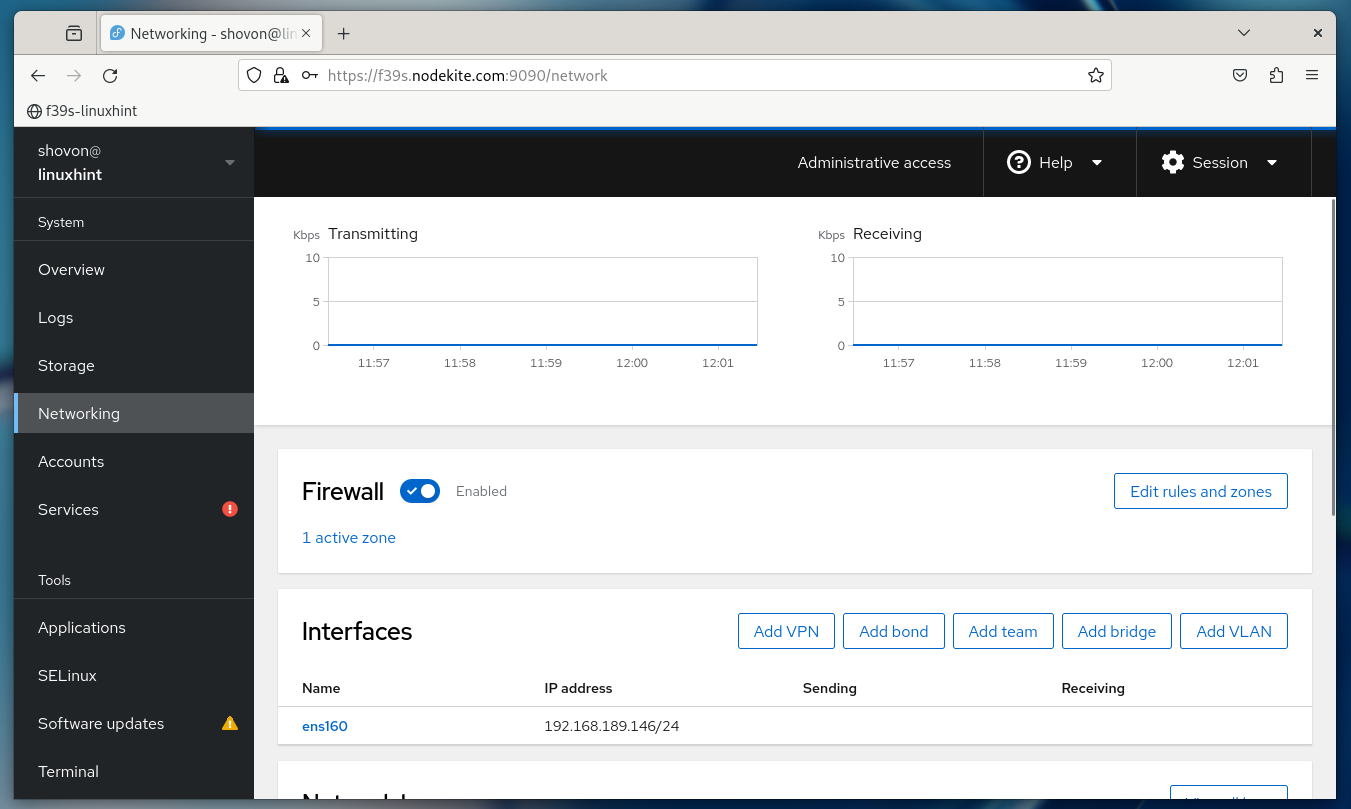
Now, you can manage the storage, networks, firewall, packages, do system maintenance, etc. from the Cockpit Web UI.
Disabling the Administrative Access for Cockpit from the Cockpit Web UI
To enable the “Limited access” mode on Cockpit again, click on “Administrative access” from the top-right corner of Cockpit Web UI as marked in the following screenshot:
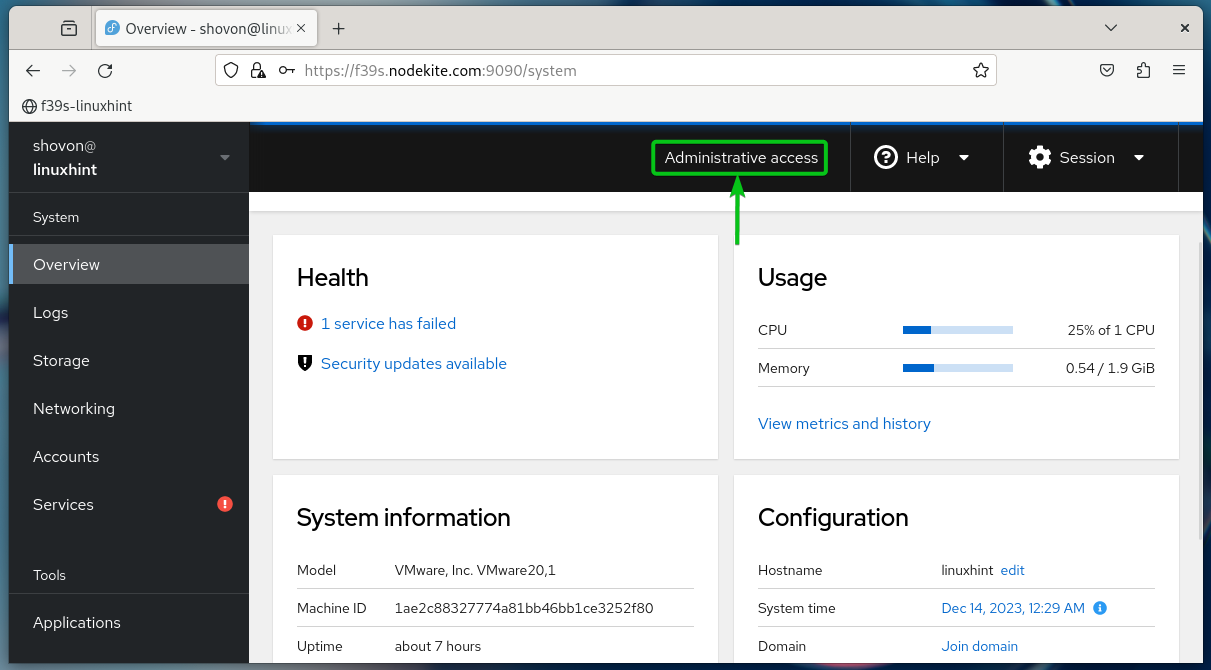
Click on “Limit access”.
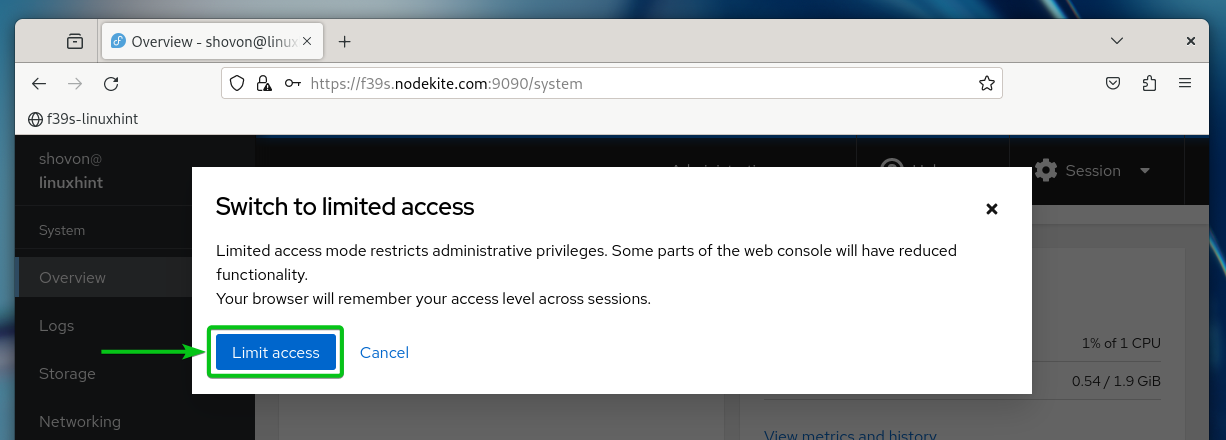
The “Limited access” mode should be enabled on Cockpit. Now, you should not be able to make any configuration changes on your Linux server from the Cockpit Web UI.
Conclusion
In this article, we talked about Cockpit “limited access” and “administrative access” modes. We also showed you how to switch between the “limited access” and “administrative access” modes of Cockpit from the Cockpit Web UI.