Quick Outline
This article illustrates the following aspects:
- What is an Access Log?
- What are Access Log Files?
- What are Access Log Entries?
- How Access Log Files are Processed?
- How to Enable Access Logs For Application Load Balancer?
- Bonus Tip: Disable the Access Logs
- Conclusion
What is an Access Log?
The Access log is an optional feature of the application load balancer that captures detailed information about the request sent to the Load Balancer. This detailed information contains the date and time of receiving the request, client IP address, latencies, port, etc in the form of “Access log files”. In the Application Load Balancer (ALB), this feature has to be manually enabled. These access logs are then received by the S3 bucket from where they can be accessed and viewed by the user.
What are Access log Files?
The Access logs contain “Access log files” that are published for each Load Balancer node after every 5 minutes. There can be multiple logs if the site has high traffic. The access log files follow a specified format:
- “bucket”: field contains the name of the bucket that will receive the log files.
- “prefix”: is optional. This field will contain a value if there are any prefixes specified by the user at the time of creating the S3 bucket. The prefix must not contain the “AWSLogs” keyword.
- “aws-account-id”: contains the AWS Account ID of the owner.
- “region”: field contains the region of the load balancer.
- “yyy/mm/dd”: specifies the data on which the log was delivered.
- “load-balancer-id”: indicates the specific ID of the load balancer. Furthermore, the forward slashes in the ID are replaced by the periods (.).
- “end-time”: specifies the end of date and time for the logging interval.
- “ip-address”: specifies the IP address on which the load balancer operates
- “random-string”: contains a random string generated by the system.
What are Access Log Entries?
These Access Log Entries contain information about the every single request that was made to the Application Load Balancer. Such single requests are referred to as “Log Entry”. These log entries also include the malformed requests i.e., the request that never made it to the load balancer (ALB). If the requests made to the load balancer involve Web sockets then this log entry will only recorded when the connection is closed.
How Access Log Files are Processed?
By default, the access log files are compressed. Therefore, these files must be uncompressed first when downloaded to view the information. However, by using the S3 console, the user can view the information of these log files directly.
These log files are generated as a result of the request made to the Load balancer. If currently there is high traffic on the website then the log files generated by the load balancer will contain the data in the gigabytes. Such large amounts of data can be processed by using analytical tools such as Amazon Athena, Splunk, Sumo logic, etc.
How to Enable Access Logs For Application Load Balancer?
Access logs can be configured for different regions by using the following methods:
- Method 1: Access logs for Regions available before August 2022
- Method 2: Access logs for Regions available as of August 2022 or later
Method 1: Access logs for Regions available before August 2022
To configure the access logs for the regions that were available before August 2022, follow the below-mentioned steps:
- Step 1: Create the S3 Bucket
- Step 2: Edit Load Balancer Attributes
- Step 3: Verification
Step 1: Create the S3 bucket
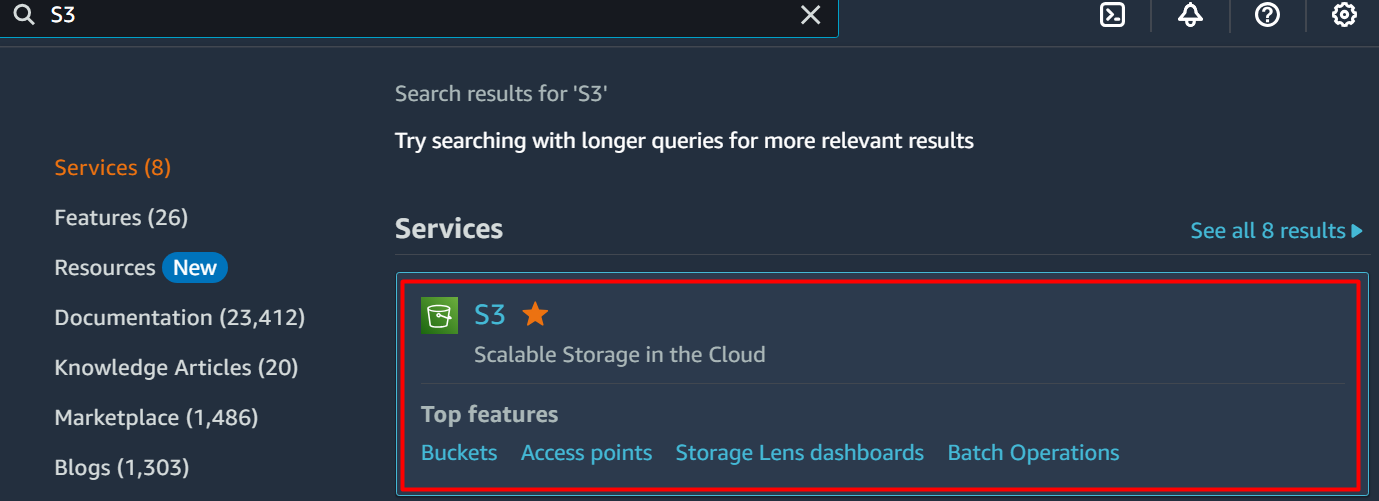
The first step is to create the S3 bucket to enable the access log for the ALB. For this purpose, access the S3 bucket service by searching it in the search bar of the AWS Management Console:
From the S3 Dashboard, click the “Create bucket” button:

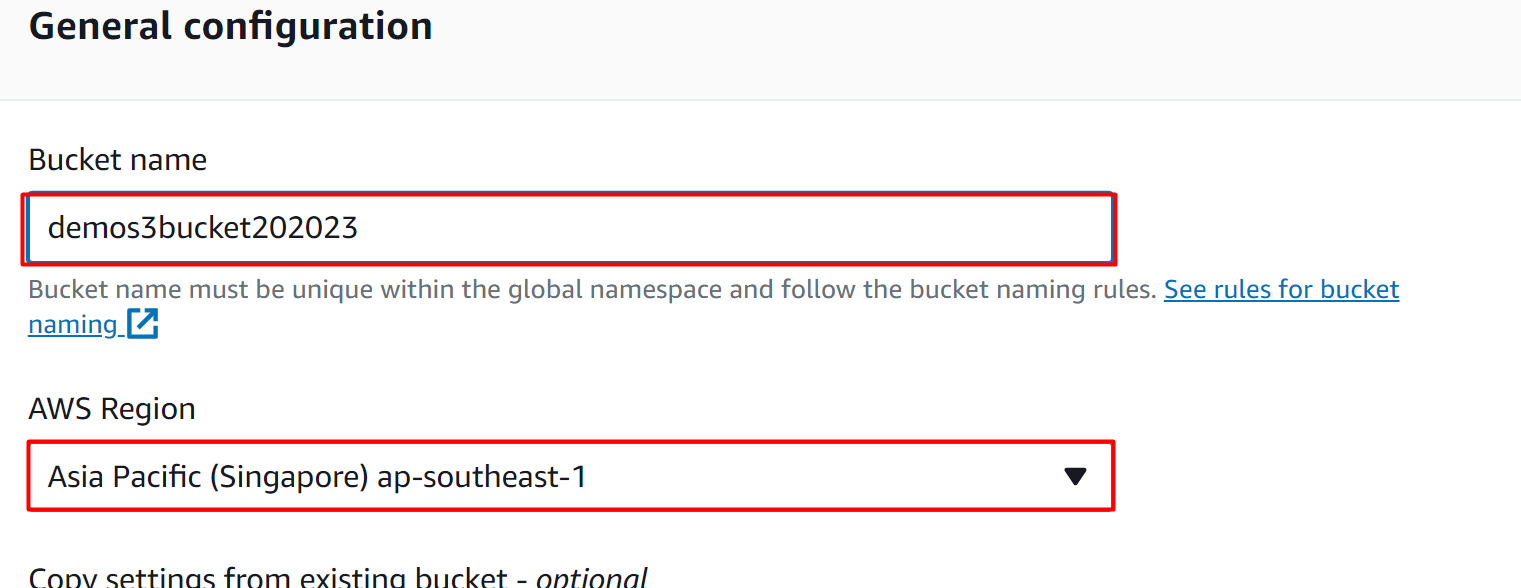
In the General configuration, provide a globally unique identifier for the S3 bucket in the “Bucket name” text field. It is important to consider that the “AWS Region” should be similar to the region of the Load balancer:
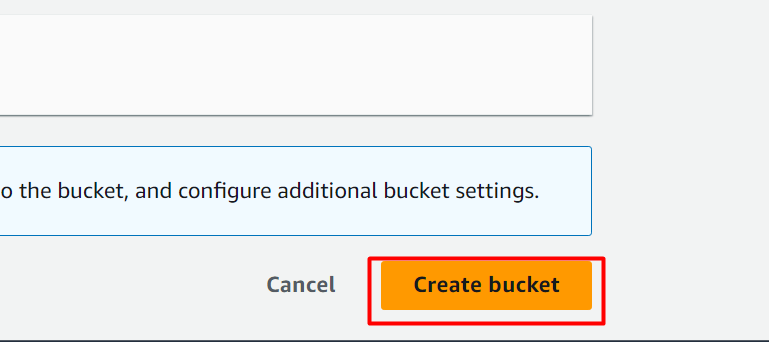
By keeping the rest of the settings as default, click on the “Create bucket” button located at the bottom of the interface:
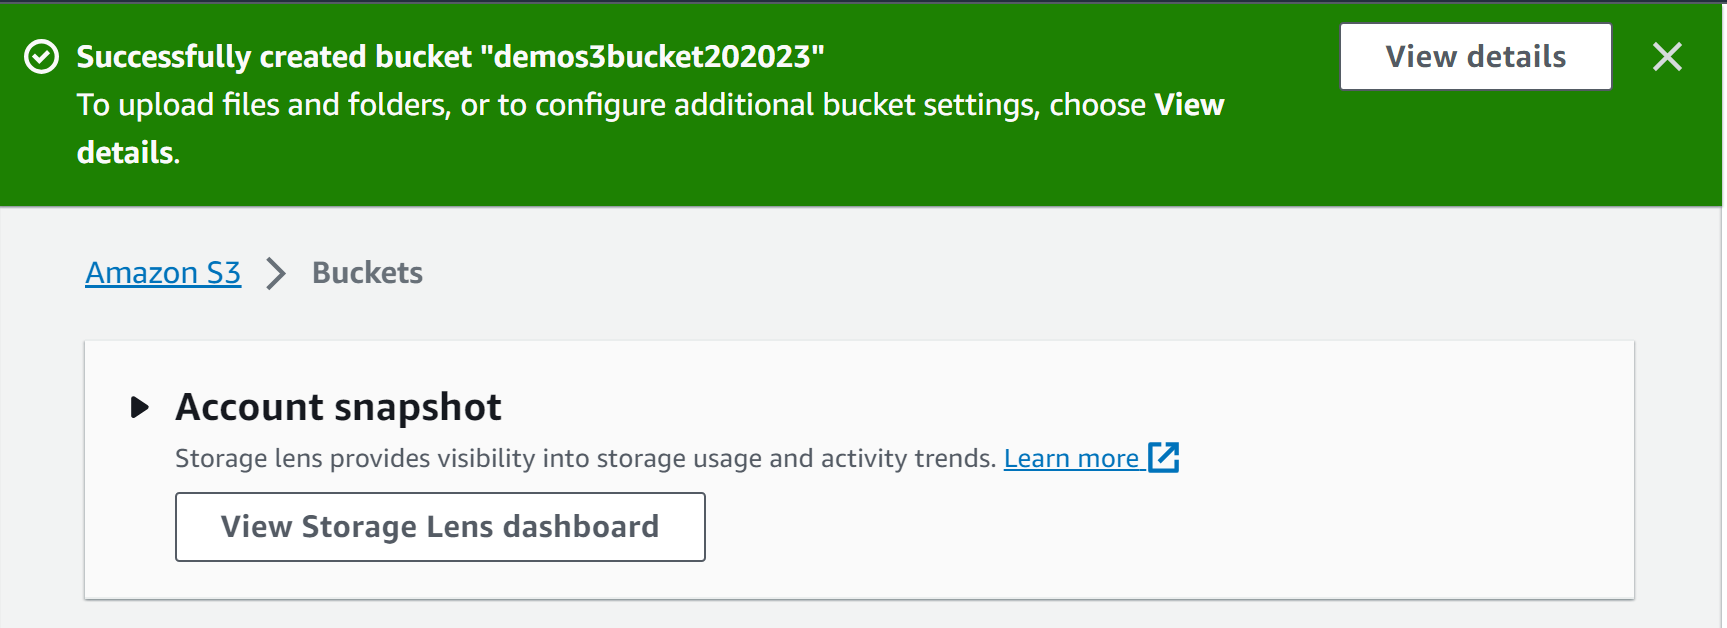
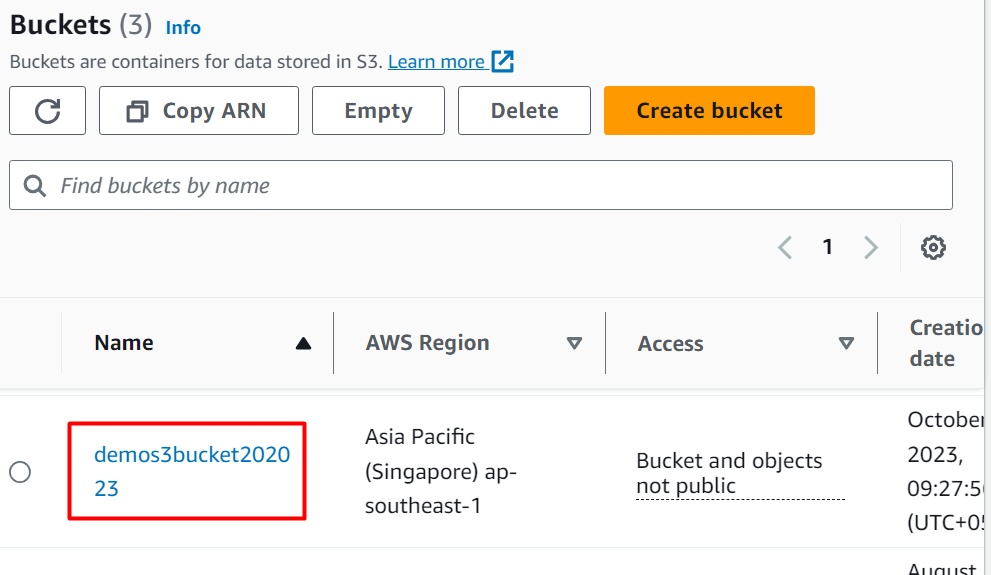
The bucket has been created successfully:
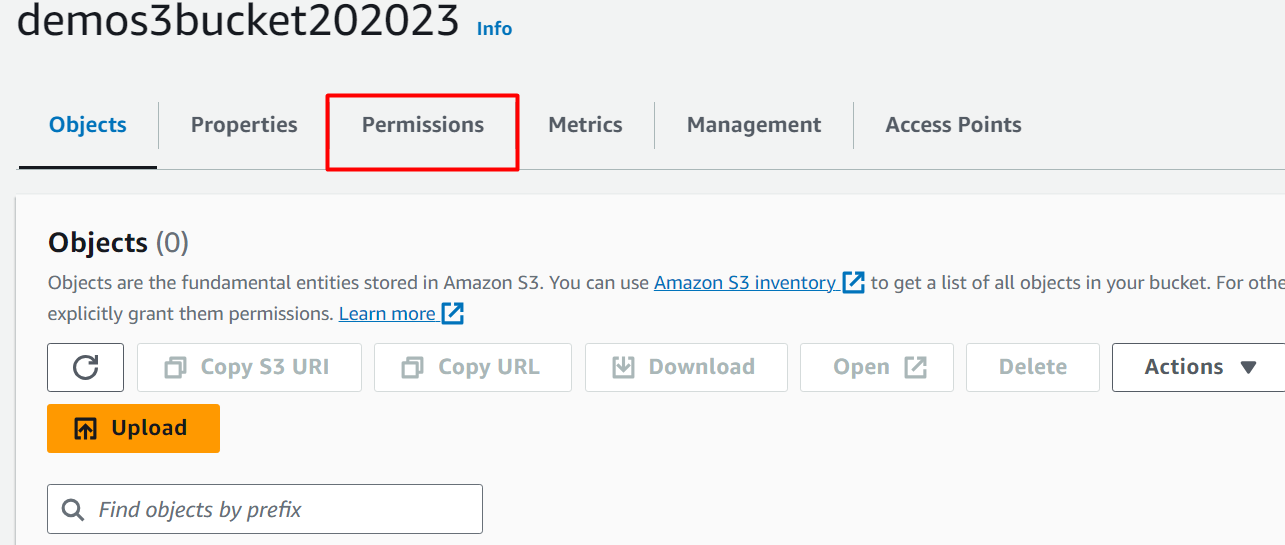
From the S3 bucket dashboard, tap the “S3” bucket name to configure the permissions:
From the S3 bucket console, click the “Permissions” tab:
Scroll down the interface and click the “Edit” button from the “Bucket policy” section:
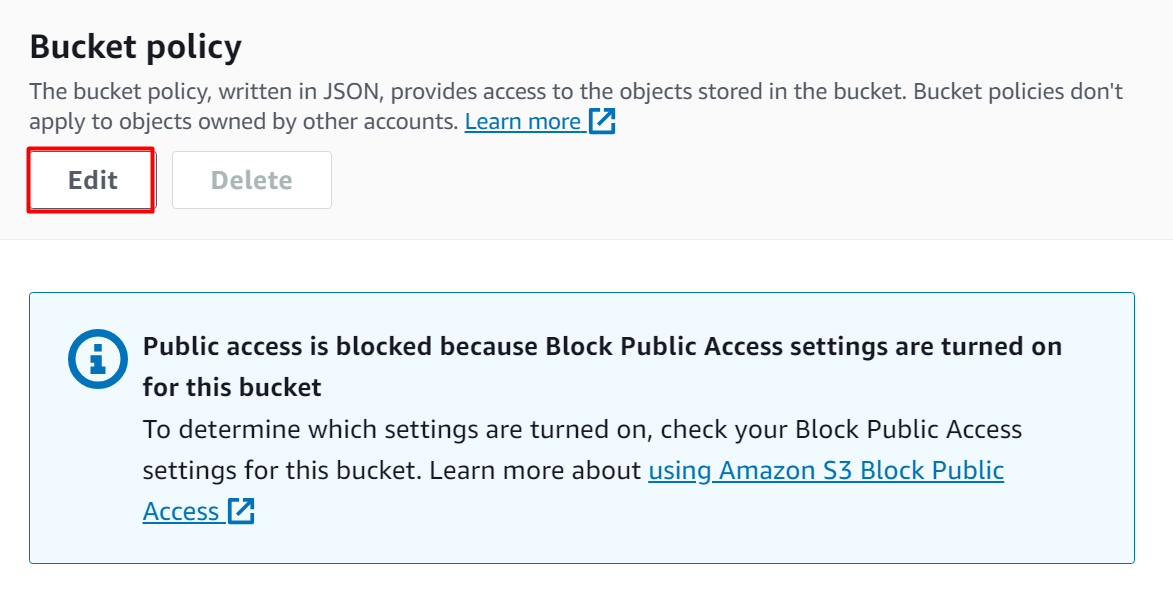
In the Editor, paste the below policy and replace the following variables:
"Version": "2012-10-17",
"Statement": [
{
"Effect": "Allow",
"Principal": {
"AWS": "arn:aws:iam::elb-account-id:root"
},
"Action": "s3:PutObject",
"Resource": "my-s3-arn"
}
]
}
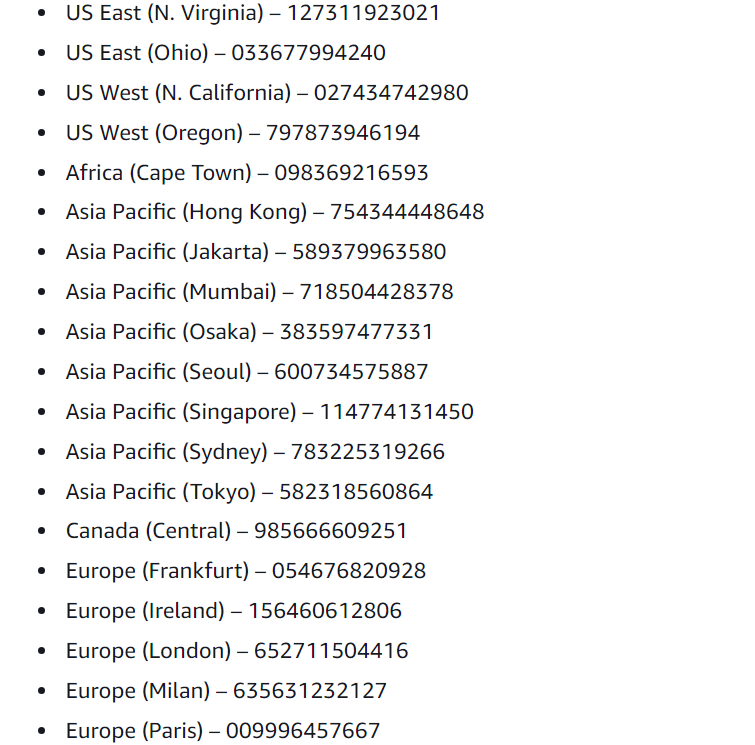
- elb-account-id: In this field, provide the ID of the AWS Region. These Ids are given in the official AWS documentation. Scroll down to the “Access logs for Regions available before August 2022” section and under the policy, the regions with their respective IDs are mentioned:
- my-s3-arn: The ARN of the S3 bucket can be replaced by using two formats:
- Format 1: ARN with a prefix
- Format 2: ARN without a prefix
Format 1: ARN with a prefix: This format is to be followed if your bucket contains the prefix value:
- Bucket-name: replace this field with the original name of the bucket.
- prefix: provide the prefix if your bucket contains any. The value of the prefix is required as it is specified in this format.
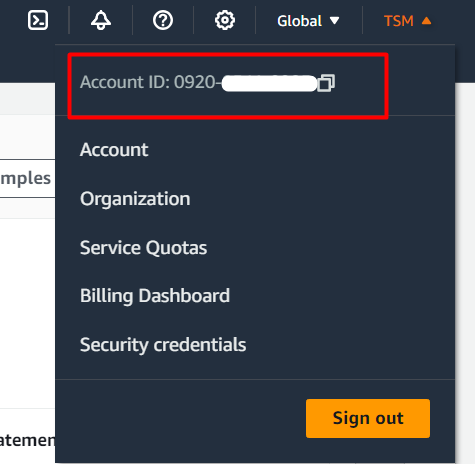
- aws-account-id: provide the AWS Account ID in this field. For this purpose, tap the name of the AWS account mentioned in the top-left corner of the interface. From the drop-down menu, copy the Account ID:
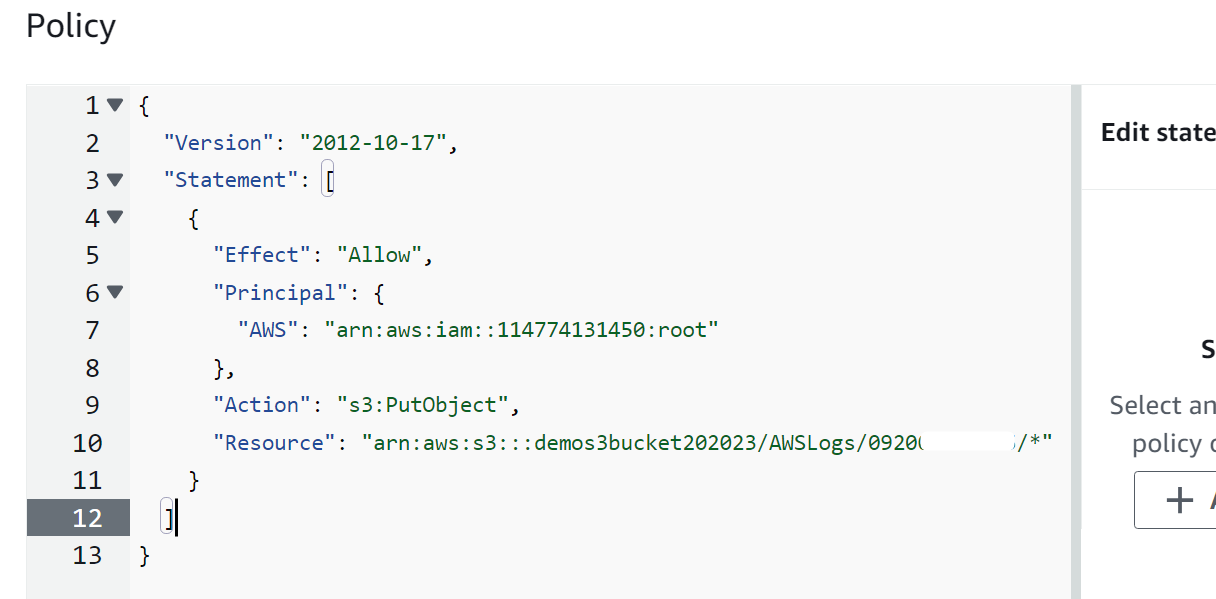
Format 2: ARN without a prefix: This format is to be used when the bucket does not contain any prefix. All the fields specified will remain the same as stated in the above-mentioned ARN. The only difference is that this “ARN” does not contain any “prefix” field:
Here, the policy has been replaced:
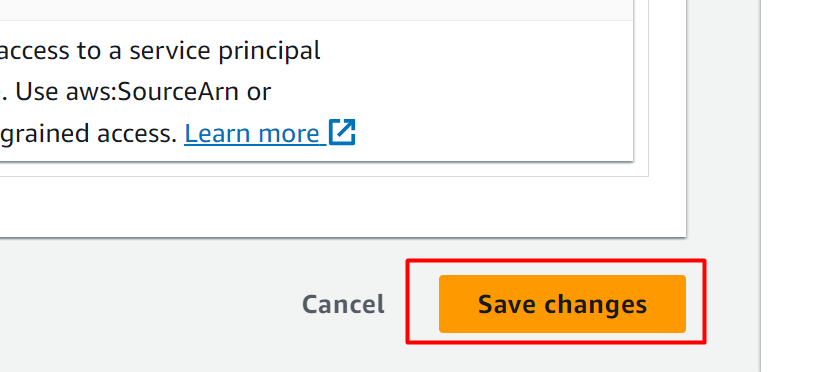
Scroll down to the bottom of the interface and click the “Save changes” button to apply changes:
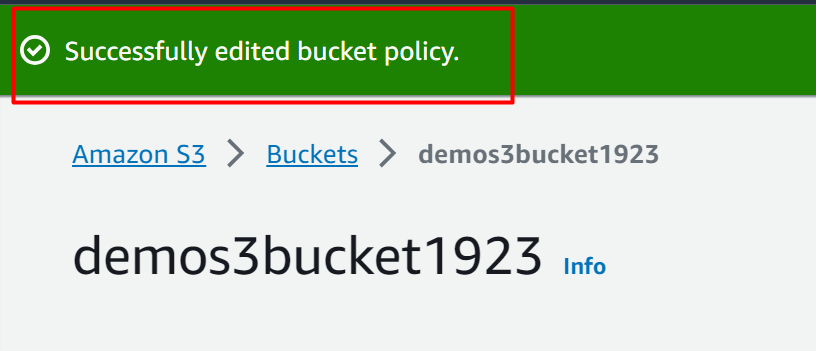
The policy has been edited successfully:
Step 2: Edit Load Balancer Attributes
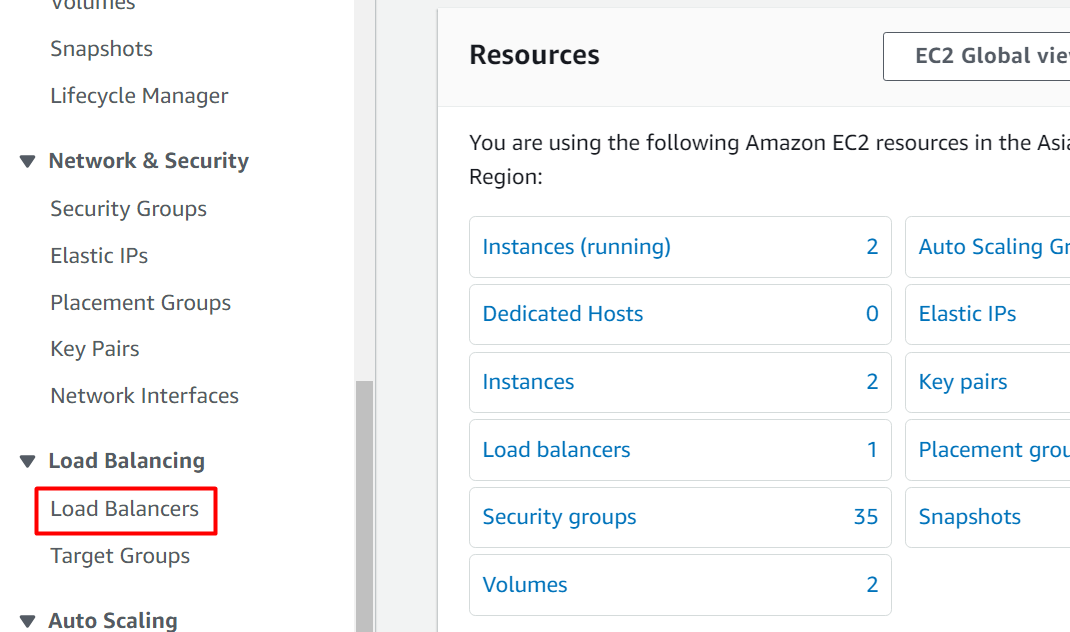
From the EC2 Dashboard, click on the “Load Balancers” option under the “Load Balancing” section from the navigation pane:
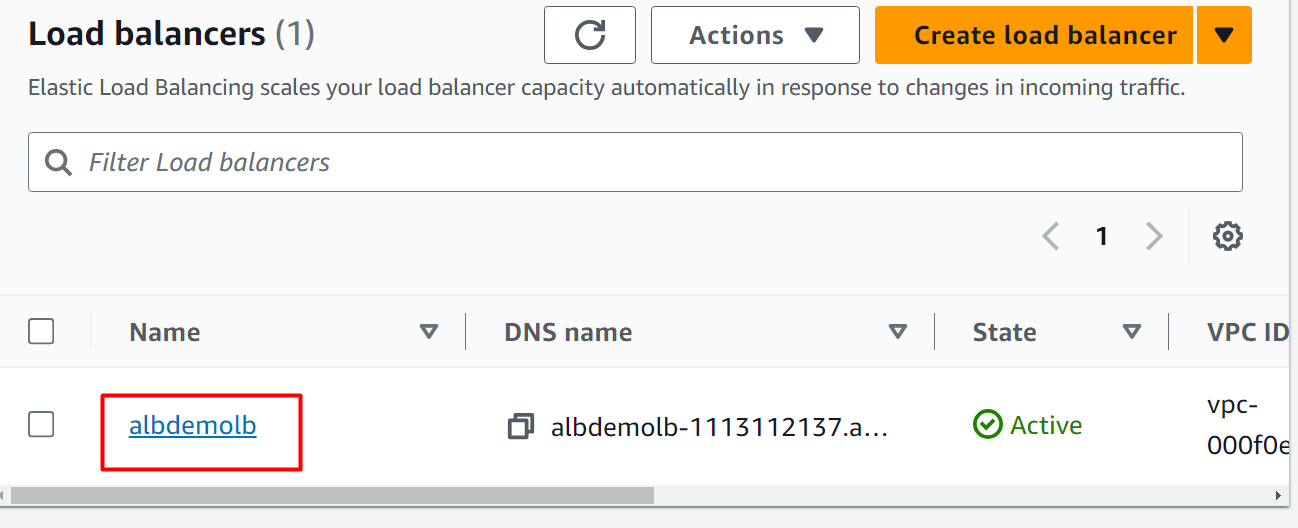
From the Load Balancer dashboard, click the name of the load balancer to enable access logs. For this demo, a load balancer has already been created and running:
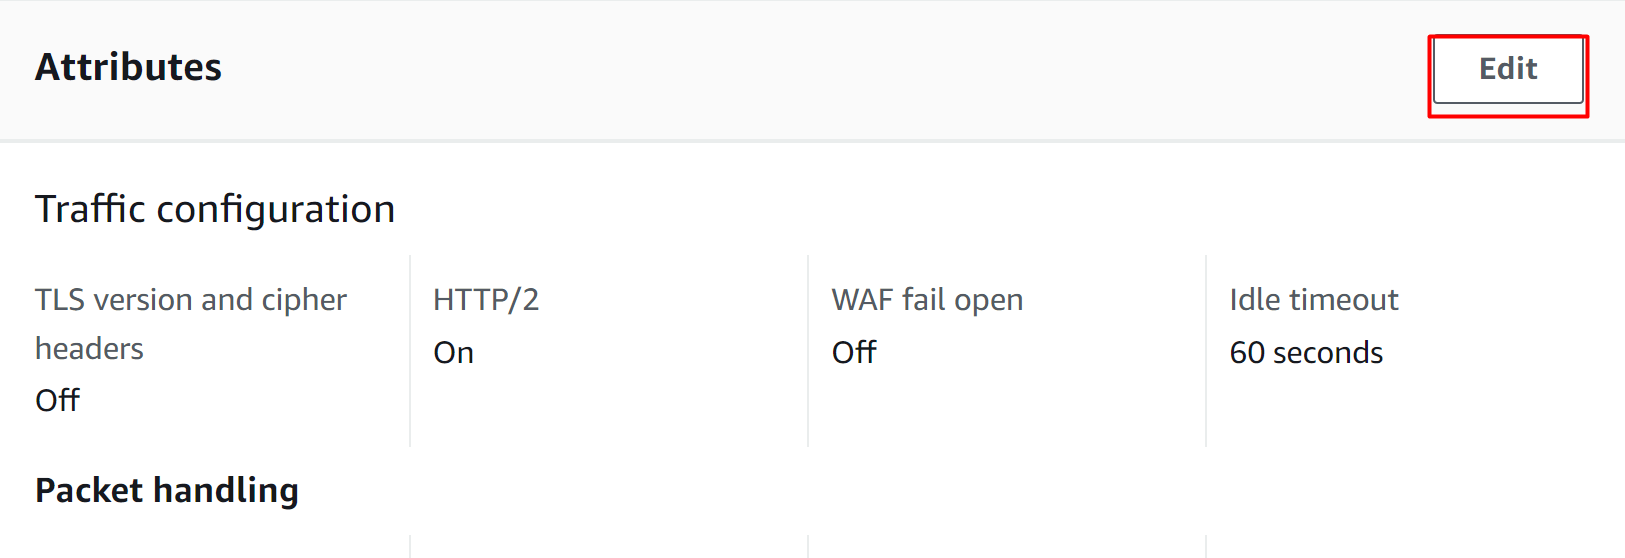
Below the “Details” section, there are multiple different options available. Click the “Attributes” tab:

From the “Attributes” tab, click the “Edit” button:
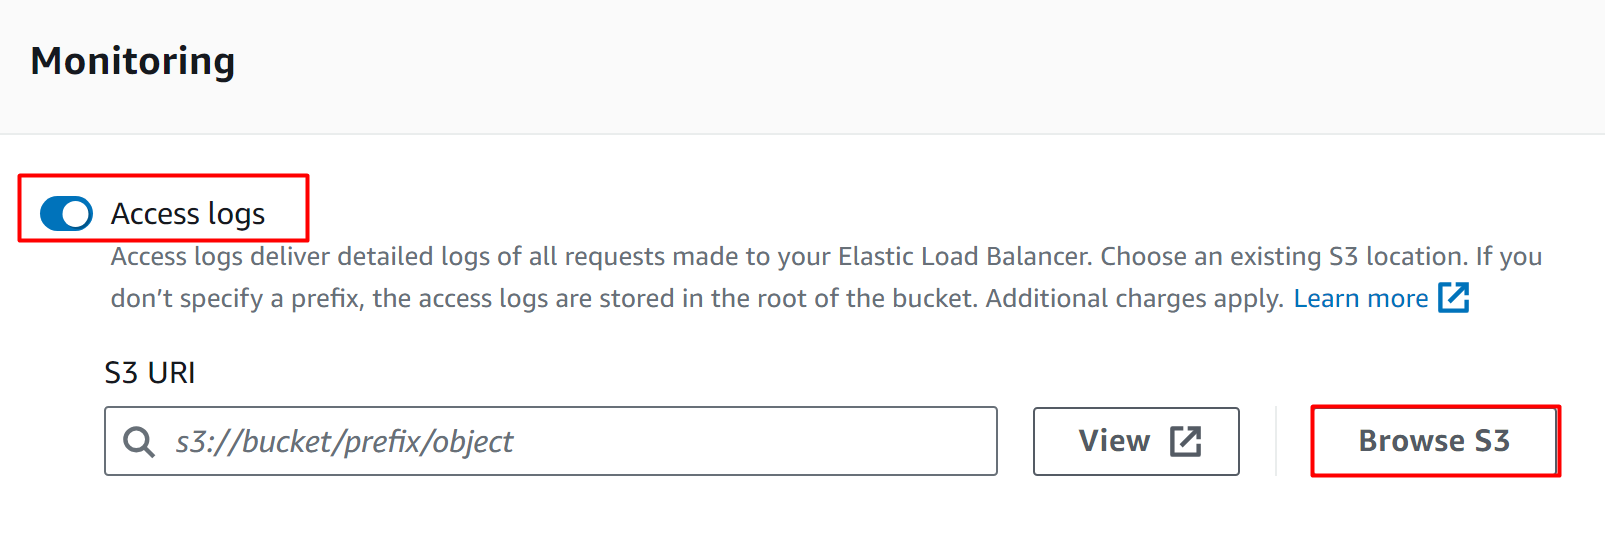
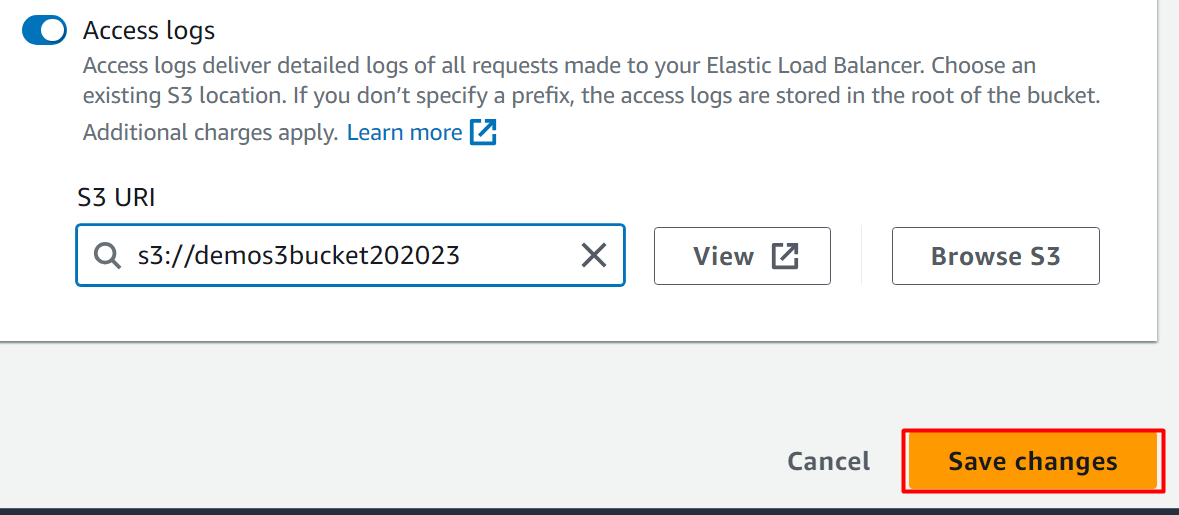
On the next interface, scroll down to the “Monitoring” section. Toggle the “Access logs” button to enable the Access log feature. Next, click on the “Browse S3” button to select the bucket:
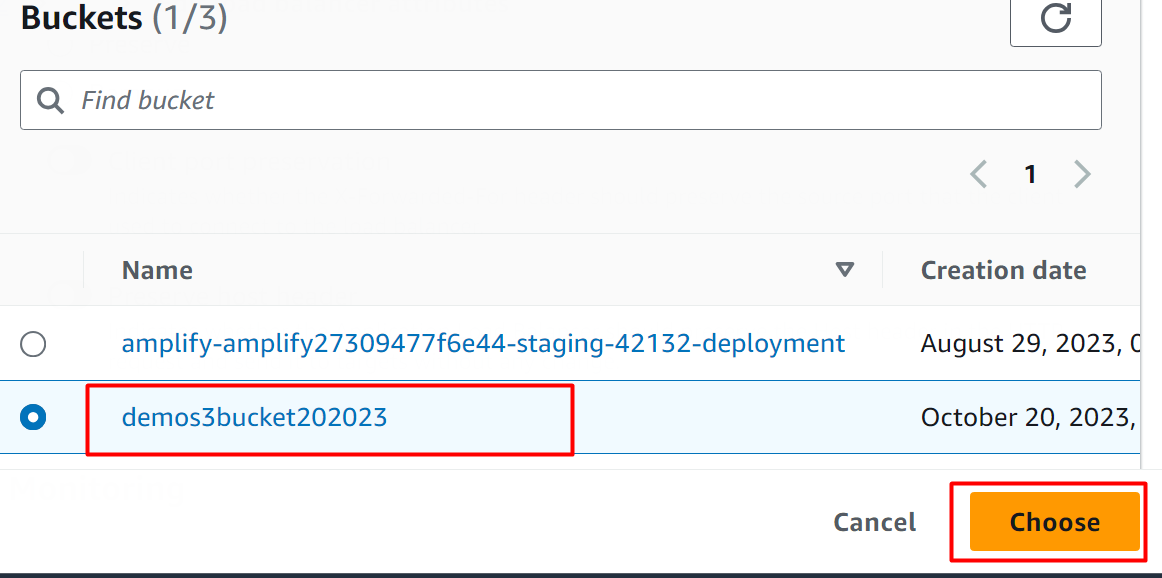
After clicking the “Browse S3” button, a pop-up window will appear. Choose the S3 bucket and hit the “Choose” button:
After adding the bucket, click the “Save changes” button:
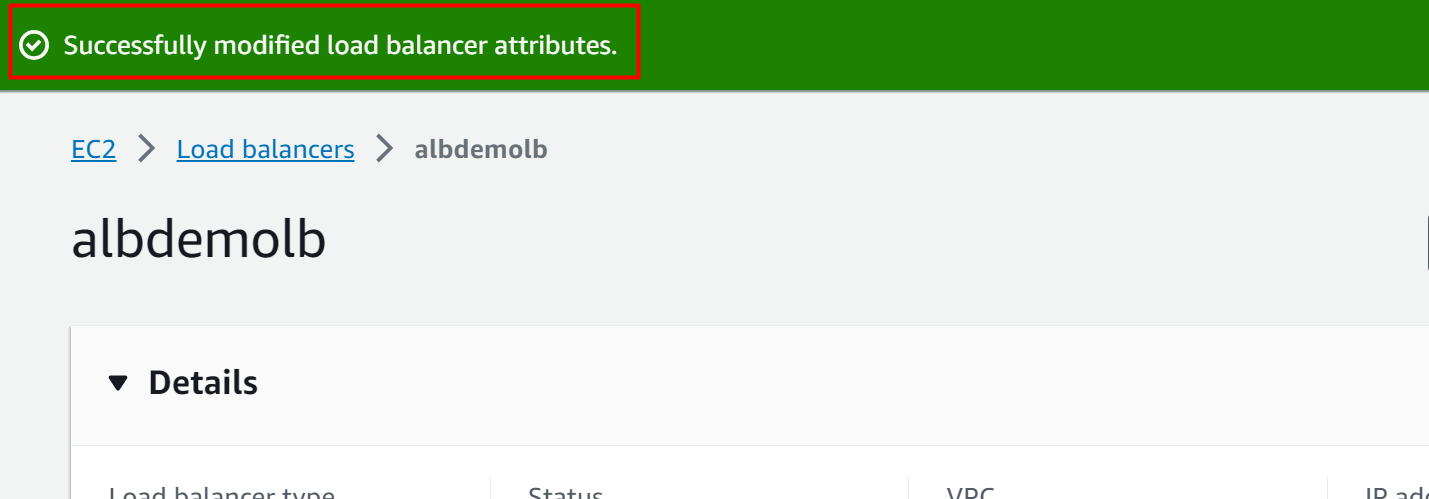
AWS will display a confirmation message upon the successful configuration of the S3 bucket to the Access logs:
Step 3: Verification
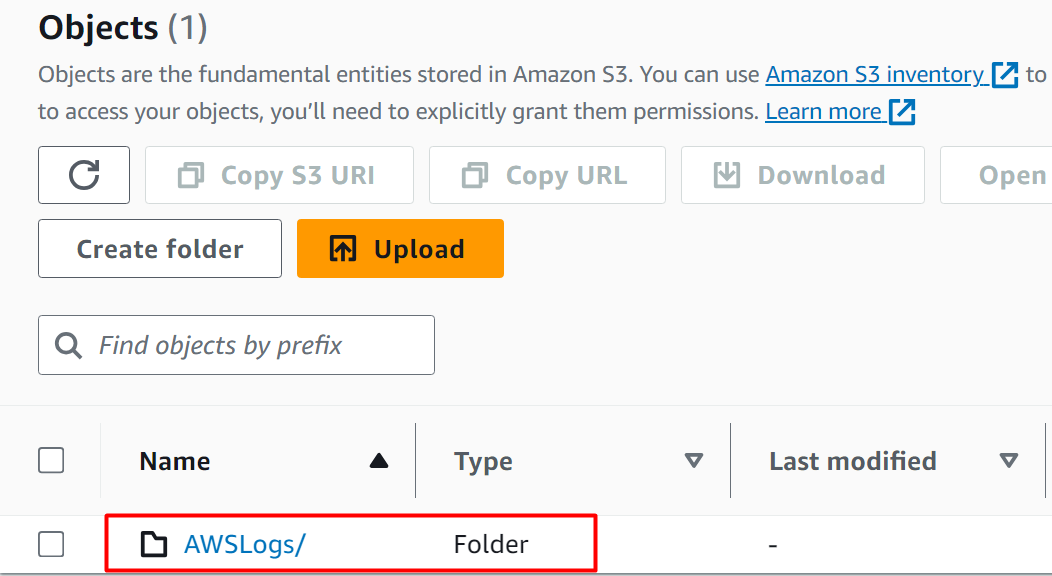
To verify if the bucket has been added, visit the S3 dashboard and choose the bucket:

Here, this bucket now contains a folder “AWSLogs/”. This folder will contain all the information related to Access Logs:
Method 2: Access logs for Regions available as of August 2022 or later
To enable Access Logs for the regions available as of August 2022 or later, follow the below-mentioned steps:
- Create the S3 bucket.
- After creating the S3 bucket, tap the “Permissions” tab. Tap the “Edit” button from the following section.
- Replace the existing policy with the following policy mentioned:
"Version": "2012-10-17",
"Statement": [
{
"Effect": "Allow",
"Principal": {
"Service": "logdelivery.elasticloadbalancing.amazonaws.com"
},
"Action": "s3:PutObject",
"Resource": "arn:aws:s3:::bucket-name/prefix/AWSLogs/aws-account-id/*"
}
]
}
In the above-mentioned policy, replace the following variables:
- Bucket-name: Replace this field with the original bucket name.
- prefix (optional): It is an optional field. If your bucket contains any prefix, provide the name of the prefix in this field. However, the user can also skip this field if there are no prefixes to be specified.
After specifying this policy, click the “Save changes” button to apply changes. The rest of the steps will be followed in the same order as stated in Method 1.
Bonus Tip: Disable the Access Logs
To disable the access logs in the application, follow the below-mentioned steps:
- Select the load balancer from the Load Balancer Dashboard.
- Scroll down the interface and click the “Attributes” tab.
- Within the “Attributes” section, tap the “Edit” button.
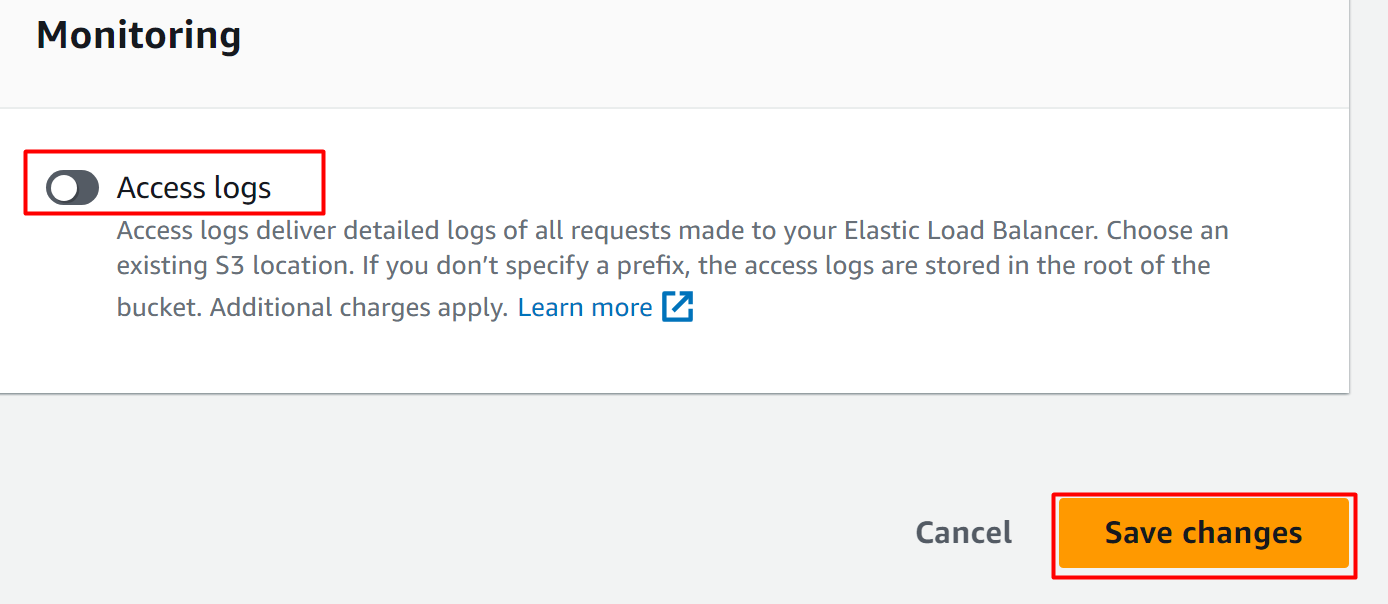
- Scroll down to the “Monitoring” section. Here, the user can disable the access log by toggling the following highlighted button. Hit the “Save changes” button to save and apply changes:
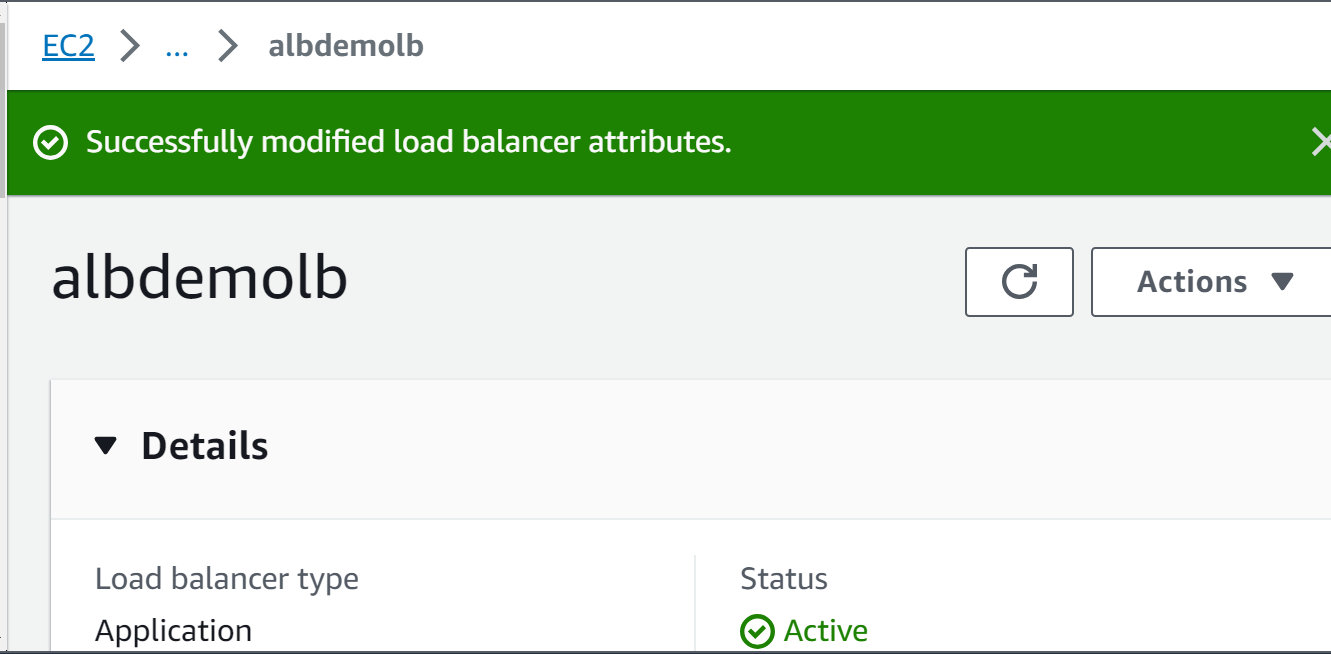
– The access log has been successfully disabled and the Attributes are modified:
That is all from this guide
Conclusion
To enable the Access Logs for the Load balancer, edit the mentioned policy in the created S3 bucket from the “Permissions” tab and hit the “Save changes” button. The information inside these log files can be directly accessed from the S3 bucket Console. The user can also download the log files and uncompress them to view their contents. This blog is a step-by-step demonstration for enabling and disabling the access log of the load balancer.