Syntax of the Emplace_Back() in C++
The declaration for the std::vector::emplace_back() function from the std::vector header is provided in the following:
The parameter is the element that is added to the vector. The outcomes are the parameter that is inserted into the vector at the last point. An exception called bad_alloc is issued if the reallocation fails. If an exception is thrown, nothing is changed because of the strong exception guarantee. To avoid an error from being thrown, the parameter must be of the same type as the container.
Example 1:
The use of the emplace_back() function is demonstrated in the following example:
#include <vector>
using namespace std;
int main()
{
vectorvec;
vec.emplace_back(1);
vec.emplace_back(2);
vec.emplace_back(3);
vec.emplace_back(4);
vec.emplace_back(5);
for (auto it = vec.begin(); it != vec.end(); ++it)
cout<< ' ' << *it;
return 0;
}
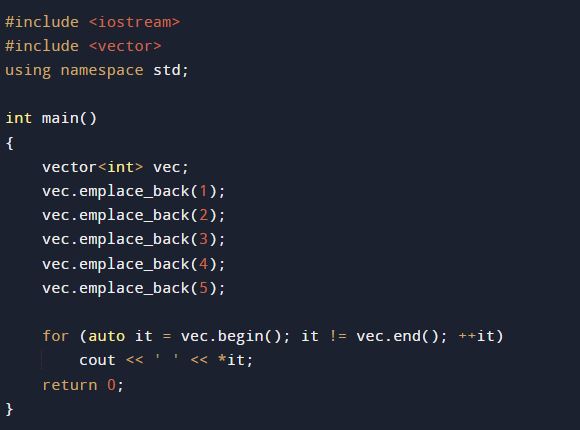
We imported the modules for the usage of methods and classes in the program. Begin with the example main function. We created an object as “vec” of class vectors with the data type int. Then, we invoked the emplace_back() method with each vector object and inserted one vector element as an argument in the emplace_back() method. The “for” loop is then used to display the vectors’ components. In the for loop, we have an auto keyword with the variable “it” which is set with the begin method. We also set its variable with the end method. This iterates the vector element with the increment operator and returns the elements in the vectors as shown in the following output screen:
![]()
Example 2:
As in the previous example, we have an integer vector example that uses the emplace_back() function. Now, we have an example of a string vector program to demonstrate the use of the emplace() function.
#include <vector>
#include <string>
using namespace std;
int main()
{
vectorvector_item;
vector_item.emplace_back("Hello");
vector_item.emplace_back("my");
vector_item.emplace_back("geeks");
vector_item.emplace_back("to");
vector_item.emplace_back("emplace_back method");
for(auto it =vector_item.begin(); it != vector_item.end(); ++it)
cout<< ' ' << *it;
return 0;
}
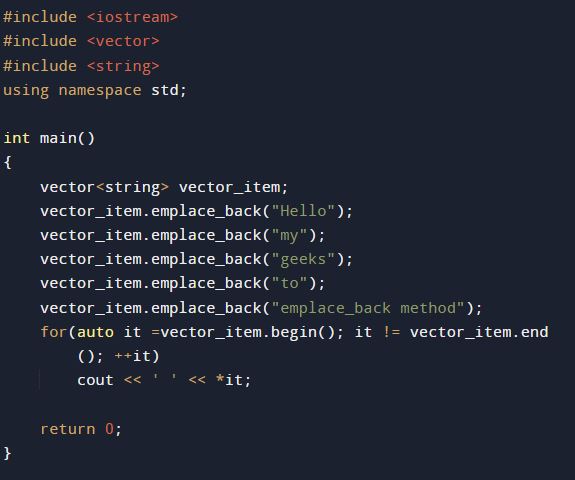
After setting the namespace std, we created the main method of this particular program. Inside it, we established the vector class object as “vector_item”. Then, we called this object “vector_item” with the method emplace_back() and inserted the vector elements as an argument. We inserted the string vectors in the emplace_back() method. To display these string vectors on the console screen, we deployed the “for” loop method. You can see that all the vector strings are generated in the horizontal form.
![]()
Example 3:
The example to demonstrate the character vector using the emplace_back() function.
#include <vector>
using namespace std;
int main()
{
vectorMyVec;
MyVec.emplace_back('l');
MyVec.emplace_back('i');
MyVec.emplace_back('n');
MyVec.emplace_back('u');
MyVec.emplace_back('x');
for (auto it = MyVec.begin(); it != MyVec.end(); ++it)
cout<< ' ' << *it;
return 0;
}
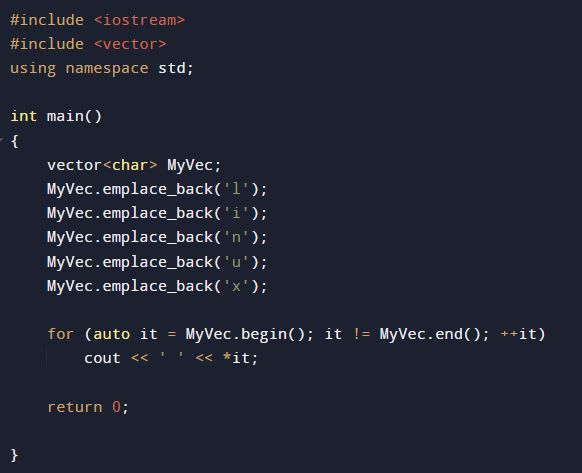
We created the vector object as “MyVec”. Then, with the vector object “MyVec”, we called the emplace_back() method. We input the different characters each time to the emplace_back() method. The “for” loop is used to print the character values from the emplace_back() method. The following screen shows the character value returned from the emplace_back() method.
![]()
Example 4:
Use the emplace_back() function to add the integers to an empty vector and then determine the size of the resulting vector. For this, we have an algorithm. The algorithm is that we have to utilize the emplace_back() function to add the elements to the vector. Then, check to see if the vector’s size is 0. If not, pop the back element and increase the counter variable which was initially initialized to 0. Once the vector’s size is reduced to 0, repeat this procedure. Display the variable’s final value.
#include <vector>
using namespace std;
int main()
{
int count = 0;
vectorv;
v.emplace_back(1);
v.emplace_back(2);
v.emplace_back(3);
v.emplace_back(4);
while (!v.empty()) {
count++;
v.pop_back();
}
cout<< "count value:" ;
cout<<count;
return 0;}
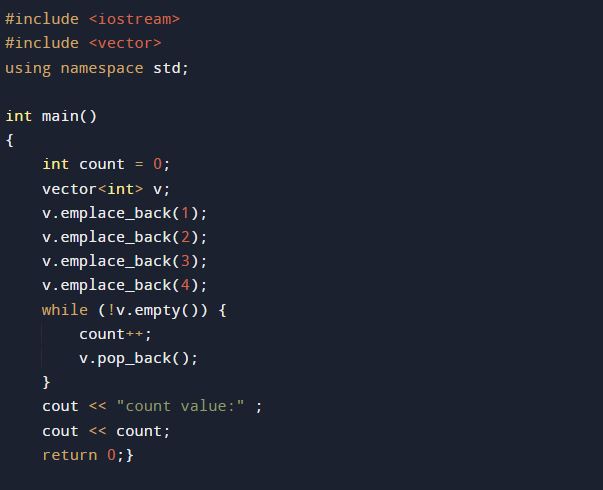
There, we have the main method of this program. We have the variable “count” which is initialized with the value zero. Then, we have an object “v” from the class vector. We have the emplace_back() method through which we inserted the integer elements. After that, we have a while loop that prints the count value. The vector element must not be zero for the while loop to be in effect. Then, the count is incremented by the pop_back() method. The following is a screen that shows the count value:
![]()
Example 5:
The push_back() converts a string into a vector. A new string object is first implicitly generated and initialized with the supplied char*. The original string is a temporary object, push back is then invoked. Copy this string into the vector with the move function constructor. Then, the transient item is destroyed. On the other hand, the emplace_back() builds the strings in place, no temporary strings are created; instead, emplace_back() is called directly with a char* parameter. Then, it generates a string that is saved in the vector that was initialized with this char*. This way, we avoid creating and disposing a pointless temporary string object.
using namespace std;
int main()
{
vector<pair>my_vect;
my_vect.emplace_back('x', 12);
my_vect.push_back(make_pair('y', 15));
for (int i=0; i<my_vect.size(); i++)
cout<<my_vect[i].first<< " " <<my_vect[i].second
<<endl;
return 0;
}
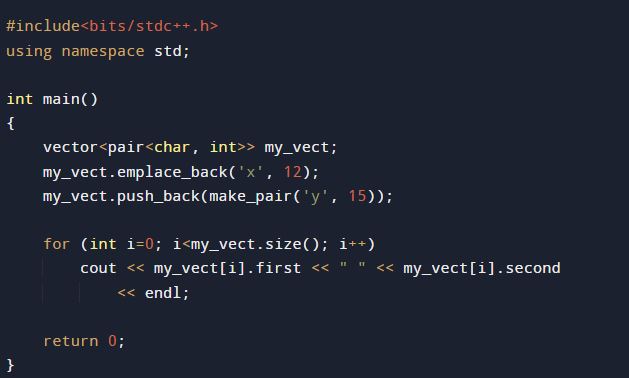
Inside the int main, we declared that the priority vector queue is declared as the object “my_vect”. Then, we have the emplace_back() method which has the pair input in place. After that, we inserted the pair values with the push_back() method. Both the pair values from the emplace_back() and the push_back() is printed with the help of a for loop. The inserted pair values are executed in the following prompt:

Conclusion
Now, it is very clear to you the functionality of the emplace_back() method in C++. The benefit of emplacing is that it performs an in-place insertion and prevents the need to duplicate an object. Which one we use doesn’t matter for the primitive data types. However, using the emplace() is recommended for the objects due to its performance. We covered all the possible example programs to explain the emplace_back() function. Furthermore, we differentiated between the emplace_back() method and the push_back() method with the example program.