An Elasticsearch index or indices is (are) a data structure that contains mappings for various documents. In a relational database, an index could refer to a specific database.
An Elasticsearch cluster contains several indices, including multiple types, which then hold the documents.
The following could represent the Elasticsearch relationship with a relational database.
- PostgreSQL -> Database -> Table ->Row/Column
- Elasticsearch -> Index -> Type -> Document
In this guide, we will discuss various methods to rename an existing Elasticsearch index.
Method 1: Reindexing
The first method we can use when renaming an index is the reindexing API. This API allows you to copy documents from a source index to a specified destination index.
However, the reindex API does not copy the configuration of the source index to the destination. Hence, we have to set up the destination index and apply the configuration of the source index before calling reindex.
We can implement a full re-index operation by following the steps as outlined below:
- Create a new (source) Elasticsearch index
- Fetch the configuration of the index and save it.
- Create a new (destination) index with the configuration of the source index.
- Call the reindex API from source to destination
- Delete the source index.
If you have an existing Elasticsearch index, feel free to jump to step 2
NOTE: In this guide, we will provide all the Elasticsearch requests for cURL.
Step 1: Create a new Index
Let us create an index that will act as the source. For simplicity, we will use a simple index configuration with most of the default parameters.
We will tender a request to the Elasticsearch HTTP endpoint.
An example request to create an index “test-index” is below:
{
"settings": {
"index": {
"number_of_shards": 3,
"number_of_replicas": 2
}
},
"mappings": {
"properties": {
"field1": { "type": "text" }
}
}
}'
The next step is to add data to the created index. By default, the index does not contain any documents.
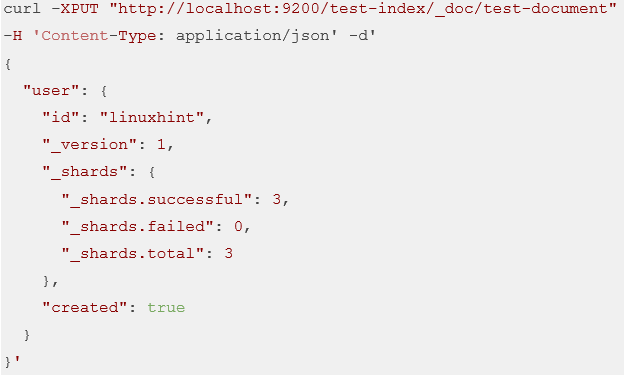
To add data to the index, run the request as:
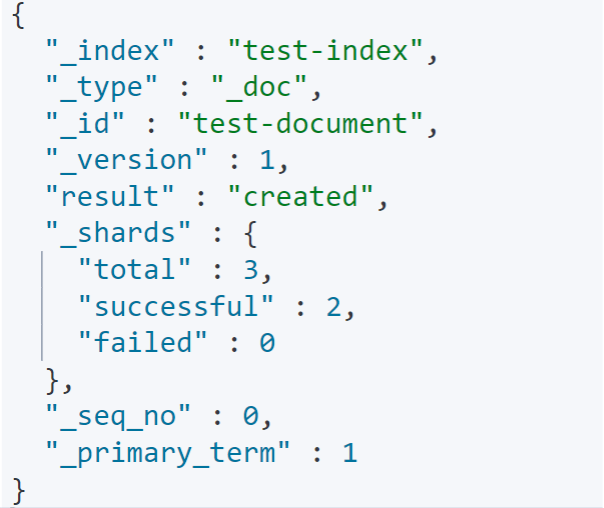
The request above should create a document in the test-index index.
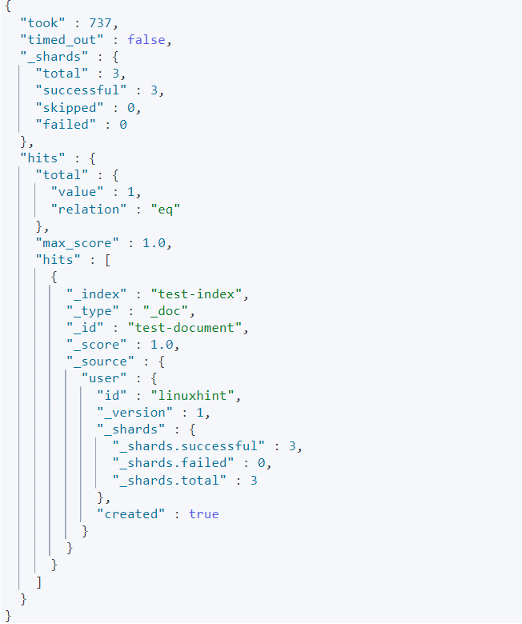
We can verify the document exists using the GET request to the index endpoint.
{
"query": {"match_all": {}}
}'
'
An example output is ans shown:
Step 2: Fetch source configuration
The next step before performing a reindex operation is to copy the configuration of the source index.
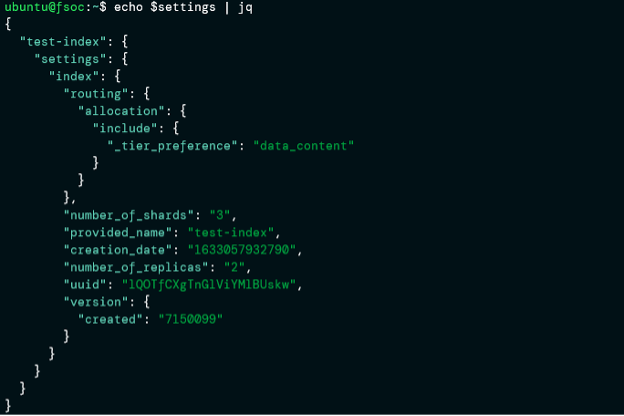
We will start by getting the index setting. To do this, we send a HTTP GET request to the _setting API.
We save the output to a variable which we can verify using the command:
Since the output is in JSON format, we pass it to a JSON processor such as jq. An example output is as shown:
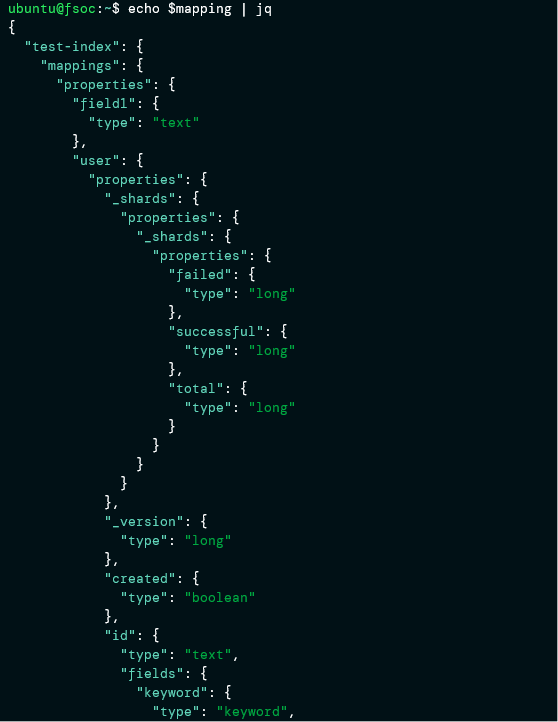
The next step is to get the mapping of the index. In this case, we will send a GET request to the _mapping endpoint as:
Verify the output is saved to the variable:
Output is as shown:
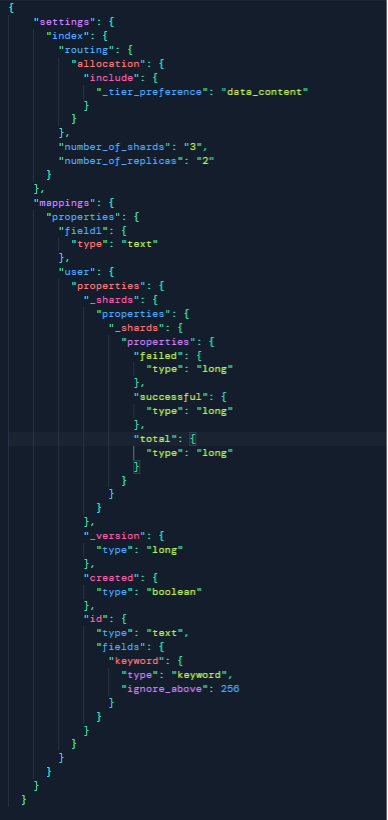
Next, combine the output of both $setting and $mapping to a single JSON format.
The following is a truncated screenshot of both combined outputs (config.json).
Step 3: Create a new index
It is now time to create a new index with the save configuration. Ensure your configuration does not contain any errors.
Run the command as:
The following is the content in the config,json file used in this tutorial.
Upon successful creation, you should see acknowledged: true as shown:
Step 4: Reindex
Now that we have a renamed index similar to the source index, we can copy data from the source to destination using the reindex API.
{
"source": {
"index": "test-index"
},
"dest": {
"index": "renamed-index"
}
}'
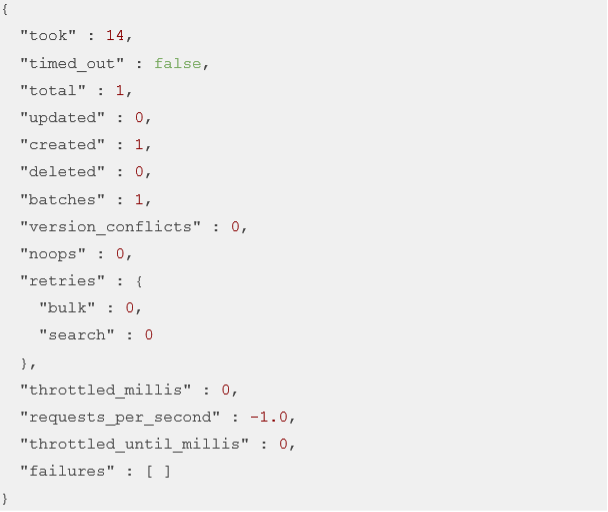
Once you make the reindex request, Elasticsearch will copy the data from the specified source index to the destination index.
Here is an example output:
Step 5: Delete Source Index
It does not make sense to have two indices with similar configuration and data. Hence, we can drop the source index:
{
"acknowledged" : true
}
Method 2: Clone API
The second and easiest way to rename and index is to use the clone API introduced in Elasticsearch version 7.4 and above.
To use the clone API, you must ensure that the source index is read-only and the cluster health is green.
How Cloning Works
Cloning works as follows:
- Create a new Elasticsearch index. The new index should contain identical definitions as the old index (source index).
- The next step is to perform a hard-link segment of the source index to the new Elasticsearch index.
- Once the hard-link is performed, the new index is re-opened with the definitions and data of the old index.
Step 1: Set source index to read-only
To set the source index to read-only mode, we use the _settings API and pass the info as shown in the request below:
{
"settings": {
"index.blocks.write": true
}
}'
Step 2: Clone source index to the target
To clone the test-index to a new index called renamed-cloned-index, we can run the request as shown:
curl -XPOST “http://localhost:9200/test-index/_clone/renamed-cloned-index”
Assuming the following requirements are true, you should have a renamed index of the source index.
- The specified target index must not exist.
- The node has sufficient space to store the cloned index
- The source index has an equal number of primary shards as the specified target index.
Conclusion
In this guide, we covered how to rename an Elasticsearch index using two methods.
Thank you for reading!

