Elasticsearch is built on Apache Lucene and was first released in 2010. Known for its simple REST APIs, distributed nature, speed, and scalability, Elasticsearch is the central component of the Elastic Stack, a set of free and open tools for data ingestion, enrichment, storage, analysis, and visualization.
In this tutorial, we will quickly go over the process of setting up an Elasticsearch instance using the Docker containers.
Requirements:
To run the commands and steps that are provided in this post, ensure that you have the following:
- Installed Docker Engine
- Installed Docker Compose
- Sufficient permissions to run the Docker containers
Define the Docker Compose File
The first step is defining the Docker Compose configuration to run the Docker container. Start by creating the directory to store the config file:
$ cd elastic
Create a “docker-compose.yml” file to run the Elasticsearch cluster as shown in the following example configuration:
services:
elasticsearch01:
image: docker.elastic.co/elasticsearch/elasticsearch:8.9.2
container_name: elasticsearch01
ports:
- 9200:9200
- 9300:9300
environment:
discovery.type: single-node
networks:
- elastic
kibana01:
image: docker.elastic.co/kibana/kibana:8.9.2
container_name: kibana01
ports:
- 5601:5601
environment:
ELASTICSEARCH_URL: http://elasticsearch01:9200
ELASTICSEARCH_HOSTS: http://elasticsearch01:9200
networks:
- elastic
networks:
elastic:
driver: bridge
In this example file, we define two service. The first sets up the Elasticsearch service and the other sets up the Kibana instance. The steps are as described in the following:
- Use the Elasticsearch 8.9.2 image.
- Map the ports 9200 and 9300 from the container to the host.
- Set the “discovery.type tosingle-node” environment variable for Elasticsearch.
- Connect to a custom network called “elastic”.
In Kibana service, we perform the following actions:
- Use the Kibana 8.9.2 image.
- Map the port 5601 from the container to the host.
- Specify the Elasticsearch connection URLs through the ELASTICSEARCH_URL and ELASTICSEARCH_HOSTS environment variables.
- Connect to the elastic network.
Finally, we setup a custom network called “elastic” using the bridge driver which allows the Elasticsearch and Kibana containers to communicate.
Run the Container
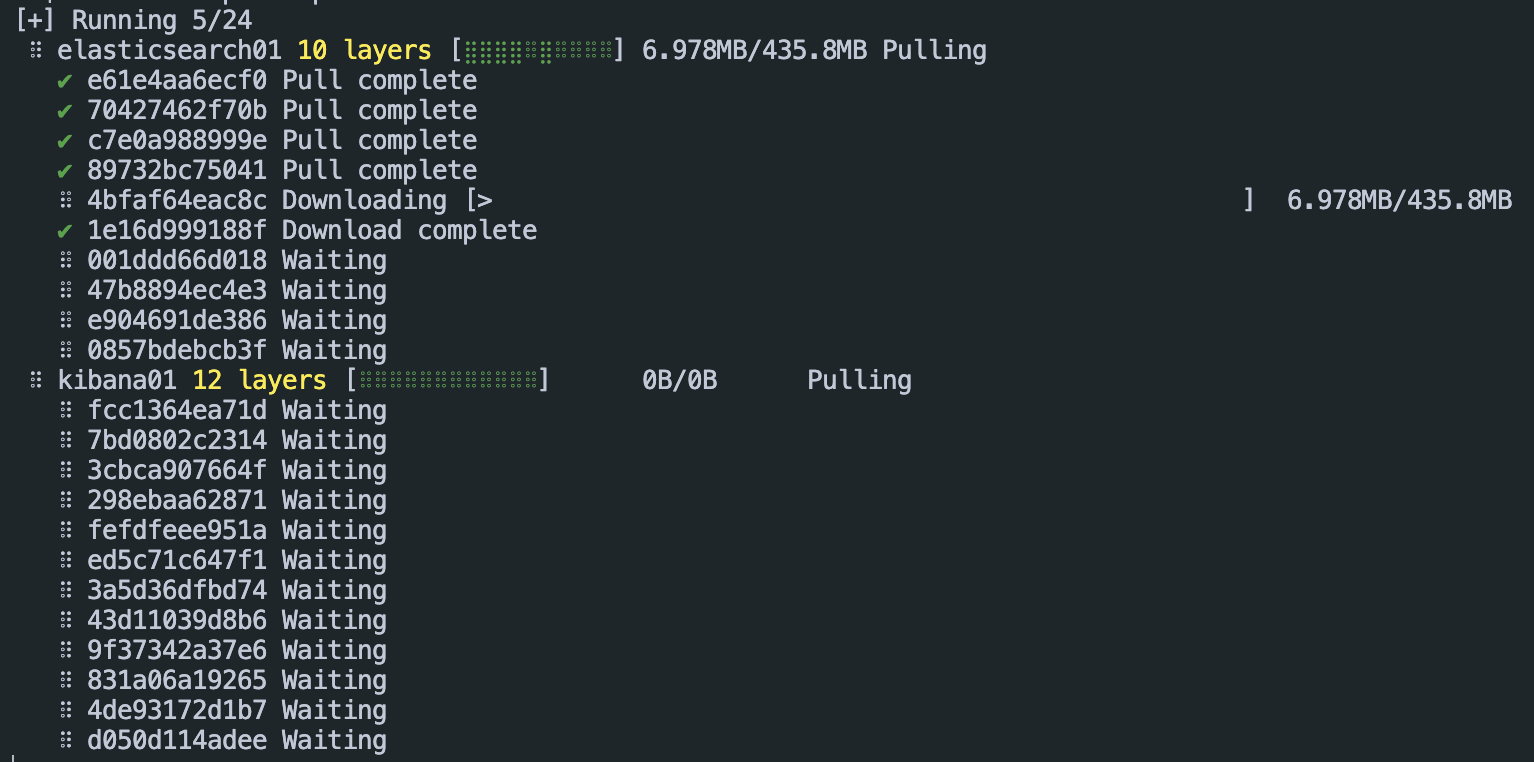
Once we have the services defined, we can proceed and run the containers using the Docker Compose command as follows:
Access Elasticsearch and Kibana
Once the containers are started, we can proceed and access their instances on the following addresses:
http://localhost:5601 -> Kibana
Run Elasticsearch Using the Docker “Run” Command
You can also quickly run Elasticsearch using the docker “run” command without the need to define the custom configuration.
Start by creating a Docker network to attach to the Elasticsearch instance:
Once created, run the following command to create the Elasticsearch instance and attach it to the created network:
This simplifies the process of creating a custom “docker-compose” file and run the Elasticsearch instance quickly.
Conclusion
This article covered the fundamental steps of defining and running an Elasticsearch and Kibana instances using the Docker containers.