Update the Ubuntu Repositories
Let’s begin with the launch of the Command Terminal on the Ubuntu system. Before moving towards the different methods to install Node on the Ubuntu system, we need to update the repositories of our Ubuntu system using the “apt” package in the “update” instruction.

Check the Node Version
Before installing Node on the Ubuntu system, you should be sure that it’s not already installed at your end. For this, the use of “version” instruction is more than enough. Use the “node” keyword followed by the “-v” option to check the version of the Node. The output displays that it’s not found in the system and you need to install it.

Install Node Using the Apt Default Repository
The first and easiest way to install any program in an Ubuntu system is to use the “Apt” default package in the command shell. The “install” instruction should be executed by the use of the default “Apt” package and the “nodejs” keyword at the end. Make sure to run this query with “sudo” rights to avoid any privilege issues while working. Right after the execution of this query, the installation processing starts.
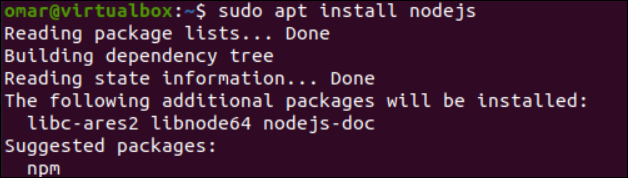
While the process of execution of the previous instruction has taken place, it requires the availability of a 30.7MB disk on your Ubuntu machine. Make sure to have that and affirm yes by tapping on the “y” key as depicted in the following:

To confirm the installation and the installed version of Node on the Ubuntu system, run the “version” instruction by utilizing the “-V” option as shown in the following. The installed version is displayed on the terminal screen as follows:

Configure Node.js if the bundle in the repositories that meets your requirements just takes a few minutes. Most of the time, installing npm—the Node.js package manager—is also something that you should do. To accomplish this, use “apt” to set up the npm package in your Ubuntu system as follows:

Affirm installing the npm package manager by pressing “y” upon prompt.

Wait until the node package manager “npm” gets installed as depicted in the following image:

After certain processing, the node package manager will be successfully installed.

Install Node Using the Node Source PPA
Users can employ a PPA (personal package archive) that is kept up-to-date by NodeSource to set up an alternative release of Node.js. Compared to the standard Ubuntu repository, these PPAs offer more Node.js releases. First, we must ensure that the system is not affected by the previous installation. So, we update the “apt” packages and repositories via the “update” instruction.

After the update, make sure to update the system repositories and packages so that the system can get the effects of the new installations to be made. Therefore, the shell utilizes the “upgrade” instruction via the “apt-get” package.
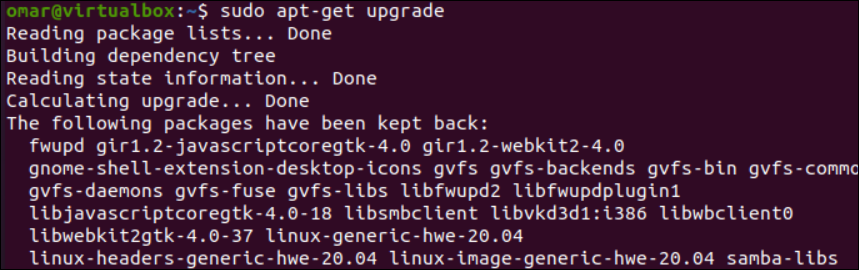
Make sure to affirm that you want to continue this upgrade and wait for a while.

After a successful update and upgrade, you need to use the “cd” instruction to move within the home directory of your Ubuntu machine. After this, we move towards using an instruction to get the Node.js from its source. So, the “curl” utility is utilized in the instruction with the “-sL” option to get the setup of the Node.js version 16 from the source site and make its object file in the “tmp” folder using the “-o” option. This is going to be the downloaded Node script that we can go through.
$ cd -sL https://deb.nodesource.com/setup_16.x -o /tmp/nodesource_setup.sh

Now, the built-in “GNU Nano” editor is utilized in the command shell to open the newly created “nodesource_setup.sh” script file in the “tmp” folder to review it.
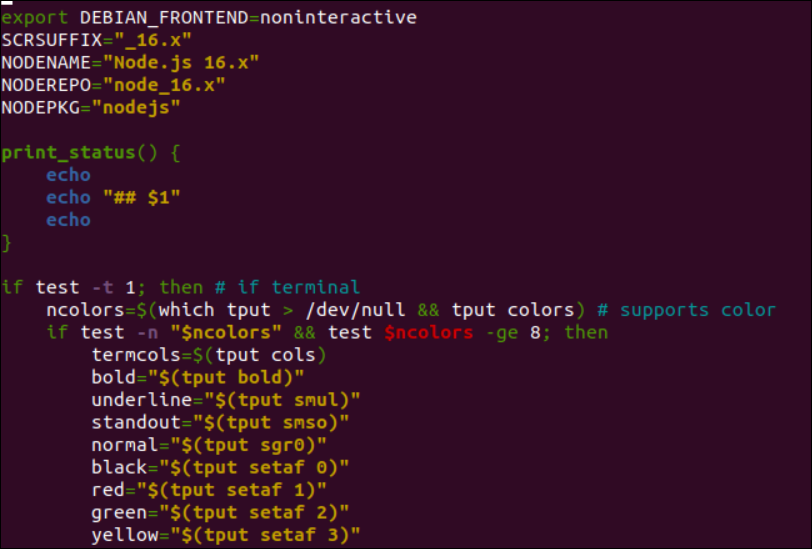
The setup node source Bash file will be opened in the nano editor. You can edit it if you want to and save it untouched if you are satisfied with the contents of this file.
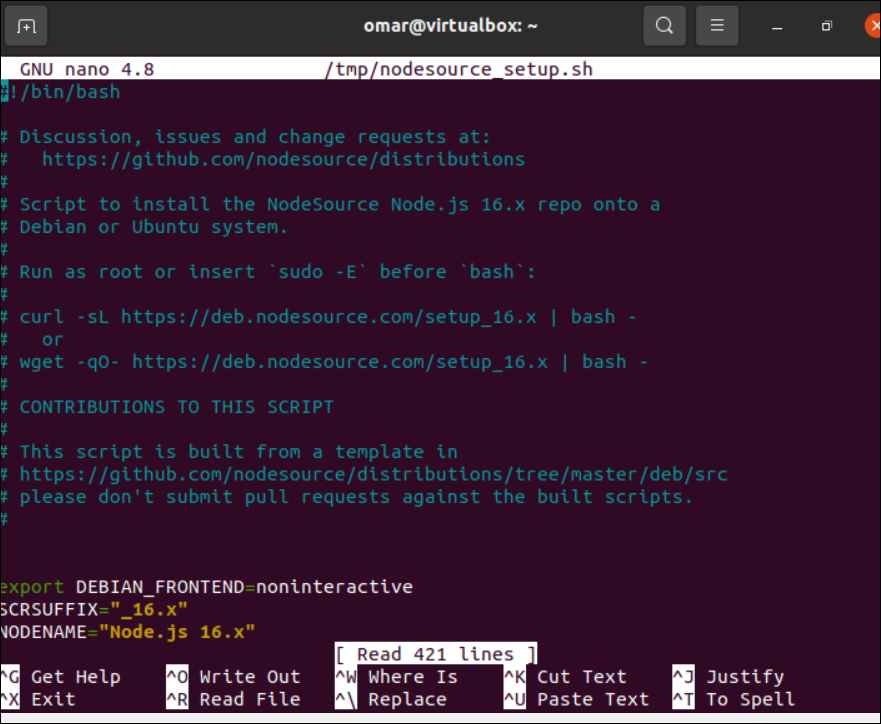
The script of the file is displayed as follows:
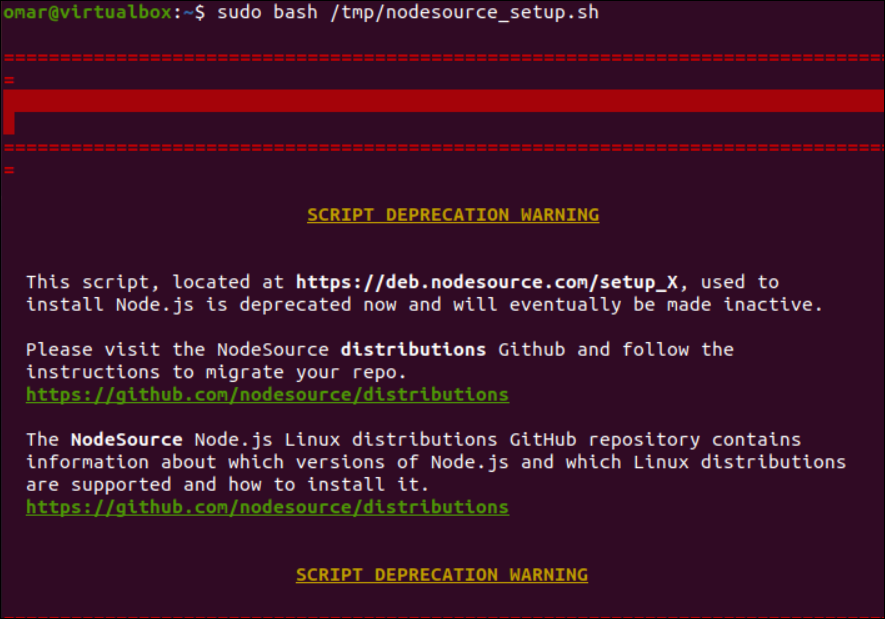
It’s time to run the Bash “script” file that we reviewed. Make sure to only run it when you are totally satisfied with its script. The “bash” instruction executes the file using the file path and the sudo rights. The execution may display a warning that the running script might be deprecated, and you should installs another node version via the node source. Follow the instructions after that.
After the successful execution of the Bash script, the ppa of the Node will be added to your system configuration successfully. Now, it’s time to install the loaded Node version on our system using the same “install” command with the “apt-get” package. The latest version of Node will be installed successfully at our end.

Uninstall Node
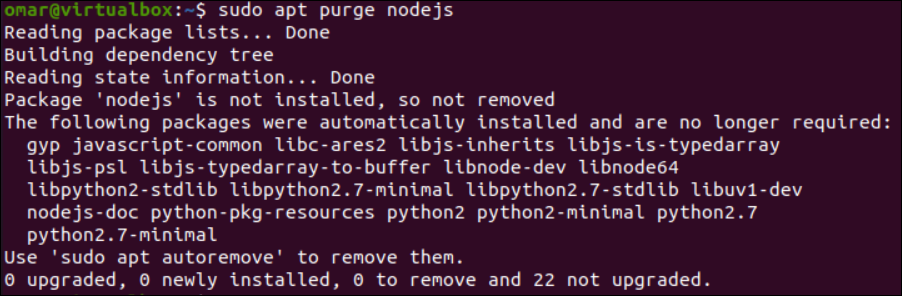
If you don’t need the feel to use the Node in your Ubuntu Linux environment, you can remove it via the “apt” package followed by the “remove” keyword and the “nodejs” package name.

To automatically remove its documentation folders and cached data, make sure to use the “purge” instruction as well.
Conclusion
This guide contains all the instructions that you need to install the latest Node version on the Ubuntu system. Within this guide, we discussed two different ways to simply install the Node like using the default “apt” repository and the node source ppa. In the end, we also discussed how to completely remove it from the system.