
Primary Operating System – Windows or Ubuntu?
If you’re going to dual boot Ubuntu and Windows, then the first question may be, which one do I install first? From my experience, it’s always a good idea to install Windows first and then Ubuntu. Otherwise, you won’t be able to boot into Ubuntu at all. Windows bootloader is not very Linux friendly as far as I know. But our favorite Linux bootloader GRUB can boot Linux and Windows without any problem. So, take my words and always install Windows first if you want to dual boot.
Preparing Windows 10 for Dual Booting:
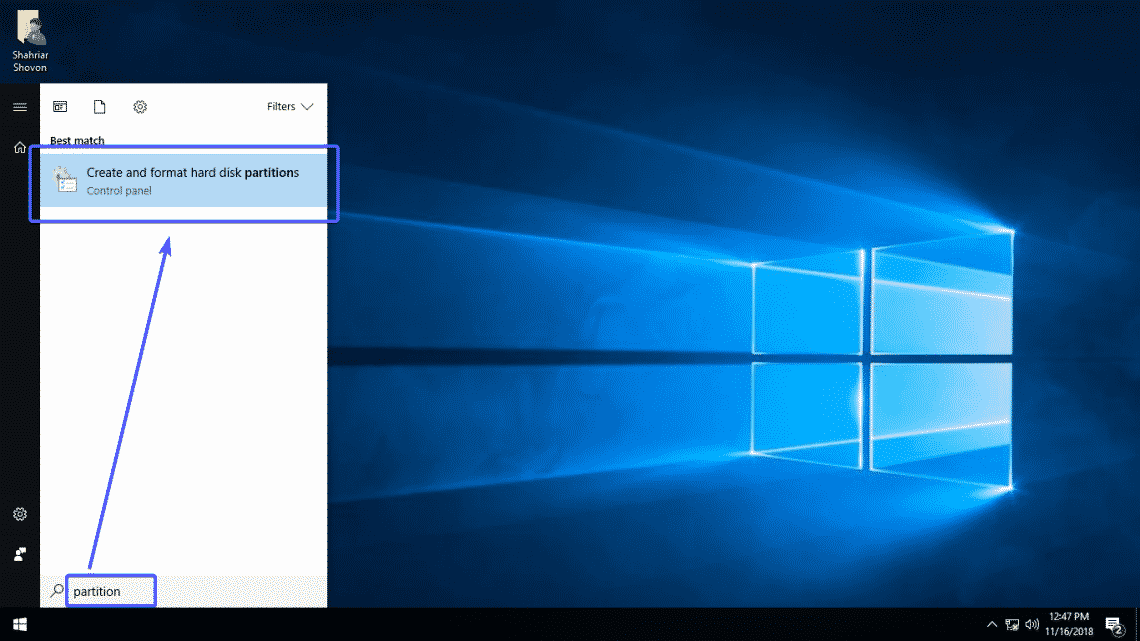
Once you’re done installing Windows 10, you have to make room for Ubuntu 18.04 LTS installation. First, go to Start and search for partition. Now, click on the Create and format hard disk partitions as marked in the screenshot below.
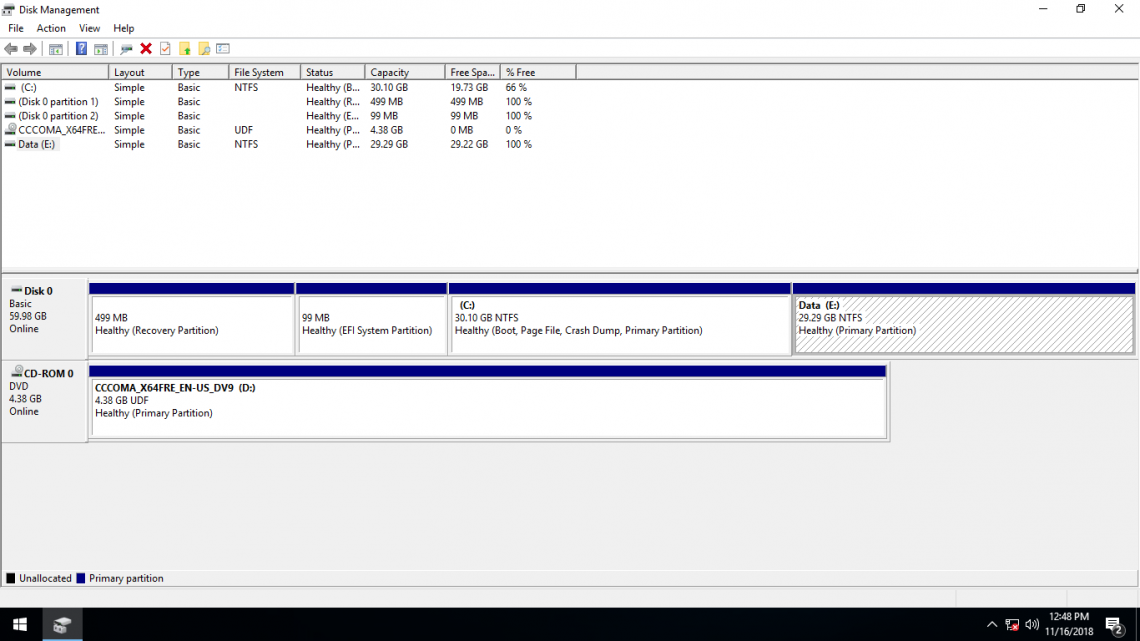
The Windows 10 Disk Management tool should be opened. Now, you have to create at least one partition for Ubuntu. If you don’t need a partition, you can just delete it. If you have important data in every partition, then you can shrink one of the partitions to make room for Ubuntu. If you’re shrinking partitions, then make sure to shrink the one that has a lot of free spaces.
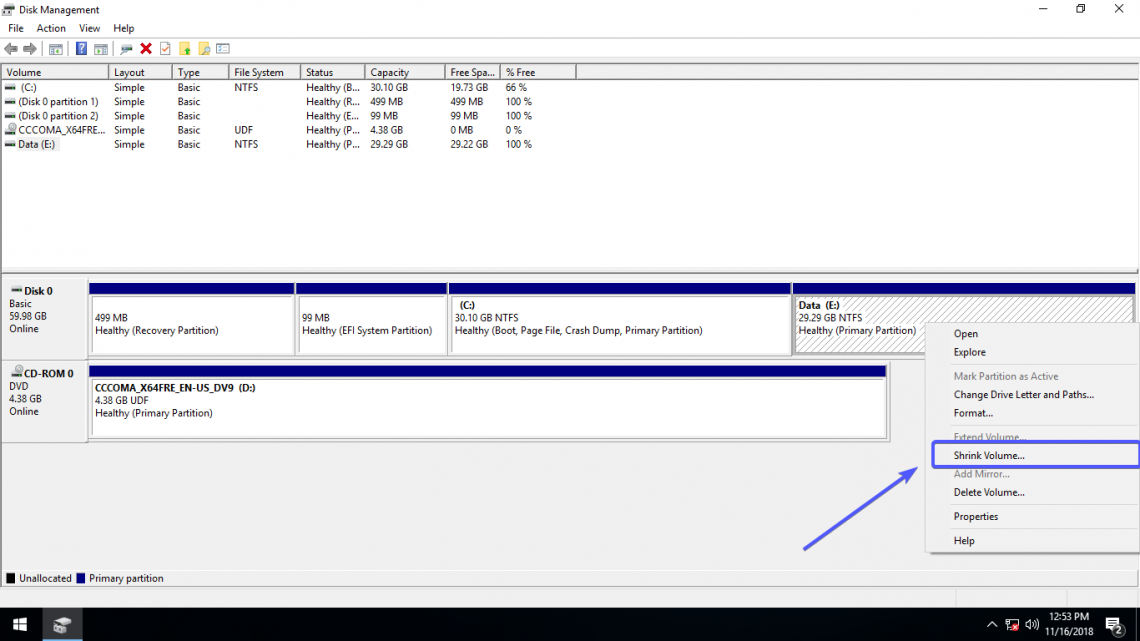
Let’s say, you have a partition label as E:/ in Windows 10, and you want to shrink it to make room for Ubuntu. Just right click on the partition and click on Shrink Volume… as marked in the screenshot below.
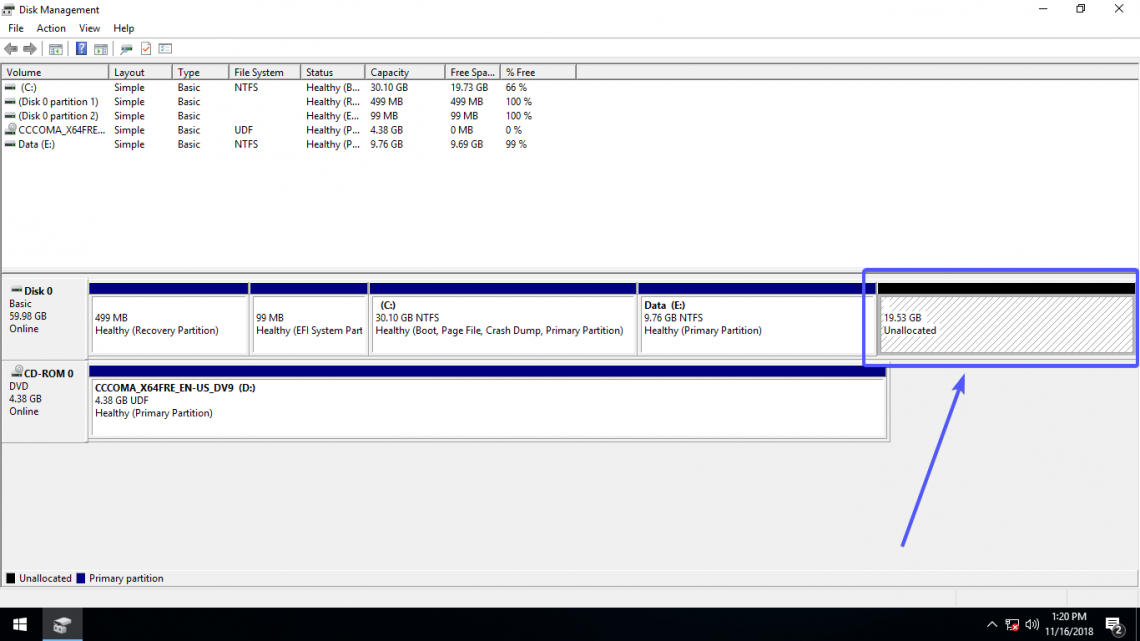
A Shrink window should be opened. Now, type in the space (in MB) that you want for the partition where you want to install Ubuntu and click on Shrink.
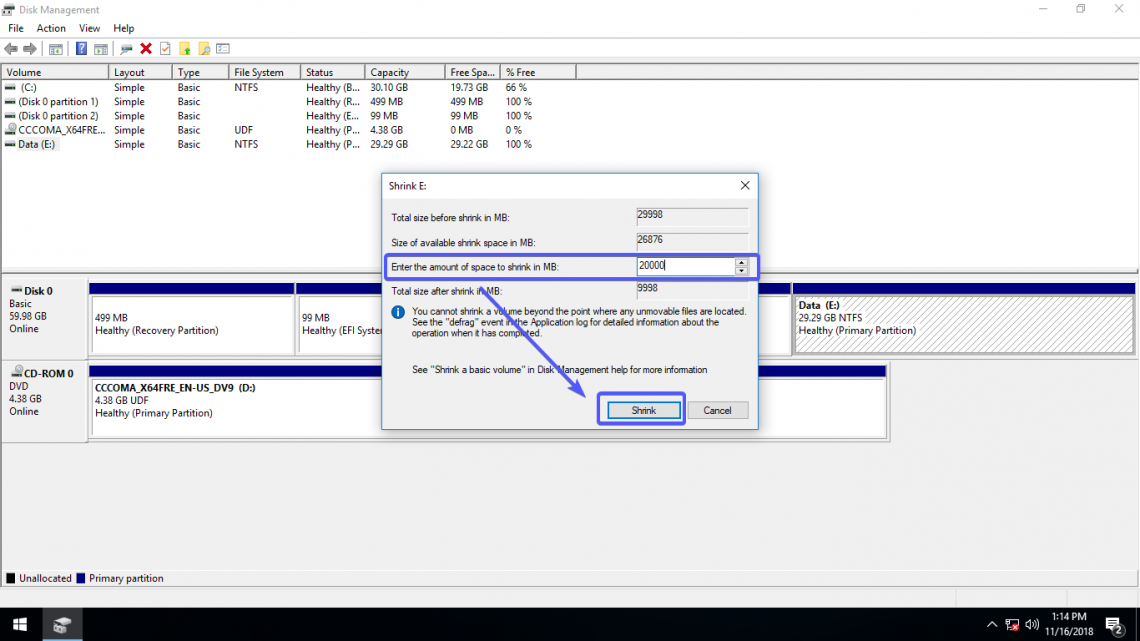
As you can see, about 20GB of disk space is freed (unallocated). You can install Ubuntu here.
If you want to delete a partition (let’s say E:/) completely, just right click on the partition and click on Delete Volume… as marked in the screenshot below.
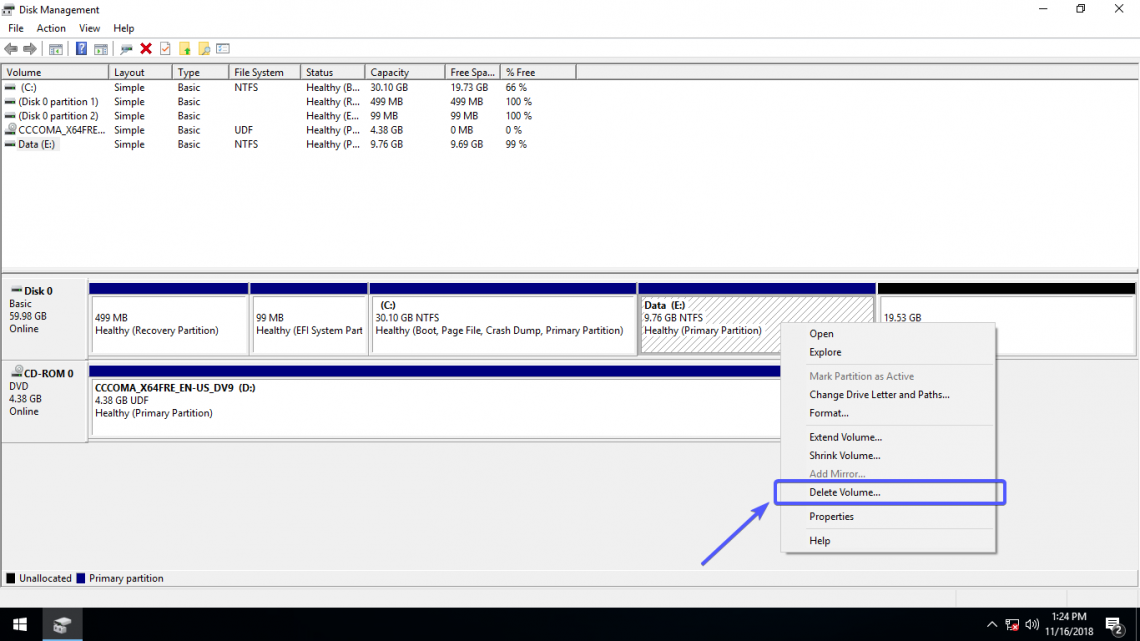
Now, click on Yes.

As you can see, the partition is deleted and the disk space is now free (unallocated).
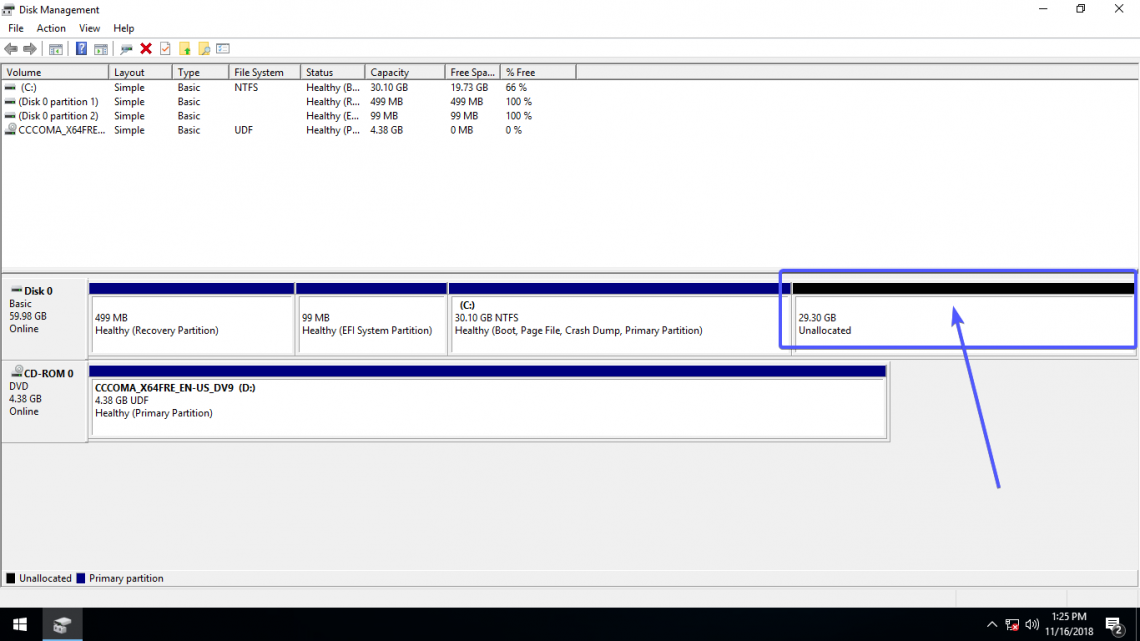
Now, you’re ready to install Ubuntu in dual boot configuration.
Installing Ubuntu Alongside Windows 10:
Now, download Ubuntu ISO image from the official website of Ubuntu and make a bootable USB thumb drive of Ubuntu using Rufus. Then, boot into Ubuntu Live media and select Try Ubuntu without installing from the GRUB menu.

Now, test and see if everything works on your machine. If it does and you plan to install Ubuntu, then click on Install Ubuntu 18.04.x LTS icon as marked in the screenshot below.

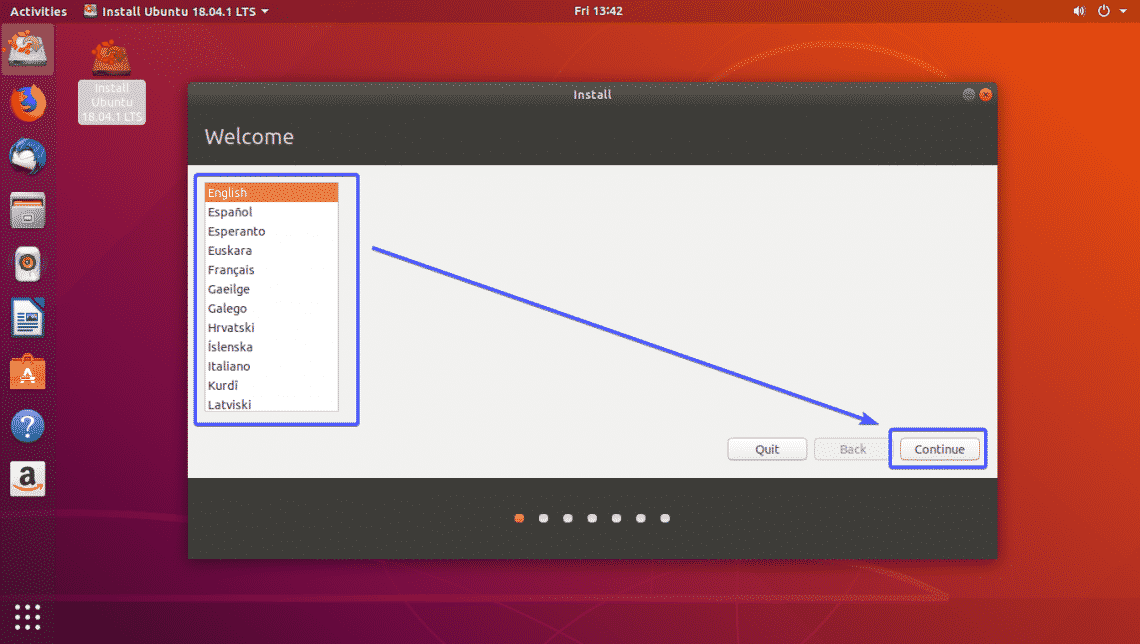
The Ubuntu installer should show up. Now, select the installer language and click on Continue.
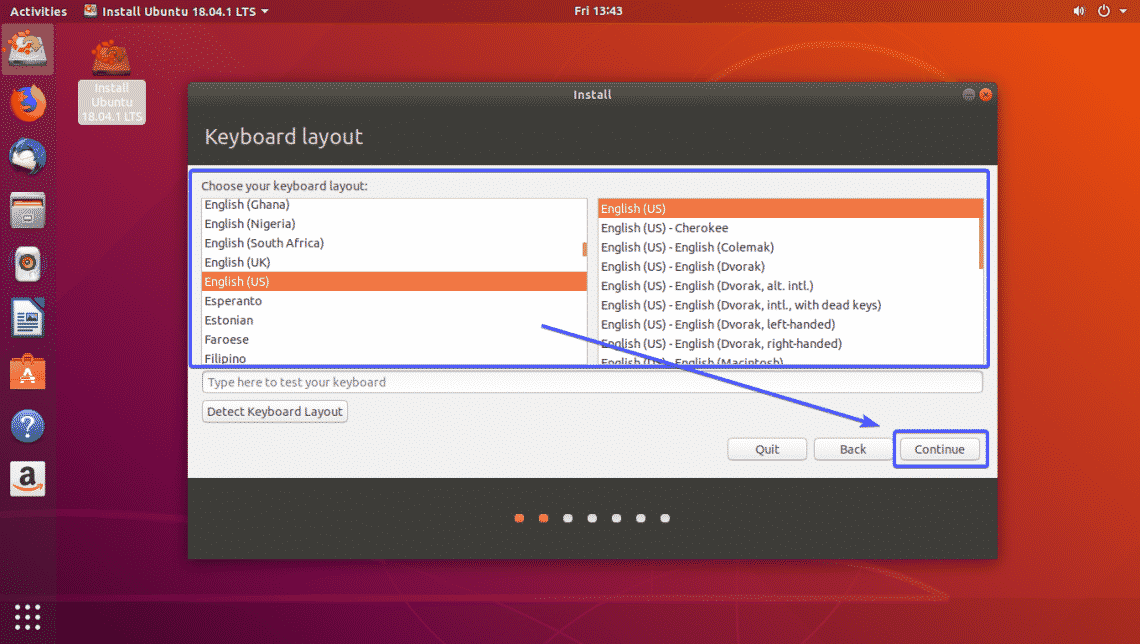
Select your Keyboard layout and click on Continue.
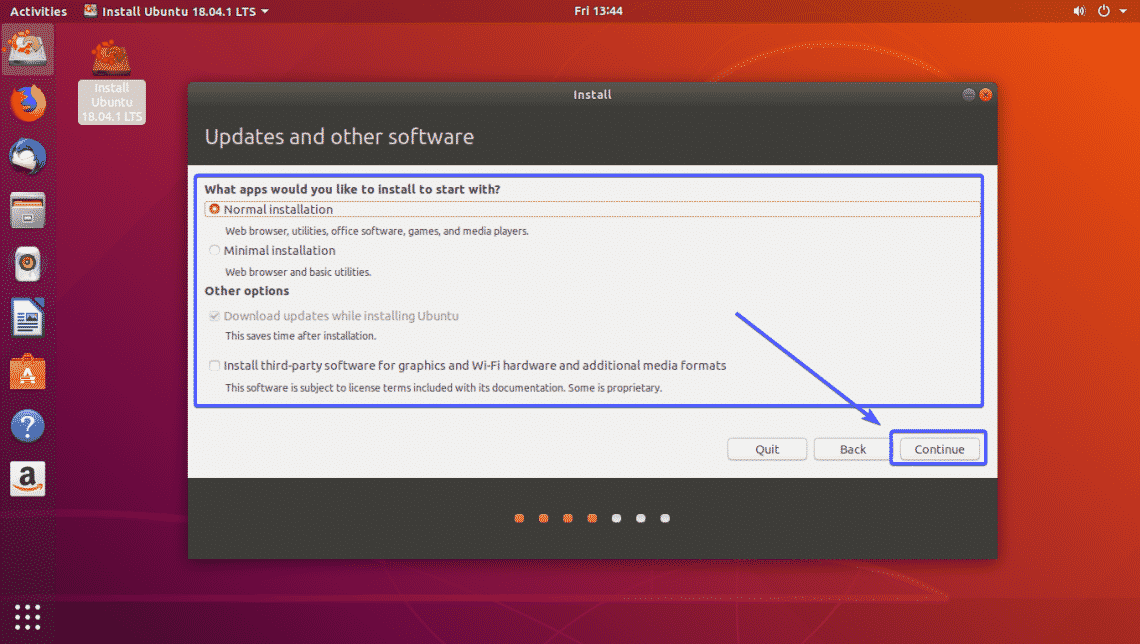
Now, select and check the options depending on your need and click on Continue. I have written dedicated articles on how to install Ubuntu 18.04 LTS at LinuxHint.com. If you want to know what each of these options does, then you may take a look at it. I am focusing on Dual booting in this article.
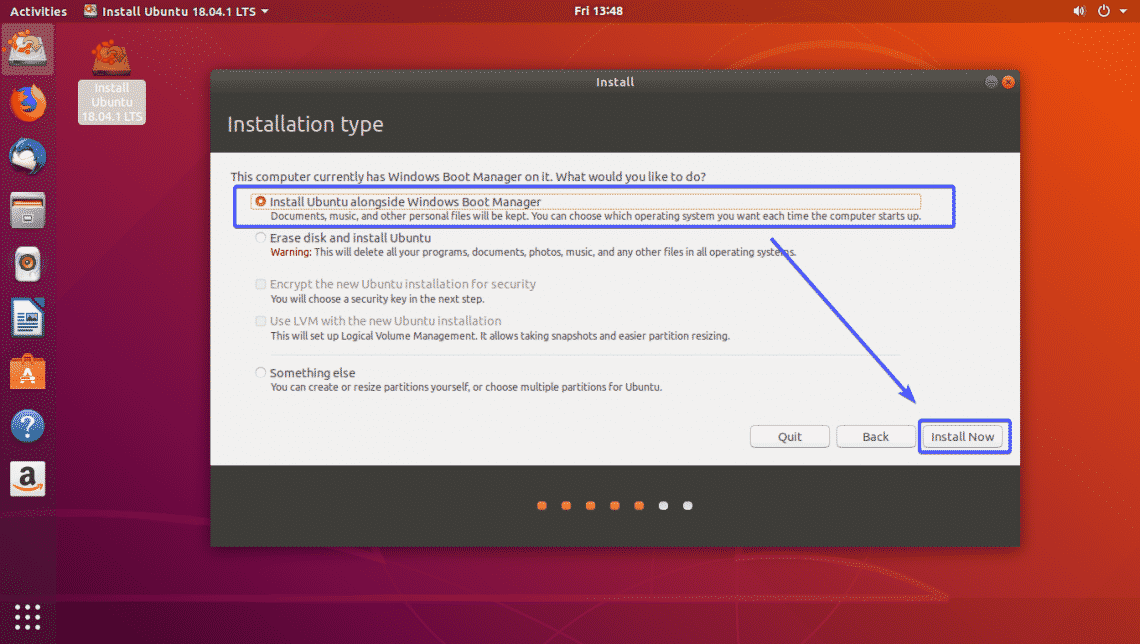
Now, select Install Ubuntu alongside Windows Boot Manager and click on Install Now.
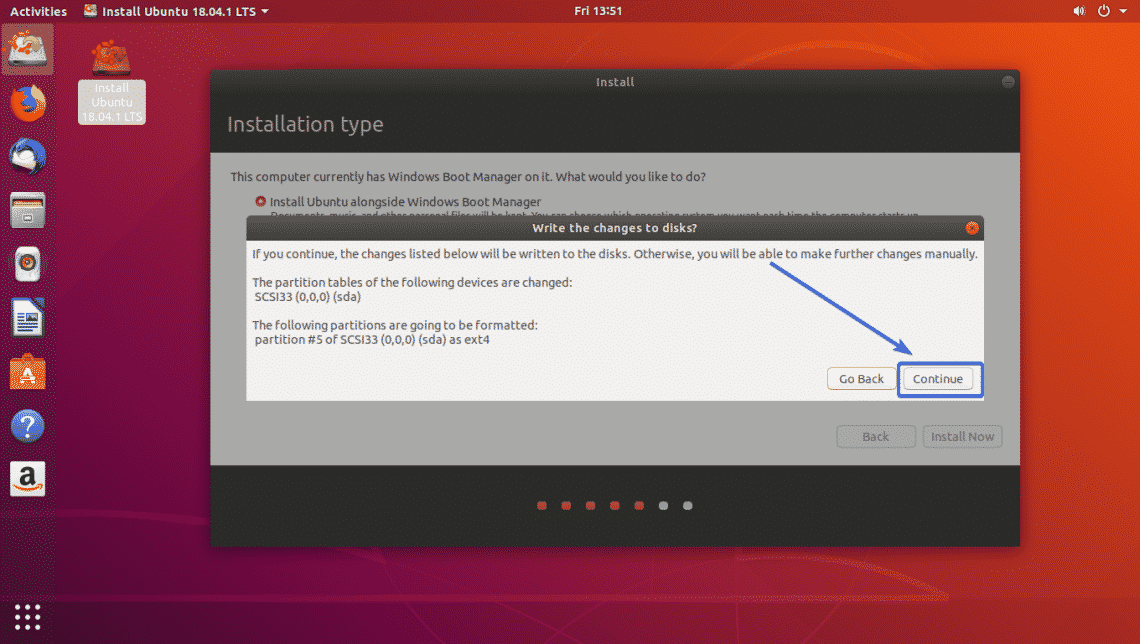
Now, click on Continue.
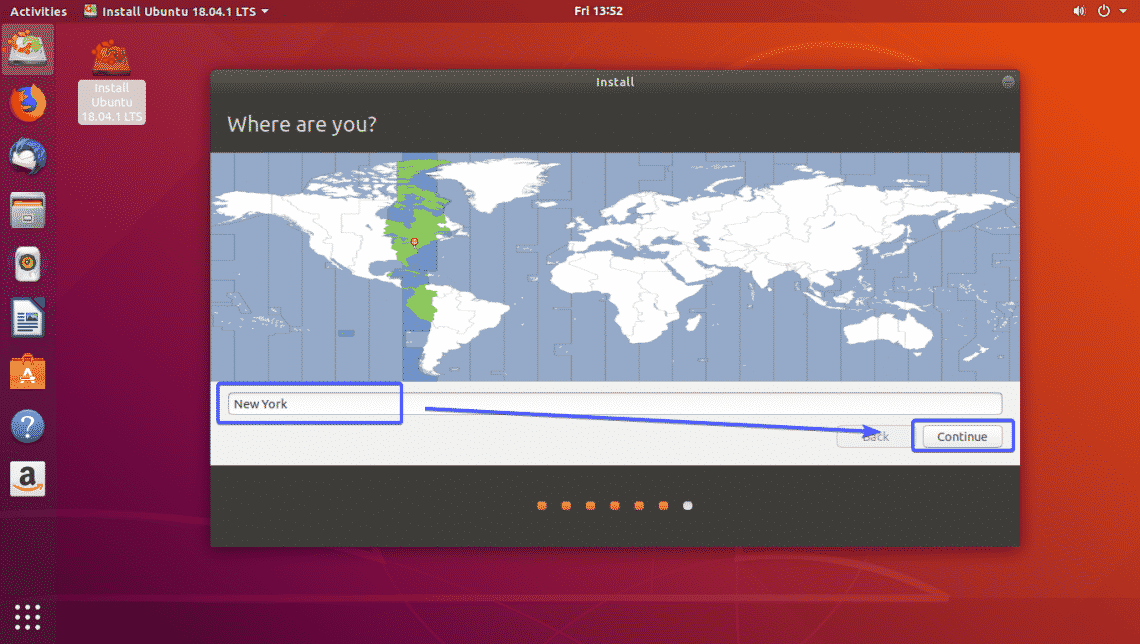
Now, select your location and click on Continue.
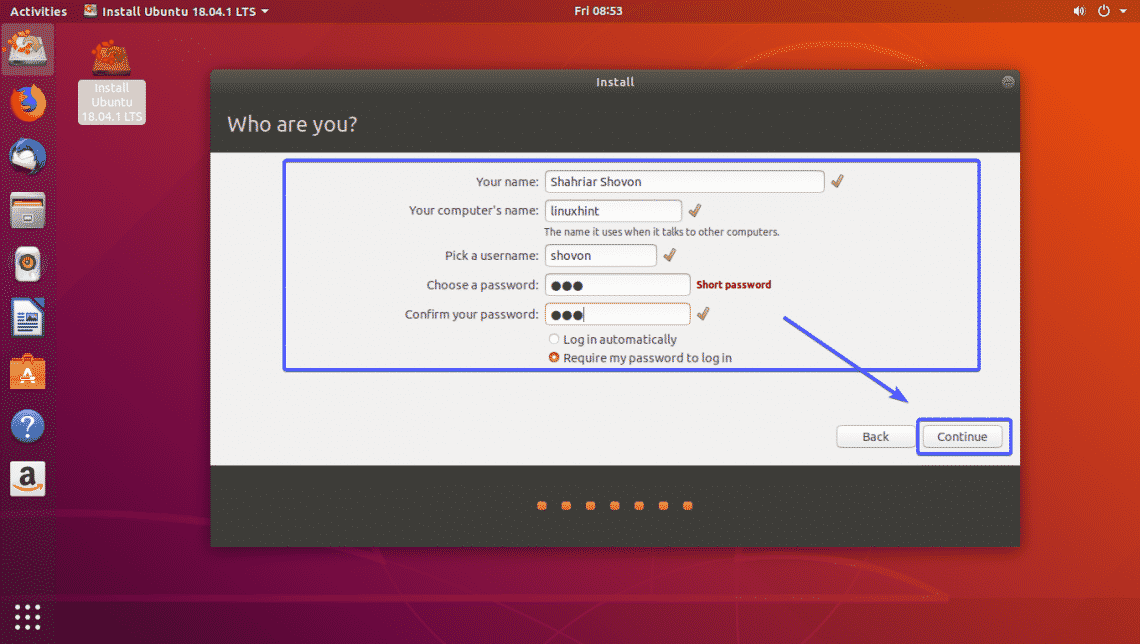
Now, type in your personal details and click on Continue.
As you can see, Ubuntu is being installed. Ubuntu will be installed on the unallocated disk spaces that you made from Windows 10.

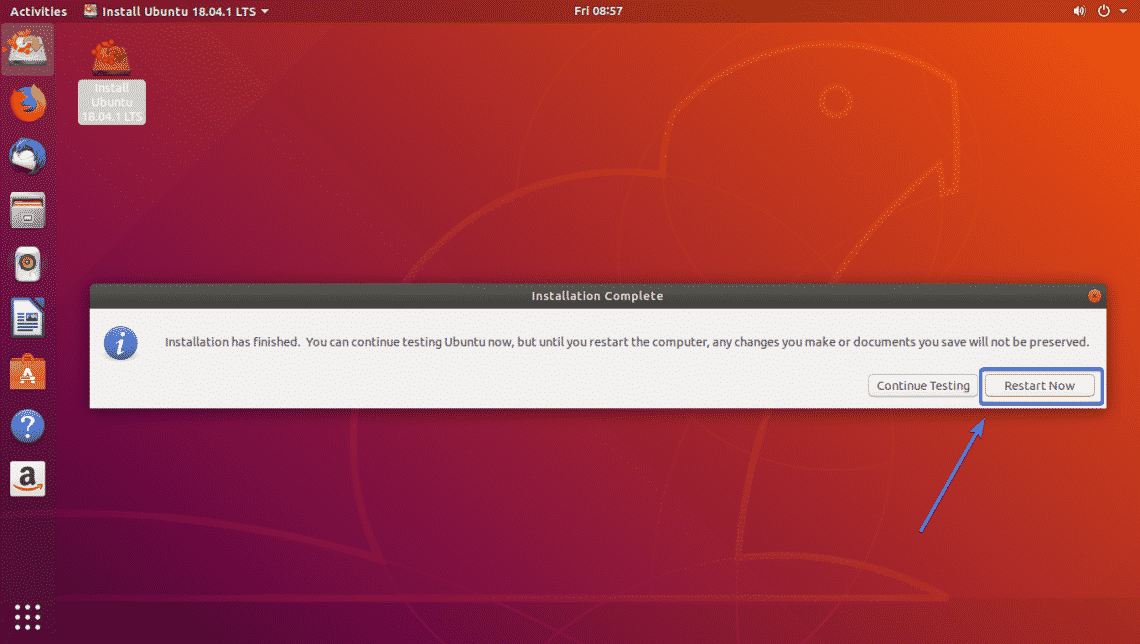
Once Ubuntu is installed, click on Restart Now.
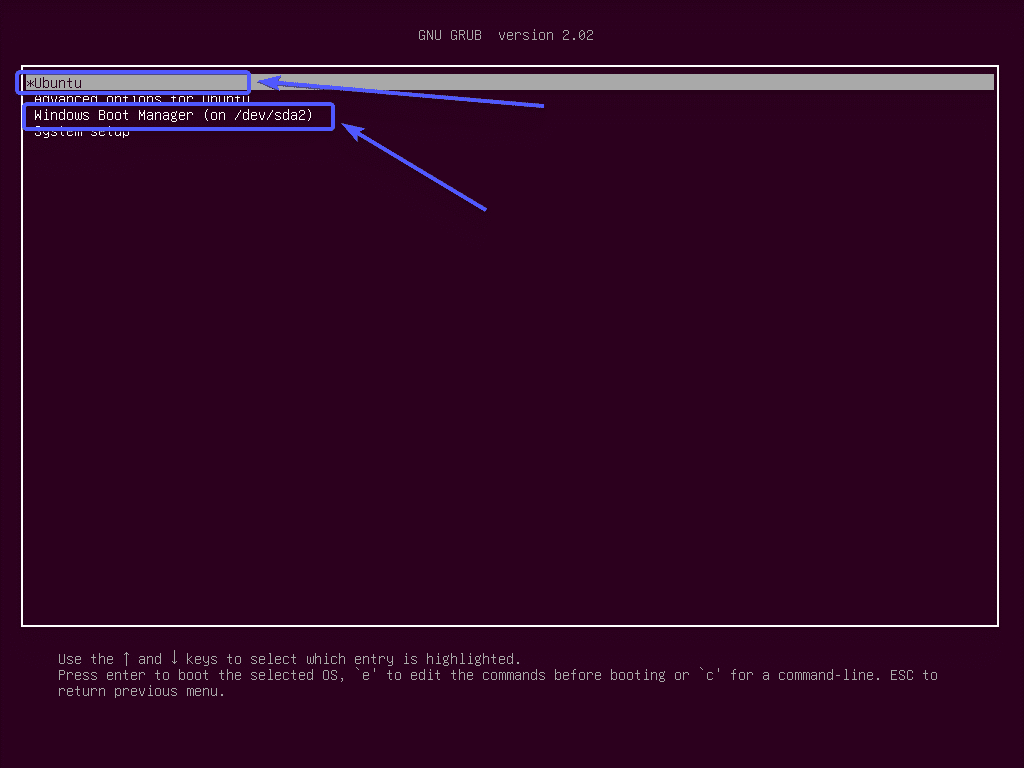
Your computer should reboot and you should be presented with the following GRUB menu. As you can see in the marked section of the screenshot below, you can now boot into either Ubuntu or Windows 10 (Windows Boot Manager). Just use the up and down arrow keys on your keyboard to navigate between Windows or Ubuntu and once you’re done, press <Enter>.
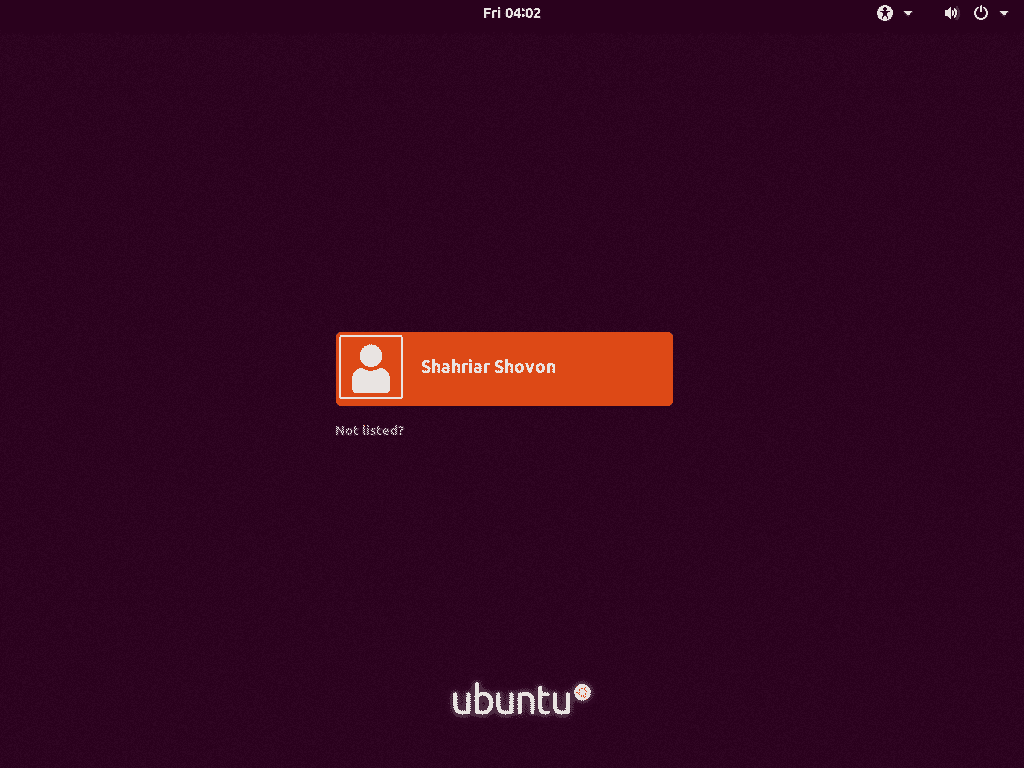
As you can see, the Ubuntu login screen showed up when I selected Ubuntu from the GRUB menu.
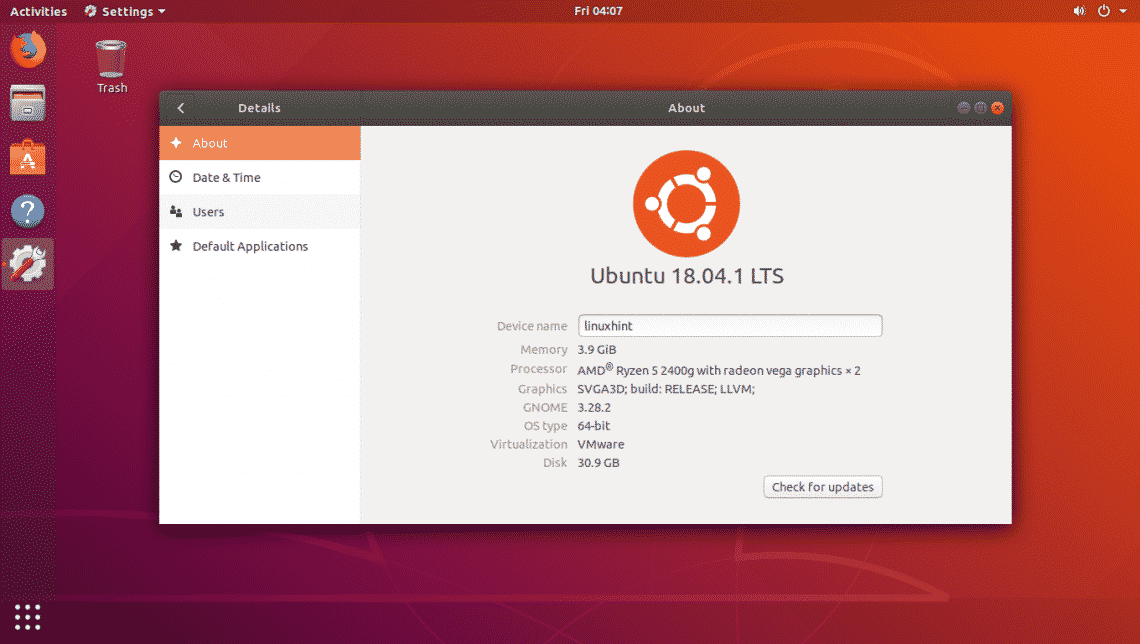
As you can see, I am using Ubuntu 18.04.1 LTS in dual boot configuration alongside Windows 10.
As you can see, I can also boot into Windows 10.

Windows 10 is working just fine in dual boot configuration.

So, that’s how you install Ubuntu alongside Windows 10 in dual boot configuration. Thanks for reading this article.