Why Linux Mint
In the Linux community, Linux Mint has established a strong reputation for being simple and user-friendly, especially for the new Linux users. As a Windows user, Linux Mint offers the perfect ground for getting familiar with Linux.
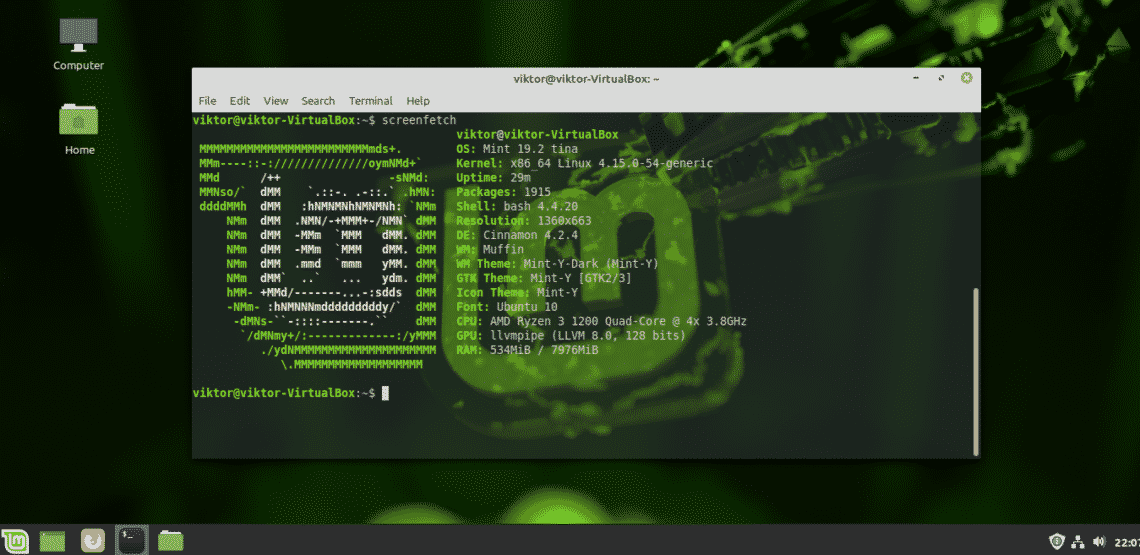
The interface of Linux Mint is quite intuitive. It comes up with 3 different desktop environments: Cinnamon, XFCE and MATE. As you’re a beginner, my personal recommendation is to go with Cinnamon desktop. Every element of Cinnamon resembles Windows. Even the most common shortcuts are quite the same! Start button, clickable icons, system trays, file manager, etc. everything is quite similar to Windows. No need to relearn the desktop, right? Reapply your Windows experience in a very similar fashion.
Best of all, Linux Mint updates. You have total control over how you update and what you update. There’s no Windows “forced” updates to screw you up.
If you’re still confused about making the switch, don’t worry. Try out Linux Mint on VirtualBox. VirtualBox is a free software that allows running any operating system as a virtual machine. Learn how to install Linux Mint on VirtualBox.
Ready to dual boot with Linux Mint? Let’s get started!
Before getting started
Before anything you do, make sure that you’re taking a backup of your important files. Partitioning is a sensitive process and anything wrong will delete your data for good. In most cases, it’s the boot partition that handles all the stresses, so take care of your files that are there.
There are a handful of other things you need at hand to get started.
- Windows bootable media: This will be useful in case the Windows installation doesn’t work. We’ll be using USB flash drive as the bootable media.
- Linux Mint bootable media: In our case, it’s going to be a bootable USB flash drive.
Preparing the installation media
There are 2 tools that I’ll be showcasing for creating the bootable media. For creating the Linux bootable media, you can use both of them. However, as for Windows bootable media, use Rufus (if possible).
Using Rufus
If you’re on Windows, you should use Rufus. It’s a free yet extremely powerful tool that can prepare bootable USB flash drives in minutes!
Get Rufus. It’s a very lightweight tool packing serious punch!
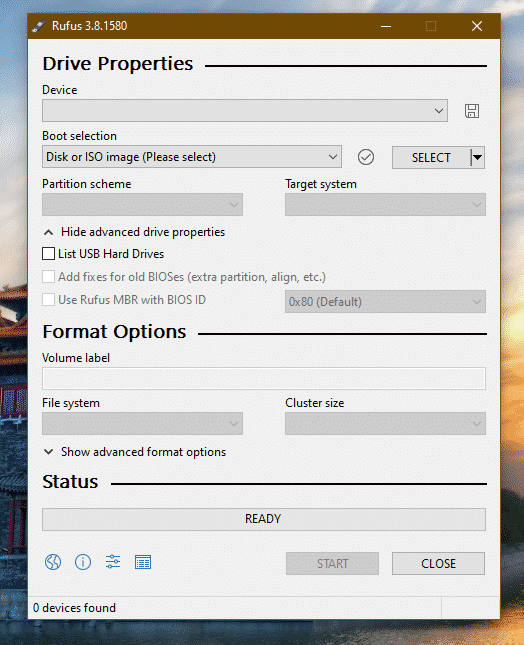
Connect a suitable USB flash drive. Rufus will automatically detect it. If you have multiple drives, select the right one from the drop-down menu.

Now, grab the Linux Mint ISO. I’ll be using Linux Mint Cinnamon edition.
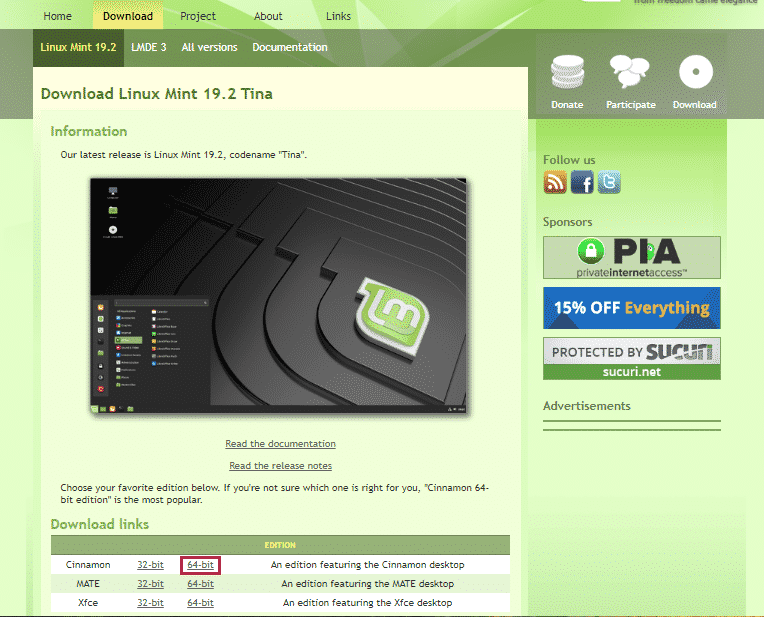

Click the “Select” button on Rufus and select the ISO.
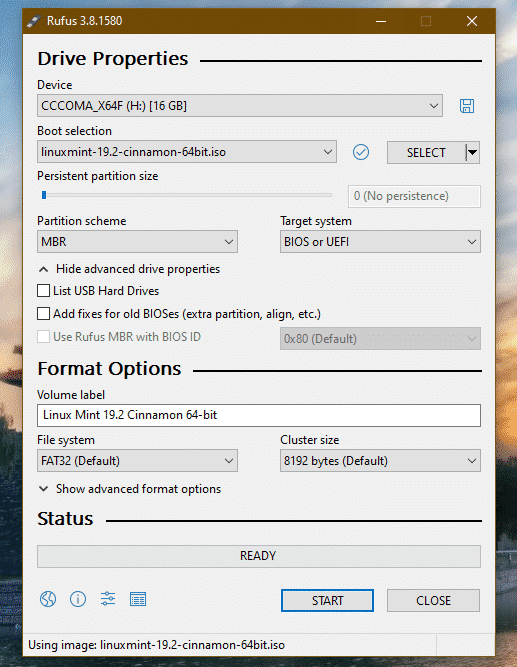
As of the partition scheme, select the one that’s your disk is currently using. On Windows, run the following command on Command Prompt with admin privilege.
diskpart
list disk

If there’s an “*” mark in the “Gpt” field, the device is using GPT. Otherwise, it’s just a normal MBR partition table.
Now, click “START”.
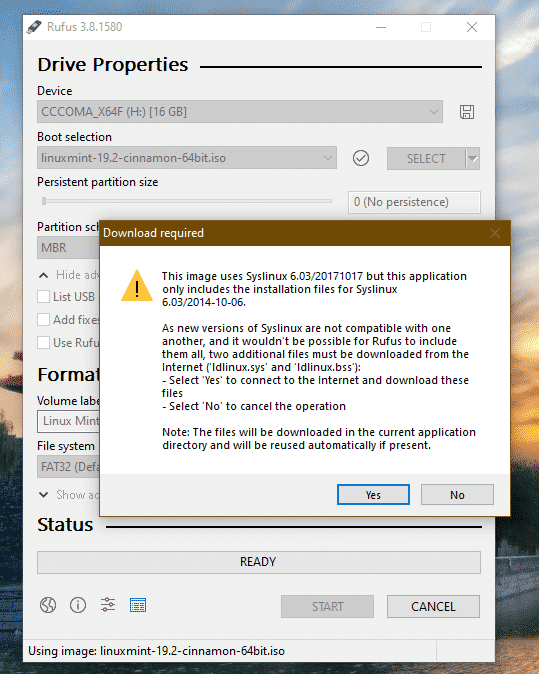
Once the warning appears, click “Yes”.
Next up, select “Write in ISO Image mode”.

Click “OK” again.

Once the process completes, you’ll see the following screen.
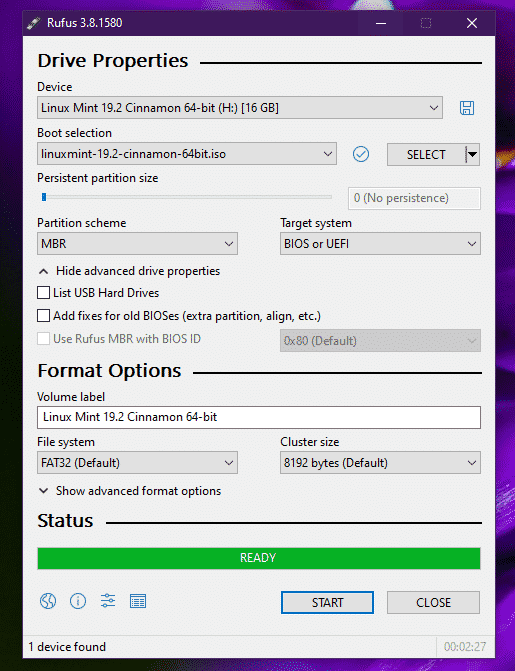
Click “CLOSE”.
Using Etcher
This is another cool tool that can create bootable flash drives. It’s available on Windows, Linux, and macOS.
Get Etcher. It doesn’t matter whatever system you’re on; this tool will appear the same. I’ll be creating a bootable USB flash drive using Etcher on Windows.

Grab the Linux Mint Cinnamon ISO. Now, fire up Etcher.

Click the “Select image” button and select the ISO.
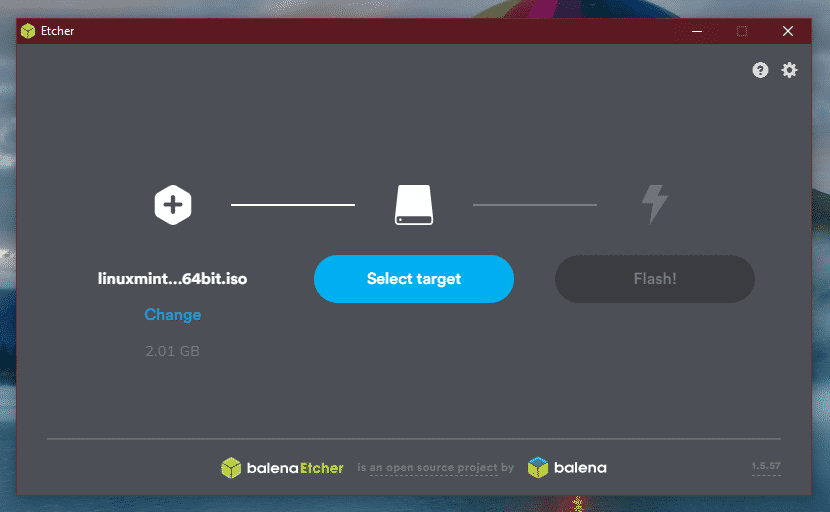
Next up, you need to connect the USB flash drive. If there are more than one, you’ll be prompted to select one from the list.

Click “Flash”.
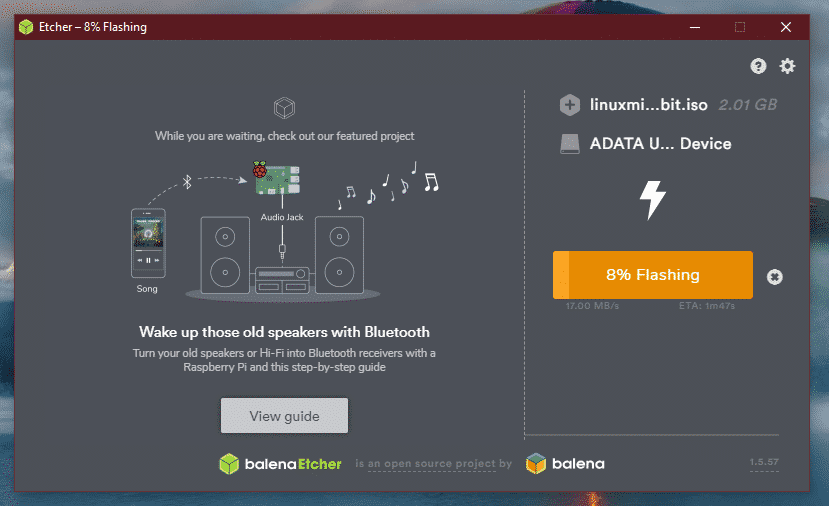
Wait for the process to complete.

Voila! The USB flash drive is bootable.
Windows Bootable media
In a similar manner, Windows ISO is directly available from Microsoft. Get Windows 10.

If you’re on Windows, you’ll have to use the Windows Media Creation Tool. If you’re on Linux, you can directly download the ISO.
Once downloaded, you can use the tools to create a bootable media. However, use Rufus if possible as it’s fine-tuned to handle Windows bootable media creation.
Freeing up space
This is the most important part of dual-booting different operating systems. Every individual operating system has to have a dedicated partition to it with sufficient space where it can breathe. The same principle applies here. Rest assured; as we’re going with Linux, the space requirement is actually lower.
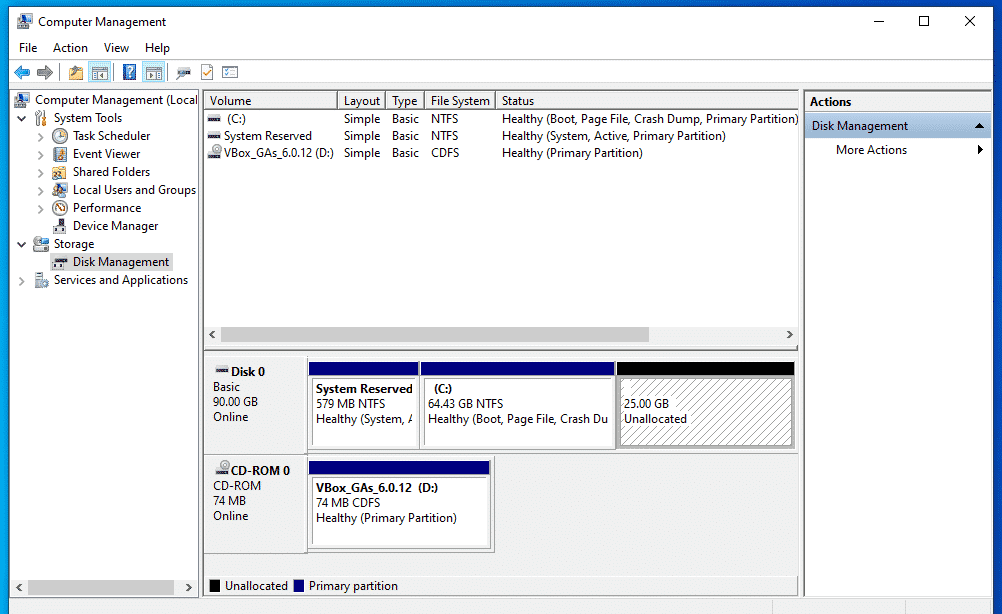
In my case, I’ve already freed up about 25GB of space from my boot partition.
Installing Linux Mint
Connect the bootable media and boot into it.

Select “Start Linux Mint”.
Once you’re on the system, you can either explore or get started with the installation process. Double-click the “Install Linux Mint” icon on the desktop.

First, select the language.

Next up, it’s the keyboard layout. Select the right one. If you’re unsure, click the “Detect Keyboard Layout” button. It’ll pop up a series of questions that will determine the keyboard layout for you.

Check the box labeled as “Install third-party software”.

Here comes the critical part. It’s time to select the right partition. Select “Something else”.


Create a new partition using the “free space”.
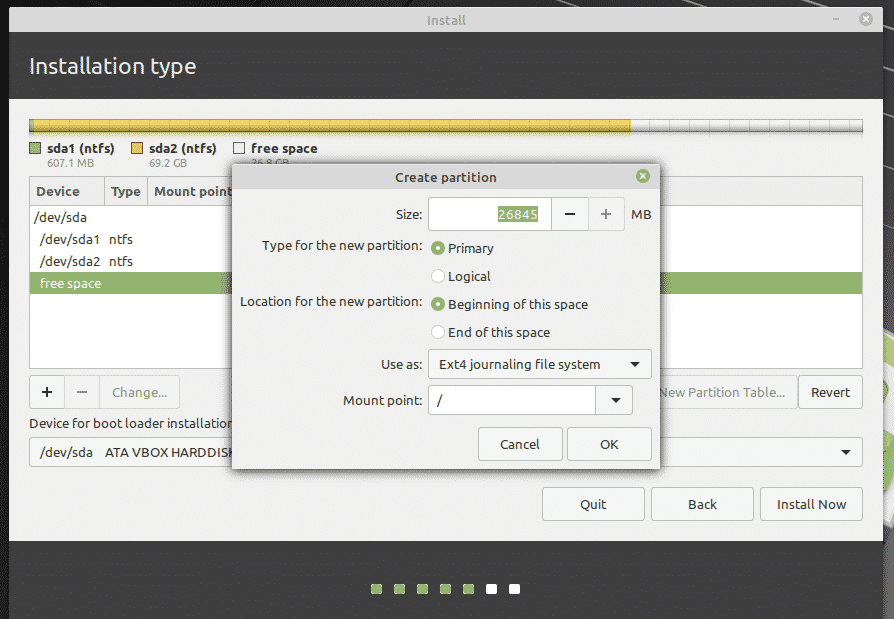

Here, I’ve decided to make a primary partition that’s at the beginning of the space. It’ll use “ext4” as the file system. The root of the system will be hosted on it.
This is the final chance of reverting changes you made to the device. If you’re confident, press “Continue”.

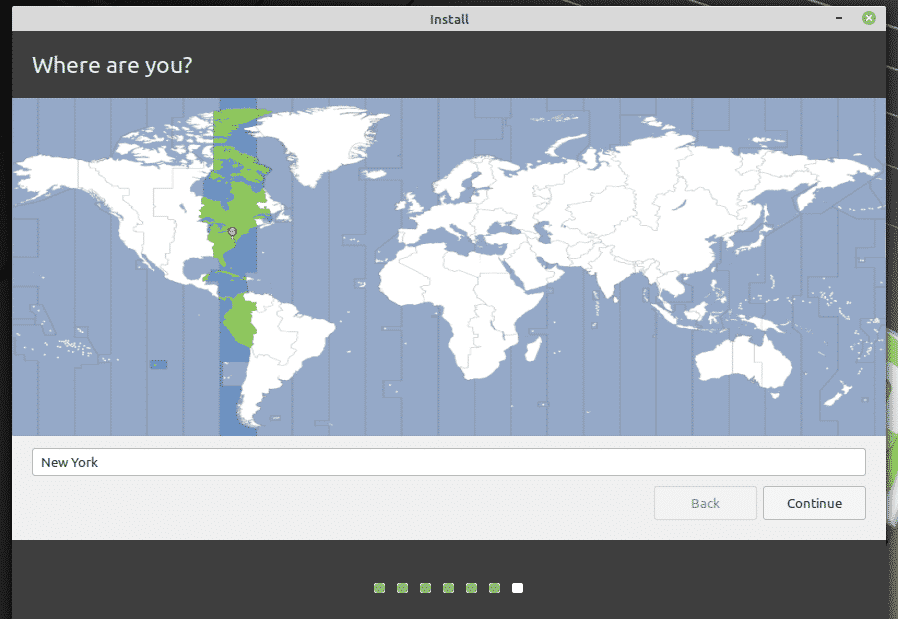
Select the location. It’ll decide your time zone, date, currency and other formats for the system.
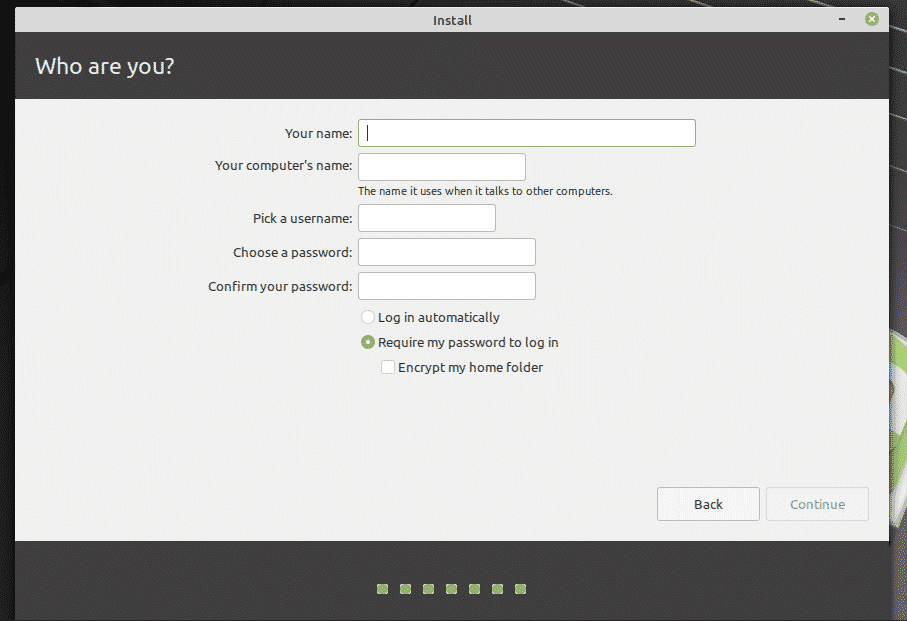
Fill up the credential fields to create a new user in the system. The password is going to be the “root” password, so make sure that you keep it in your head all the time.
Wait for the installation to complete.

Once the installation completes, restart the system.

When this screen pops up, remove the installation media and hit the “Enter”.

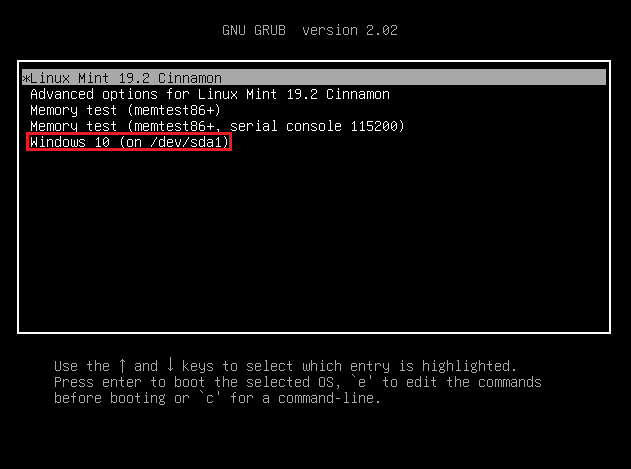
When your system boots, the grub menu will show a list of all the installed operating systems in the system. As you can see, there’s the Windows installation.
Post-installation
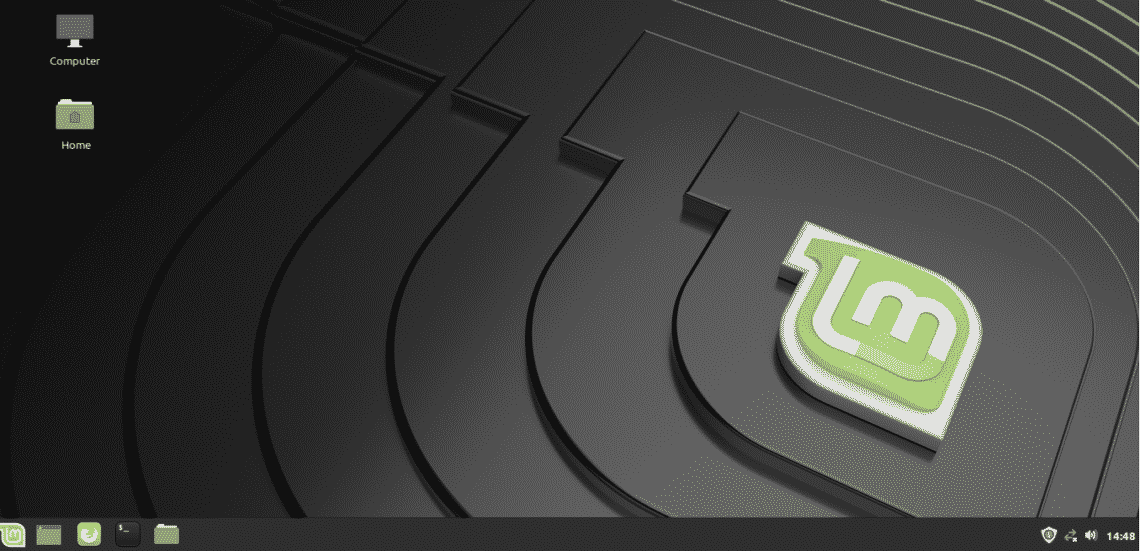
Boot into Linux Mint.
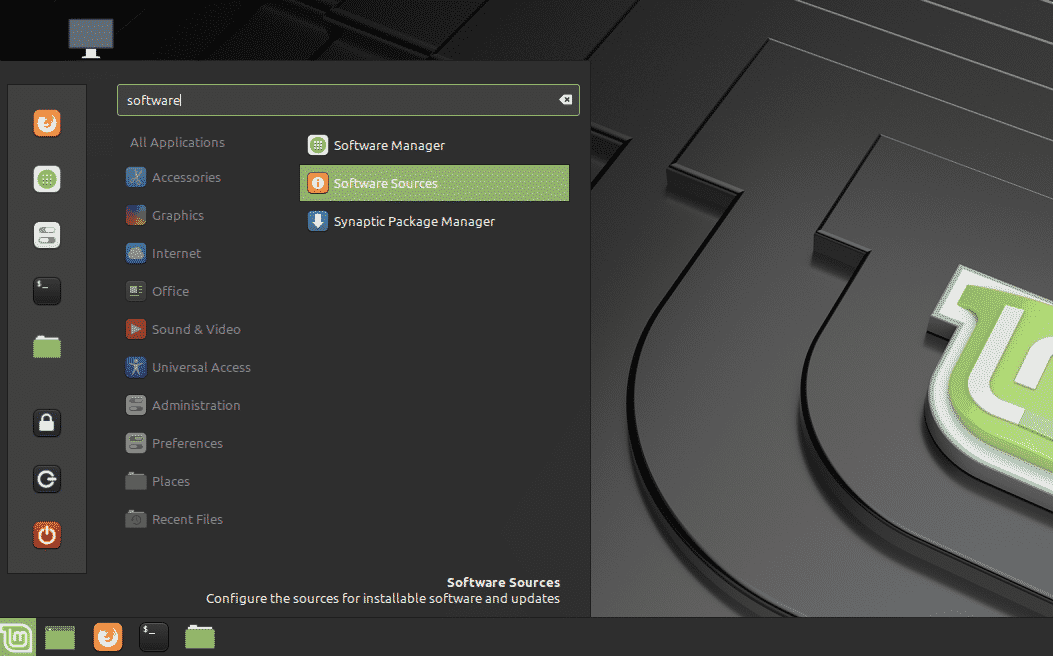
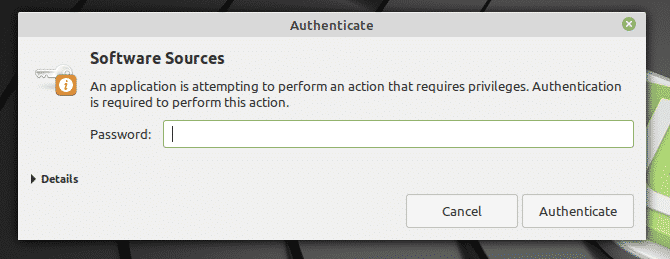
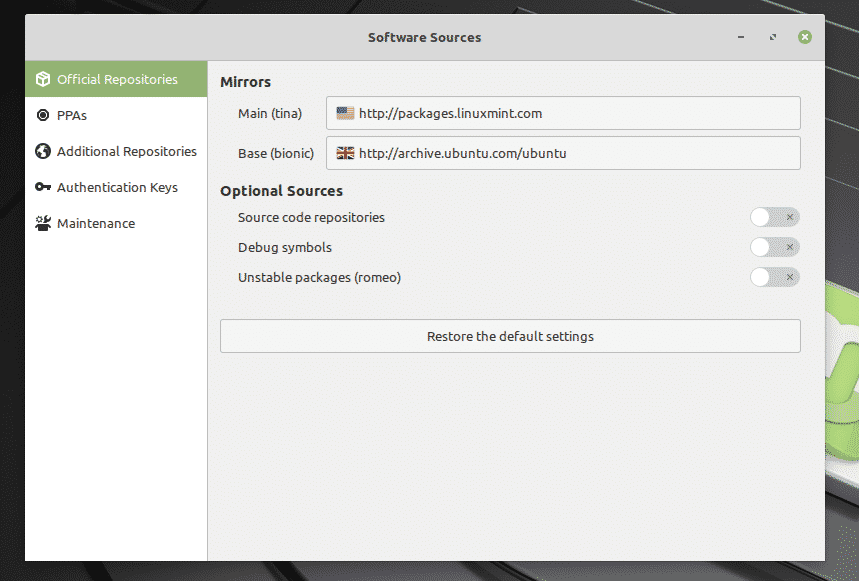
From the “Menu”, search for “software”. Select “Software Sources”.
You’ll be prompted for the admin password.
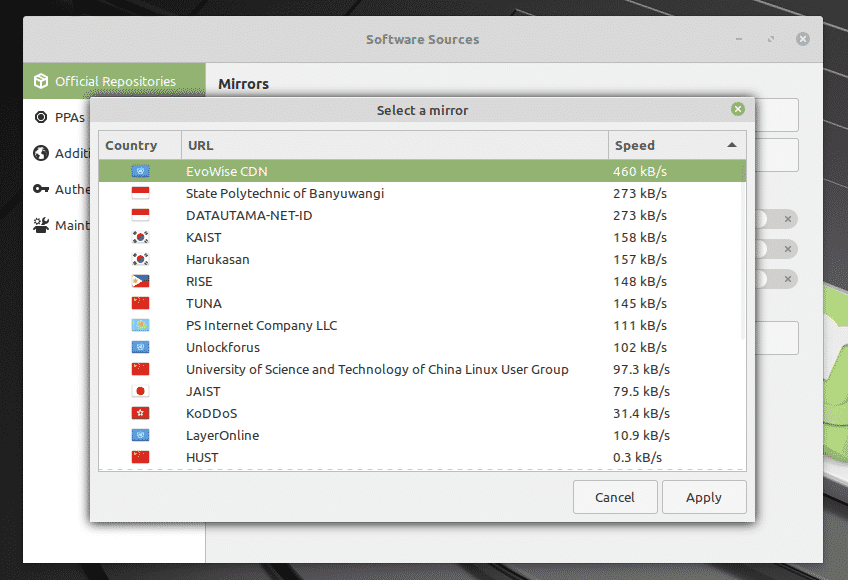
Select the nearest servers from your location. Don’t worry; it’s mostly the fastest server that appears on top of the list.
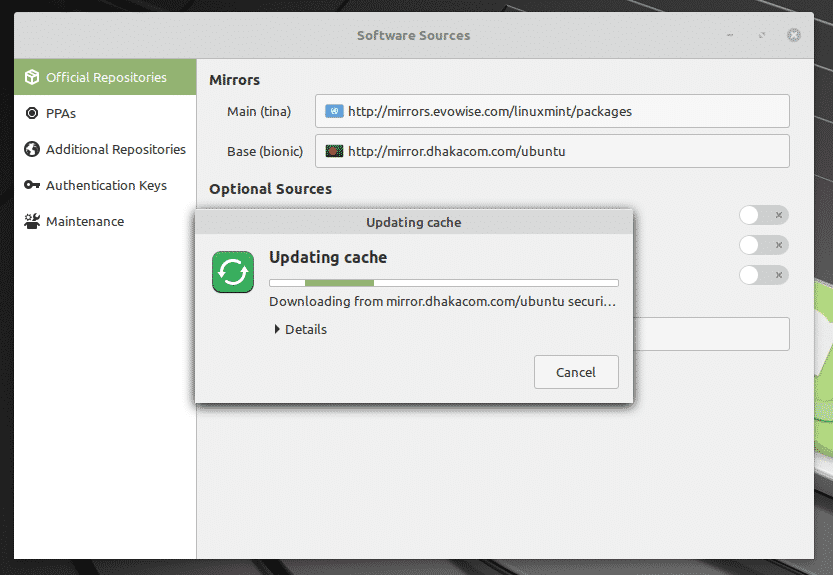
Once selected, click “OK” to update the APT cache.

Now, fire up a terminal and run the following command.

Reboot your system when the process completes.
Final thoughts
Dual-booting isn’t something difficult. In fact, with the right preparation, it’s easier than it seems. Of course, you may have heard some systems gone crazy during the process. That’s why you must have the backup of your important files on that partition.
If you’re too afraid to follow this path, there’s another way to enjoy Linux. I know not all the Linux enthusiasts like it but it’s a great way to explore the world of Linux in a “peaceful” manner. Learn how to install Linux Mint on VirtualBox.
Enjoy!