The PowerShell by default comes pre-installed in the Windows OS. At the end of reading this article you will be able to download the PowerShell 7 on Windows via the following methods:
- Download PowerShell 7 using the MSI package
- Download PowerShell 7 using the ZIP file
- Download PowerShell 7 using the Command Prompt (CMD)
Method 1: Download PowerShell 7 using the MSI package
The MSI stands for Microsoft System installer. Here, we will show you how to download and install PowerShell 7 using the MSI package.
Step 1: Download PowerShell MSI package
Download the PowerShell MSI package directly from the GitHub repository by clicking one of the following links as per your requirement.
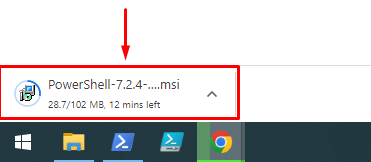
Upon clicking the link, the download will start instantly as can be seen below.
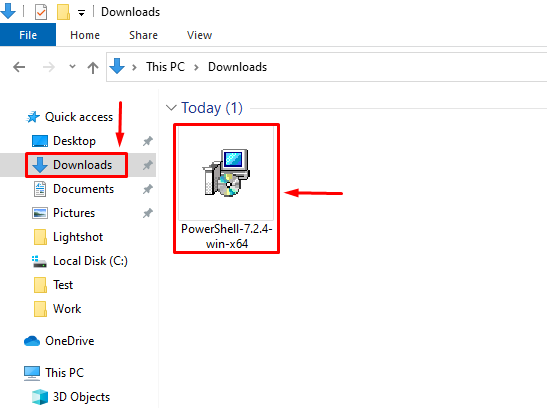
Step 2: Open the downloads folder
Open the downloads folder where the PowerShell MSI file is downloaded
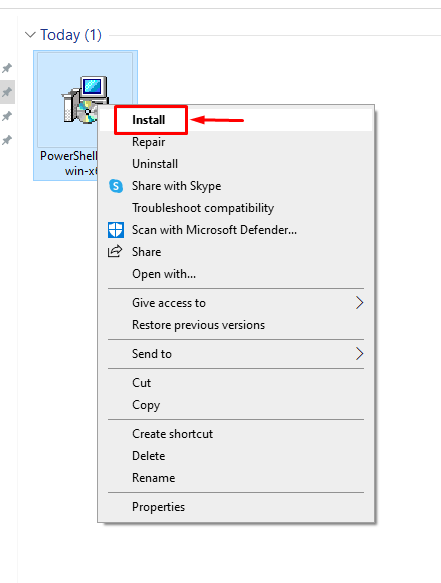
Step 3: Open the file and install
Right-Click on the PowerShell MSI file and then click on Install
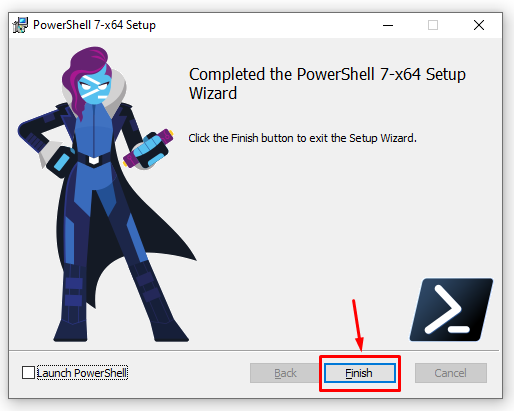
Step 4: Click next until it reaches the finish button

Click the Finish button to finish the installation process.
Step 5: Launch the PowerShell 7
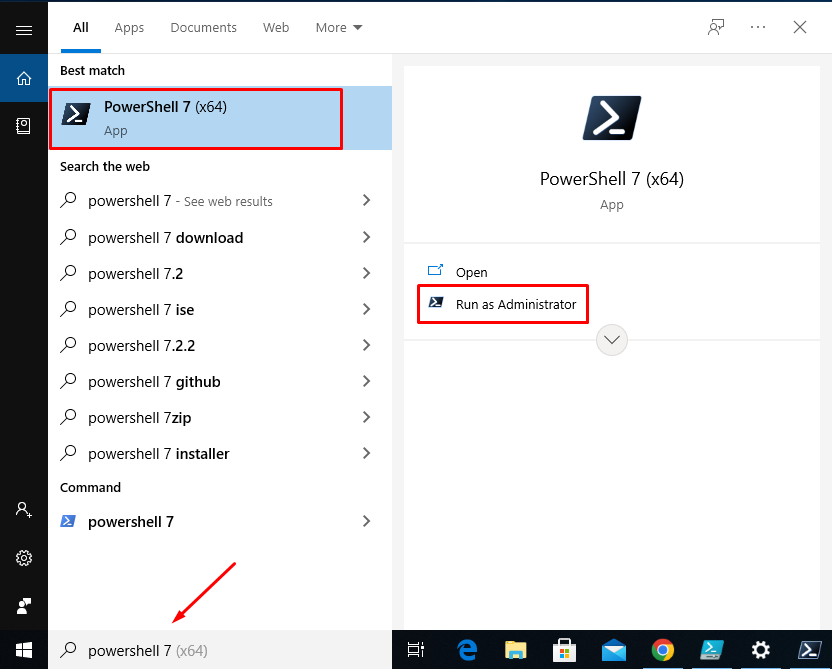
The PowerShell is now Launched.
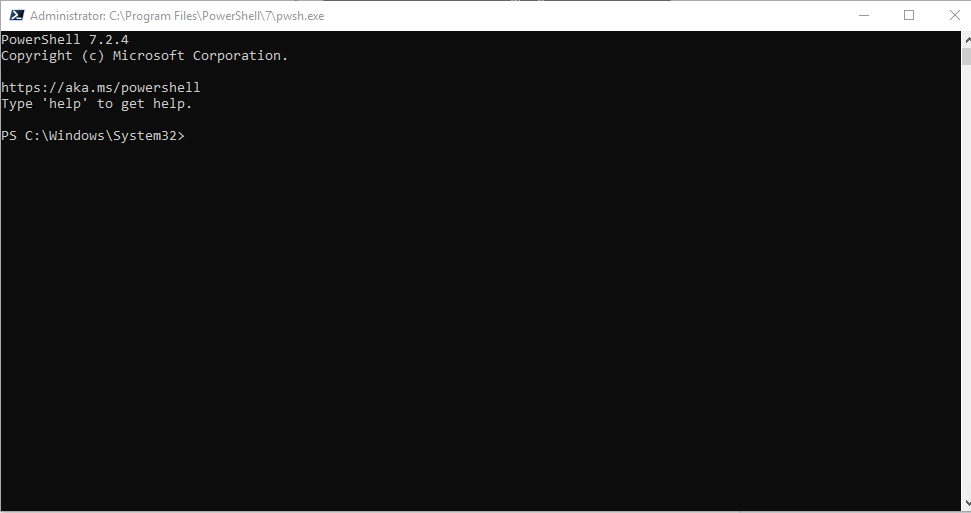
PowerShell 7 is downloaded and installed successfully.
Method 2: Download PowerShell 7 using the ZIP file
Another method of downloading and installing the PowerShell 7 is through the ZIP package. The installation process of the ZIP package is a little different compared to the MSI package installation.
The procedure of installation is explained below.
Step 1: Download the PowerShell Zip File
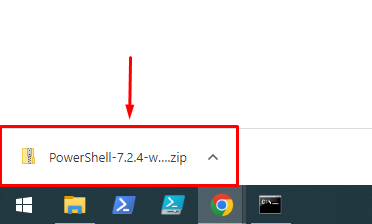
To download the ZIP file of the PowerShell 7 from the GitHub repository. Click the link below.
The file will be downloaded in the Downloads directory.
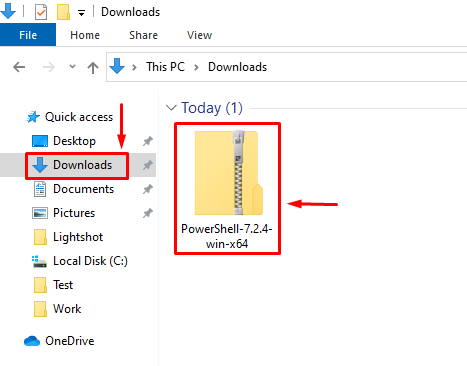
Step 2: Open the downloads folder
Open the downloads folder when the downloading is completed.
Step 3: Extract the PowerShell zip file
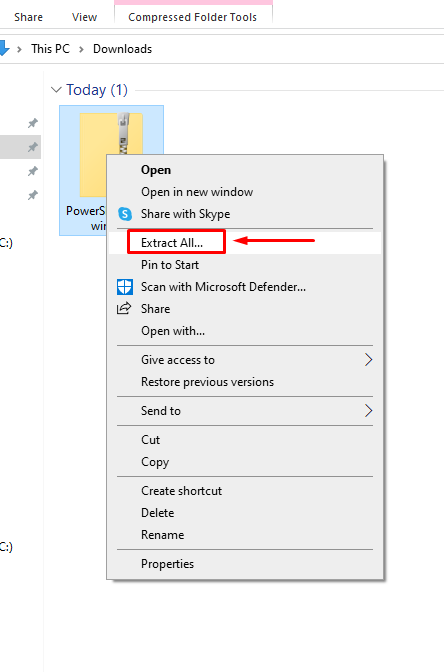
RIght-Click on the file and choose Extract All
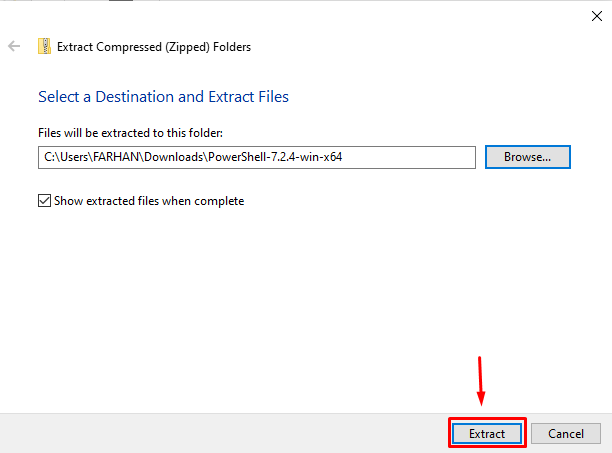
Select the destination path (by clicking on the Browse button) and click on Extract.
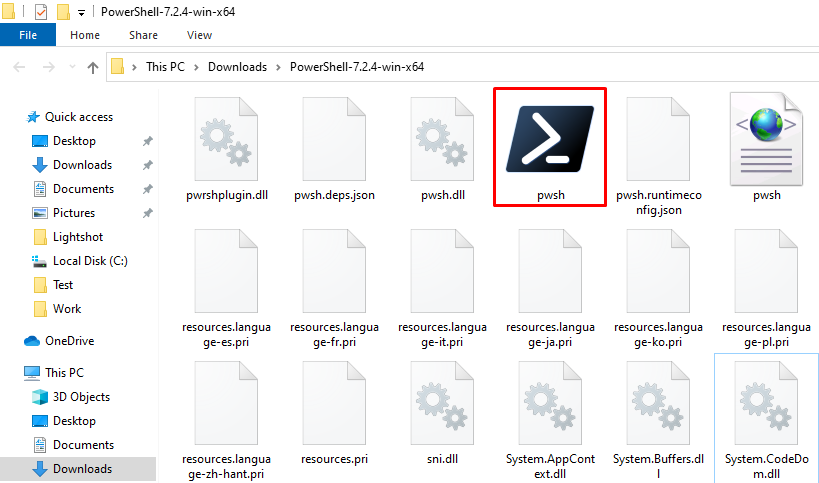
Step 5: Look for the ‘pwsh’ file and open it
After the file is extracted to the desired folder, You will observe that a file named ‘pwsh’ is present in the directory.
Press “A” to run always when asking for permission to run ‘Untrusted publisher’ software.

Here you go! You have downloaded PowerShell 7 via the ZIP package file.
Method 3: Download PowerShell 7 using the Command Prompt (CMD)
The PowerShell can also be installed using the winget command in the CMD. The winget is a command-line tool used to manage the packages on Windows. This section uses the winget to download PowerShell 7 on Windows:
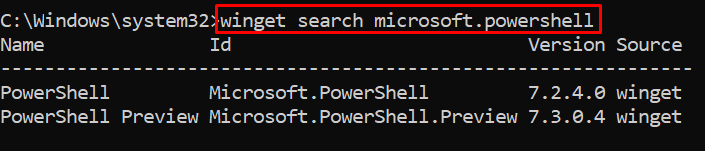
Step 1: Search for PowerShell using winget
The following command will search for the Microsoft PowerShell 7 versions via winget:
Step 2: Download and Install the PowerShell
Download the PowerShell 7 by using the winged cmdlet and after that, it will automatically install the PowerShell 7.
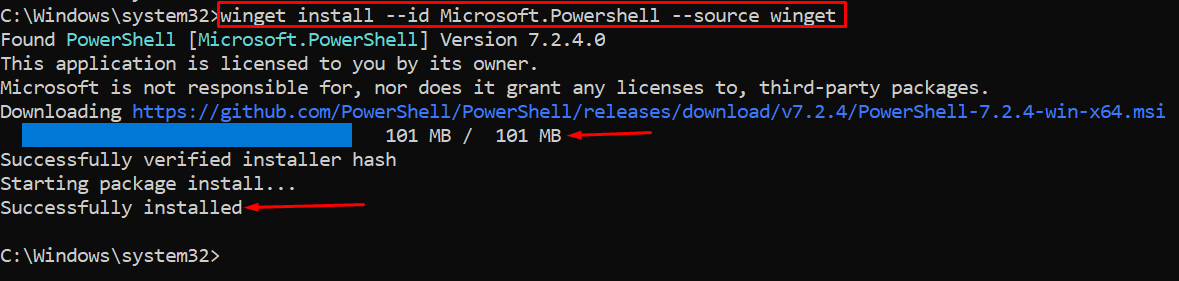
The “Successfully installed” message shows that PowerShell 7 has been installed successfully.
Congrats! You have learned all the possible ways to download and install the PowerShell 7.
Conclusion
PowerShell is software used for scripting and for performing important tasks on Windows OS. The PowerShell 7 can be downloaded on windows by using three different methods such as MSI package installation, ZIP package installation, and Command Prompt method (CMD). This article has covered all of the three methods of downloading and installing the PowerShell 7.