DNSMasq works for small network environments and will work perfectly in handling DNS queries and comes in handy to off-lift you the burden of configuring your DNS server. This guide will cover the installation, configuration, and use of DNSMasq on Ubuntu.”
How to Install and Configure DNSMasq on Ubuntu
Before installing DNSMasq, let’s understand the different subsystems it offers.
1. DNS subsystem – the subsystem handles caching of various record types, such as PTR, CNAME, and AAAA.
2. DHCP subsystem – offers support for PXE, BOTP, DHCPv6, and v4.
3. The advertisement subsystem is responsible for the autoconfiguration of IPv6 hosts.
By default, Ubuntu has systemd-resolved, which is enabled by default, but you need to disable it before installing DNSMasq to avoid conflict with each other.
Start by updating your repository
Next, disable systemd-resolved using the commands below.
$ sudo systemctl stop systemd-resolved
Also, you must remove the configuration file for systemd-resolved, and you can use the commands below.
or
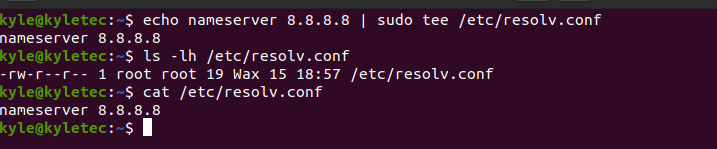
$ sudo rm -rf /etc/resolv.conf
With the configuration removed, you need to create a new one and add the Google DNS.
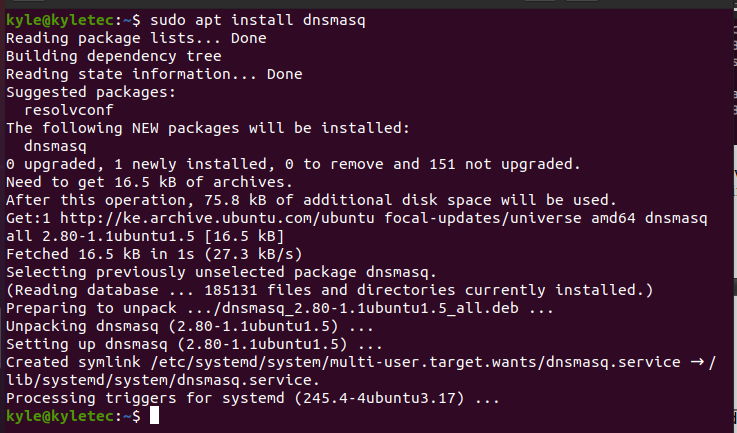
Once you have the new configuration file, it’s time to install DNSMasq using the commands below. Start by updating the system.
$ sudo apt install dnsmasq
The next thing is to modify the DNSMasq configuration file. Here, you need to open it using an editor like vim or vi, as shown below.
Once you open the file, go ahead and modify the configuration.
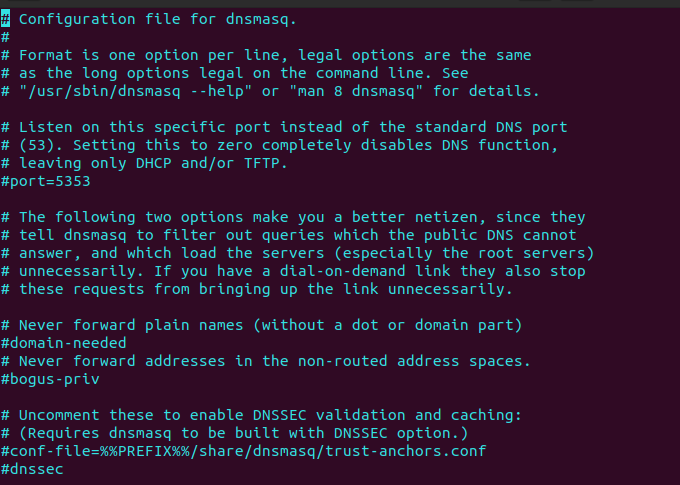
Most lines are commented out with an explanation of what each line does. In your case, you need to uncomment some of these lines.
Here’s a quick cheat-sheet of what to uncomment.
domain-needed
bogus-priv
strict-order
expand-hosts
domain=linuxexample.com
listen-address=127.0.0.1, server-ip
cache-size=1000
Also, set your domain to be used by dnsmasq, listening address, and set the cache size as indicated above while replacing the name and IP to match yours.
Finally, save and close the file with everything in check.
Those are not the only configurations that you can make. If you see anything relevant, configure it, and once done, restart DNSMasq.

In the same configuration file we added the Google DNS, we need to add the DNSMasq IP address. The IP address will depend on your network, and in our case, we are using a Class C IP address 192.168.0.2.
Open the nano editor and add the line below.

You must also add local DNS records to the DNSMasq server by creating their entries in the /etc/hosts file.
The DNS records you add will be responsible for replying to the client’s queries. In the image below, we’ve added two records.

Restart the DNSMasq service for the records to get updated.
Verify the configuration by running the test command below.
It should return an Ok status confirming everything is working fine.

Testing the DNSMasq DNS
The configured DNS records can be tested using the dig command, which returns the DNS information if it exists. For instance, let’s try server1.com. The command will be:
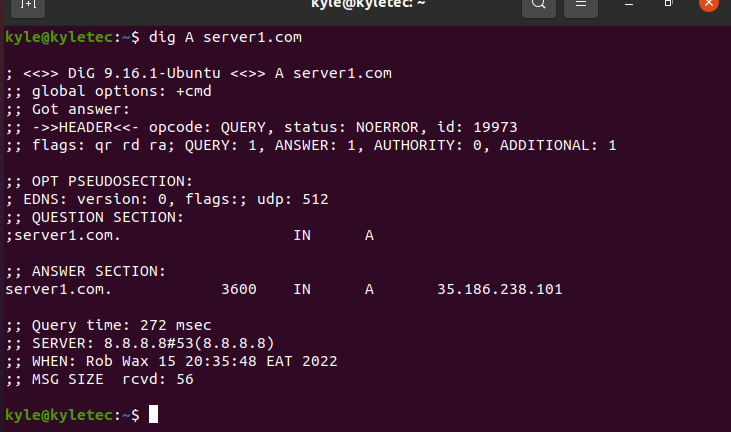
Replace server1.com with the DNS record you created.
In the image below, it returns an answer meaning everything is fine.
You can also verify the local DNS resolution to ensure the DNS records are getting responses.
It should return the server IP.
Verify DNS Server Caching
You need to use the drill Linux command to check and verify the caching. If caching works, you should note a decrease in the time taken to query the DNS.
Query the first time.
The second time should return a shorter query time as proof that caching is working.

Conclusion
There are different ways to use DNSMasq in Linux. What we’ve covered here is a scratch to get you started. We’ve seen how you can install DNSMasq, configure it, and test its working. You can implement this knowledge on your small network and achieve great functionalities.