In many situations, we need to disable some unnecessary services in Ubuntu to keep the system well maintained. Disabling redundant services helps to improve the system’s efficacy as some of these services use the processor and a portion of the memory in the background. Services can be disabled temporarily or permanently, but it depends upon your need.
Before we discuss how we can disable services in Ubuntu, let’s understand the initialization system of Ubuntu. There are two different initialization systems Ubuntu uses. The first one is the “upstart” and the second is “systemd”.
The “upstart” is now deprecated and was last used in Ubuntu 15.04. The init system of current Ubuntu and many other distributions is “systemd”. Both systems have their own methods to enable and disable services. Since the latest distributions have been widely adopted, we will use “systemd” method to disable a service.
How to Disable a Service in Ubuntu 20.04(LTS), 20.10:
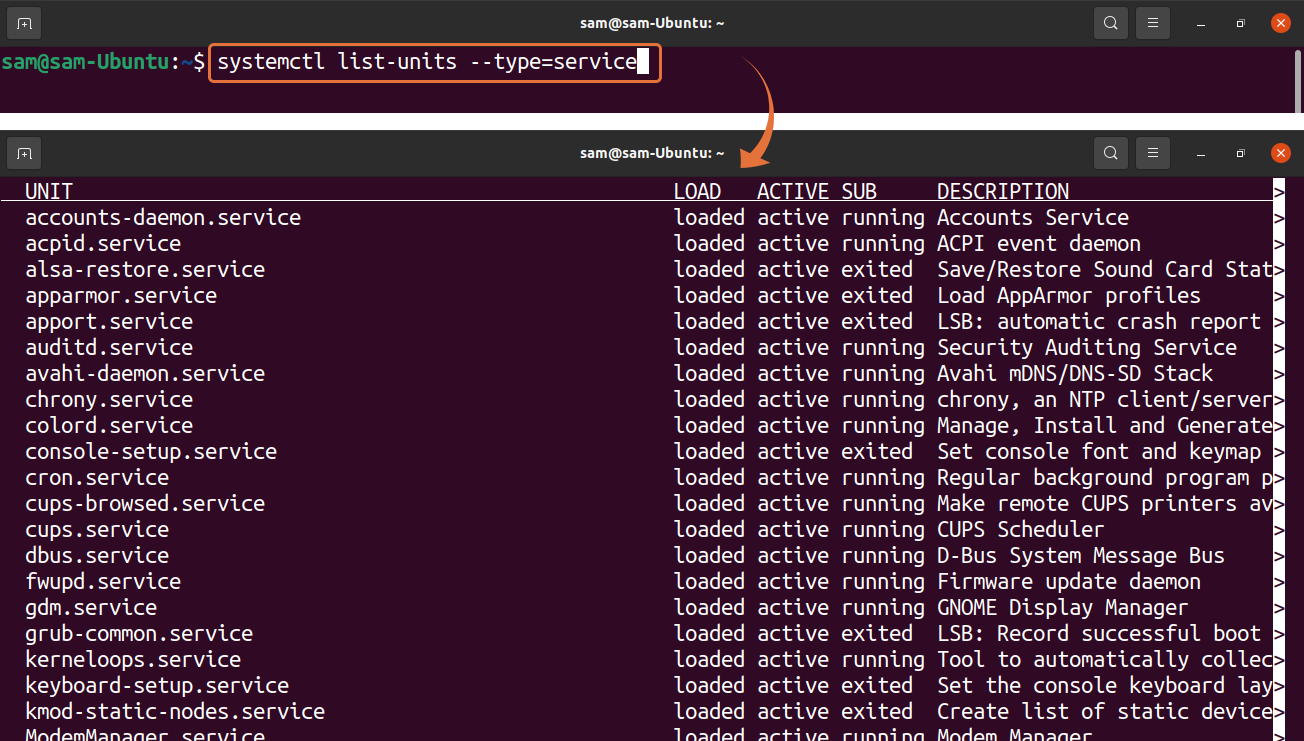
Let’s begin by listing the running services in Ubuntu. To list the services, use the command mentioned below:
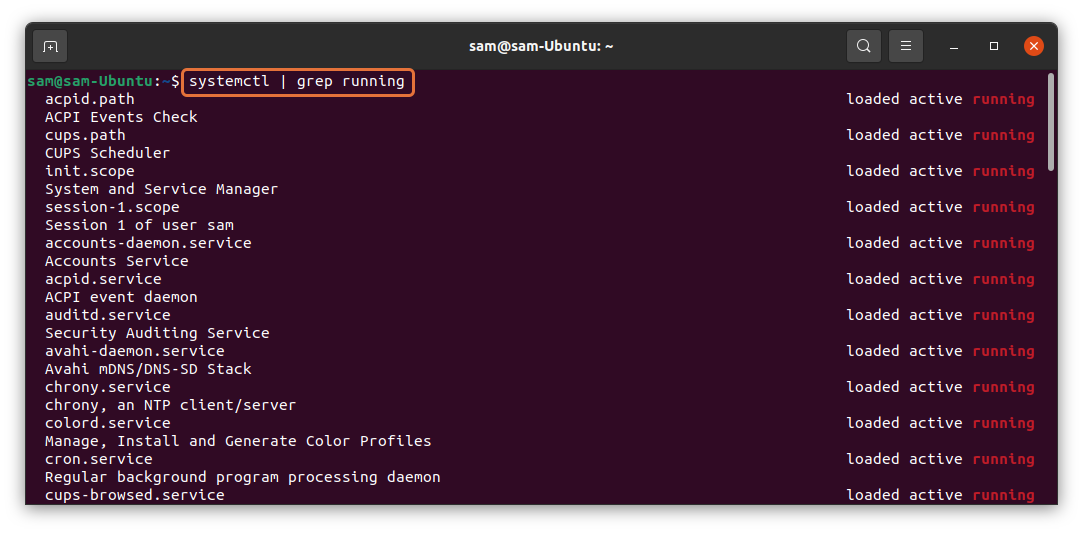
The services can be filtered by involving the “grep” command:
All the services which are running will be displayed in standard output. To disable a service, use:
Use the service name you want to disable in place of “[service_name]”. The command will disable the service and would not enable it even if you restart the system. For example, I am disabling the “apacehe2” service from my system; I will use:
To verify if the service is disabled or not, use:
The above method will permanently disable the “apache2” service; even upon restarting the system, the service will remain inactive.
To temporarily disable the service, use:
I am disabling “apache2” service:
Upon rebooting, you will notice that the service will be enabled again since it was temporarily stopped.
How to Enable a Service in Ubuntu 20.04(LTS), 20.10:
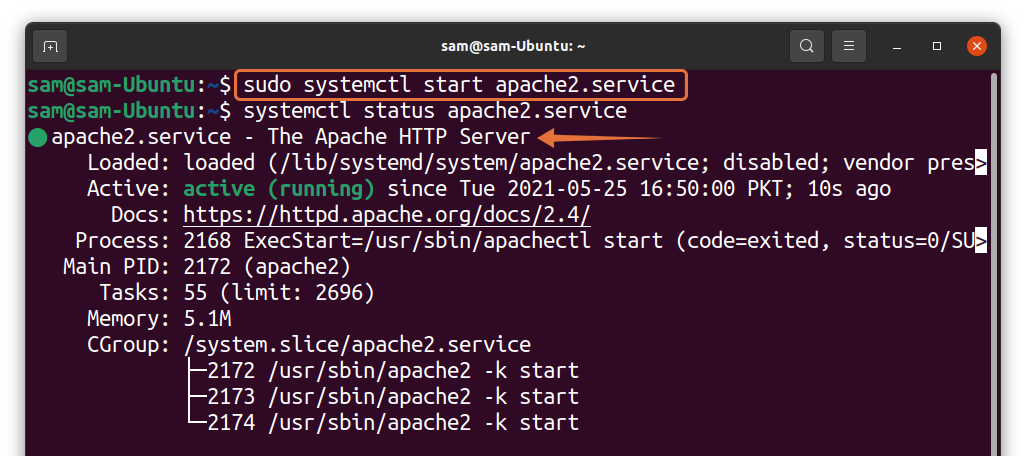
You can temporarily start a disabled service using:
The above command can be used in a situation when you want to use a service momentarily. For example, the “apache2” can be enabled temporarily using:
To permanently enable a service, use:
Replace the “[service_name]” with the service name you want to enable permanently. I am again enabling “apache2”, so the command would be:
The “apache2” service will remain active even upon restarting the system.
Conclusion:
There are two different init systems Ubuntu used, the “upstart” and the “systemd”. Both have different methods to manage the running services. The “systemd” is a widely adopted init system as “upstart” has been deprecated. This guide showed how to disable a service momentarily and permanently in Ubuntu. Many services in our system just run in the background and use the machine’s resources. Disable them and free-up memory to improve the system’s booting time and overall efficiency.


