This article will briefly explain the difference between git reset –hard, –soft, and –mixed.
What’s the Difference Between git reset –mixed, –soft, and –hard?
Git provides multiple reset options. On the basis of how they handle the commits, all the available options are different from each other. They all modify the Git history and move the HEAD back. Moreover, they handle the changes differently, such as:
- The “–soft” option used with the “$ git reset” command to keep the files and return the commit changes to the Git staging index.
- “$ git reset –mixed” is used to undo the commit changes and remove the file from the staging index without deleting it from the working directory.
- The “–hard” option with the “$ git reset” command is used to delete all changes and remove them from the local working directory.
Let’s take an example to see how the “$ git reset” command works with different options!
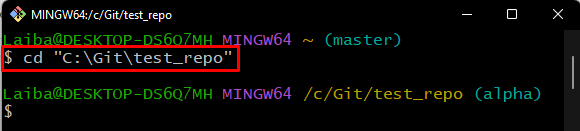
Step 1: Go to Desired Git Repository
First, move to your desired Git repository by utilizing the “cd” command:
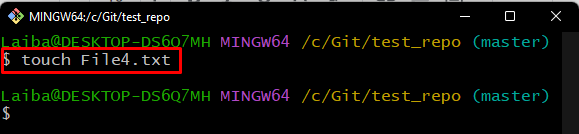
Step 2: Create File
Now, execute the below-given command to create a file:
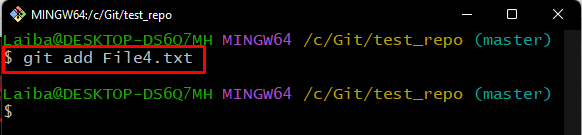
Step 3: Add File to Staging Index
Use the “git add” command to add the newly generated file into the staging index:
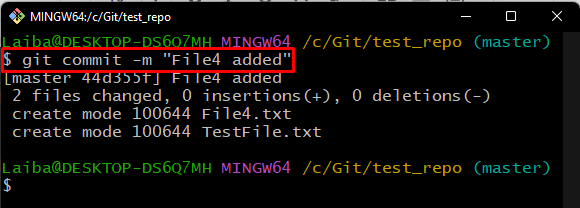
Step 4: Commit Changes
Next, add all changes to the working repository by executing the “git commit” command:
Step 5: Check Git Log
Then, check the Git log history to view the latest commits that were added:
In the output below, it can be seen that all the latest added commits are displayed, and the “HEAD” is pointing to the recent commit:

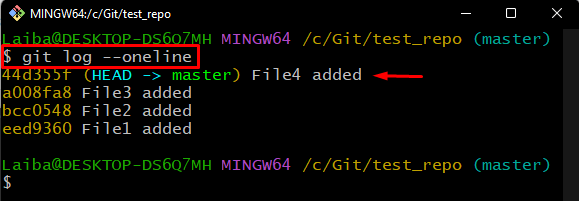
Note: To check out the HEAD’s current pointing position in a better way, execute the “git log” command along with the “–oneline” flag:
Below given output shows the list of commit SHA hash with commit messages:
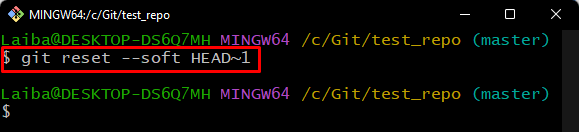
Step 6: Use git reset –soft Command
To revert the added changes from the Git repository to the staging index, utilize the “git reset” command along with the “–soft” option, and specify the desired HEAD position where it is required to move the pointer:
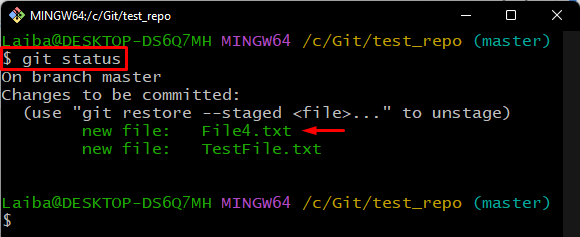
Step 7: Check Git Status
Now, verify the reverting position of the HEAD check the Git repository status:
It can be seen that the “git reset –soft” command has returned the commit changes to the Git staging index. Moreover, the “File4.txt” file is now in the Git staging index and needs to be committed:
Step 8: Check Git Log
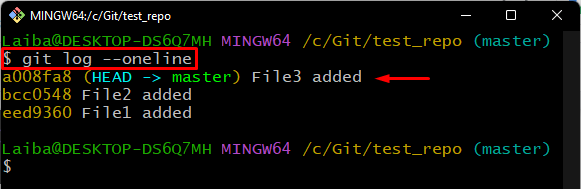
To view the current position of HEAD, run the given command along with the “–oneline” option:
Here, the HEAD is pointing to the “File3” commit:
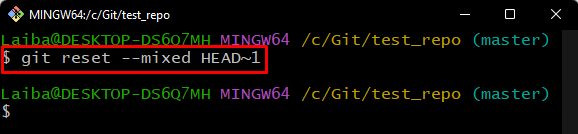
Step 9: Use git reset — mixed Command
To undo committed changes and remove the files from the staging area without deleting from them from the working directory, execute the “$ git reset –mixed” command along with the required HEAD position of the commit:
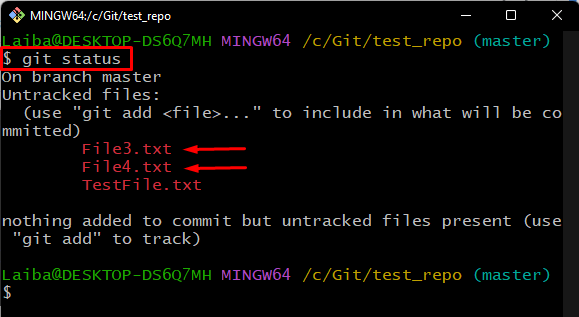
Step 10: Check Git Status
View the newly added changes by checking the Git repository status:
It can be observed that the specified commit changes are removed from the staging area. However, they are placed in the working area:
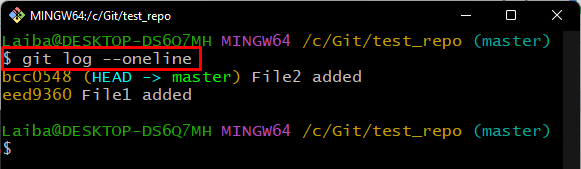
Step 11: Check Git Log
Check the Git repository reference log history along with the SHA hash:
Step 12: Use git reset — hard Command
To remove added changes from the Git local working directory, execute the “$ git reset –hard” command:
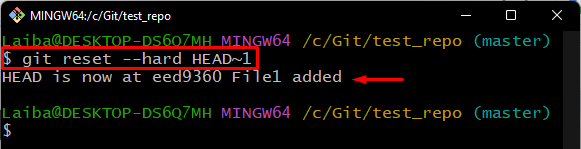
Step 13: Verify Reverted HEAD Pointer
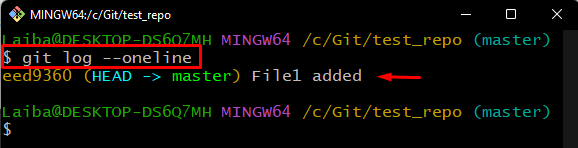
To verify the HEAD pointer, revert to the specified position, run the “git log” command:
Below output shows that the HEAD is pointing to the “File1 added” commit:
Step 14: Check Git Status
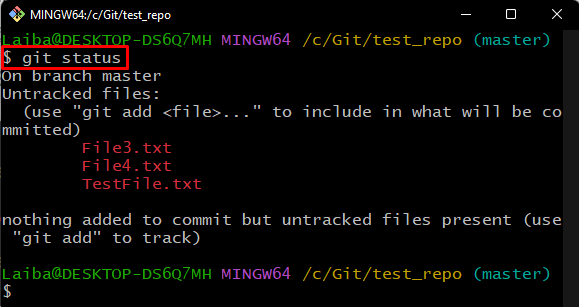
To view the added changes, check the Git status:
It can be seen that we do not have any track and pending changes of “File2.txt” file. Therefore, File2.txt has been removed completely:
Step 15: Verify the List of Repository Content
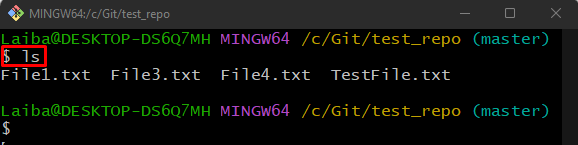
To verify the repository list of content, run the “ls” command:
As you can see, the “File2.txt” file not exists in the current directory:
We have explained the difference between git reset –mixed, –soft, and –hard options.
Conclusion
The “git reset” command is used to reset the changes, modify the history of the Git repository, and fix mistakes. The “git reset –soft” command keeps the files and returns the commit changes to the Git staging area. In contrast, the “git reset –mixed” command undo the commit changes and remove the file from the staging index without deleting it from the working directory. To delete all the changes and remove them from the Git working area, the “git reset –hard” command can be used. This article illustrated the difference between git reset –mixed, –soft, and –hard.