
Git provides various commands such as “git clone”, “git fetch”, “git push”, “git pull” and many others for different functionalities. Sometimes users need to retrieve the remote repository to the local Git directory. For that purpose, it is necessary to clone the stated repository using the “git clone” command. This typically retrieves the entire repository, including history as well, and creates a new local copy of the repository. While the “git pull” command is used to keep the local copy up-to-date with the latest versions of the remote repository.
This write-up will elaborate:
- What is the Difference/Distinctions Between the “git pull” and “git clone” Commands?
- How to Use the “git pull” and “git clone” Commands in Git?
What is the Difference/Distinctions Between “git pull” and “git clone” Commands?
To understand “git pull” and “git clone”, check out the main difference between them in the below-stated table:
| git pull | git clone |
|---|---|
| The “git pull” is utilized for syncing remote and local repositories. | The “git clone” command is executed for setting up a local repository. |
| It will fetch and combine the latest changes from a remote repository to a particular local repository. | Generate a copy of the remote Git repository and save it to the local machine. |
| It can be utilized many times in a project. | It can be executed only one time in a project. |
How to Use the “git pull” and “git clone” Commands in Git?
To use the “git pull” and “git clone” commands in Git, follow the given steps:
- Sign in to your GitHub account.
- Select any repository of your choice and copy the HTTPS code for cloning this repository to the local project.
- Launch the Git Bash terminal and navigate to the Git local directory.
- Use the “git clone” command and paste the remote repository link.
- Check the remote connection and pull all the modifications from the local Git repository to the remote.
Step 1: Sign in to GitHub Account
First, go to “GitHub” and sign in by providing your username and password:

Step 2: Select a Repository
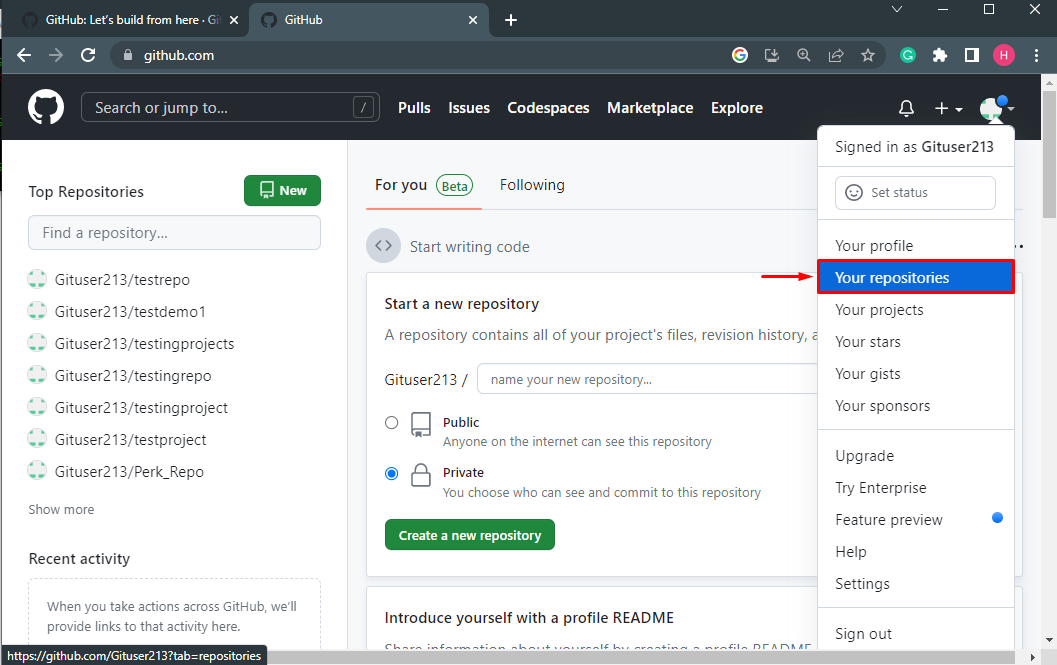
Click on the profile icon, hit the “Your repositories” option, and navigate to it:
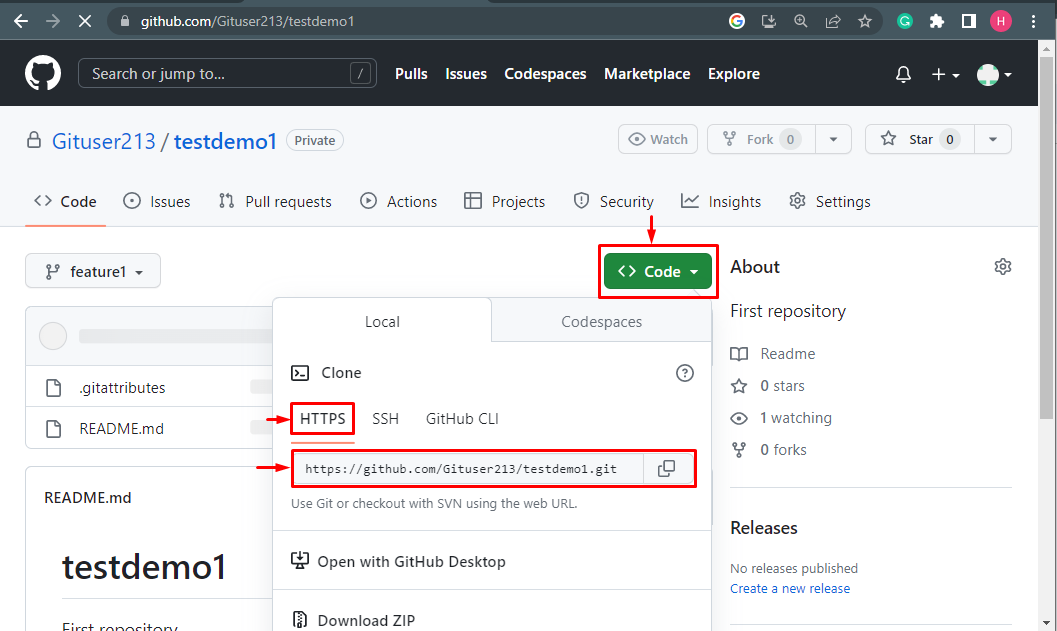
Select the desired repository and open it. For instance, we have chosen the “testdemo1” remote repository:

Step 3: Copy HTTPS URL
On the main page of the stated repository, hit the highlighted “Code” button and copy the “HTTPS” URL:
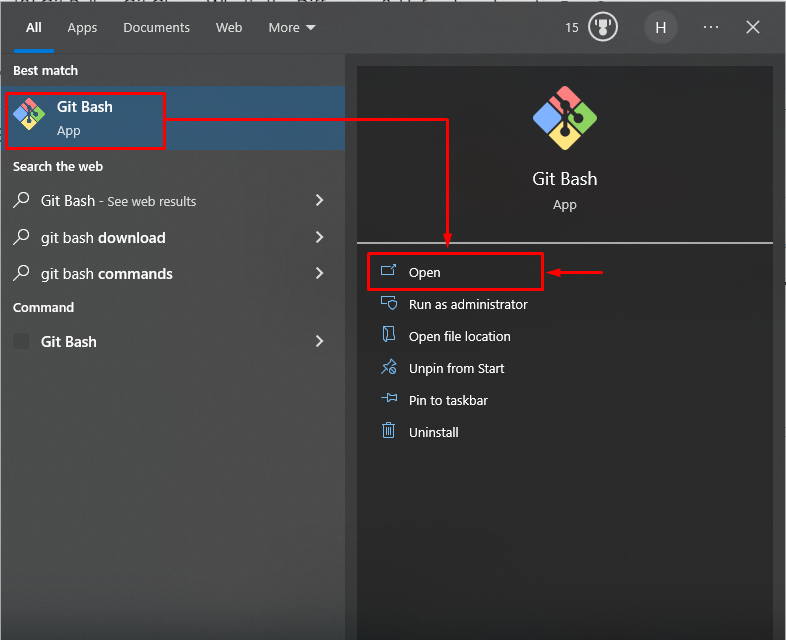
Step 4: Launch Git Bash Terminal
Now, open the Git Bash terminal with the help of the Startup menu:
Step 5: Redirect Git Local Repository
Run the “cd” command and redirect the stated local Git repository:
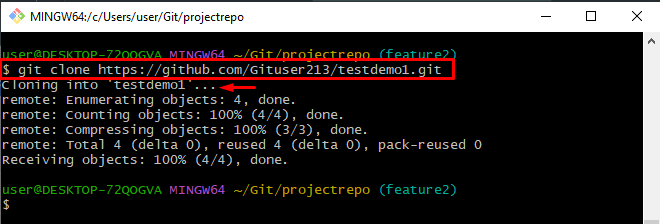
Step 6: Clone Repository
Then, clone the repository by using the “git clone” command and paste the copied “HTTPS” URL along with it:
The below-stated output indicates that we have successfully cloned the remote repository:
Step 7: Check the Remote Connection
Check the remote URL by using the “git remote -v” command:

Step 8: Pull Changes
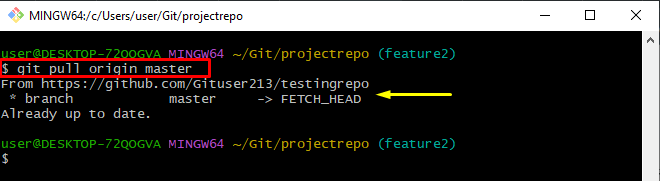
Pull all changes from the remote to the local branch by running the “git pull” command:
The resultant image indicates that changes have been fetched from remote branches:
That’s all about the “git pull” and “git clone” commands in Git.
Conclusion
The “git pull” command is used for keeping the local copy up-to-date with new changes made in the remote repository. On the other hand, the “git clone” command typically retrieves the entire remote repository in the local repository containing its full history as well and makes a new local copy of the repository. This tutorial has briefly elaborated on the distinctions between “git pull” and “git clone”.