This tutorial was initially written in 2019 and updated in 2022, including new remarkable graphical environments.
By reading this article, you will know how desktop environments work in Linux, something every Linux user must understand. Therefore this tutorial is optimized for both inexperienced and experienced users.
After the desktop environments explanation, this article also shows how to install each described environment with screenshots for every instruction, making it easy for users to apply every step.”
Note: This article assumes Gnome is your default desktop environment.
Understanding How Desktop Environments Work in Linux
Under Linux, the desktop environment (or graphical environment) is independent of the OS (Operating system) in contrast to Microsoft Windows, which, as its name says, incorporates graphical windows as part of its core rather than an optional feature we can add to MS-DOS.
While we are used to affirm Linux itself is an operating system, the truth is only the kernel is the operating system, and every additional component is complementary. This includes the graphical environment, which is not part of the OS but an optional addition. This characteristic is what brings the flexibility we enjoy when using Linux.
It is worth mentioning under Linux; the desktop environment is called X Window System.
Especially for domestic use, users need a graphical interface (X Window System), and since it is not part of the OS core, they can choose among many available options, some of which can be implemented by following the instructions described below.
Best Desktop Environments (X Window Systems) for Debian and How to Install Them
Desktop environments or X Window Systems covered by this article include the following:
Cinnamon
Like MATE, which will be described later, Cinnamon was developed by Linux users disappointed with GNOME 3 changes. Cinnamon, like MATE, is based on GNOME 2, and it is currently the default desktop environment for Linux Mint. Cinnamon offers native transparency and great Desktop effects by default and allows adding nice extensions such as desktop cube and watermark, among other functional effects.
Installing Cinnamon on Debian
To install Cinnamon on Debian and it’s based Linux distributions:

In some cases, the following screen may appear; in such a case, just press ENTER to continue. If the following screen does not appear, just continue reading the step below.

Use keyboard arrows to select Cinnamon, then use the TAB key to move to the OK button and press ENTER to start installing it.
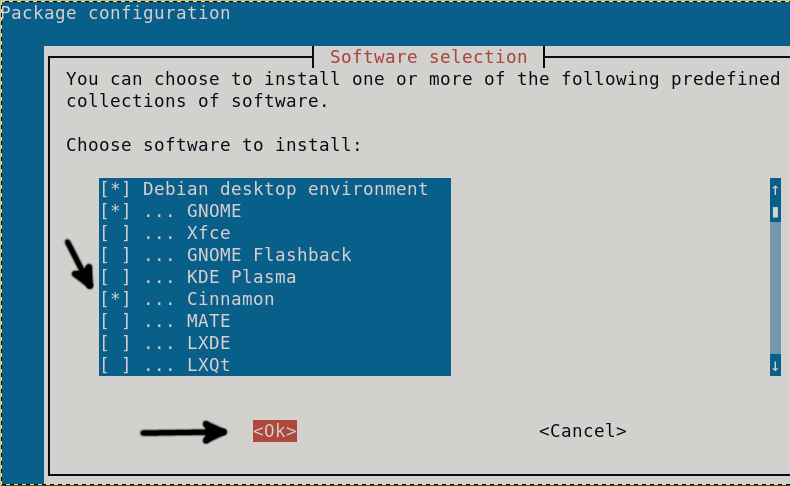
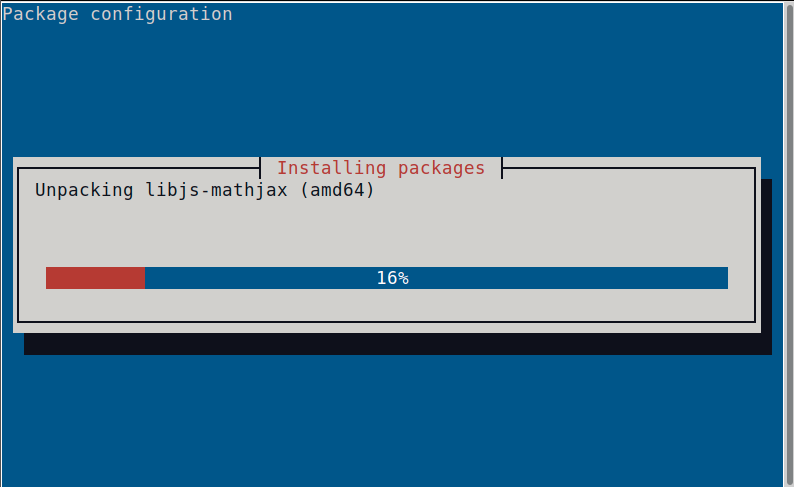
As you can see in the figure below, the Cinnamon package will start the installation process.

To change the default Gnome X Window for Cinnamon, on Gnome logout by pressing the down arrow key, then press the Power Off/Log Out option and press Log Out.

On the login screen, press the Wrench icon located on the topbar and select Cinnamon. Then login.
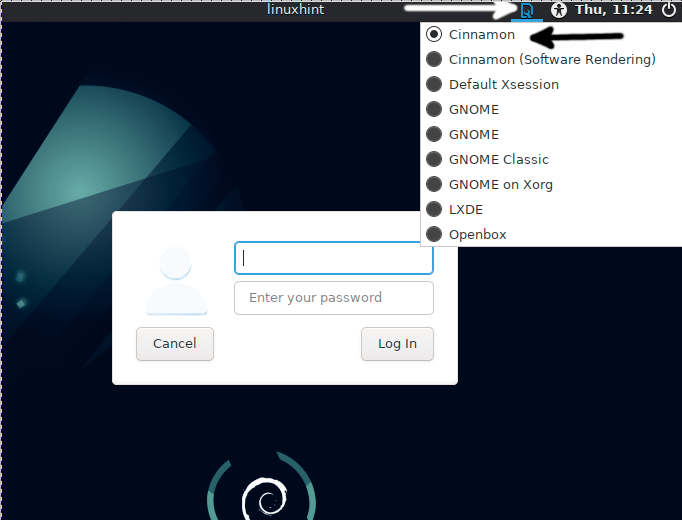
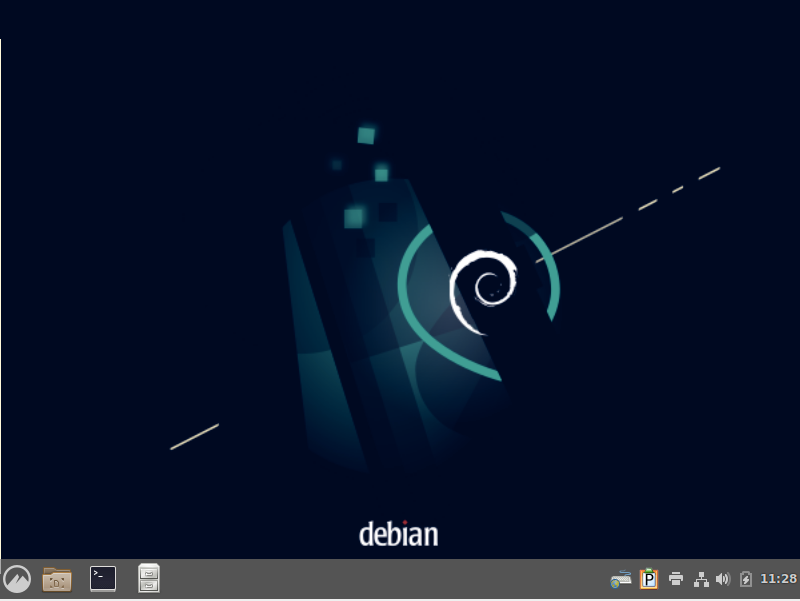
After logging in, Cinnamon will start instead of Gnome, as you can see in the following figure.
MATE
MATE defines itself as a GNOME 2 continuation. As an Argentinian, I would like to clarify it’s named after the popular Argentinian/Uruguayan drink. MATE uses the Nautilus-based CAJA file manager like many new GNOME-based tools such as gedit (Pluma), the MATE Terminal (Gnome terminal), etc.
Best MATE definition is “A new GNOME 2” alternative.
Installing MATE on Debian
To begin installing MATE on Debian, run the command shown below.

In some cases, the following screen may appear; in such a case, just press ENTER to continue. If the following screen does not appear, just continue reading the step below.

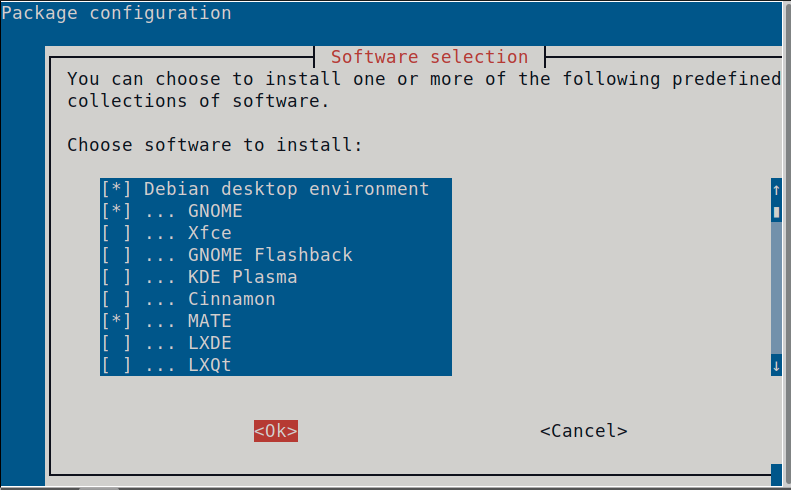
Use keyboard arrows to select MATE, then press the TAB key to move to the OK button and press ENTER to install it.
Wait for MATE to finish the installation.
After the installation process ends, logout from Gnome by pressing the top down arrow as shown in the figure below, then press the Power Off/Log Out button and select the Log Out option.

On the login screen, press the top wrench icon, select MATE, and login.
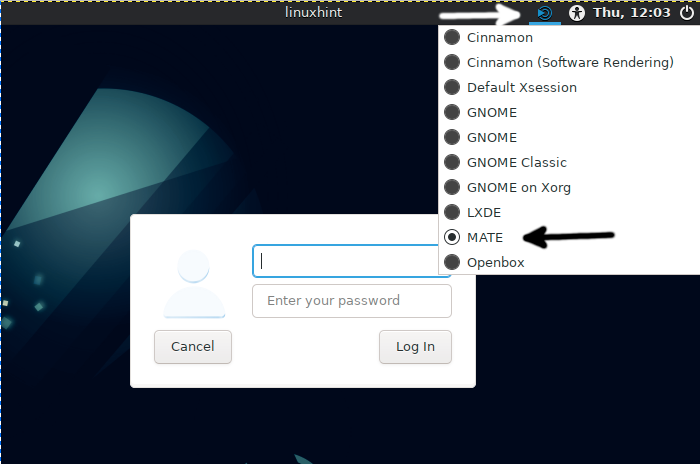
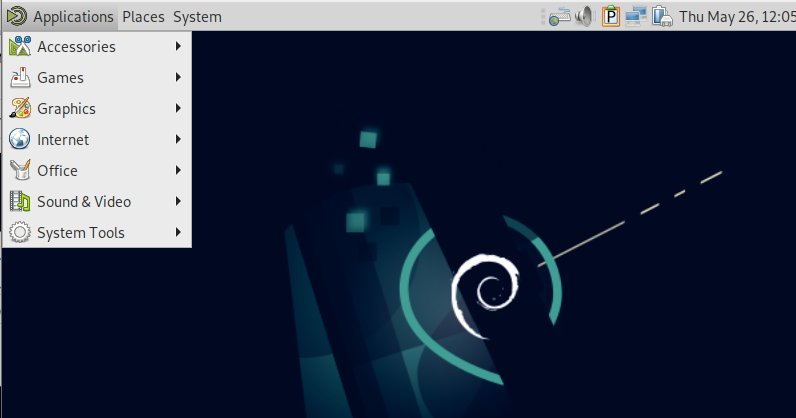
MATE will open instead of Gnome, as shown in the following screenshot.
Xfce
XFCE’s first releases were Blackbox and Fluxbox (Described below). XFCE was an innovative light interface that included native transparency and great effects; it includes both a menu and dock and the possibility to search; like Fluxbox, it is highly customizable.
Installing XFCE on Debian
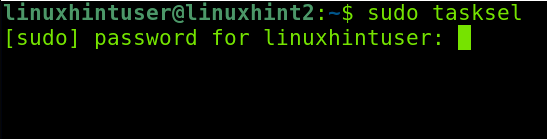
To install XFCE on Debian-based Linux distributions like Ubuntu, we need to run the tasksel interface, as shown in the image below.
In some cases, the following screen may appear; in such a case, press ENTER to continue. If the following screen does not appear, continue reading the step below.

On the tasksel interface, use arrow keys to select Xfce and select it by pressing the space bar key. Then press TAB to select the OK button and press ENTER.

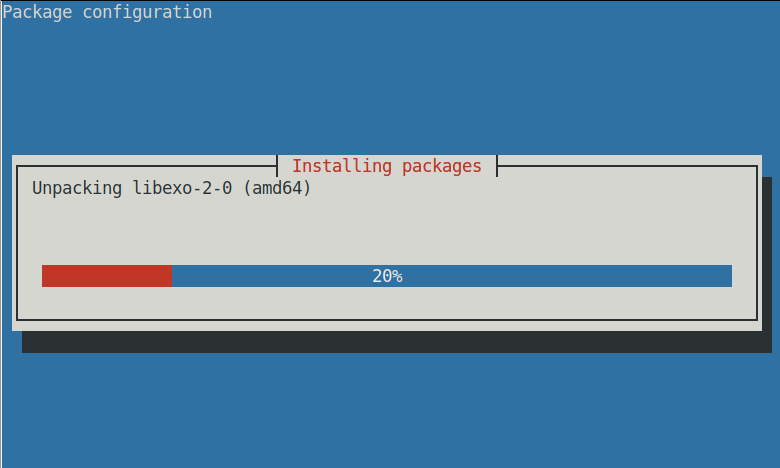
Wait for Xfce to complete the installation.
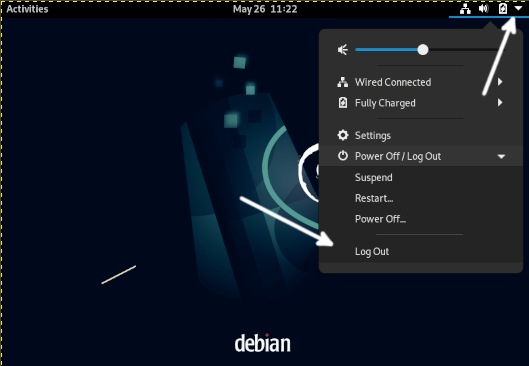
Once Xfce is installed. Press the down arrow on the top right task bar and select Power Off/Log Out, then press Log Out.
On the login screen, press the wrench or foot icon to display available desktop environments. Select Xfce Session and login.
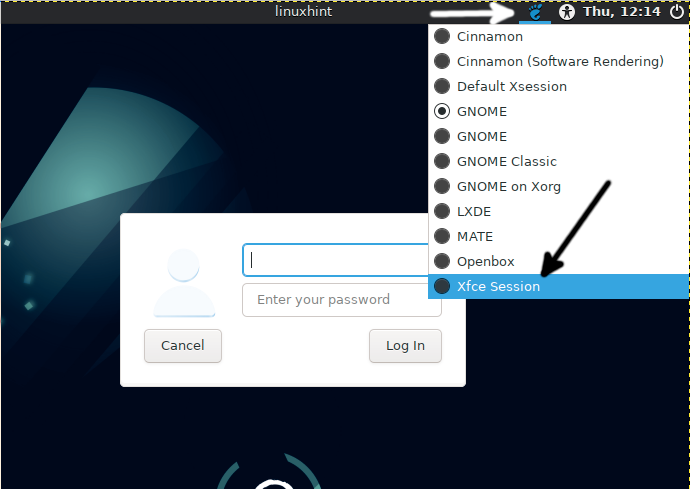
The Xfce main screen will appear.
As you can see, Xfce has a very nice look.
LXDE
LXDE (Lightweight X11 Desktop Environment) is a light desktop environment whose components are independent and not fully integrated. LXDE is a modern X Window Manager requiring low hardware resources.
Installing LXDE on Debian
To begin installing LXDE on Debian, execute the tasksel interface by running the command shown below.

In some cases, the following screen may appear; in such a case, just press ENTER to continue. If the following screen does not appear, just continue reading the step below.

When the tasksel screen shows up, select LXDE using your keyboard arrows, press the spacebar key to select it, then TAB to move to the OK button, and press ENTER.
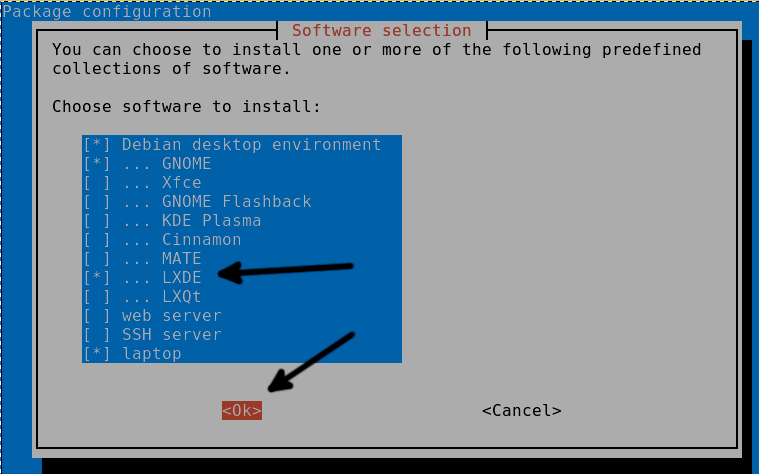
Wait for LXDE to finish the installation process.

Once LXDE is installed, press the top down arrow button, select the Power Off / Log out button and select Log Out, as shown in the figure below.

On the login screen, press the foot or wrench button located on the top bar, select LXDE, and login.
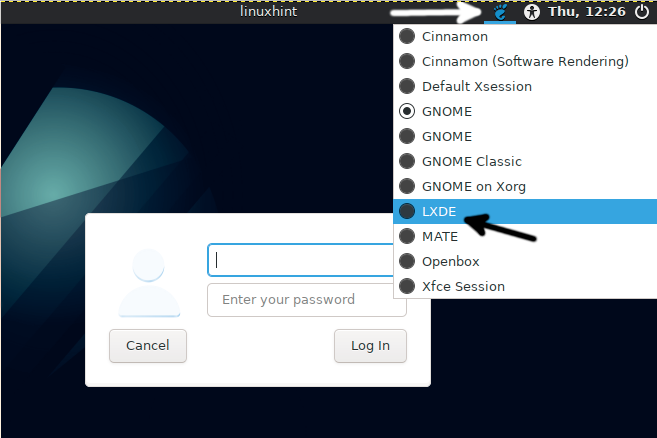
After logging in, LXDE will show up.
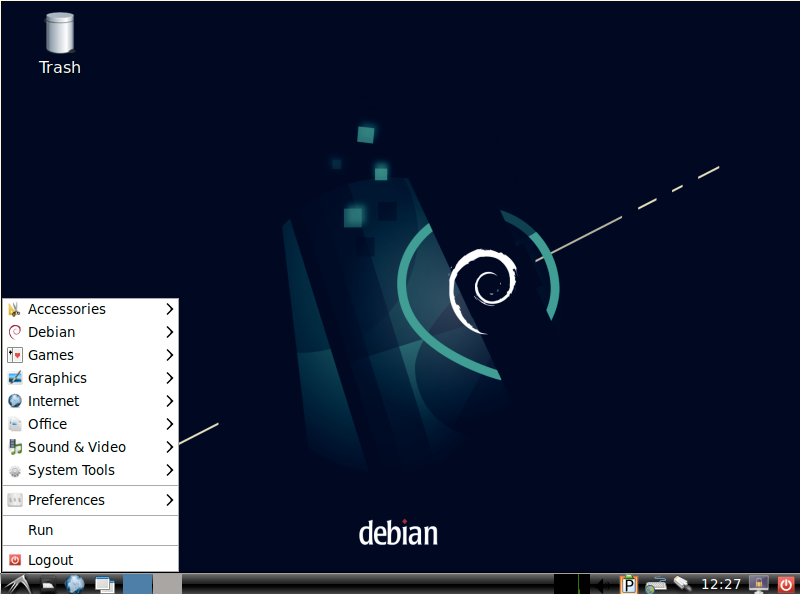
The LXDE applications menu is located at the right bottom corner, as you can see in the image above.
LXQt
LXQt was developed as an alternative to LXDE, which uses Qt instead of GTK. LXQt is available by default on distributions like Debian, Fedora, OpenSUSE, Lubuntu, and more.
Installing LXQt on Debian
To begin installing LXQt run tasksel, the command is shown below.

In some cases, the following screen may appear; in such a case, just press ENTER to continue. If the following screen does not appear, just continue reading the step below.

Once the tasksel screen shows up, move to the LXQt option using keyboard arrows and press the spacebar to select it, then press the TAB key to move to the OK button and press ENTER to start the installation.

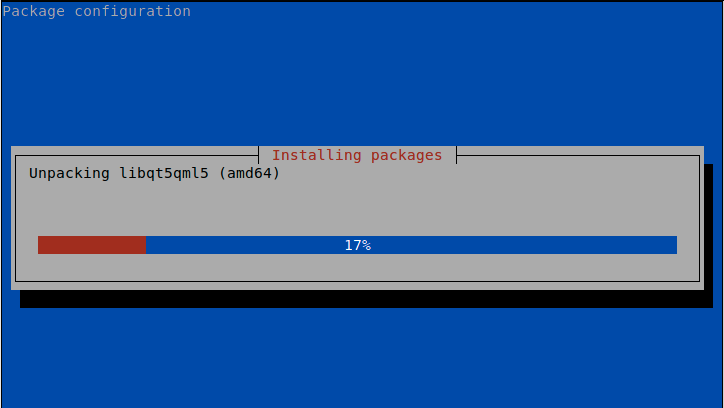
The installation process will start; wait for it to end.
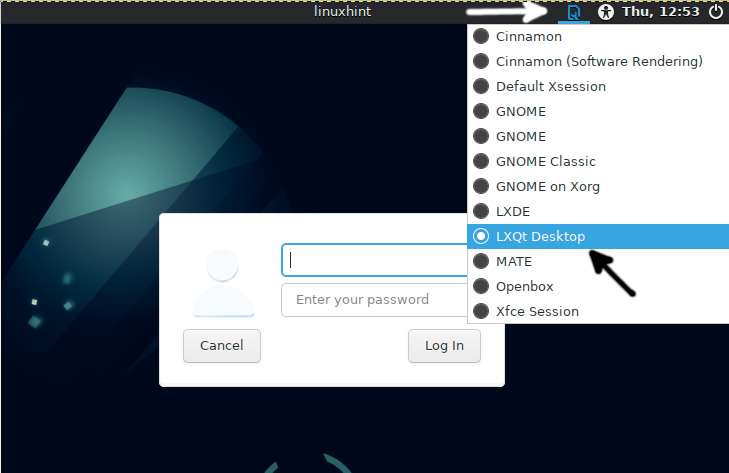
Once the installation process ends, logout from Gnome or from your current X Window manager. If you are using Gnome, follow the steps instructed by the white arrows in the following screenshot.

On the login screen, press the wench or foot icon and select LXQt Desktop, then login.
As you can see in the figure below, the LXQt desktop environment will start instead of your previous one. Choose an option from available X Window managers to start using LXQt.

After pressing OK, LXQt will appear.
Fluxbox
Fluxbox is almost forgotten by the Linux community; it is an old and extremely light X Window manager. Fluxbox is very flexible and customizable. Despite it being almost unused, personally, it is my preferred desktop environment.
Installing Fluxbox on Debian
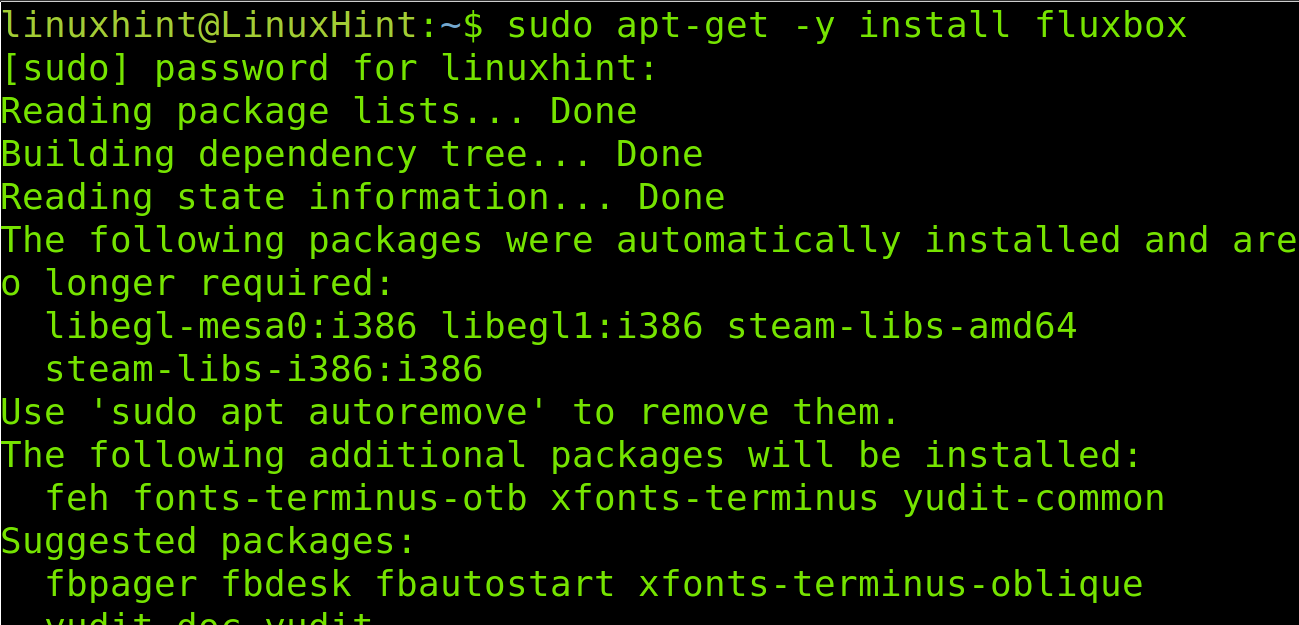
To install Fluxbox on Debian, use the apt packages manager by running the following command.
Log out from your current desktop environment.

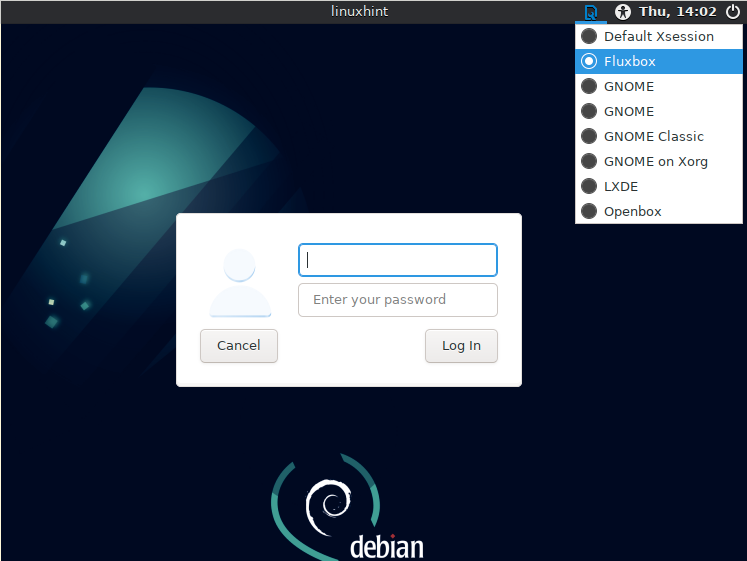
On the login screen, select Fluxbox under the top wrench/foot icon, as shown in the image below. Then login.
By default, Fluxbox looks very simple and ugly, as shown below. But see the next image to know its aesthetic potential.

Below you can see a custom Fluxbox look.

Note: Screenshot taken from Fluxbox official website.
KDE Plasma
KDE Plasma is, together with MATE, the most user-friendly interface for new Linux users coming from Microsoft Windows due to what is called “desktop metaphor” (the classic desktop we all know with menu bar, taskbar, icons, and applications on desktop such as bin trash, etc.).
In contrast to its main counterpart GNOME, KDE kept the menu and taskbars. The main problem with KDE is in contrast to all other desktop environments described in this tutorial; it is not light and requires more hardware resources.

In some cases, the following screen may appear; in such a case, just press ENTER to continue. If the following screen does not appear, just continue reading the step below.
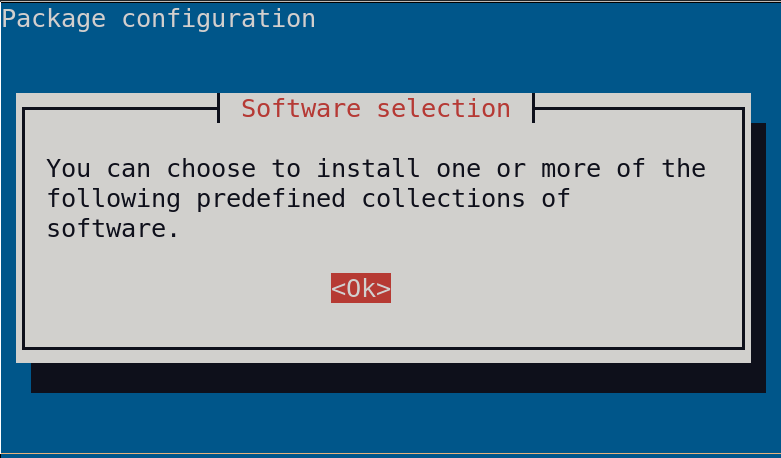
Select KDE Plasma in the tasksel list, then press OK.

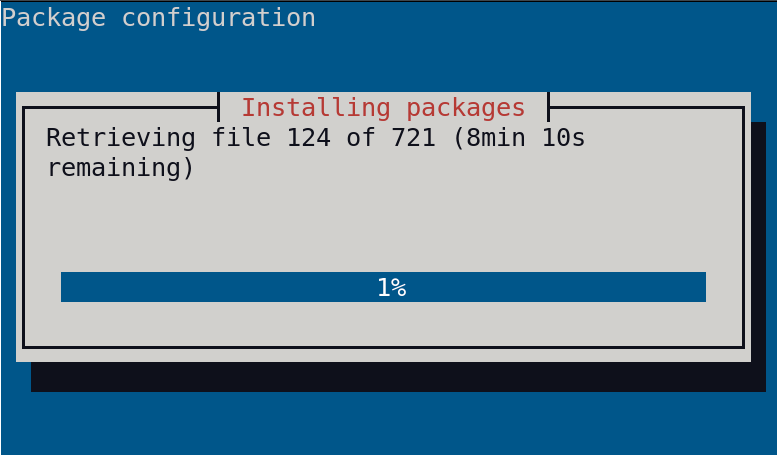
Wait for the installer to end.
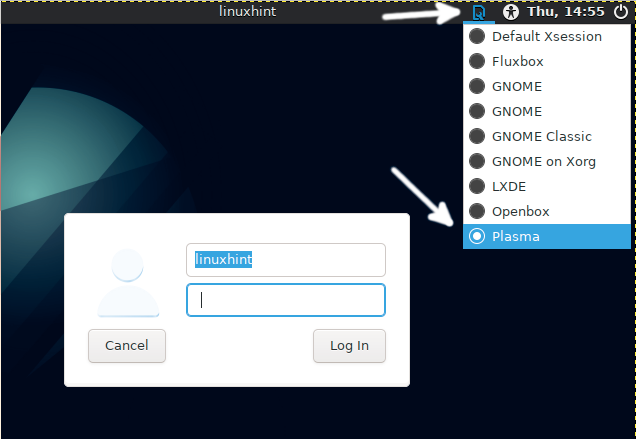
Log out from your current X Window by following the steps shown in the figure below.

Select Plasma from the wrench/foot menu as shown in the following image and login.
KDE Plasma will show up instead of your previous desktop environment.
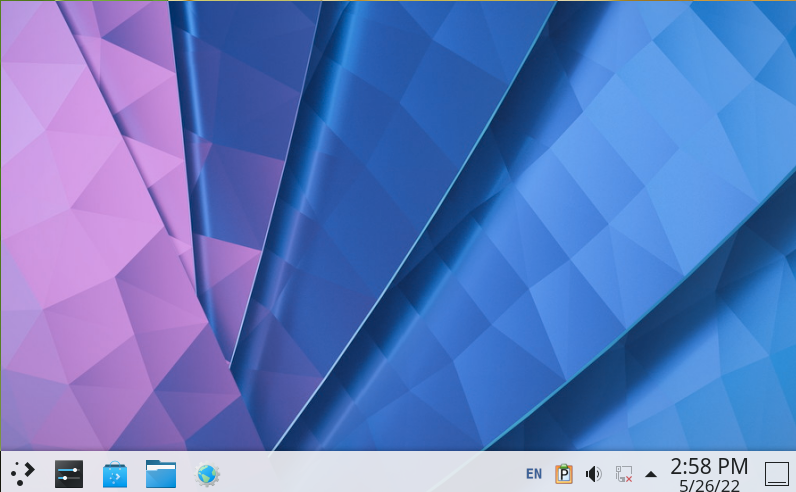
Now you can explore KDE, one of the oldest Linux X Window managers.
Conclusion
The main conclusion of this article is Fluxbox is the lighter X Window environment listed, followed by XFCE. MATE and Cinnamon may be a better choice over Gnome for being improved Gnome-based desktop environments. KDE remains as a robust graphical environment. All X Window managers described in this tutorial are easy to use; you can try all of them to make a good choice. Except for Fluxbox, all options described in this tutorial are the most widely used environments.
Thank you for reading this tutorial describing the best desktop environments for Debian. I hope it was useful to you. Keep following for more Linux professional articles.