This article will cover the process of deploying a PHP application on EC2 with the managed database using RDS.
Deploy a PHP Application Using Amazon EC2 Instance
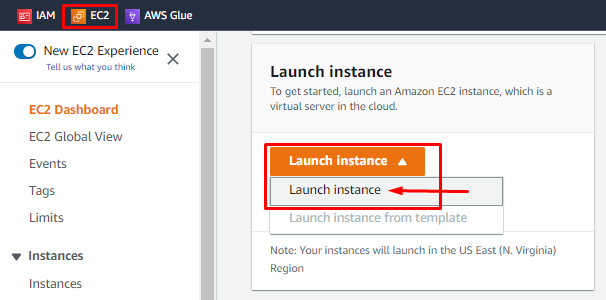
Firstly, let’s create an EC2 instance. Go to the Amazon Management console, click on the Launch instance drop-down list, and select the option Launch instance:
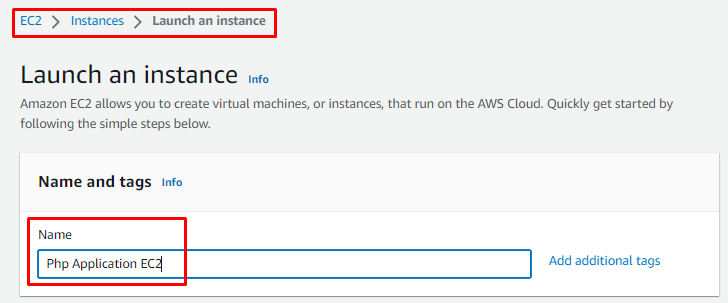
A Launch an instance wizard will open, Name this EC2 instance:
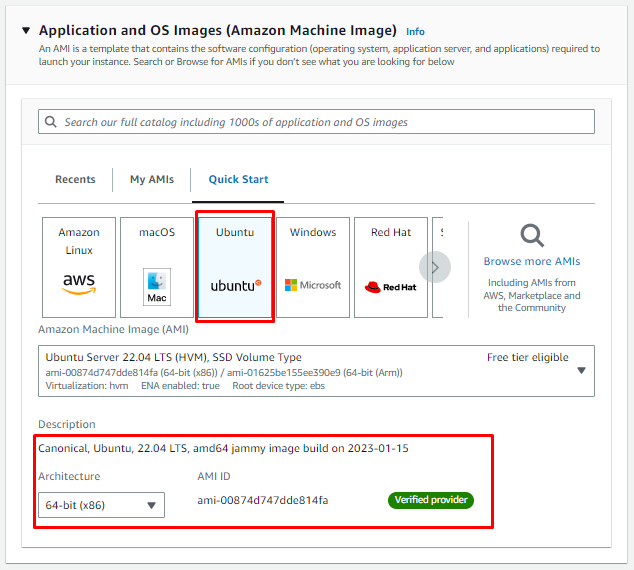
Select Ubuntu as Amazon Machine Image and make sure that architecture is selected as 64 bits:
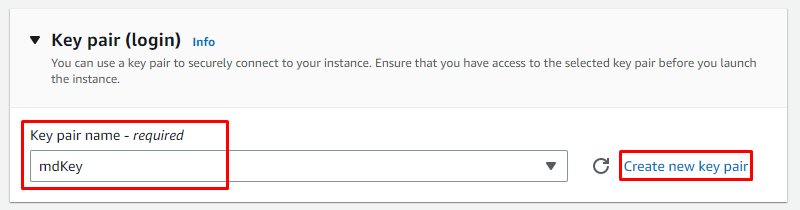
Either Create a new key pair with the default options or select an already existing key pair:
Check the option Allow HTTPS traffic from the internet to allow HTTPS request access this EC2:
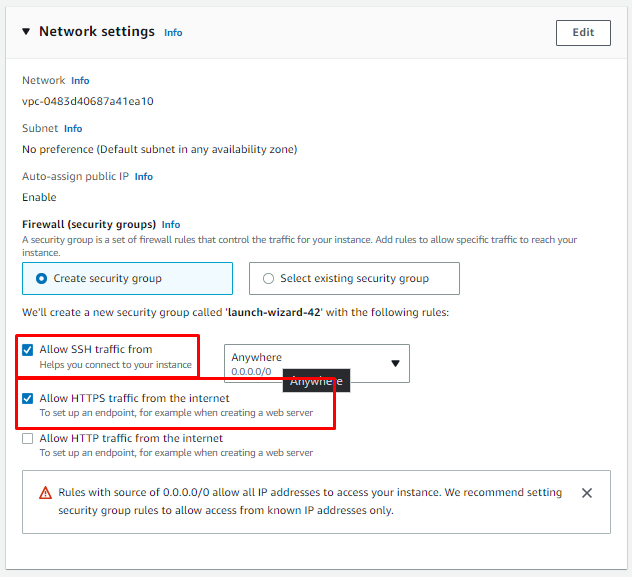
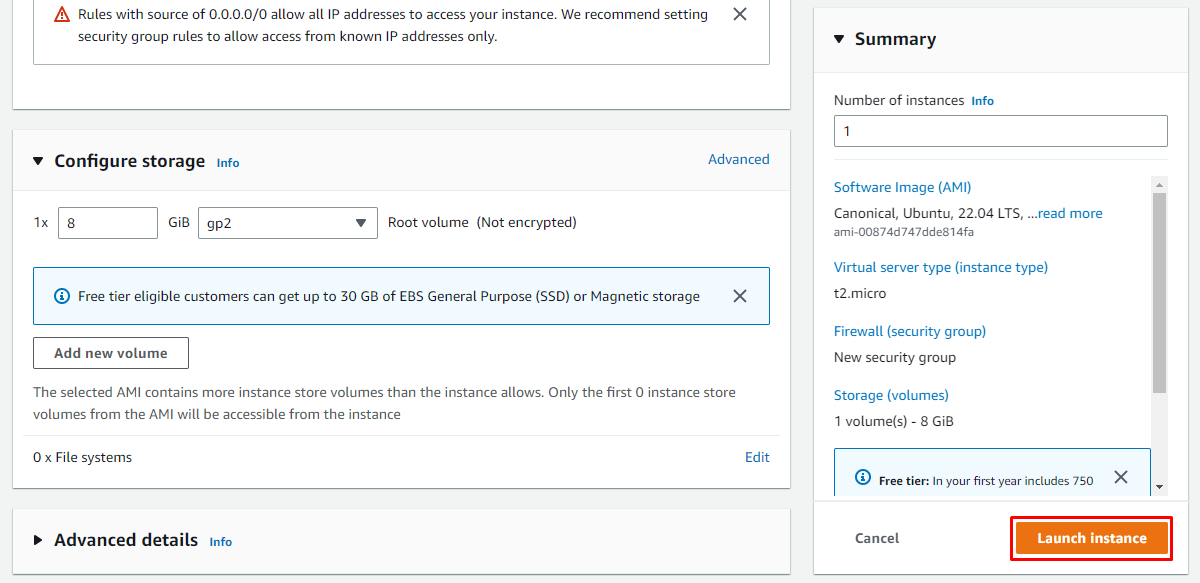
Leave the rest of settings as default and click on Launch instance button:
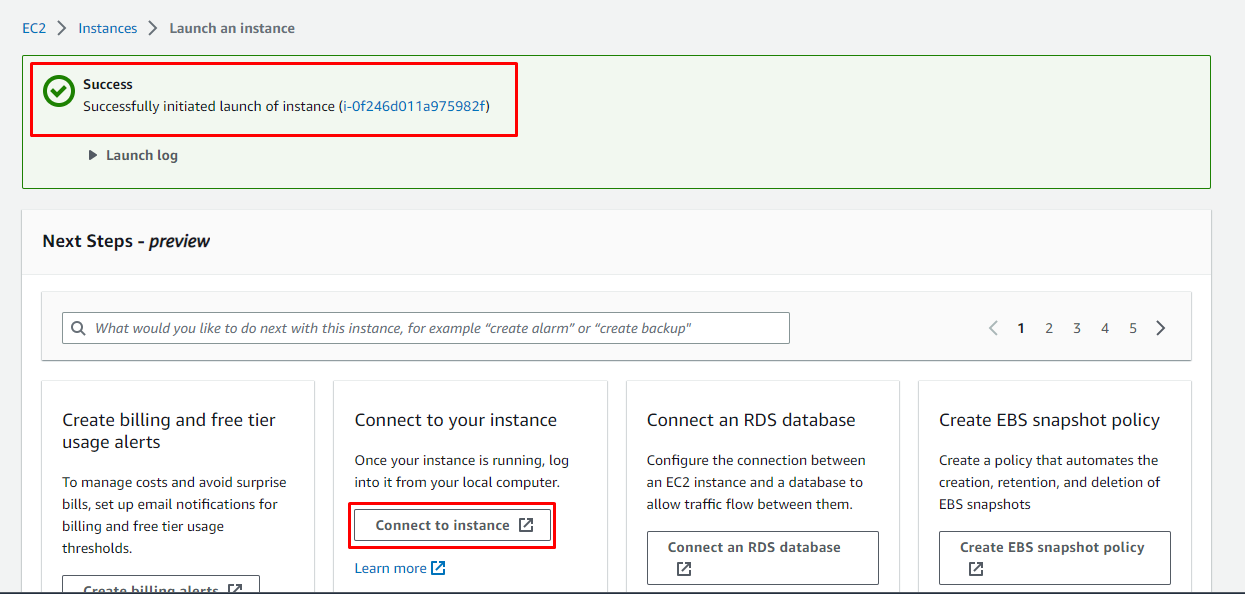
A success message will appear on the screen. Click on the button Connect to instance:
A wizard will open, go to the SSH client tab and copy the SSH command:
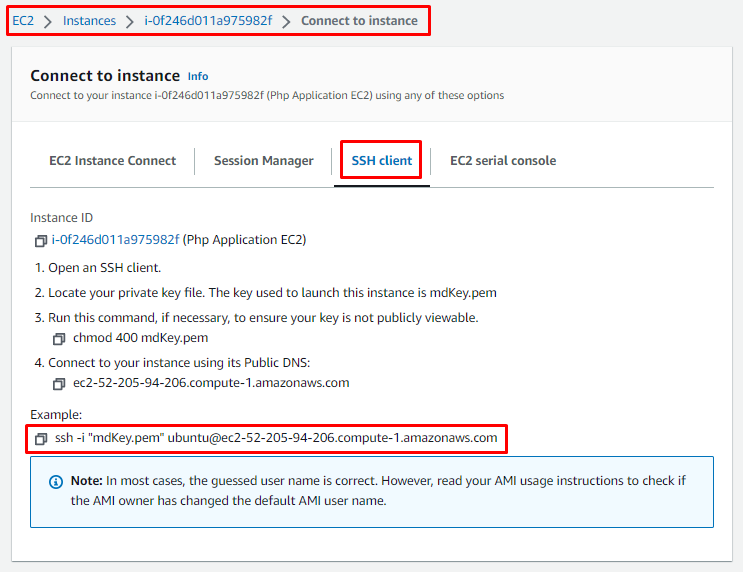
Open the Command Prompt or PowerShell in your system and paste this SSH client, and type yes on the message for Continuity:
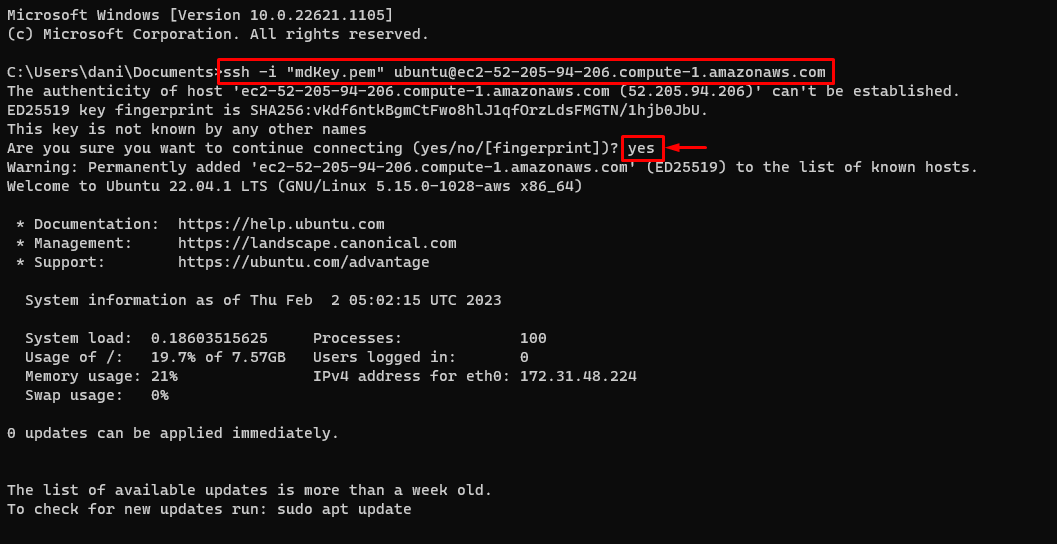
In the output above it is visible that this SSH client is successfully logged into Ubuntu (Amazon Machine Image).
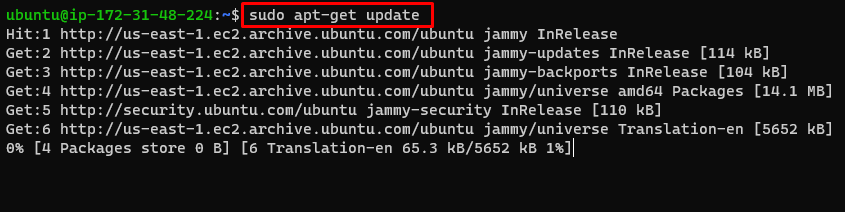
Run this update command:
The next step is to install Apache2 using this command:
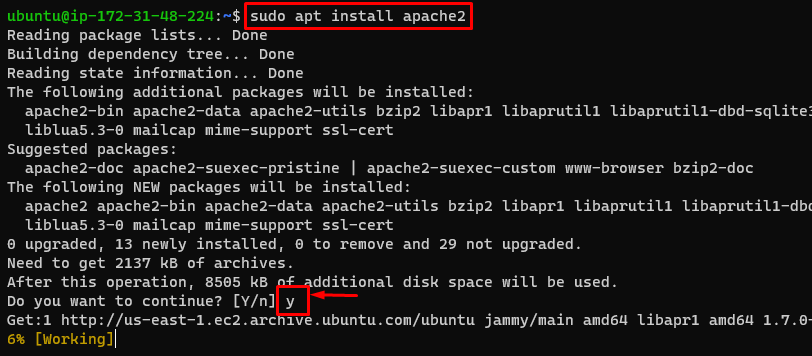
Press y when the message will prompt during the installation.
To install the PHP along with its dependencies, type:

After the successful installation of PHP, let’s type the ls command in the apache directory:
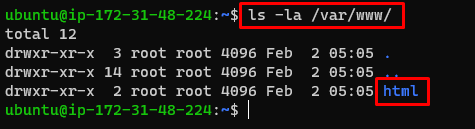
Navigate to the html directory using this command:
![]()
It is visible in the output above that the working directory is changed to html.
It’s time to create an index.php file for the code of the PHP application. Use this command to create and open index.php:
Type your PHP application code inside this file. Now save this file and exit it using ctrl + o key:
echo "This is sample Page of LinuxHint";
?>
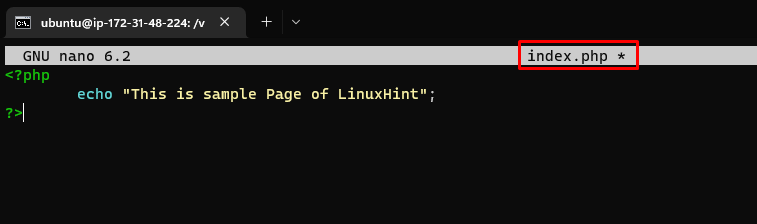
Note: Make sure that its name is index.php
Now rename the index.html file using this command given below so that Apache2 runs index.php as the default file instead of index.html:

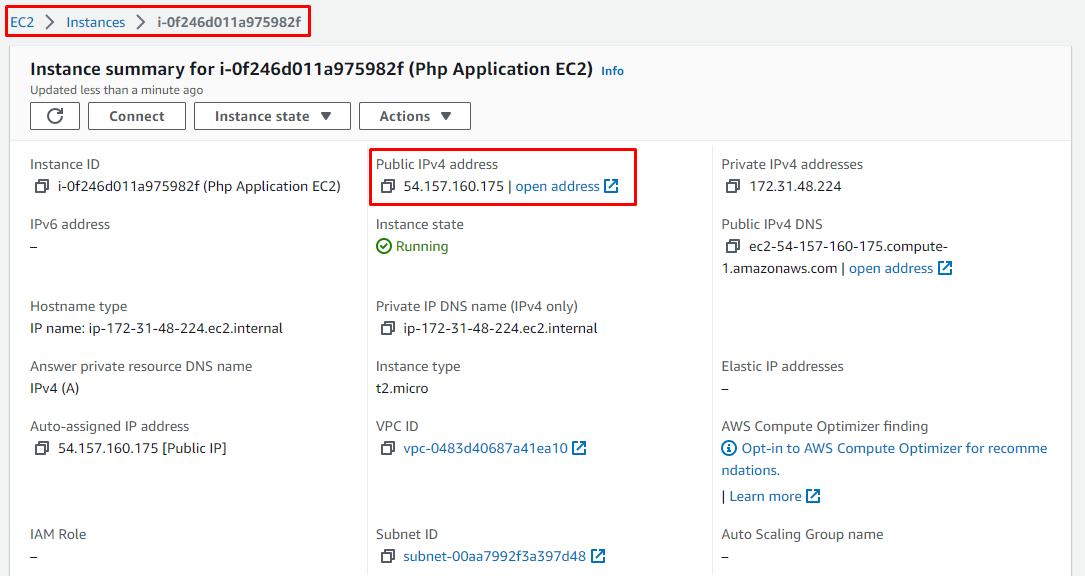
To test if the PHP application is deployed or not, open the instance summary using its instance ID from the instance dashboard, and click on the open address hyperlink.
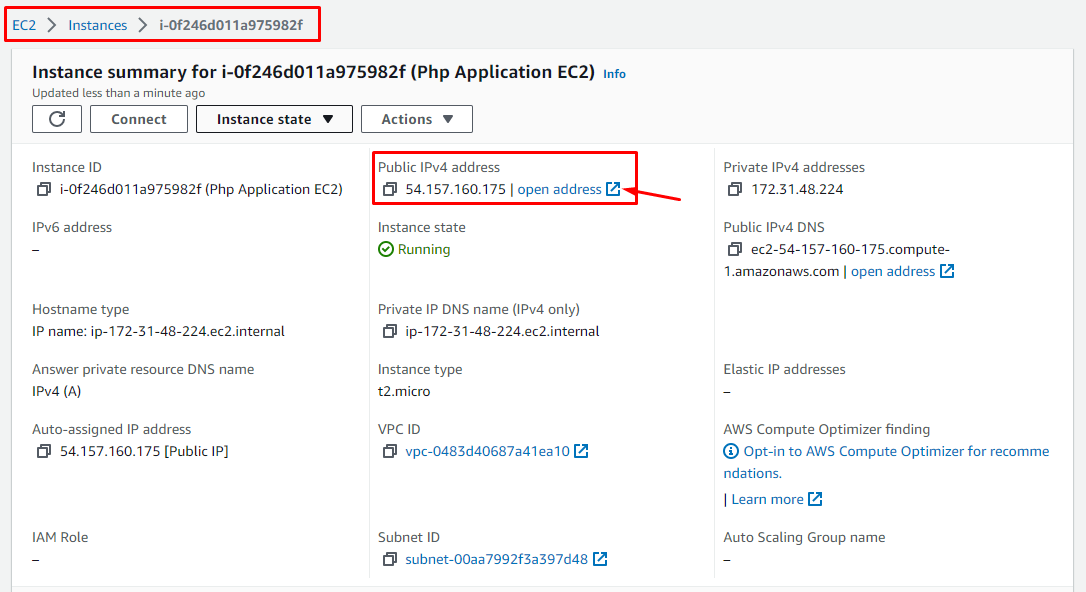
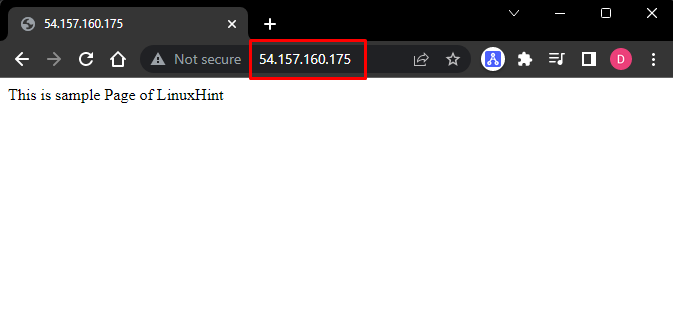
It will open your PHP application:
Deploy a PHP Application Using Amazon RDS
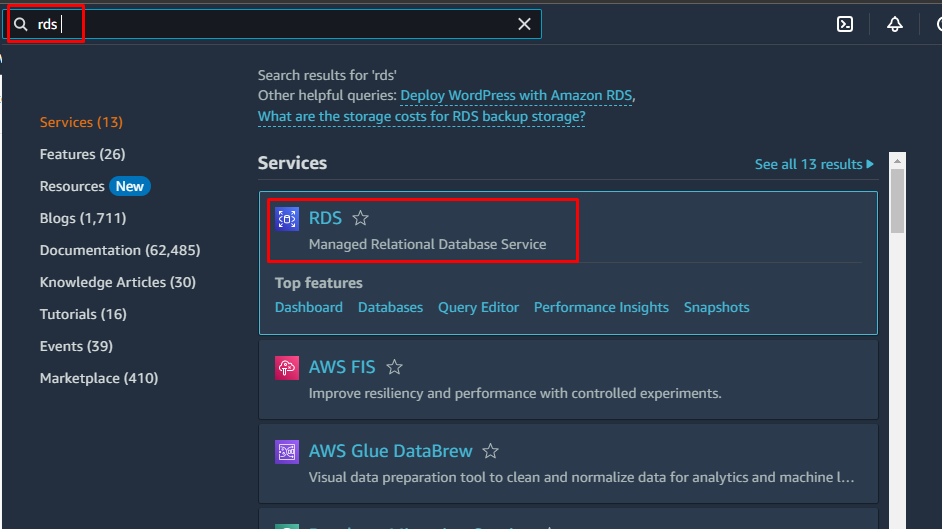
Let’s modify our PHP application and deploy it using RDS. For that purpose, firstly create RDS, by searching RDS in the search bar and clicking on RDS:
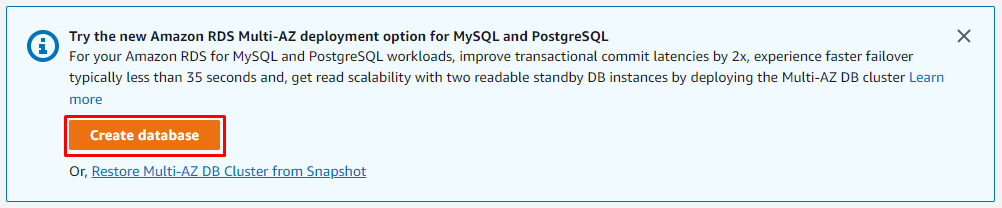
It will open a wizard, here click on Create database:
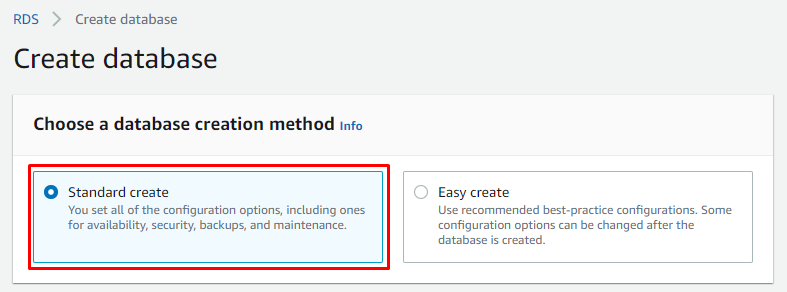
Inside the Create database wizard, select the option Standard create:
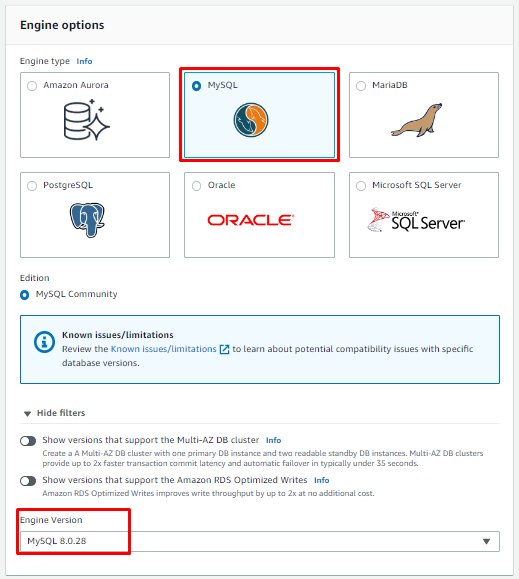
Select MySQL and choose any version:
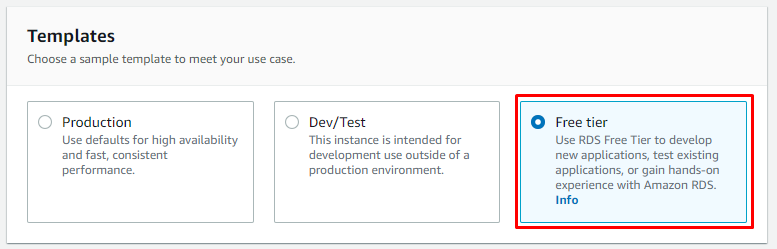
Select Templates according to your need:
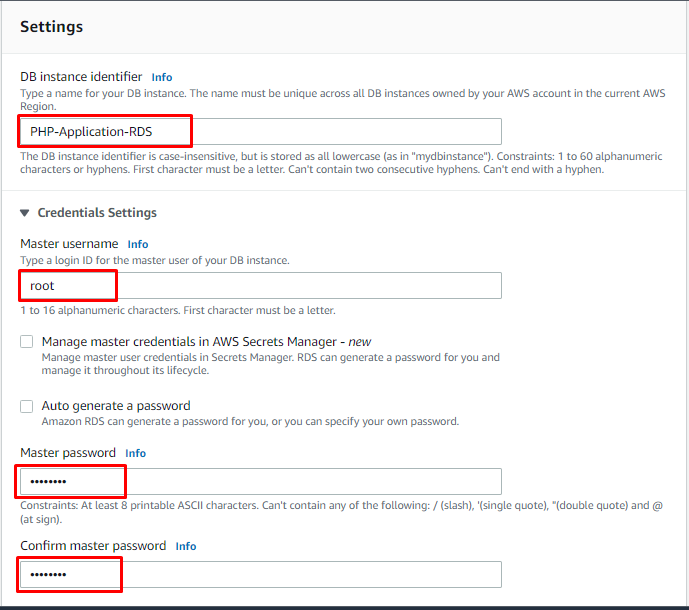
Set the name of the RDS database, root username, and its password:
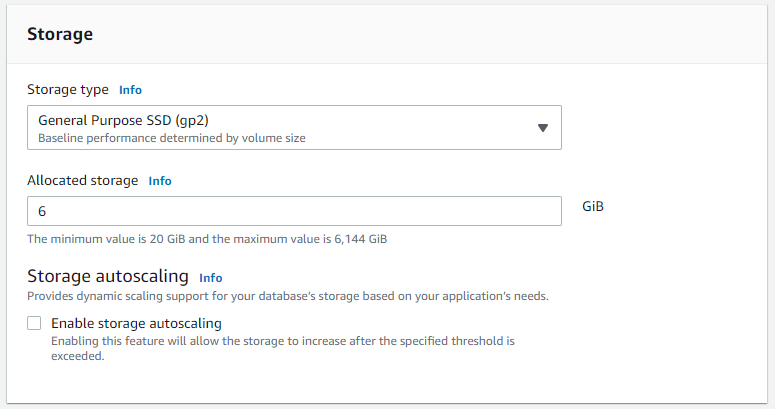
Leave the Instance configuration as default. Select the storage type and provide the allocated storage. Select the option of Enable storage autoscaling, depending upon the need of your PHP application:
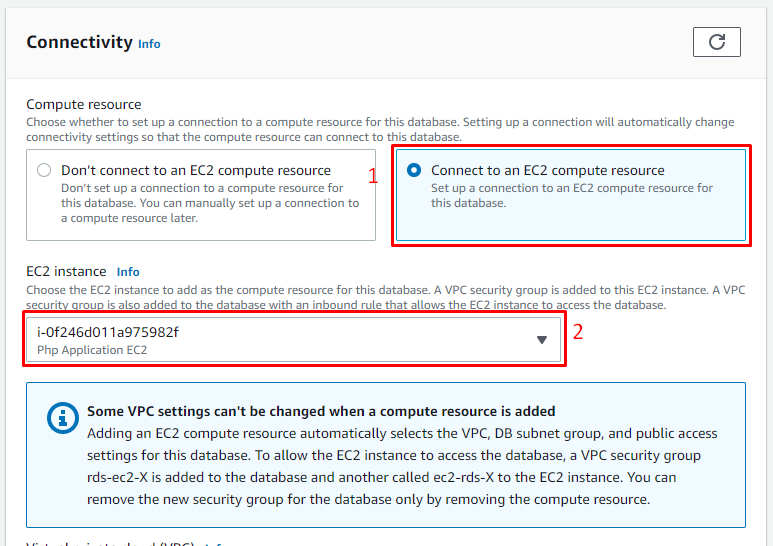
In the connectivity, select the option Connect to an EC2 compute resource and select the EC2 instance from the drop-down list:
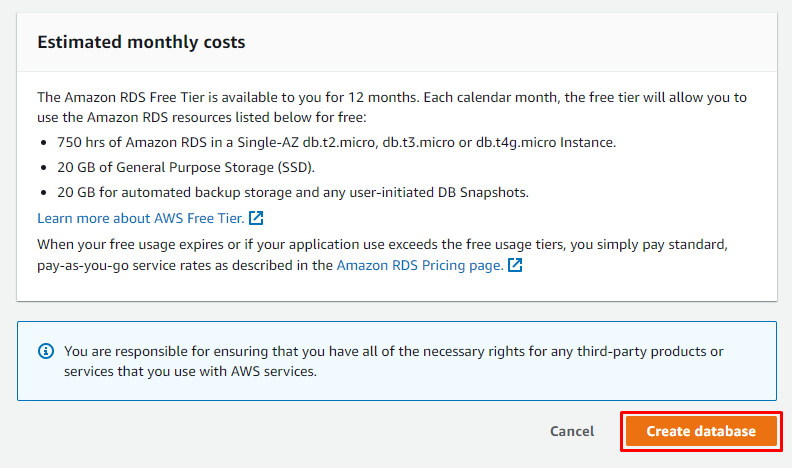
Click on the Create database button:
The newly created RDS database will display with the status as available in the RDS dashboard:

Now to connect the database with the web application, open the SSH client command prompt and install MySQL client using this command:
After installing MySQL client, install the MariaDB client by typing:
Navigate to html directory by typing:

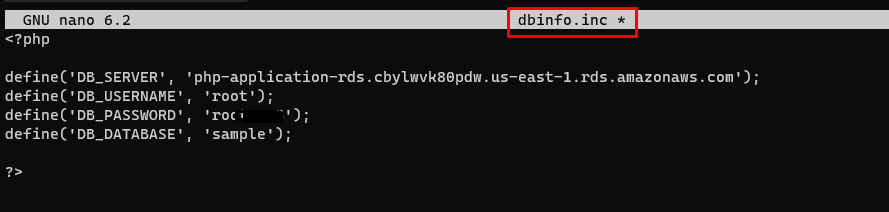
The next step is to create a file dbinfo.inc, type this command to create and open this file:
Type this code according to your RDS database instance endpoint, username, password, and database name:
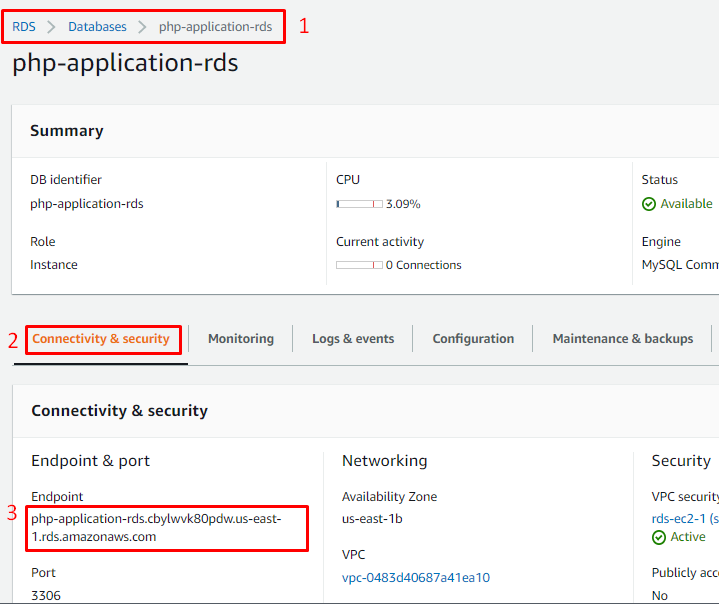
Save the file, but if you do not know your endpoint then click on DB identifier name:

It will open a new wizard, select the Connectivity & security tab and copy your endpoint to paste it in dbinfo.inc file:
Let’s confirm that the RDS is connecting or not by typing this command and providing the password of RDS:
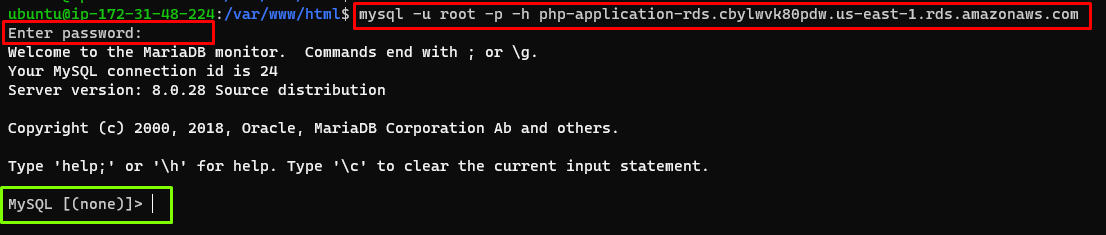
In the output above it is visible that RDS is working.
The next step is to create the sample database which will store the data of our PHP application:

Exit the database connect by typing
Let’s modify the code for our PHP application so that it can store database
![]()
Now copy the for the code from AWS website to test the RDS and EC2 working, you have to write your own PHP application code:

Save the file and exit it.
After that go to the Instance summary and click on the open address hyperlink:
A PHP application page will open:

Let’s add data into the PHP application:
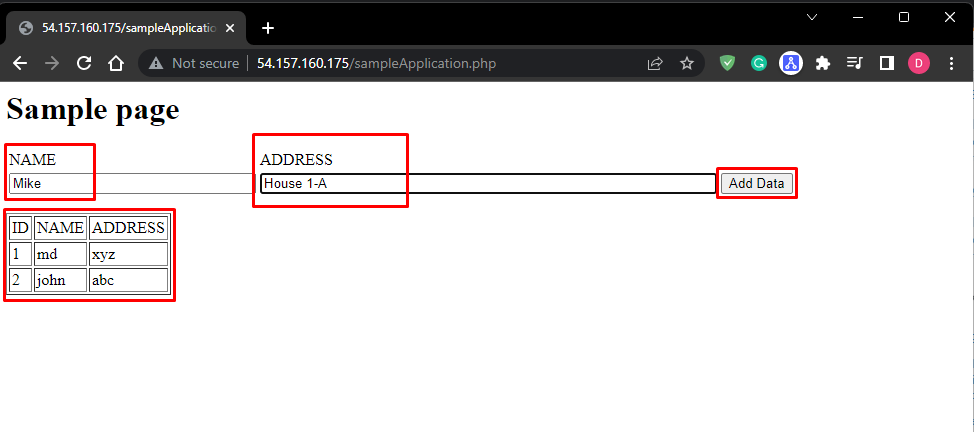
As it is visible in the output above that our PHP application is successfully deployed, and the data is storing in the database, as well as displaying in the table.
Conclusion
To deploy the PHP application on Amazon EC2 Instance and RDS. create an EC2 instance and make sure its HTTPS traffic is selected, then copy its SSH command to use the Command Prompt of your system as SSH Client. Install the required packages and test your PHP application on EC2. After EC2, create the RDS standard MYSQL database and connect it with the EC2 instance. Now open the ssh client, to create a file for the configuration of the database and modify the PHP application code. In the end, deploy your PHP application.