In this guide, you will learn the easiest method of deleting stash records in Git.
How to Delete Stash Record in Git?
To clean the stash record, we will first make changes to the project files and add them to the Git repository. After that, execute the “$ git stash” command to hold these changes temporarily. Then, execute the “$ git stash drop” command to delete the stash records.
Let’s check out the below steps to implement the above scenario!
Step 1: Move to Git Repository
Navigate to the Git Local repository by utilizing the “cd” command:
Step 2: Create File
Next, execute the provided command to create a new file:
Step 3: Track File
Now, track the file using “git add” command:
Step 4: Commit Changes
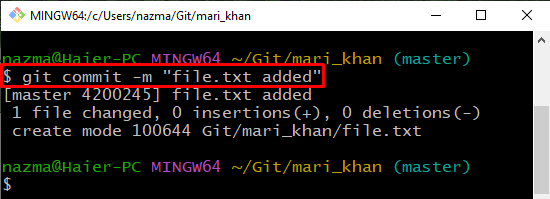
Update the Git repository and commit a related message with the “-m” option in the “git commit” command:
Step 5: Update File
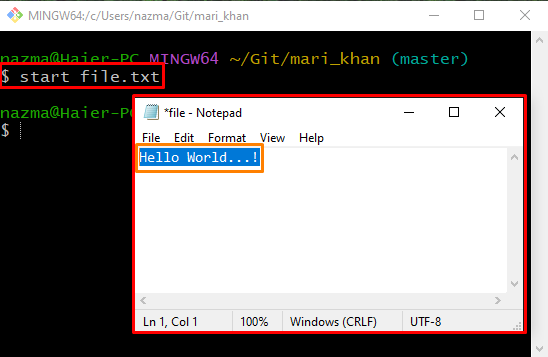
Open the added file on the default editor, add some text in it and update it:
Step 6: Add Changes
After updating the file, add all made changes to the Git repository with the help of provided command:
Step 7: Stash Changes
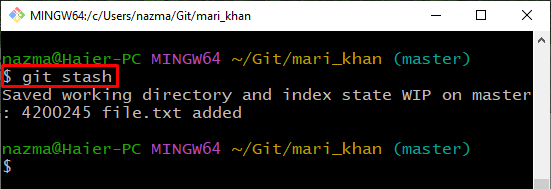
Now, execute the “git stash” command to temporarily hold the working directory changes:
Step 8: List Stash Changes
To view the recent changes, the “git stash list” command:
As you can see, currently, we have only one stash with the index “0”:
Step 9: Delete Stash Record
Now, execute the stash command with “stash@{0}” to delete the related stash:
Below output indicates that our specific stash record is successfully deleted:
Step 10: Verify Deleted Stash
Run the “git stash” command to check any changes that need to be stashed:
As you can see, there are no more local changes now exist:
Want to delete a stash record using its index? Have a look at the provided procedure!
How to Delete Stash Record in Git Using Index Number?
Another command to perform the above operation in a different way is using the index number of a stash to delete.
To implement the stated concept practically, check out the following steps.
Step 1: List Stashes
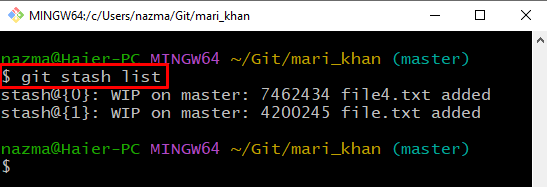
Firstly, display the list of all stashes using provided command:
According to the below output, currently, we have two stash indexes that contain changes:
Step 2: Remove Stash Record
Now, execute the “git stash drop” command with the index number of the stash which needs to be deleted:
Here, we have successfully deleted or dropped the stash record which was placed on “1” index:
How to Delete Multiple Stash Records in Git?
To delete multiple or all stashes at once, utilize the “git stash drop” command. To achieve this, follow the provided instructions.
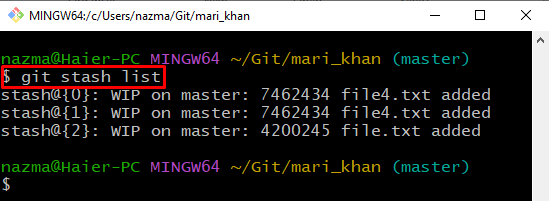
Step 1: List Stashes
First, view the list of stashes by executing the provided command:
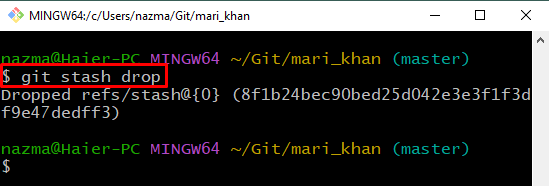
Step 2: Delete All Stash Records
Now, simply run the “git stash drop” command to delete all stash records:
Step 3: Git Stash
Next, run the “git stash” command to check the changes that need to be stashed:
Below output shows that there are no changes to save:
We have illustrated different ways of deleting stashed in Git.
Conclusion
To delete the stash record in Git, first, move to the Git directory, and create and track the new text file. Then, open a file and make changes. After that, add all changes to the directory and stash the changes utilizing the “$ git stash” command. Now, execute the “$ git stash drop stash@{index}” command and delete any stash record. To delete all stashes at once, run the “$ git stash drop” command. This guide explained how to delete stash records in Git.


