This blog will demonstrate how to delete Index API within Elasticsearch.
How to Delete Index API Within Elasticsearch?
Deleting index or indices means the removal of the index, shard, and index metadata. But to delete the index, you are required to roll over the Elasticsearch data stream to create a new index. To delete the index from Elasticsearch using the “DELETE” index API, go through the following instructions.
Step 1: Start Elasticsearch
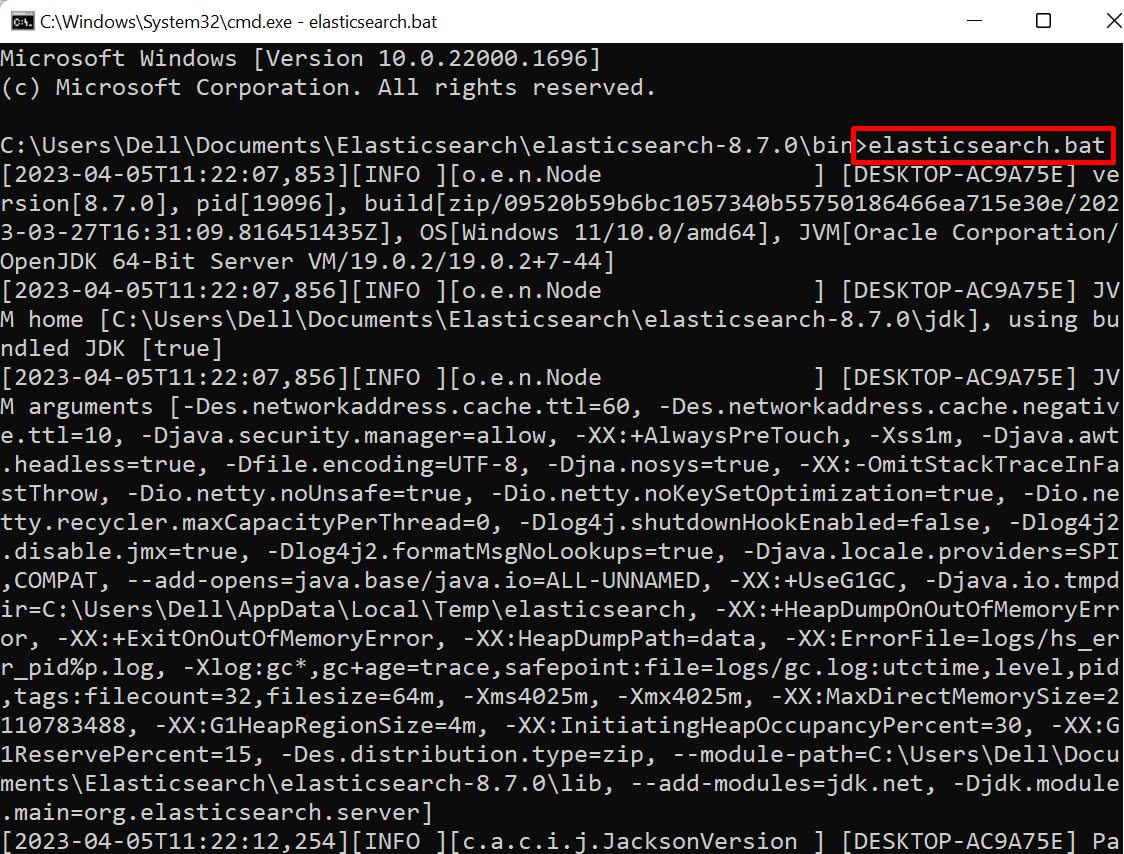
First, launch the Command Prompt on your system. Then, navigate to the “bin” directory of Elasticsearch setup through the “cd” command:
After that, execute the “elasticsearch.bat” command to start the Elasticsearch engine on your localhost:
Step 2: Navigate Elasticsearch Default Port
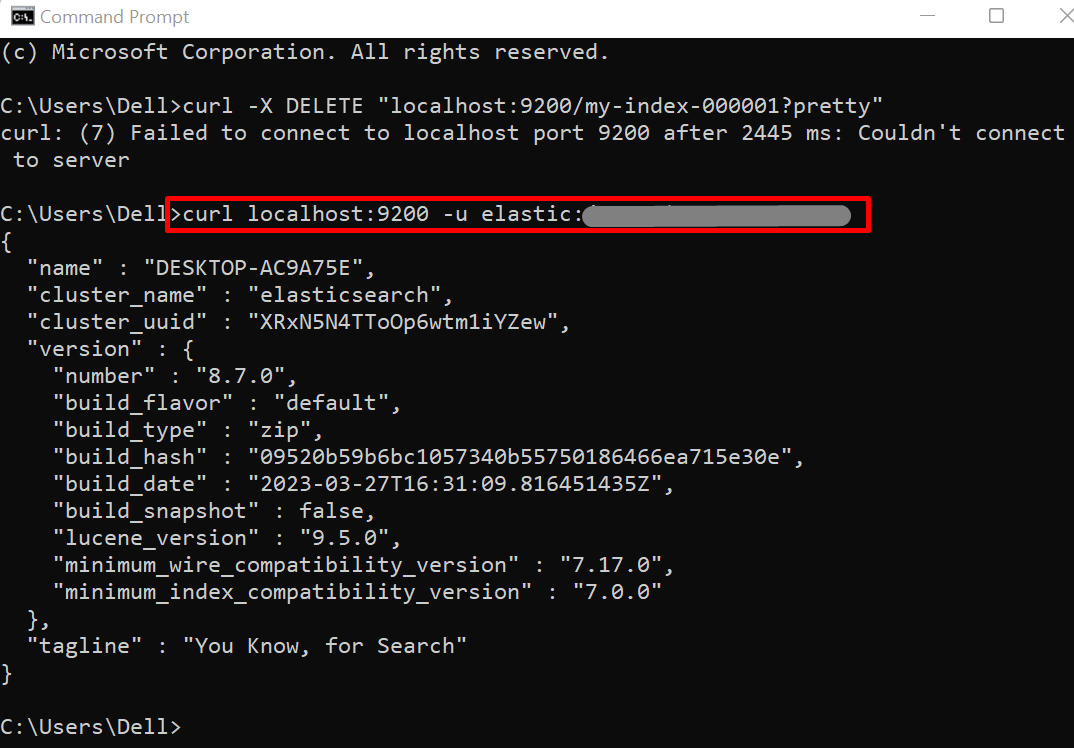
Next, check if Elasticsearch is running on the default localhost port or not. To do so, utilize the “curl” command along with “localhost:9200”. The “-u” is utilized to provide the Elasticsearch user’s credentials:
Step 3: List All Indexes
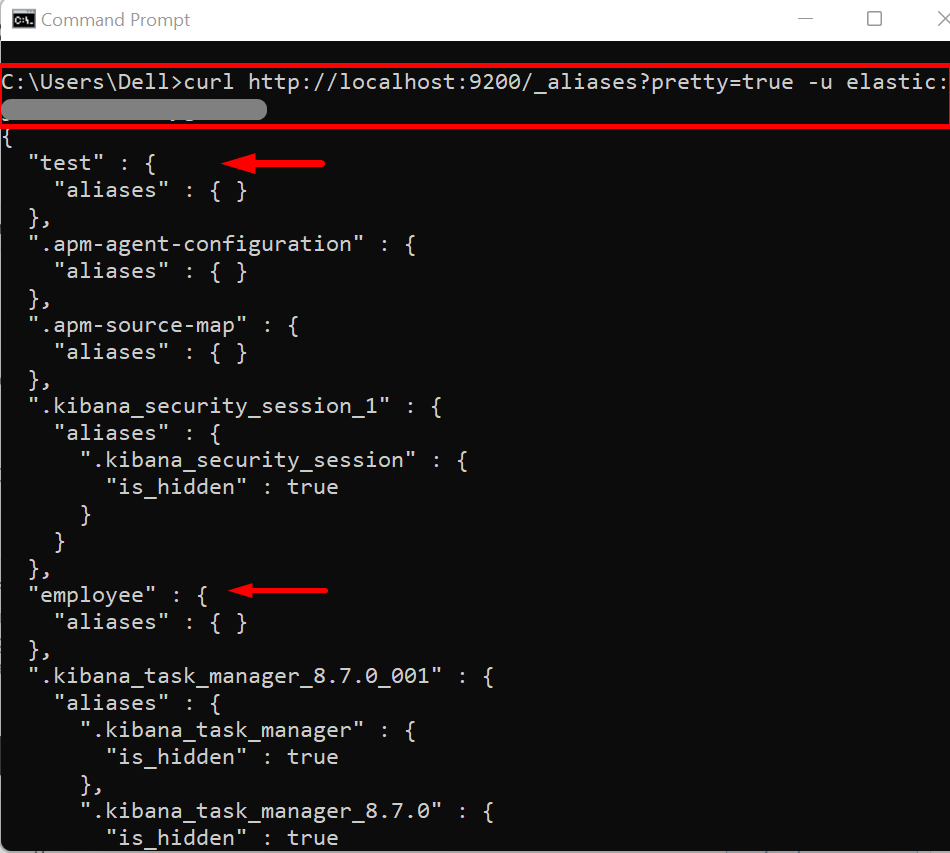
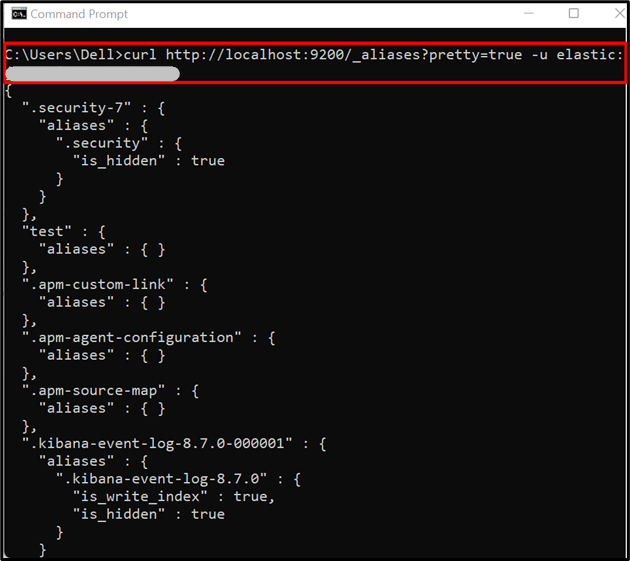
Next, list down all indexes of Elasticsearch by utilizing the methods command:
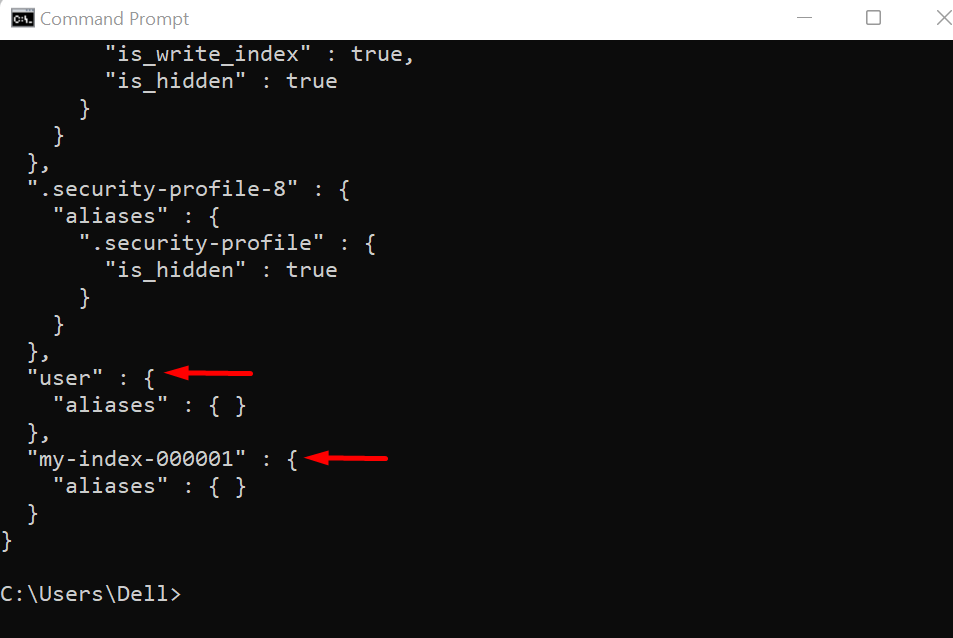
From the output, you can see that we have currently four indexes, “test”, “employee”, “user”, and “my-index-000001”:
Step 4: Check Index Data
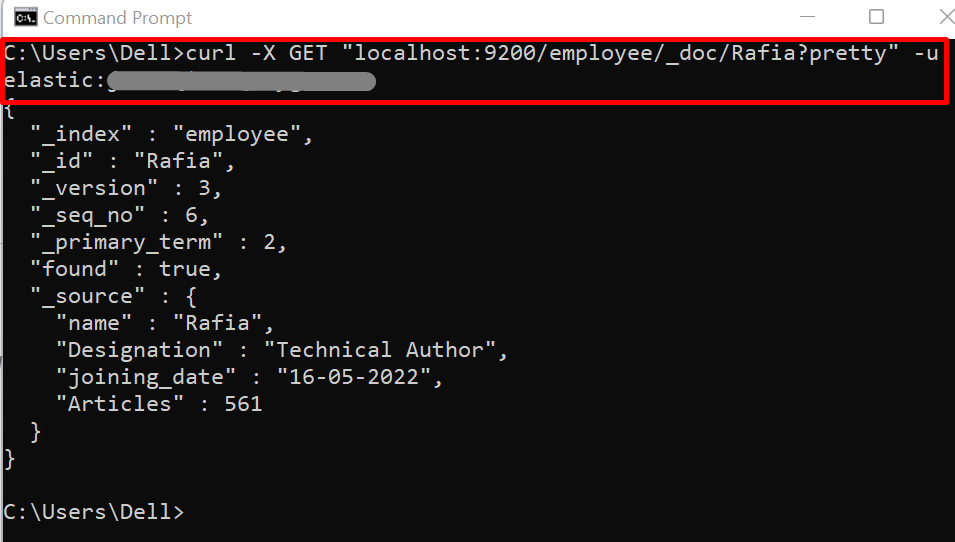
Access the data of the index that you want to delete to check if any important data exists in that index. For doing so, utilize the “GET” API request along with “localhost:9200/index-name/data-type?pretty”:
Step 5: Delete Index
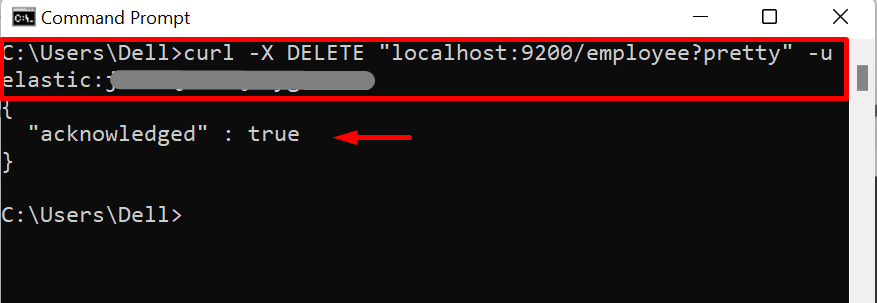
Next, to delete the index, simply use the “DELETE” index API along with the “localhost:9200/index-name?pretty” command as shown below:
In the output, the “acknowledged” value “true” means we have successfully deleted the Elasticsearch index:
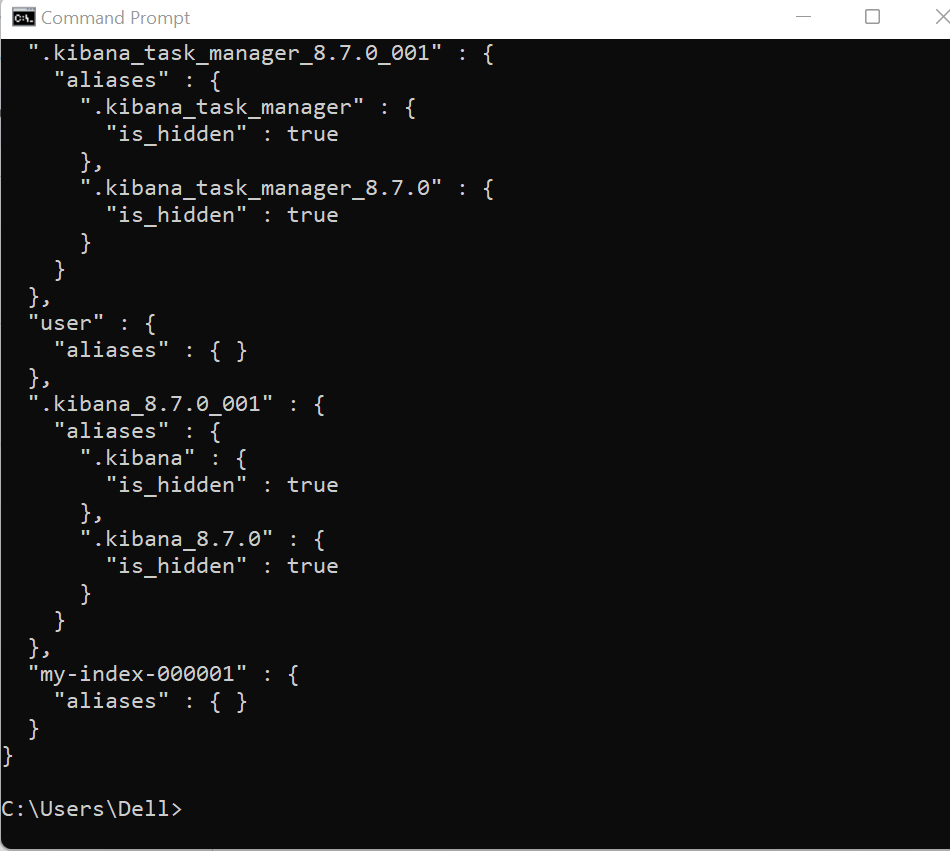
For the verification, again list down all Elasticsearch indexes and check whether the chosen index is removed from the list or not:
The below output indicates that we have successfully removed the “employee” index from Elasticsearch:
That’s all about deleting the Elasticsearch index using the DELETE index API.
Conclusion
To delete the Index by using DELETE index API, first, start Elasticsearch. Then, list down the index and check if the index exists that you want to delete. After that, delete the whole index using the “curl -X DELETE “localhost:9200/employee?pretty”” command. This blog has illustrated the technique to delete the Index API within Elasticsearch.