Note: for this tutorial the network interface enp2s0 and IP address 192.168.0.2/7 were used as example, replace them for the correct ones.
Installing ufw:
To install ufw on Debian run:
To enable UFW run:
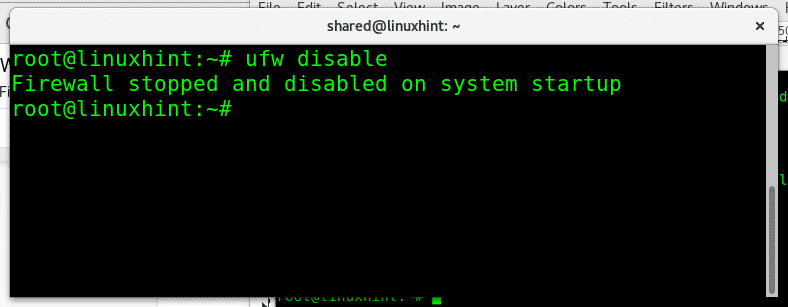
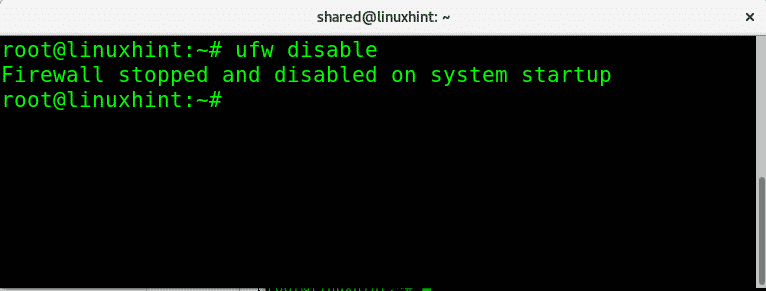
To disable UFW run:
If you want to carry out a fast check on your firewall status run:
Where:
Status: informs if the firewall is active.
To: shows the port or service
Action: shows the policy
From: shows the possible traffic sources.
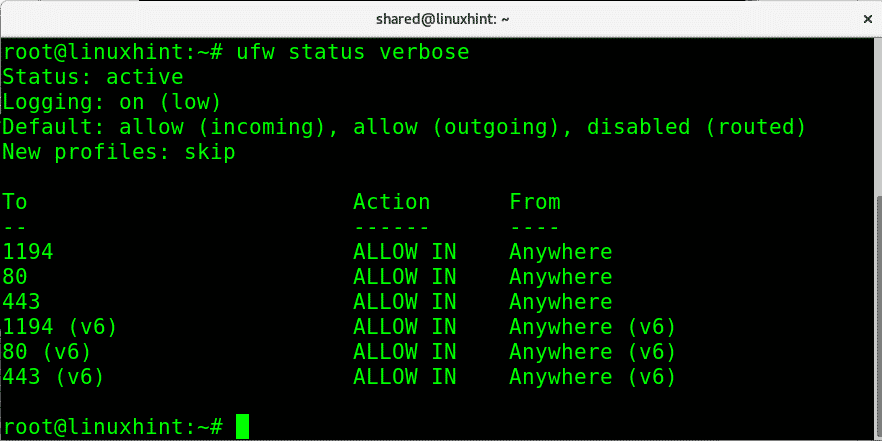
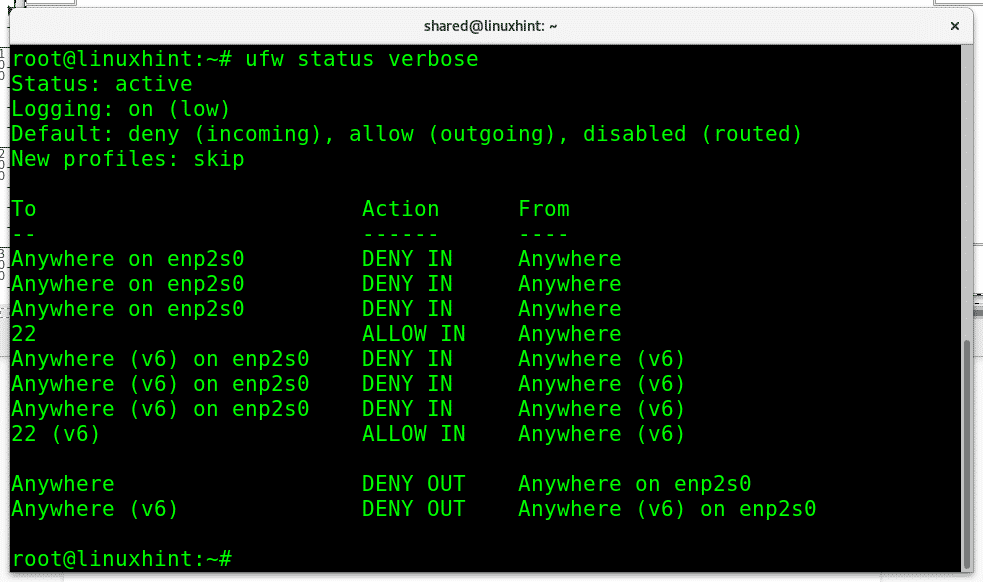
We can also check the firewall status with verbosity by running:
This second command to see the firewall status will also display the default policies and traffic direction.
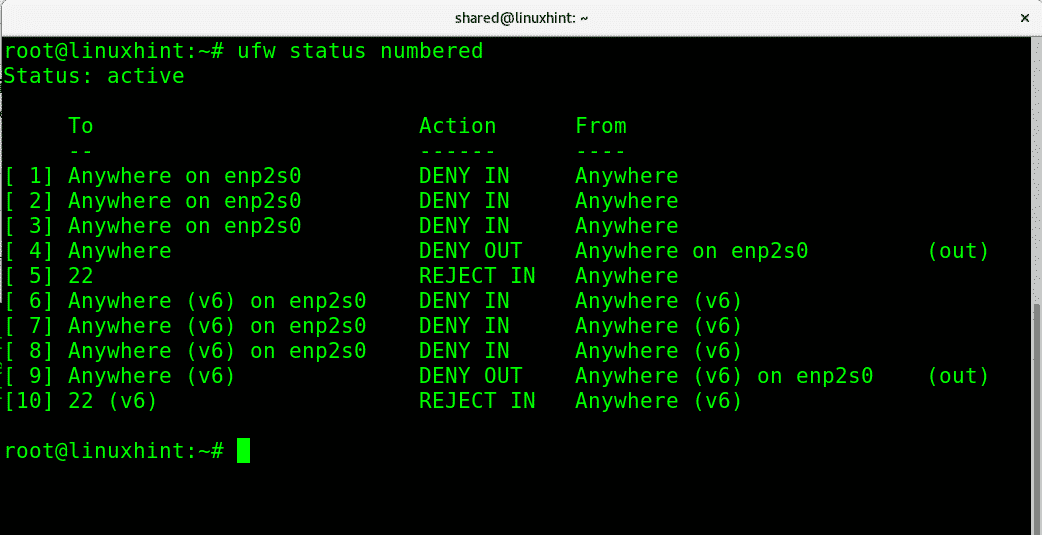
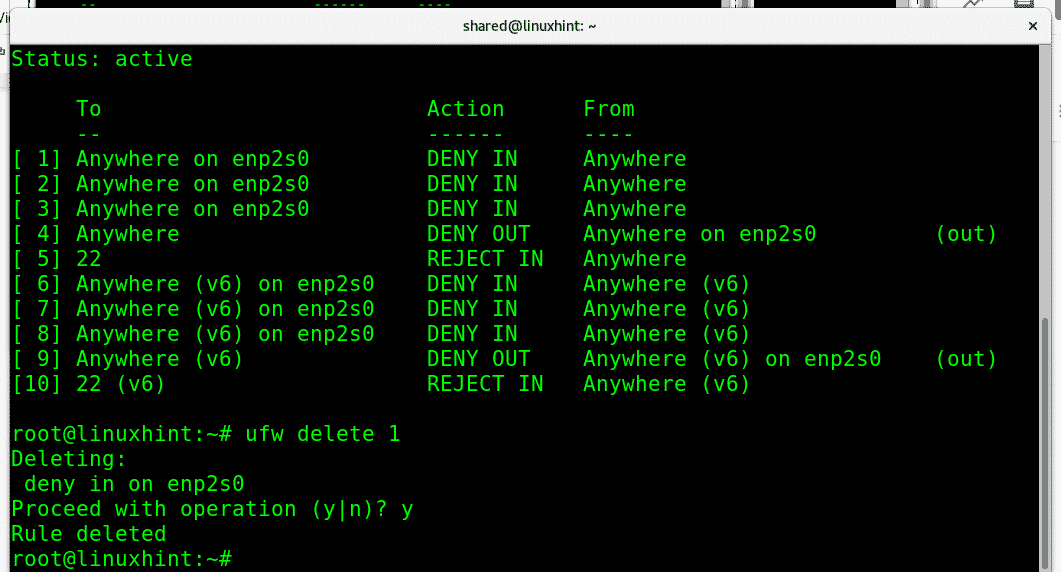
Additionally to informative screens with “ufw status” or “ufw status verbose” we can print all rules numbered if it helps to manage them as you’ll see later. To get a numbered list of your firewall rules run:
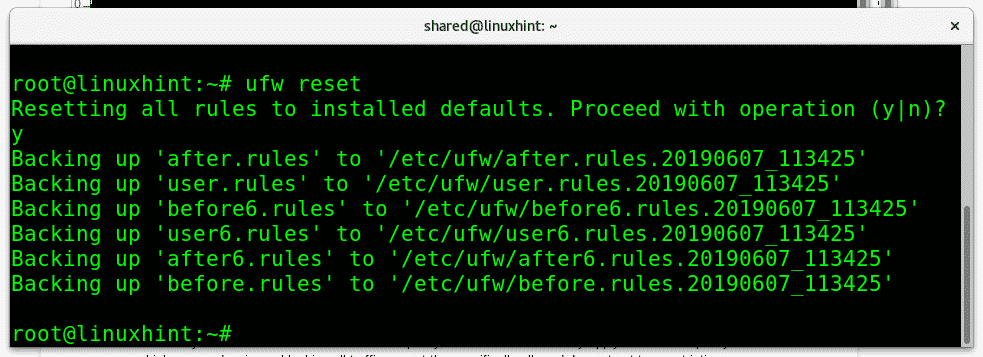
At any stage we can reset UFW settings to the default configuration by running:
When resetting ufw rules it will request confirmation. Press Y to confirm.
Brief introduction to Firewalls policies:
With every firewall we can determine a default policy, sensitive networks may apply a restrictive policy which means denying or blocking all traffic except the specifically allowed. In contrast to a restrictive policy, a permissive firewall will accept all traffic except the specifically blocked.
For example, if we have a webserver and we don’t want that server to serve more than a simple website we may apply a restrictive policy blocking all ports except ports 80 (http) and 443 (https), that would be a restrictive policy because by default all ports are blocked unless you unblock a specific one. A permissive firewall example would be an unprotected server in which we only block the login port, for example, 443 and 22 for Plesk servers as only blocked ports. Additionally we can use ufw to allow or deny forwarding.
Applying restrictive and permissive policies with ufw:
In order to restrict all incoming traffic by default using ufw run:
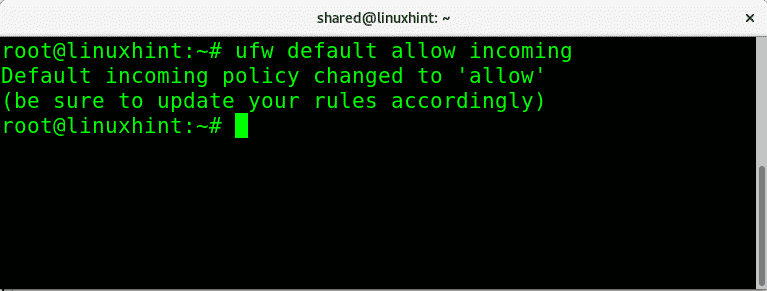
To do the opposite allowing all incoming traffic run:
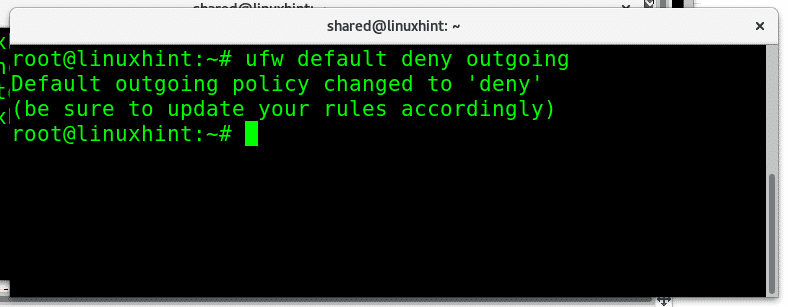
To block all outgoing traffic from our network the syntax is similar, to do it run:
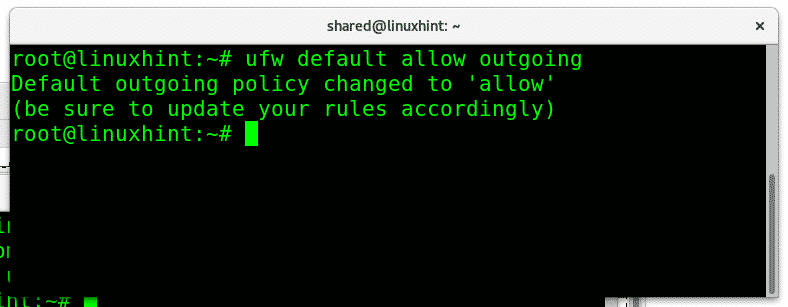
To allow all outgoing traffic we just replace “deny” for “allow”, to allow outgoing traffic unconditionally run:
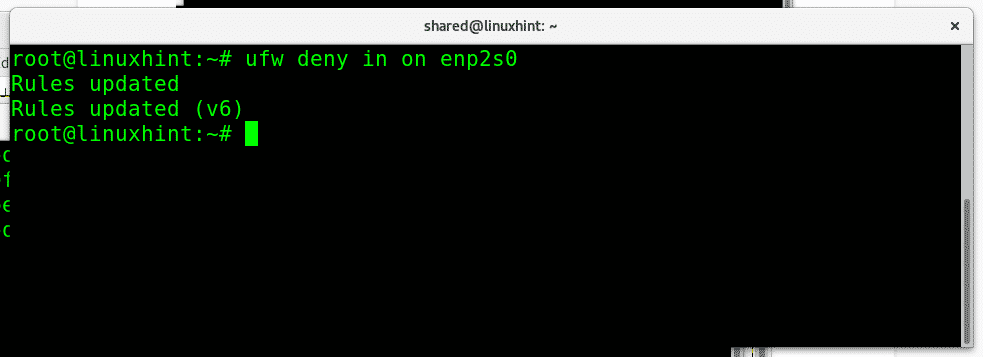
We can also allow or deny traffic for specific network interfaces, keeping different rules for each interface, to block all incoming traffic from my ethernet card I would run:
Where:
ufw= calls the program
deny= defines the policy
in= incoming traffic
enp2s0= my ethernet interface
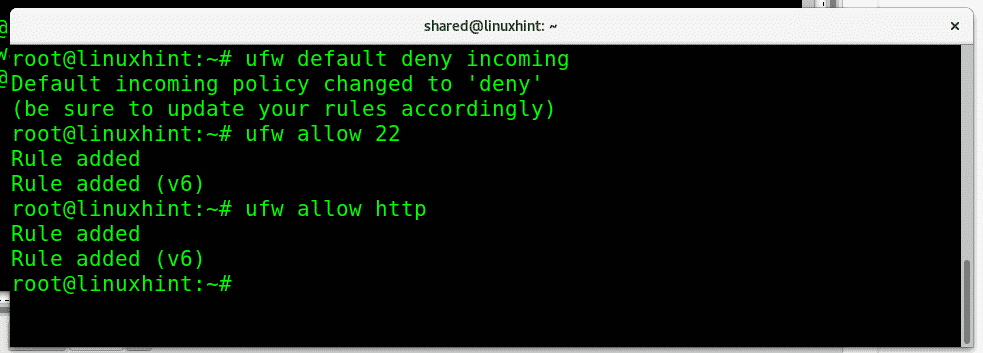
Now, I will apply a default restrictive policy for incoming traffic and then allow only ports 80 and 22:
ufw allow 22
ufw allow http
Where:
The first command blocks all incoming traffic, while the second allows incoming connections to port 22 and the third command allows incoming connections to port 80. Note that ufw allows us to call the service by it’s default port or service name. We can accept or deny connections to port 22 or ssh, port 80 or http.
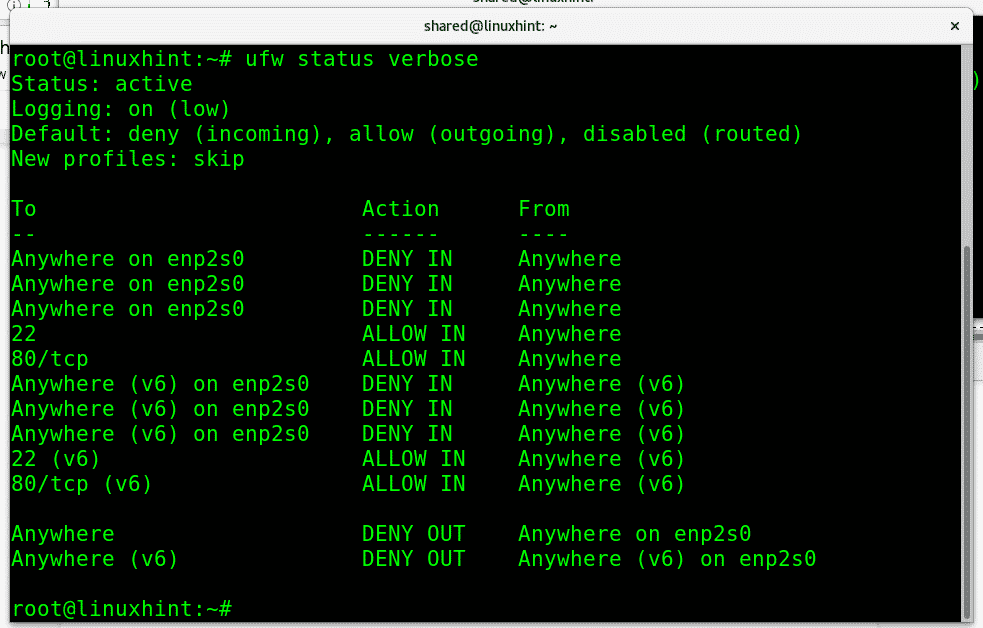
The command “ufw status verbose” will show the result:
All incoming traffic is denied while the two services (22 and http) we allowed are available.
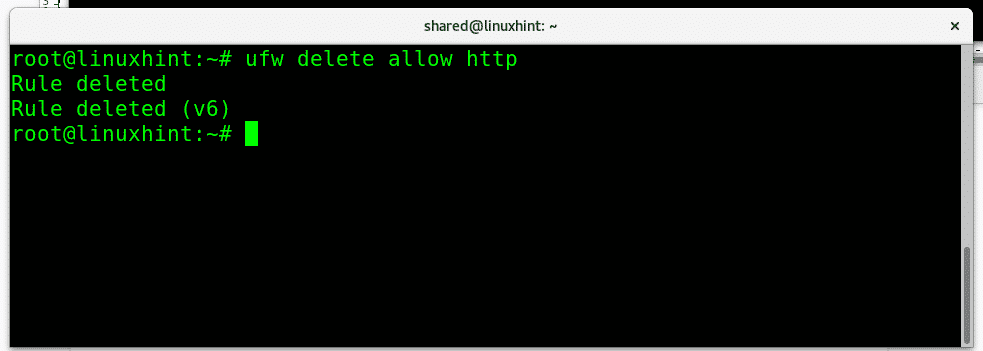
If we want to remove a specific rule, we can do it with the parameter “delete”. To remove our last rule allowing incoming traffic to port http run:
Let’s check if the http services continues available or blocked by running ufw status verbose:
The port 80 doesn’t appear anymore as an exception, being the port 22 the only one.
You can also delete a rule by just invoking it’s numerical ID provided by the command “ufw status numbered” mentioned before, in this case I will remove the DENY policy on incoming traffic to the ethernet card enp2s0:
It will ask for confirmation and will proceed if confirmed.
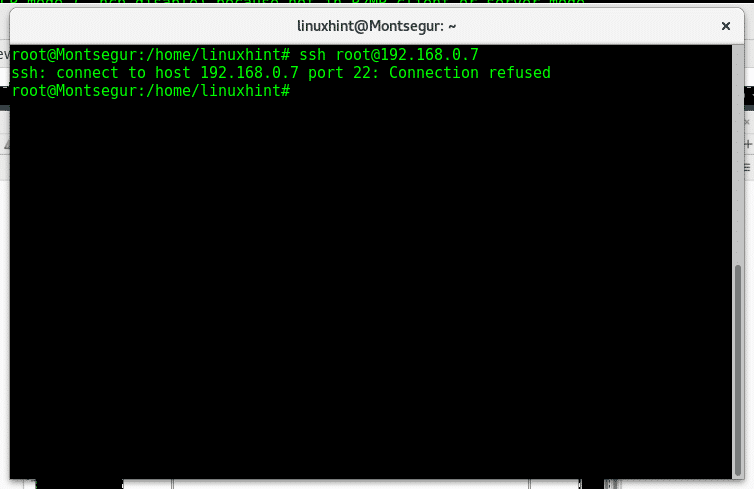
Additionally to DENY we can use the parameter REJECT which will inform the other side the connection was refused, to REJECT connections to ssh we can run:
Then, if someone tries to access our port 22 he will be notified the connection was refused as in the image below.
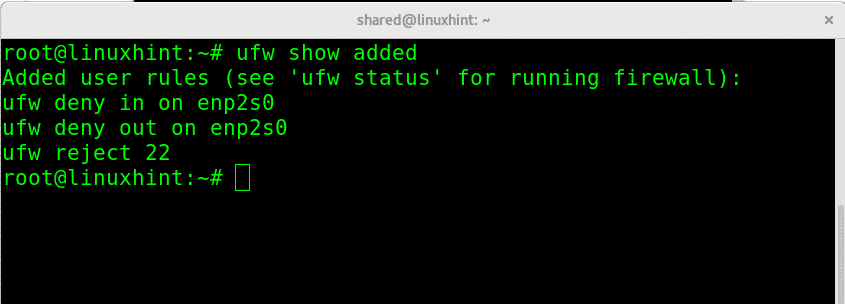
At any stage we can check the added rules over the default configuration by running:
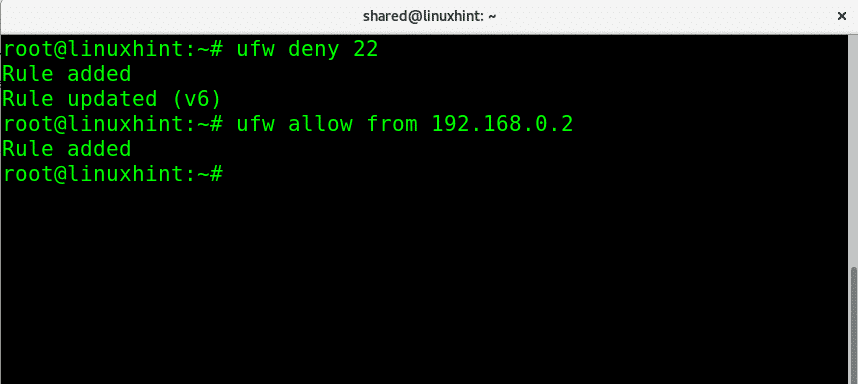
We can deny all connections while allowing specific IP addresses, in the following example I will reject all connections to port 22 except for the IP 192.168.0.2 which will be the only able to connect:
ufw allow from 192.168.0.2
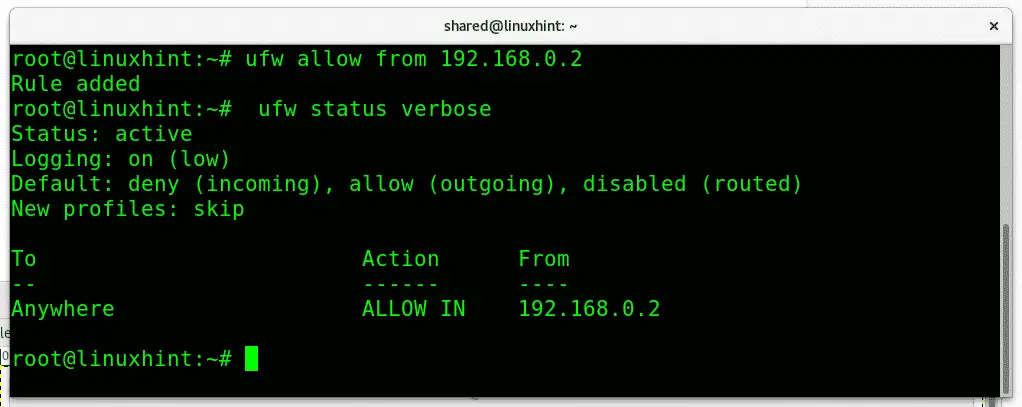
Now if we check ufw status you’ll see all incoming traffic to port 22 is denied (rule 1) while allowed for the specified IP (rule 2)
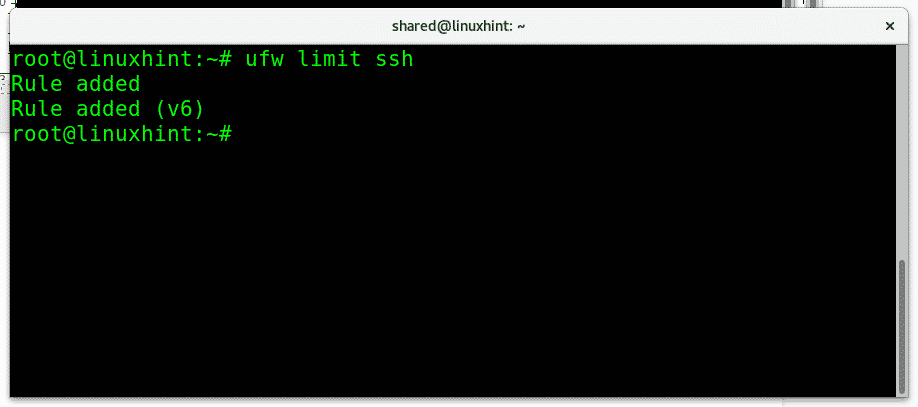
We can limit the login attempts to prevent brute force attacks by setting a limit running:
ufw limit ssh
To end this tutorial and learn to appreciate ufw’s generosity, let’s remember the way in which we could deny all traffic except for a single IP using iptables:
iptables -A OUTPUT -d 192.168.0.2 -j ACCEPT
iptables -P INPUT DROP
iptables -P OUTPUT DROP
The same can be done with just 3 shorter and simplest lines using ufw:
ufw default deny outgoing
ufw allow from 192.168.0.2
I hope you found this introduction to ufw useful. Before any inquiry on UFW or any Linux related question don’t hesitate to contact us through our support channel at https://support.linuxhint.com.
Related articles
Iptables for beginners
Configure Snort IDS and Create Rules


