
How to Install GNOME tweak tool
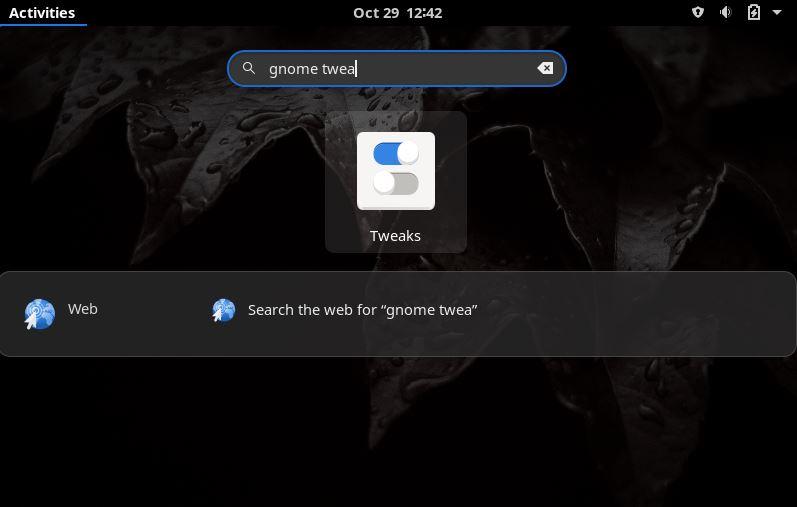
Go to the GNOME search bar and type tweak. If the tweak tool doesn’t show up, you’ll need to download it separately.
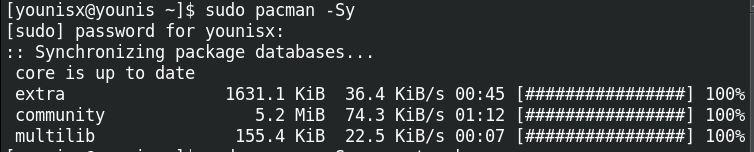
Load the CLI terminal and type in the following command to update the Pacman package repository:
To download the GNOME tweak tool from the official ArchLinux package repository, and type in the command below:
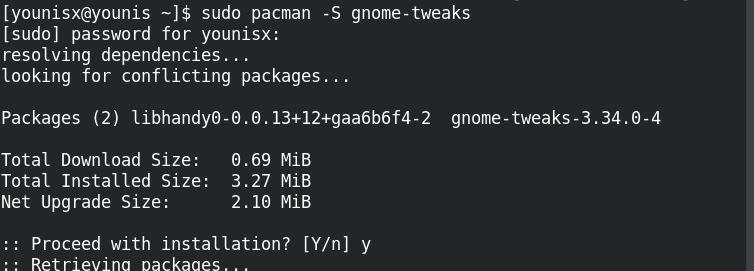
You’ll be asked permission to proceed. To confirm, press the ‘y’ button and then the enter key.
Launch the GNOME tweak tool
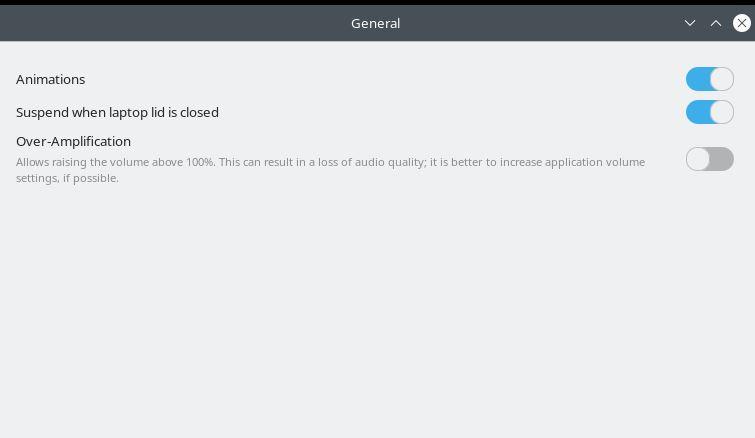
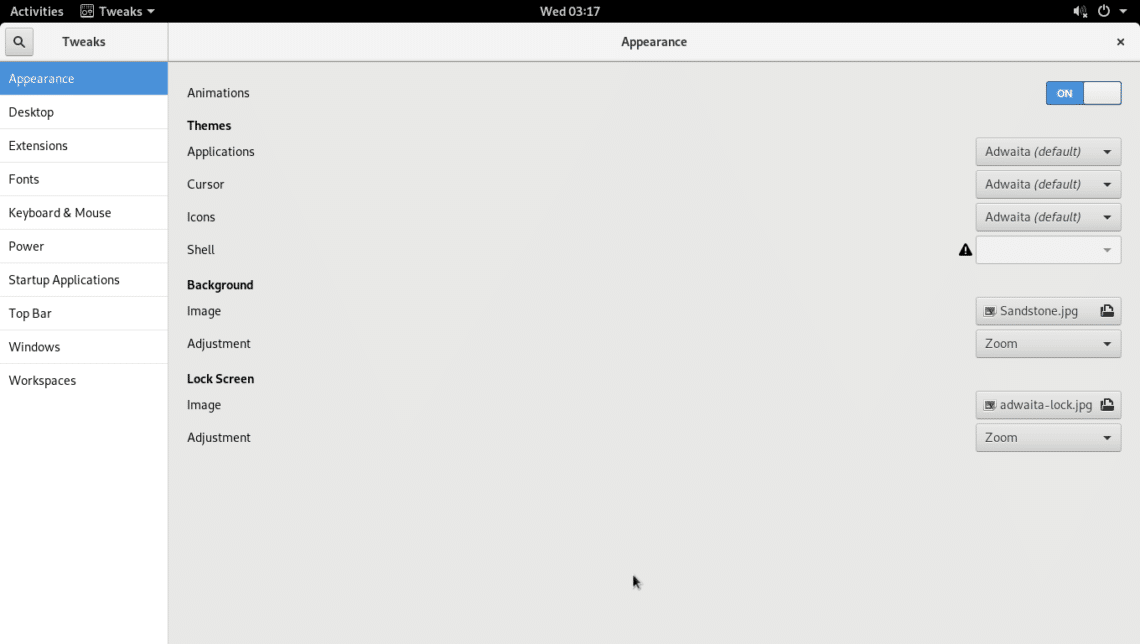
Go to the GNOME 3 search bar and type in “tweak,” and after having it installed, it’ll show up. Click the icon to launch the GNOME tweak tool. It’ll look something like this:
And now, we may finally get to personalizing the interface.
Switch between the light/dark theme
GNOME 3 has the light theme set on by default. You can change to a dark theme from the Appearances tab. Go to the section labeled Applications, which has a list box. Click on the list box and pick a dark theme of your choice.
Change Wallpaper background
Head over to the appearance tab, and in the section headed by the Backgroundlabel, click on the image button to set a wallpaper background of your choice.
Just below is the option to select and customize wallpaper for the lock screen.
Show/ hide the power status
Laptop users can make visible their laptop’s battery percentage. Just head over to the tab labeled ‘top bar‘ and switch the battery percentage option to ON
You should now see the battery displayed on the top right of the title bar.
Show the title bar buttons
You probably didn’t know this, but you can actually have minimized/maximize title bar buttons on GNOME 3, just like in Windows.
Just navigate to the Windows tab, and you’ll see the Maximum and Minimize options. Set each to ON. See the screenshot below for reference:
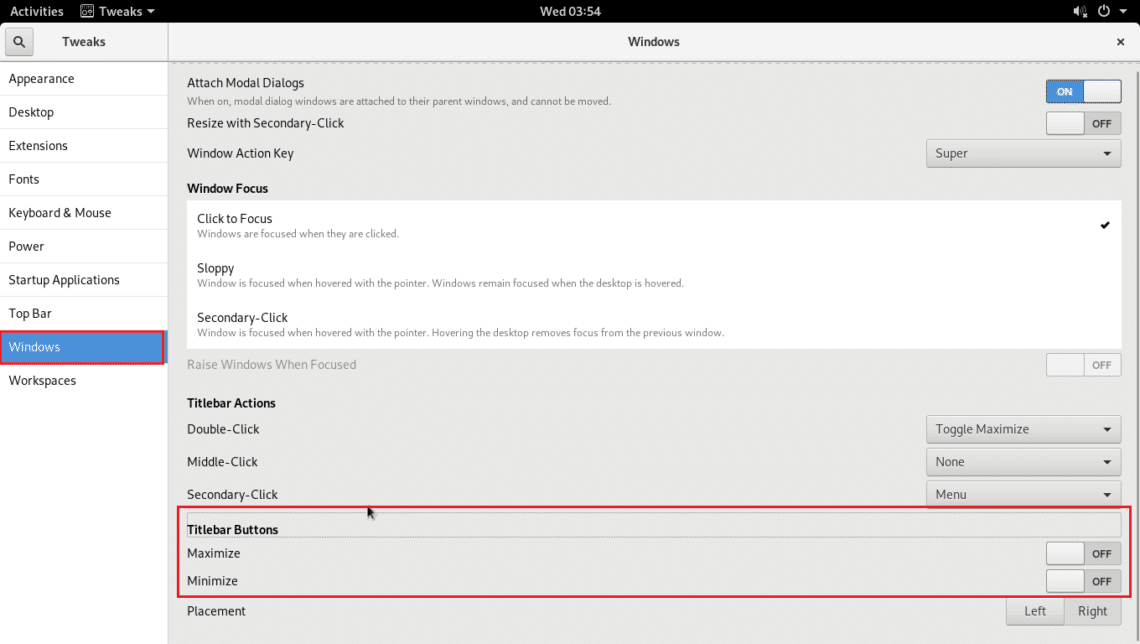
Also, notice how the buttons are set to appear on the right side of the top bar. You can toggle the option to the left if you want these buttons to appear on the left.
Enable/disable animations
One way to improve the processing speed is to disable the animations to save RAM. The animations are enabled by default, so you’ll need to disable it manually.
Head over to the Appearance tab and set the button in the animations line to OFF.
You will not be displayed animations after this.
Launch applications upon boot
You can add applications to the startup list to launch them automatically upon system boot. Head over to the tab labeled Startup Applications and click the button labeled +. A window will pop up with a list of applications installed on your system.
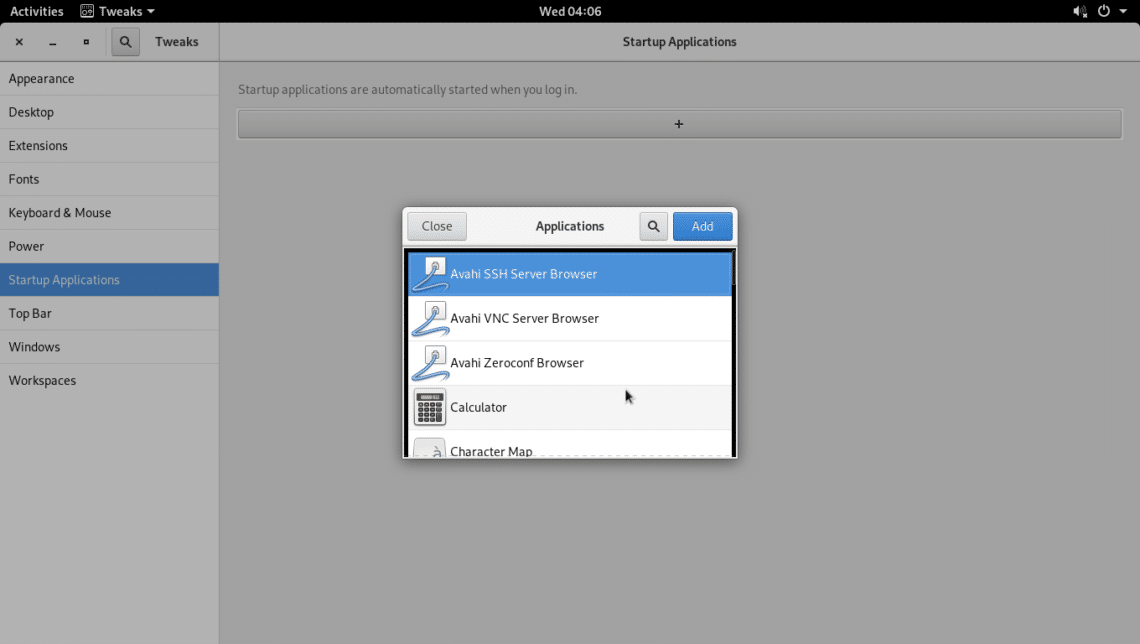
Select an application you want to start automatically upon boot and click Add.
The window will collapse, and you’ll see that the application you selected has been added to startup. You can add more applications to the startup this way.
Change to a different font
GNOME tweak tool comes with a wide selection of fonts to choose from for the desktop environment.
Click on the fonts tab and then click the button in the Window Title line and select a font of your choice.
The title will become of the font that you just chose. You can set different fonts for interface, documents, and monospace as well.
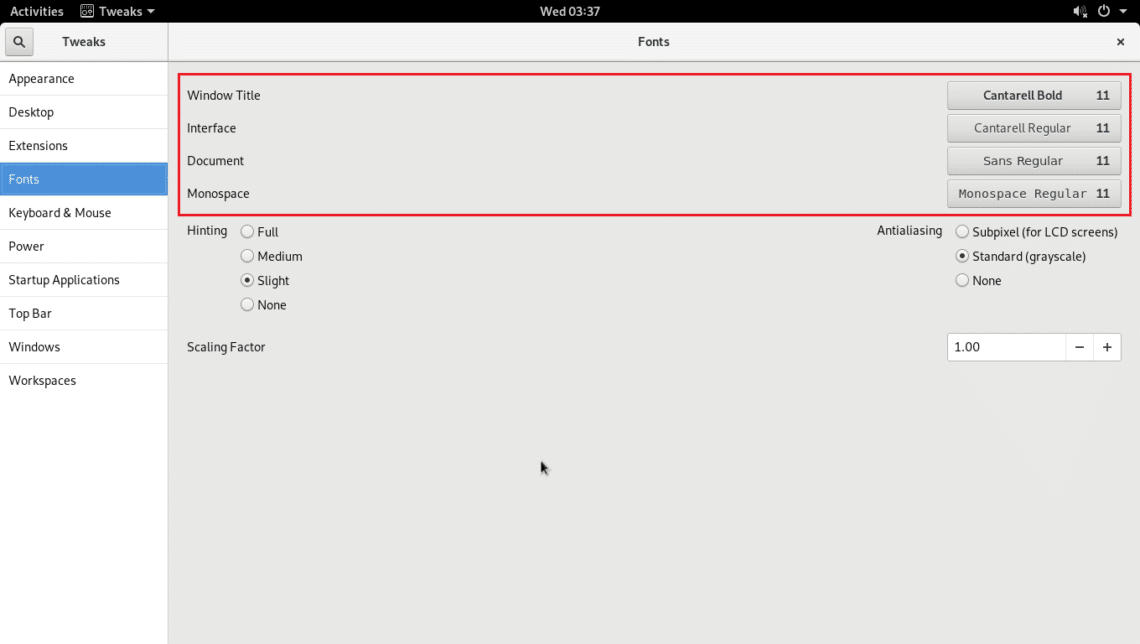
The tool also allows the configuration of Antialiasing as in the screenshot below:
With the + and – buttons on the Scaling Factor lets you select a size that is suitable for the screen resolution.
Have the desktop icons appear
With the GNOME tweak tool, you can enable the desktop icons that are disabled by default. Just head over to the desktop tab and set the Icons on the desktop button to ON
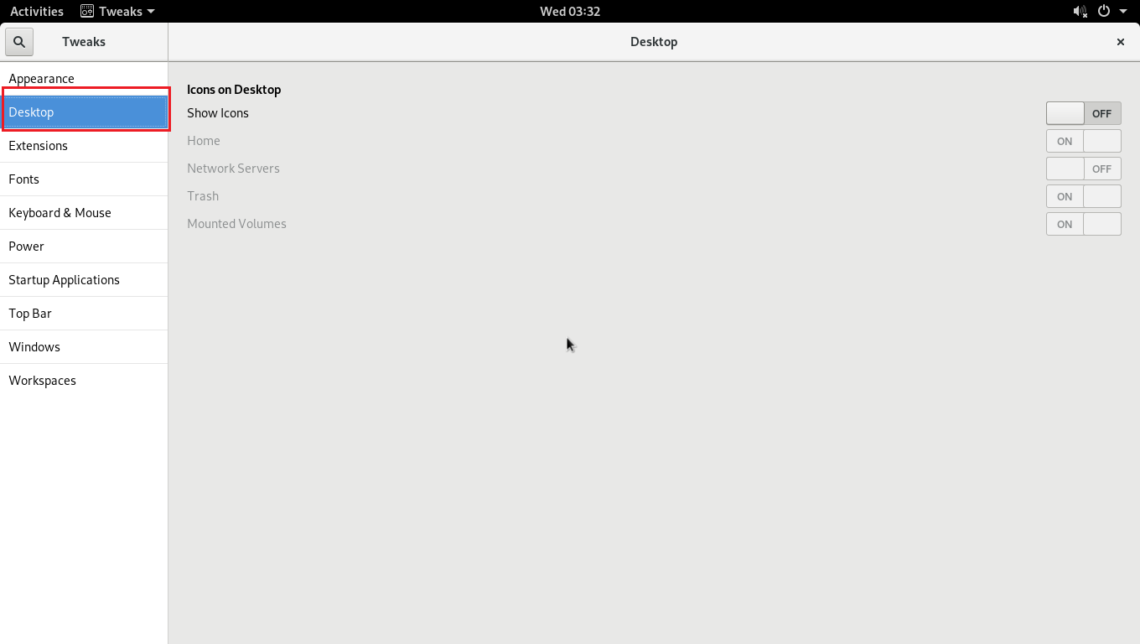
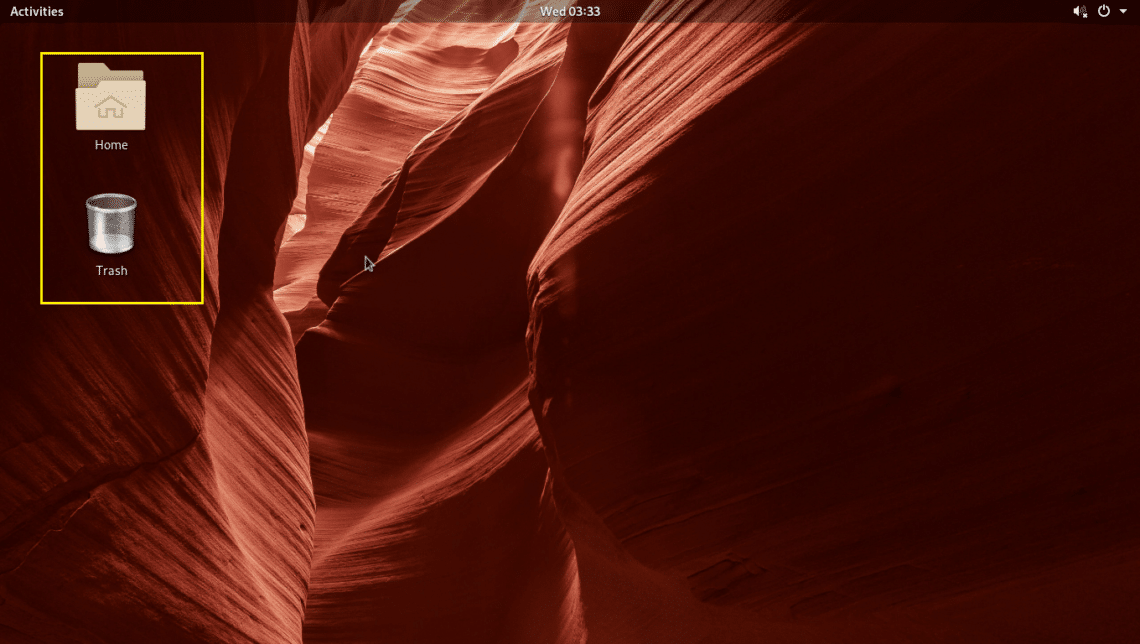
You should now see icons for home(a folder) and trash(a trash can).
Wrapping up
In this tutorial, you’ve learned how to customize the graphical interface of GNOME 3 with the GNOME tweak toolkit. It is fairly easy to use, and it features a great many options to choose from to personalize how the interface looks on ArchLinux.
That’s all we have for you today. Hopefully, this tutorial was both helpful and easy to follow. Stick around for more posts like this and explore our blog for more Linux tutorials.