Changing the sidebar
Before we delve into making modifications, let us take a look at the default desktop Ubuntu has after installation.
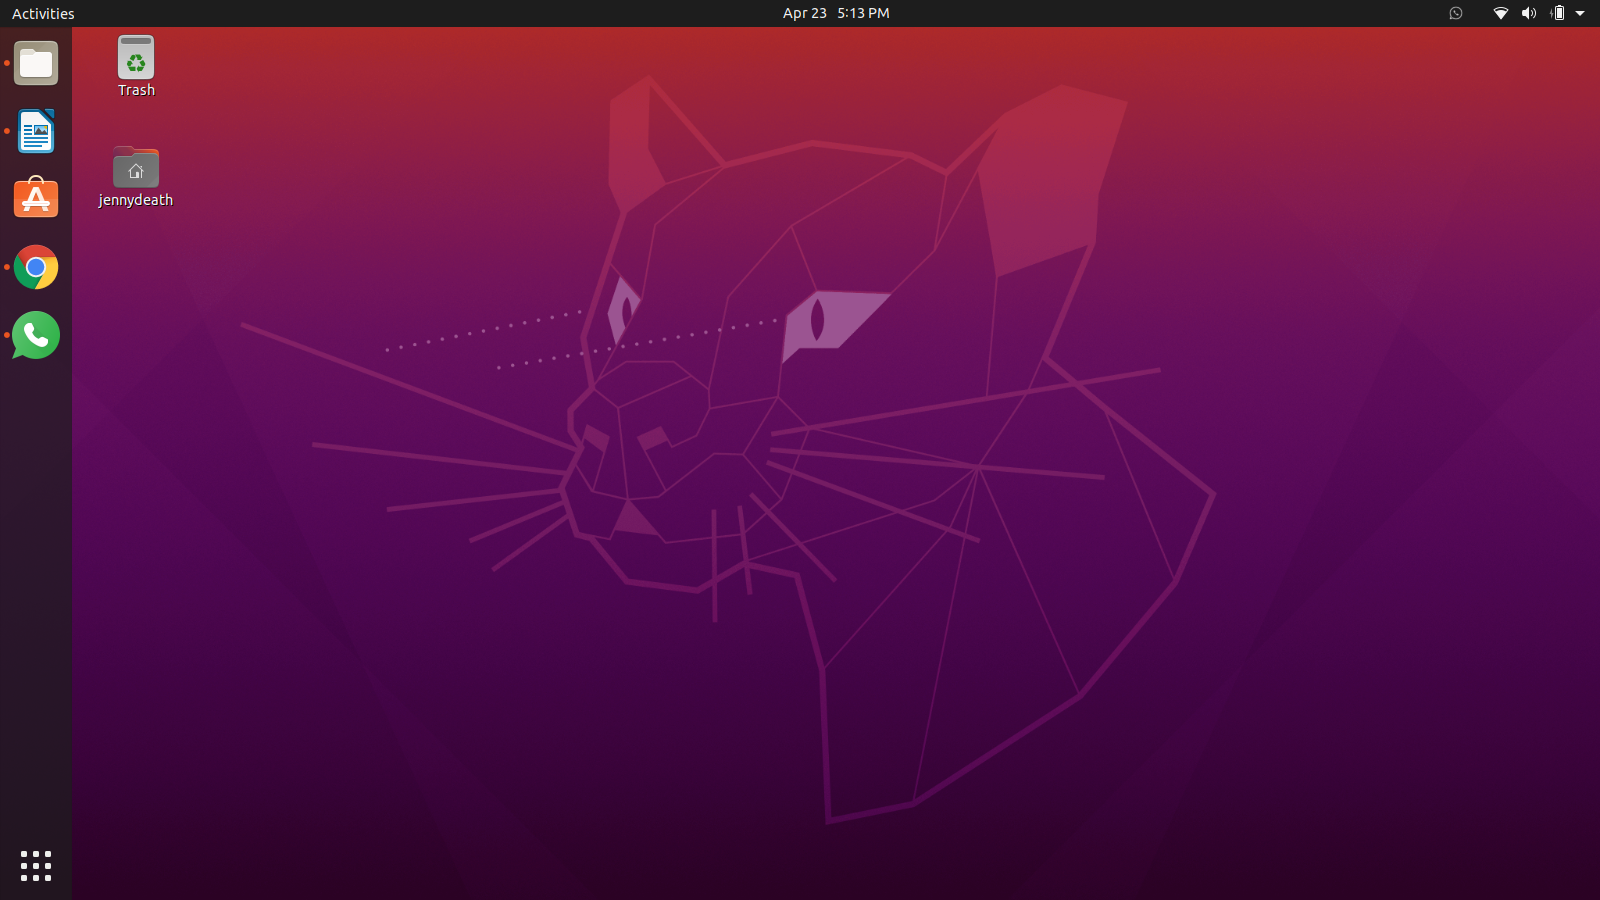
Now, what I see here is a minimalist, Mac-inspired, vanilla desktop. And if you are like me, not a fan, that is, then the thought of changing the sidebar on the left must have crossed your mind. There is a way we can make it appear like the taskbar in Windows.
To start us off, we have some programs to install. Firstly, we must enable Mozilla Firefox to manage and install Gnome3 extensions. Press Ctrl + Alt + T on your keyboard to start the Terminal. Follow it up by running the command below:
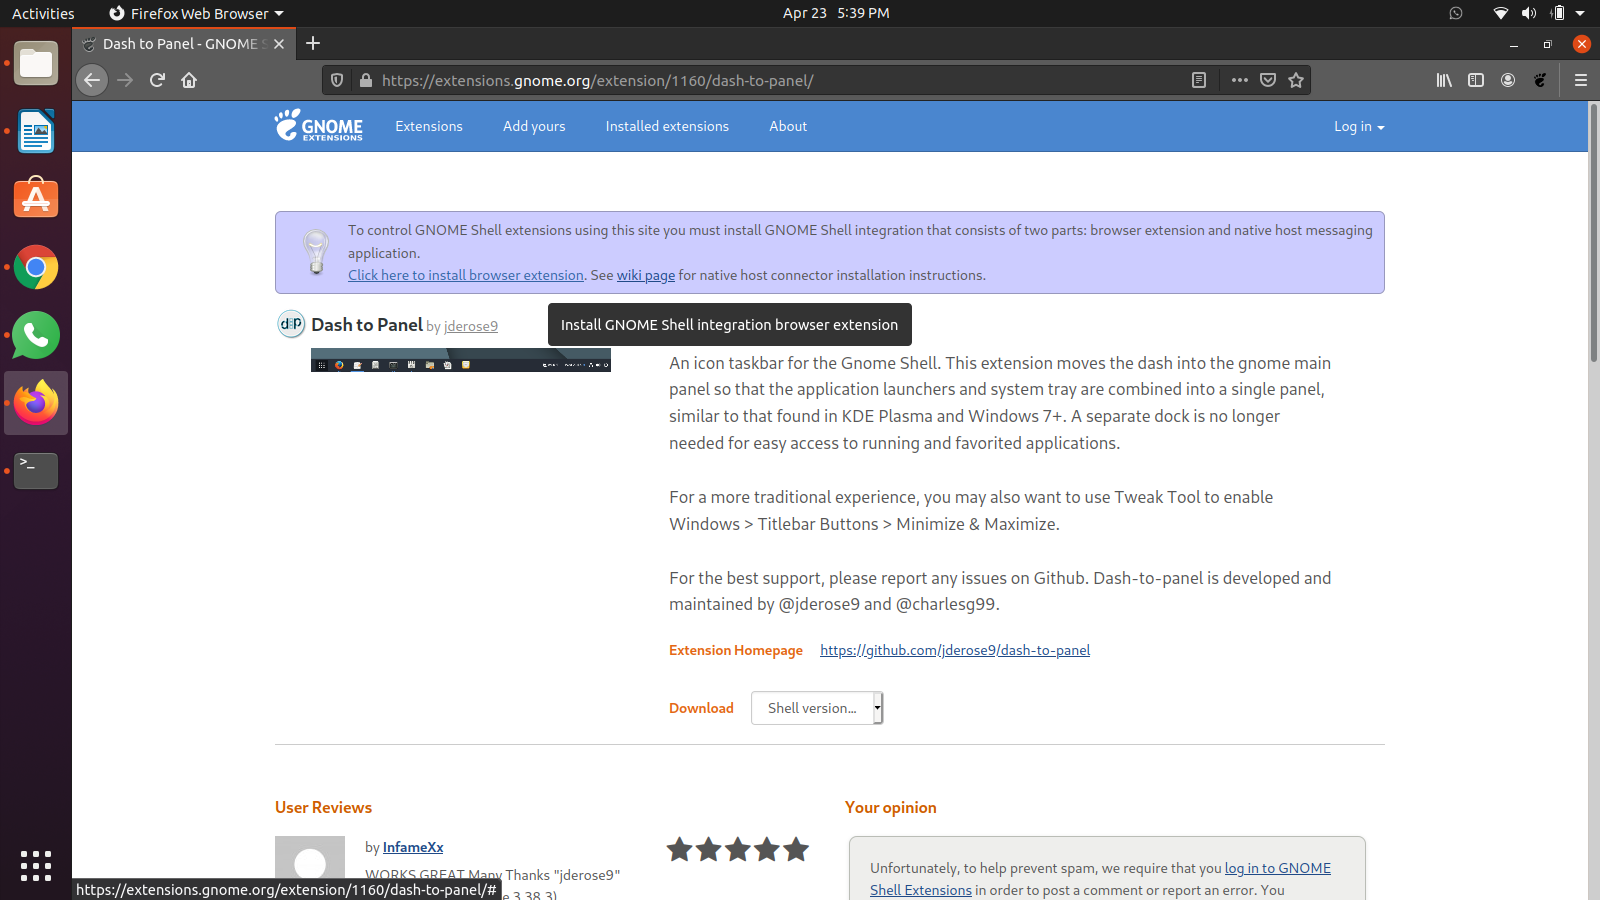
Now, open a window of Firefox/restart it if it was already open. Click here to get the Gnome3 extension you need. You will see that it requires a browser extension as well, so go ahead and install it. Some pop-ups will appear, asking for permission to proceed, select OK/Yes for them.
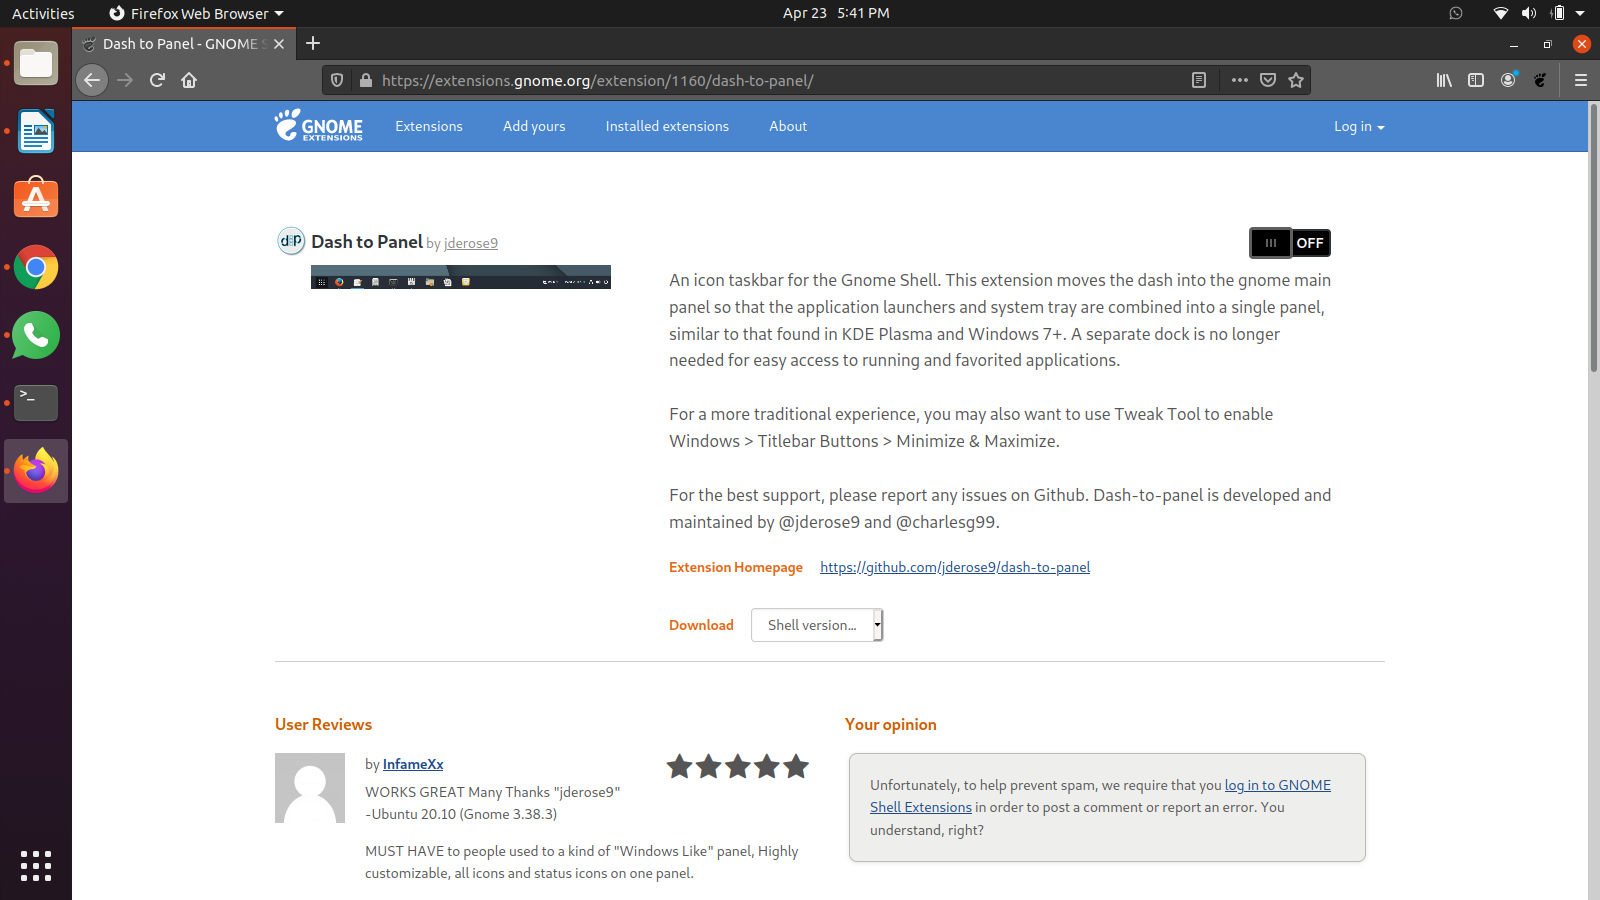
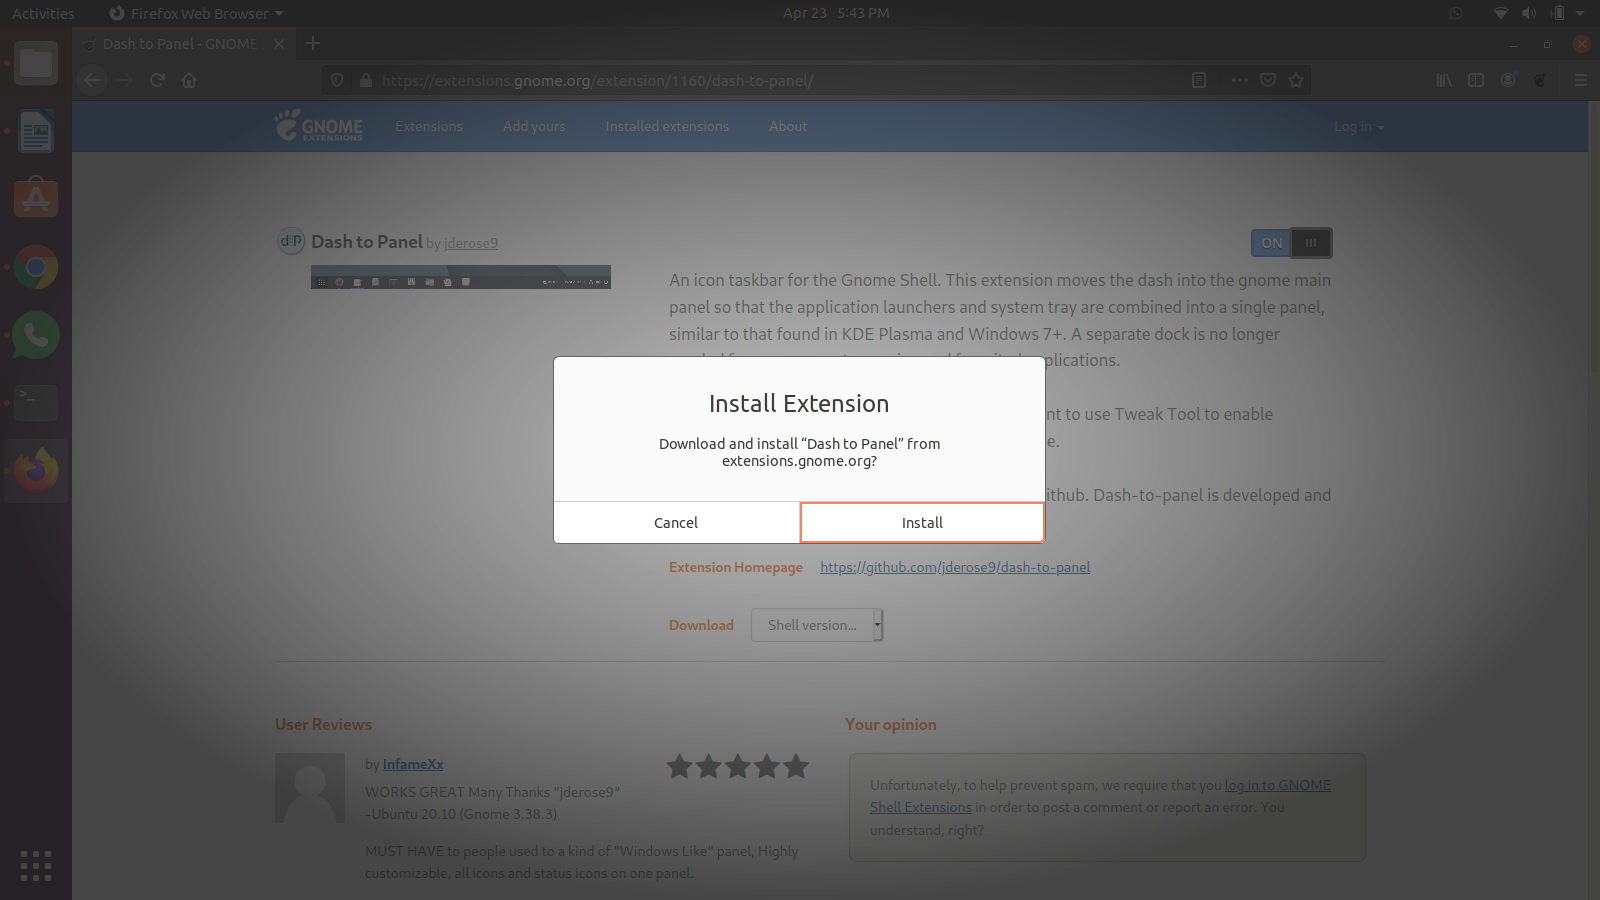
Having done that, restart Firefox to apply the changes and ensure normal operation of the extension. Go back to the extension website, and now you will see an option to toggle it on and off. Click it to change it to On. You will be asked if you wish to install Dash to Panel, select Download to proceed.
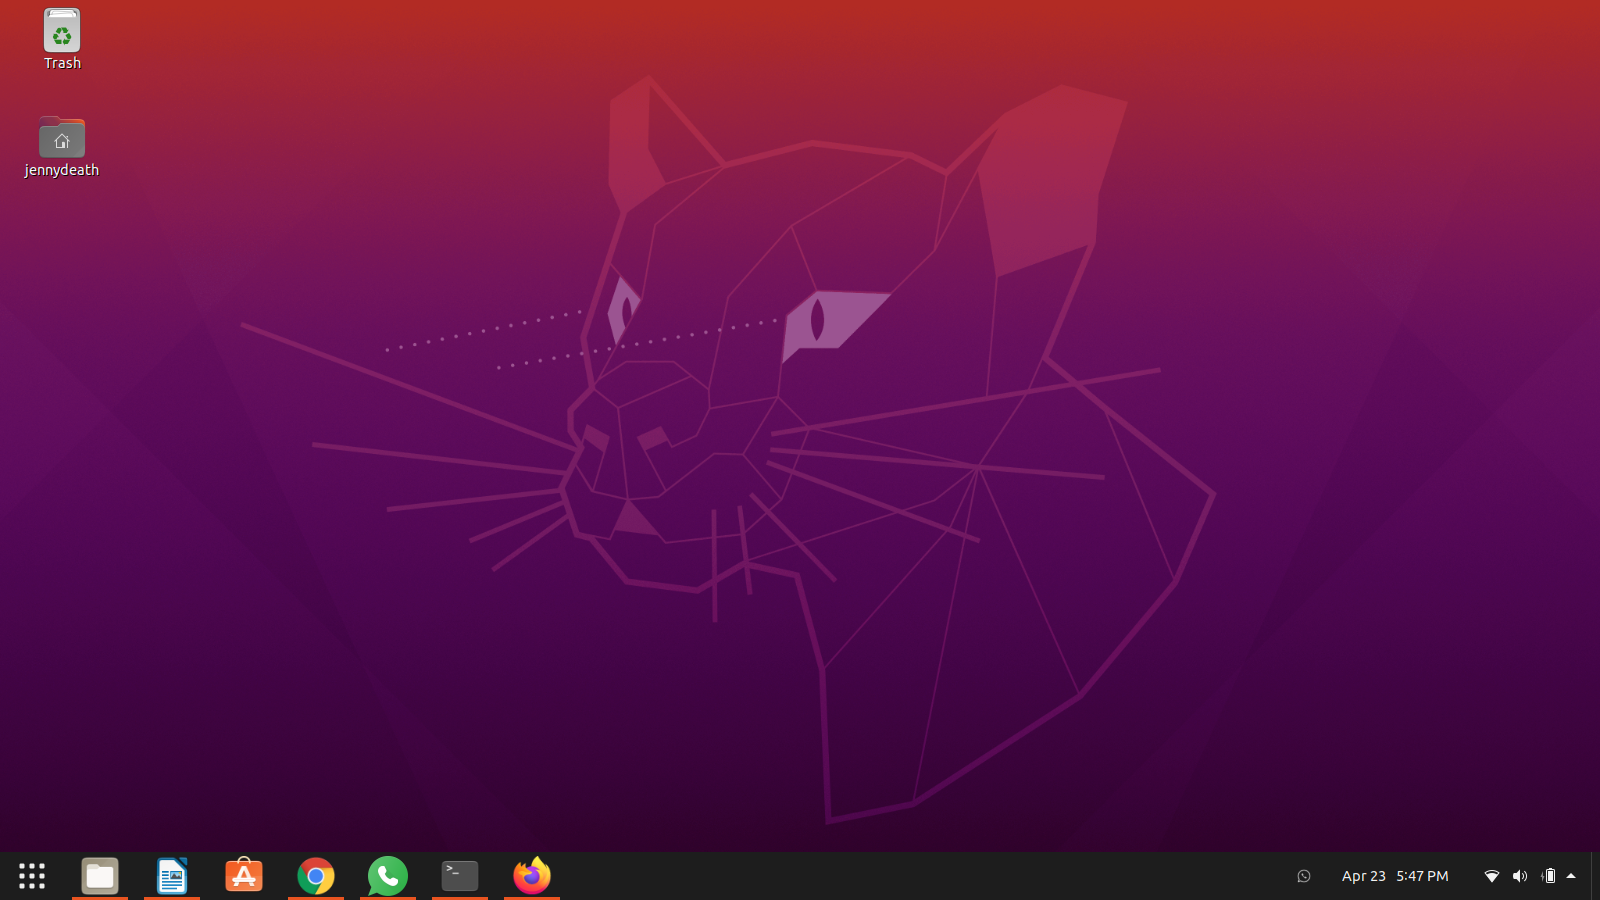
And boom! You will see your sidebar become a panel on the bottom of your screen. Looks quite like the taskbar in Windows, doesn’t it?
Changing theme and icons
Having changed the Ubuntu sidebar to a fine panel that rests easily on the bottom of your desktop, the next step is to change the theme and icons. There are loads of options for themes; we suggest visiting this website to explore the best ones. Having found your pick, you now have to create a .themes directory in your Home folder. Open a new Terminal window and run the following command to do so.
Now that you have created a directory for your theme and downloaded the zip file of your favorite one, you must extract it in .themes. You can find this folder by going to Home and enabling the Show Hidden Files option. Once you have extracted it, run the relevant command given on the website to apply it. We are demonstrating this by using the theme Nordic, so the commands are:
$ gsettings set org.gnome.desktop.wm.preferences theme “Nordic-master”
Next on our list are icons. The default Ubuntu icons are not shabby by any stretch of the imagination, but why not customize them to your preferences if you can. So, let’s see how we can make the icons pretty too.
For this step, we will need Gnome Tweak Tool. It is a convenient program that lets users, as the name suggests, tweak their desktop and system appearance. You can get it by running the following command.
Once the installation is finished, it is time we install a new icon theme. I prefer the Papirus one, but you can, of course, explore more and get whichever catches your eye.
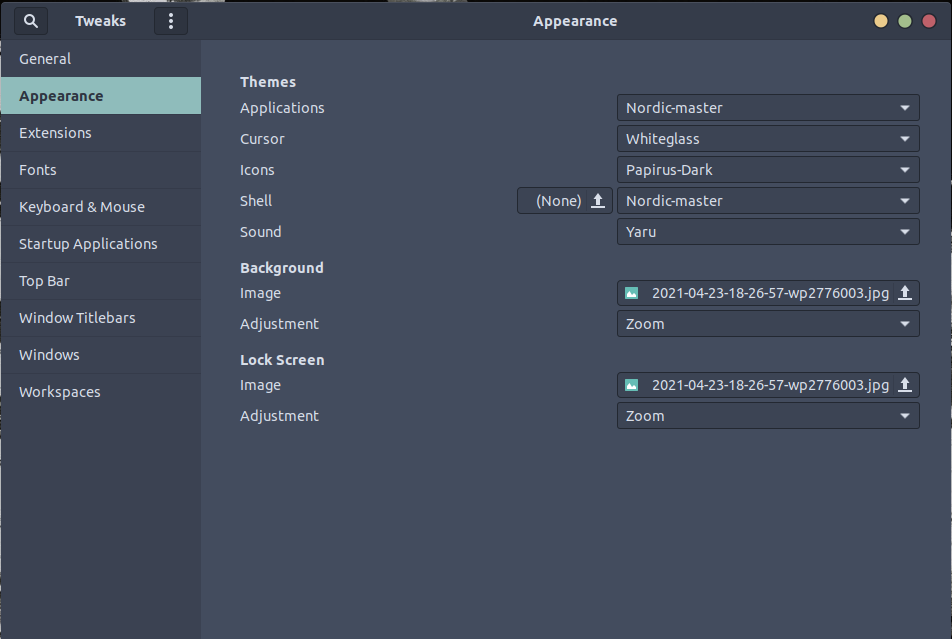
It should take a minute or two for the installation to complete. Once it’s done, go to the Activities menu and search for Gnome Tweak Tool. Open it, and you should see a window called Appearance pop up.
Here you can customize everything. As we are here for the icon theme, select your preferred one displayed in the dropdown options. In our case, it is Papirus-Dark.
Some final touches
We are almost finished dressing up our Ubuntu system, but there are some final touches needed. As we said earlier, Gnome Tweak Tool lets the user make all kinds of customizations. You can use it to change your cursor, shell, background, and lock screen. These are the things that we need to go through to escape that 2008 look of default Ubuntu finally.
Now, let’s get started. Obviously, we go back to Gnome Tweak Tool, select the Appearance tab and then continue our configuration. Since you have installed a theme of your own, select a cursor that comes with your theme. Do the same for the shell; make sure the colors blend in with each other nicely.
Finally, it is time you get yourself an awesome desktop wallpaper. You can find practically millions just on Google. One thing to keep in mind is that the wallpaper should match your screen resolution; otherwise, it may be distorted or pixelated. Anyway, once you have downloaded it, you can make it your desktop background through Gnome Tweak Tools. Simply click on the arrow pointing upwards next to the Image entry. Next, you must browse to where you have downloaded the desired wallpaper and select it. Repeat the process for changing your lock screen as well. There are many more options to explore in Gnome Tweak Tool, but we will stop here for now. You are, of course, free to roam around and see how you can configure your system further to your liking.
Conclusion
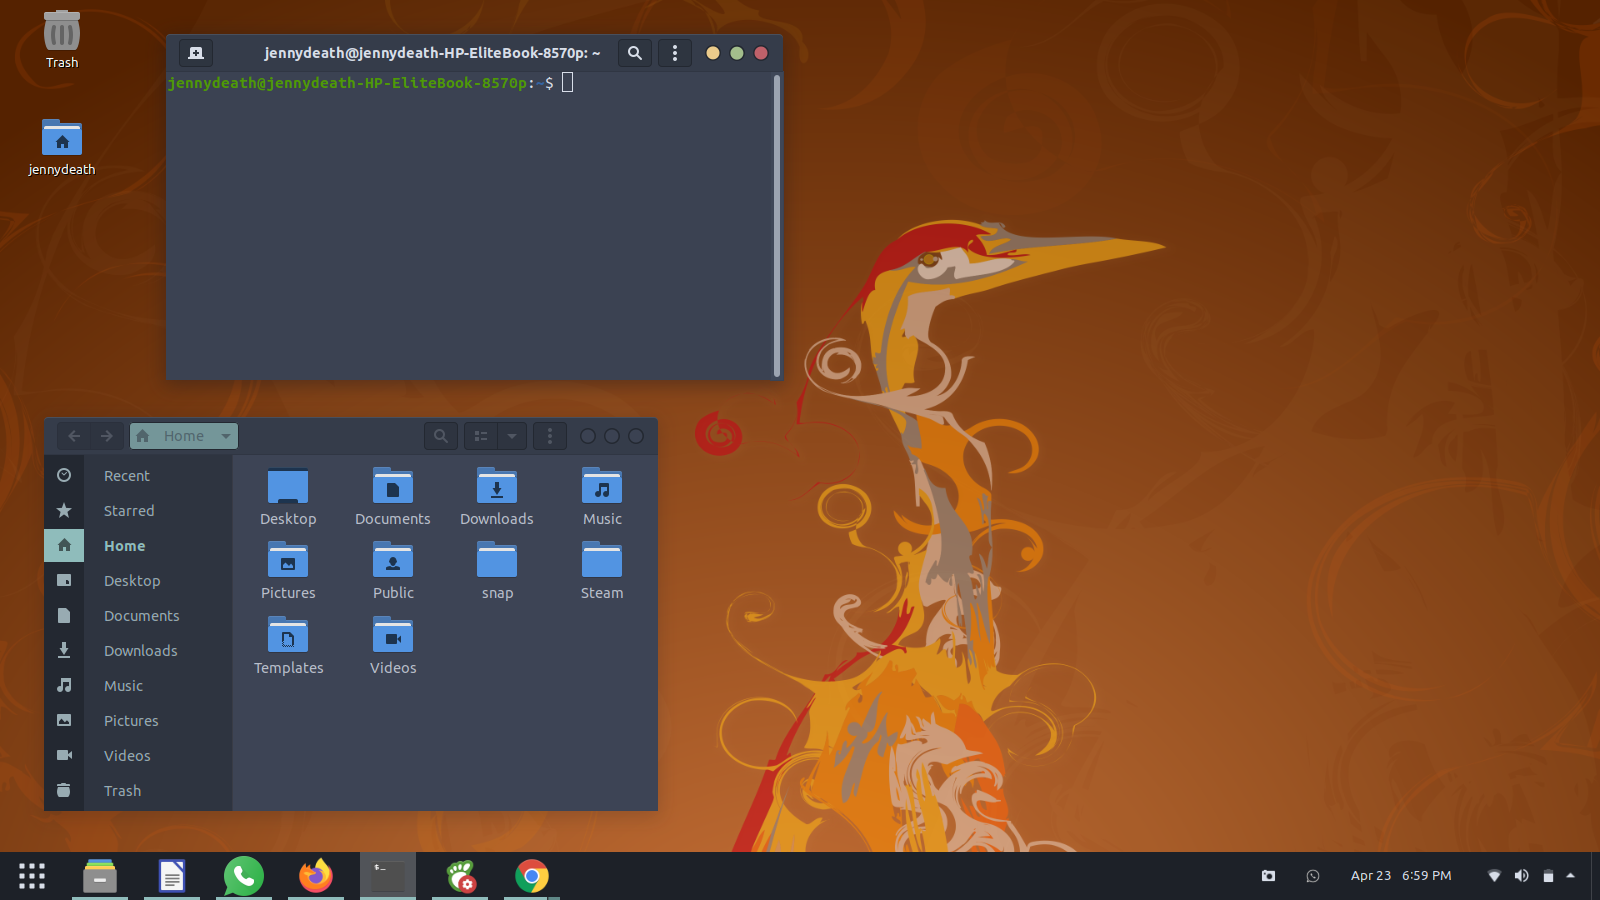
With everything configured and finalized, it’s time for the big reveal.
It is quite the transformation, indeed. This looks a lot better than what we started with. Of course, there are many more themes, icon designs, and layouts that would appeal to people with different aesthetic senses, but what really matters is if the user finds it pleasant or not. You can figure out how to do things through this guide – how to customize Ubuntu, but the final product is subject to your personal preferences. Happy customizing!

