
Formatting your USB stick
This step is only necessary for users using the dd technique without additional space on their USB devices, if you are using the graphical method to create a booteable USB stick with UNebootin or have enough space for the Windows installer on an used USB stick you can omit this step.
To begin, before plugging in the USB device check the current disks attached to your computer by running:
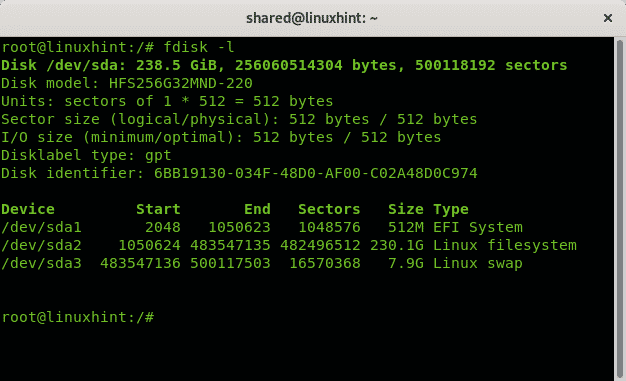
As you see in the output above the only device is /dev/sda with 3 partitions, /dev/sda1, /dev/sda2 and /dev/sda3. Now plug in your USB stick into your computer and run fdisk again:
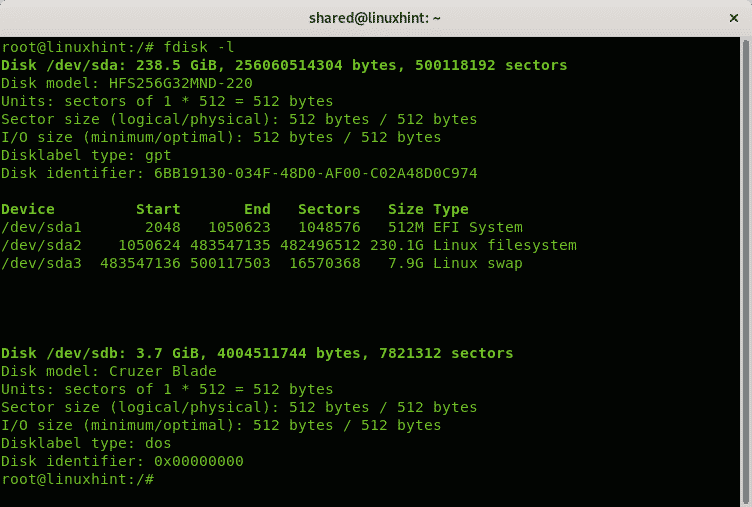
You can see the new device /dev/sdb model Cruzer Blade of 3.7GB, that’s the pendrive on which Windows installer will be installed.
Since it is a small USB disk, I will format it to guarantee space for Windows, the dd command we’ll use to copy the ISO image to the pendrive won’t remove existing information on it, this step is not mandatory and if you have a big pendrive with existing information and available space you can omit it leaving all the data together inside the disk.
If you want to proceed with the format, before formatting the pendrive run:
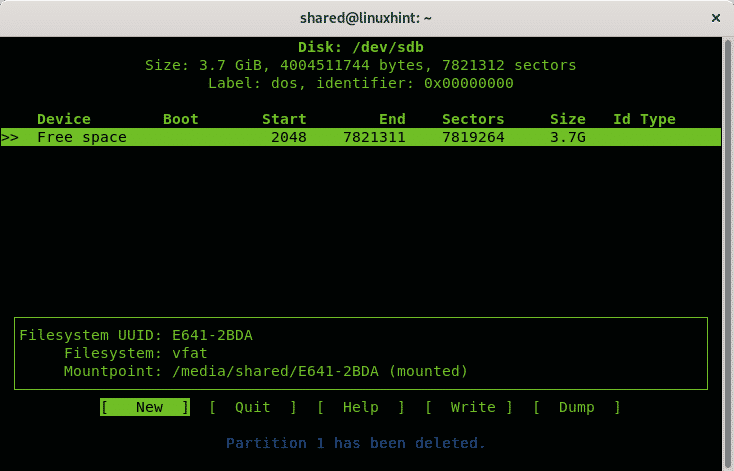
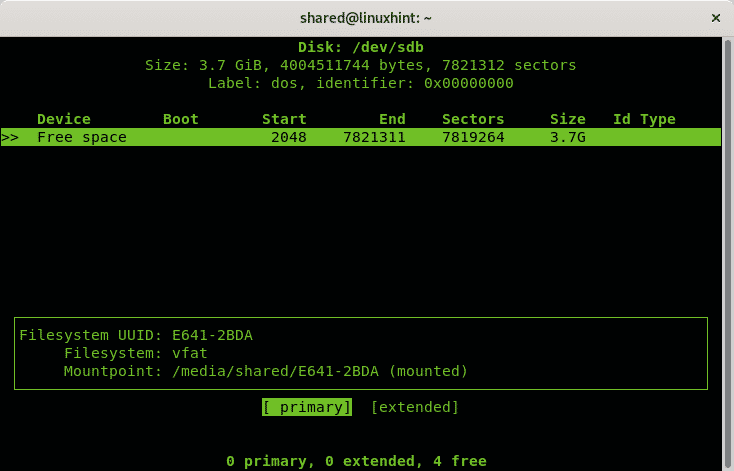
Once started cfdisk will show the chosen disk (sdb in my case) and the existing partitions, in my case all the space is free. To create a FAT 32 partition select NEW and press ENTER.
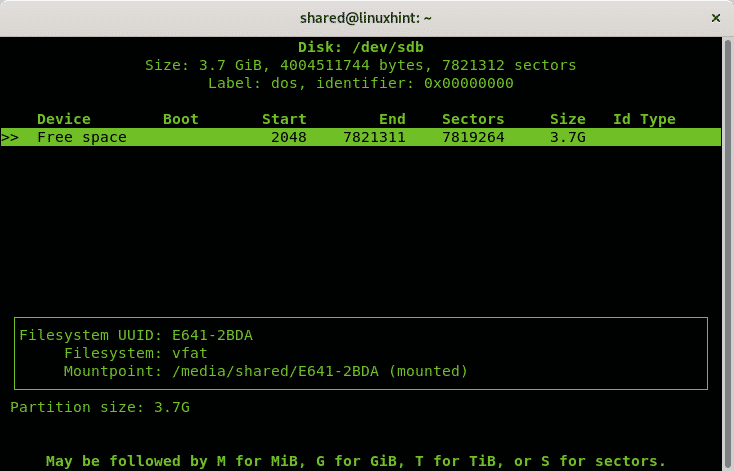
Select the space for the fat partition, you can leave the entire disk, press ENTER.
Then select primary and press ENTER again.
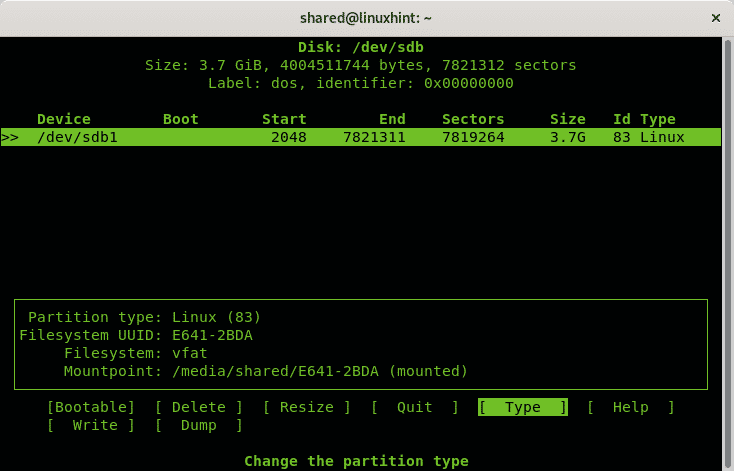
Once back in the main menu select the option TYPE and press ENTER.
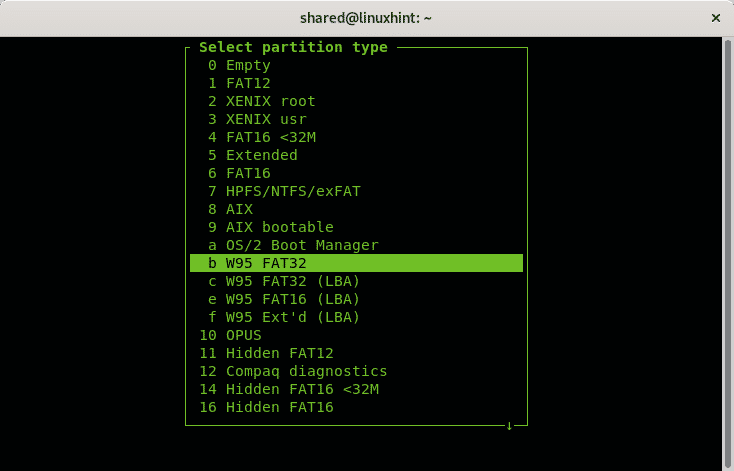
Select the option “b W95 FAT 32” and press ENTER.
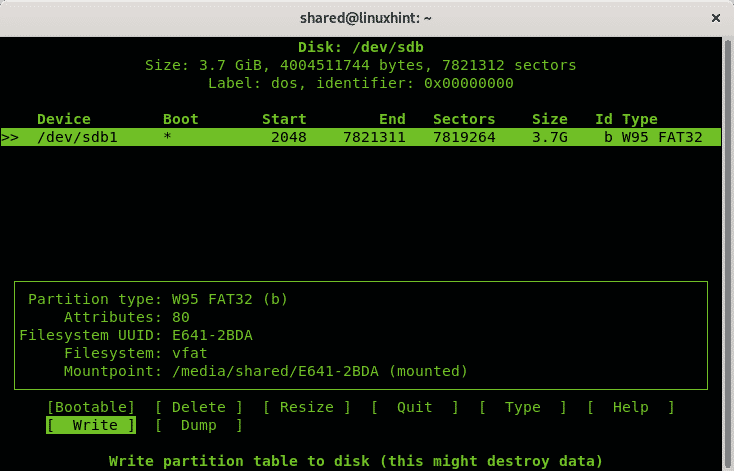
In the main menu select “Booteable” and press ENTER.

Finally press on “Write” to save all changes on the USB drive.
Now umount the disk by running:
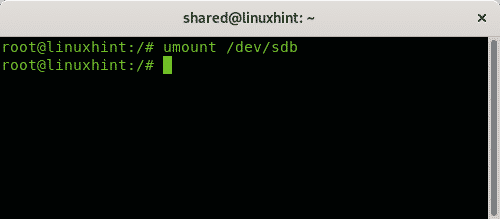
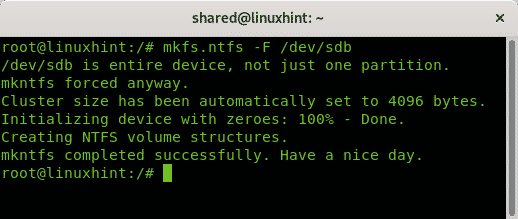
Once unmounted to format the USB stick creating a FAT filesystem run:
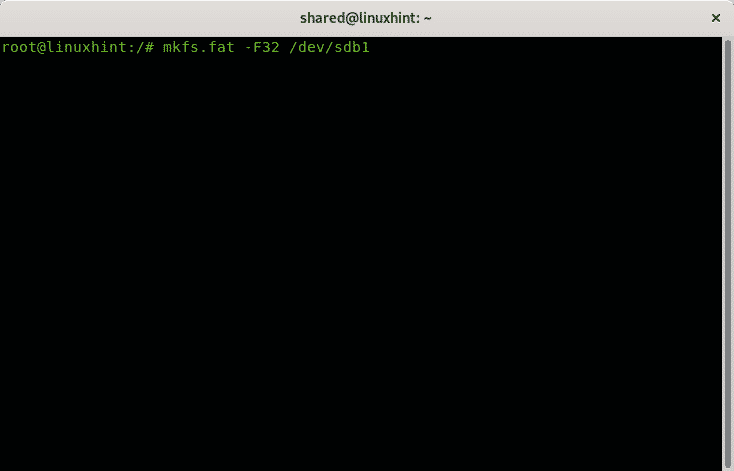
Depending on your device the process may take a while, once finished it will let you know the process ended successfully.
Create a Windows 10 USB Installer on Debian 10 using dd
conv=fdatasync status=progress
Where <Path-To-ISO> should be replaced for your Windows ISO image path and <X> for your device letter.
In my case I run:
Pro\ x64BiT.iso of=/dev/sdb conv=fdatasync status=progress

Where:
bs: read and write bytes
if: reads the indicated file as origin
of: writes the indicated file as destination
conv=fdatasync: assures the data will be written in destination before the operation ends.
status=progress: will show progress in real time, otherwise dd doesn’t show progress.
At the end of the process the program will let you know the operation ended successfully.

NOTE: when you reboot your computer to boot make sure your BIOS is configured to boot from the USB stick or press the proper key to allow selecting the boot device on boot.
Create a Windows 10 USB Installer on Debian 10 using UNebootin
While the previous method is the recommended there is a graphical option for users who dislike the text mode, the software explained in this tutorial is UNebootin and it is available for Linux, Windows and Mac at https://unetbootin.github.io/linux_download.html.
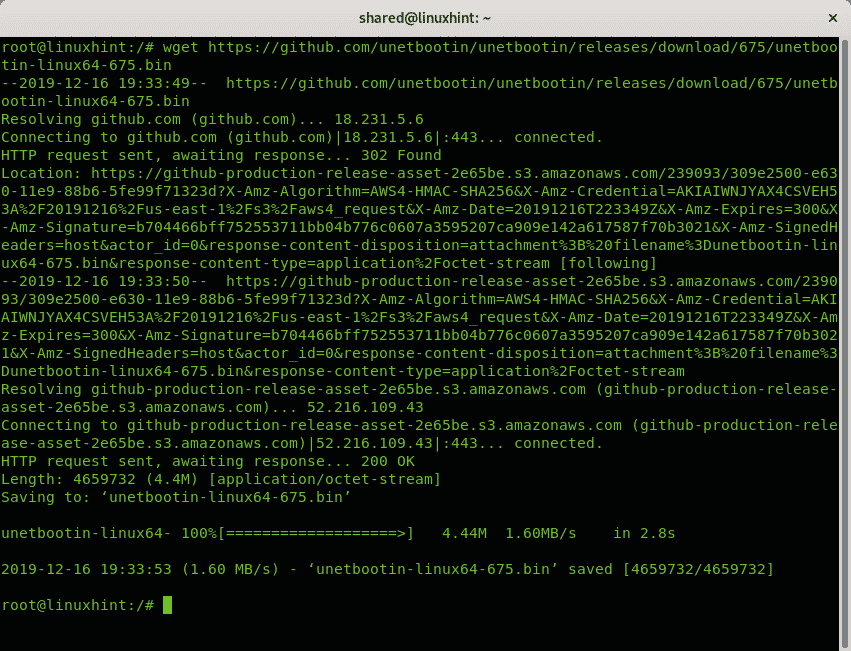
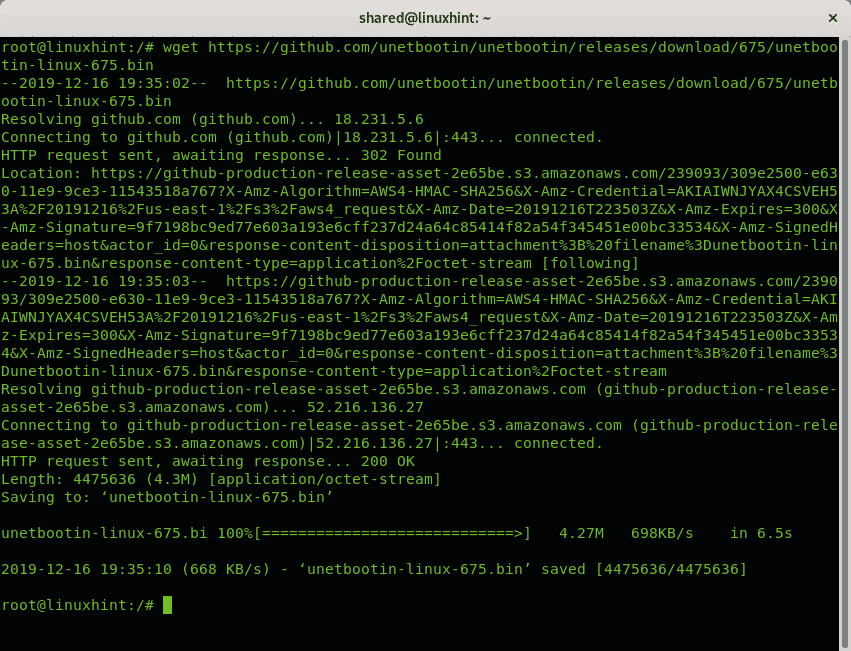
To download the 64x version you can use wget, run:
https://github.com/unetbootin/unetbootin/releases/download/
675/unetbootin-linux64-675.bin
To download the 32x version using wget run:
download/675/unetbootin-linux-675.bin
In my case I got the 64 bits version, once downloaded you need to give execution rights to the file by running:

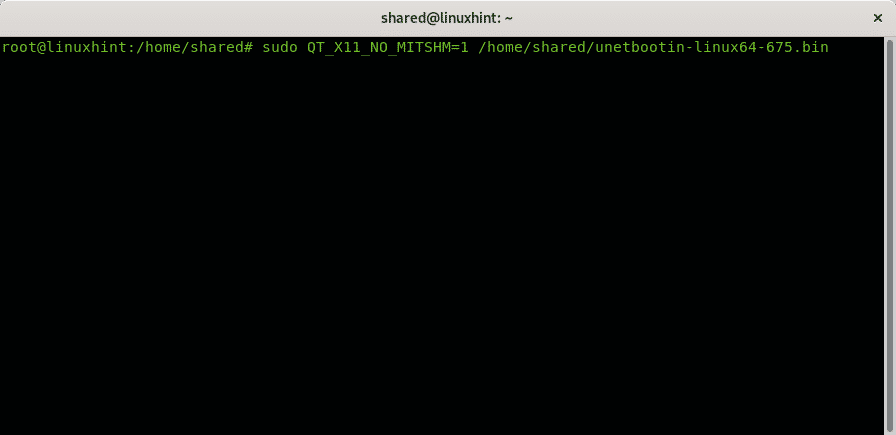
Then as normal user run
And as root run:
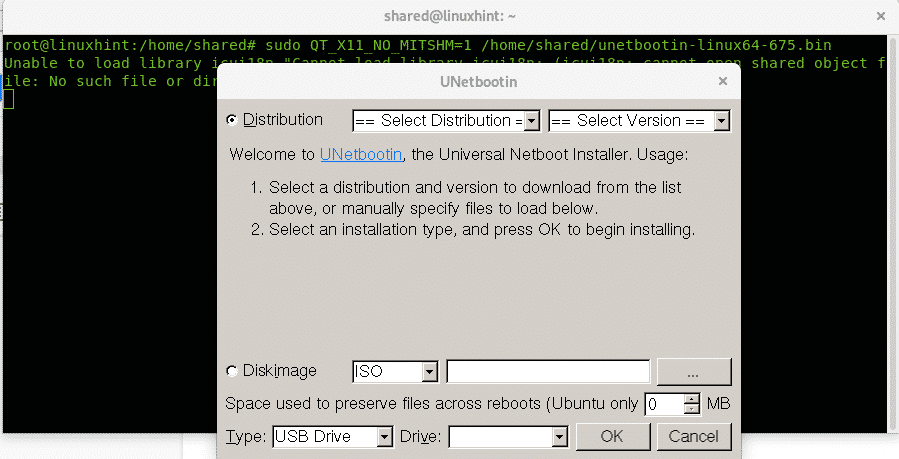
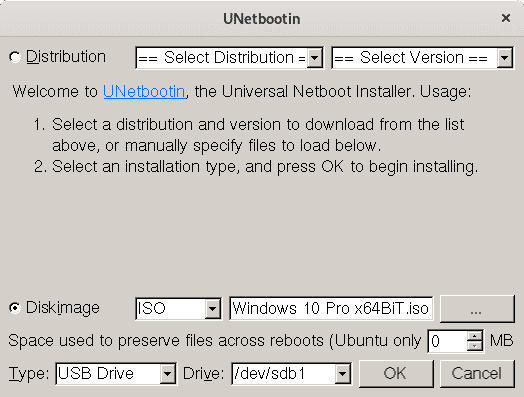
UNetbootin will prompt, unselect “Distribution” and instead select “Disk Image” and select your ISO’s path, the disk type and the drive:
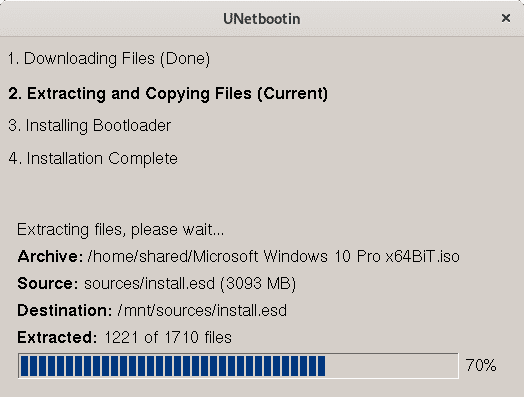
The process may take several minutes showing the steps of the image below:
Once finished you can reboot as instructed in the final screen:
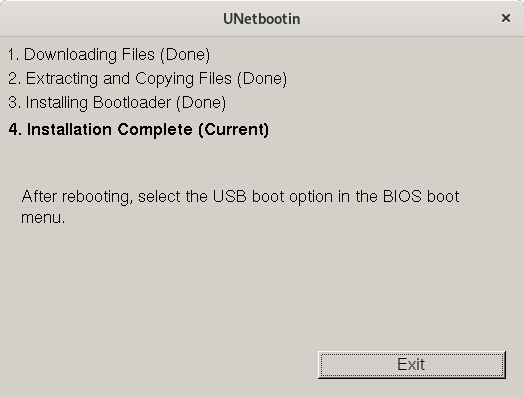
Now you can reboot your system, make sure your BIOS is configured to boot from USB devices.
I hope you found this brief tutorial on Windows booteable USB sticks useful, thank you for reading it and consider using LinuxHint support channel in case you need help with any of the steps described above or any Linux or networking related issue.
Keep following LinuxHint for additional updates and tips on Linux and Networking.