This post will guide you on using Rufus and Balena Etcher to create Ubuntu bootable USB.
Two Ways to Create Ubuntu Bootable USB
Before we dig in on creating Ubuntu bootable USB, you must have a few things. First, you need a USB flash drive, preferably 8GB or more. Also, you need an internet connection to download the Ubuntu ISO and the installers.
Start by visiting the Ubuntu download page and download the Ubuntu ISO you want to create a bootable USB for. We will boot the USB with Ubuntu 20.04.
With that, proceed with the methods as follows:
1. Using Rufus to Create Ubuntu Bootable USB
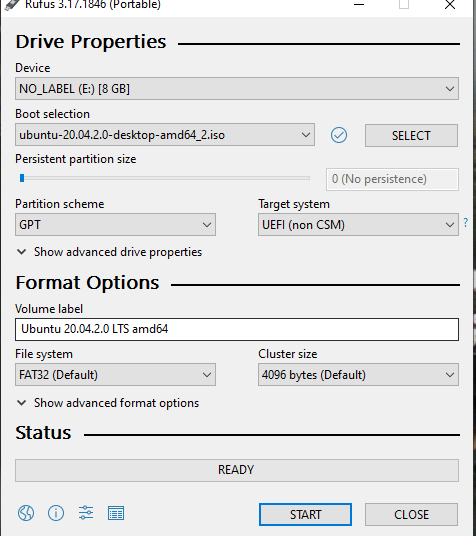
Visit the Rufus website and download the installer for your Windows. Once you have the installer, open it to show a display like the one below.

Click the Select button at the top to open the file explorer and select the Ubuntu ISO you downloaded. Then, click the open button for the selected ISO to display on Rufus.

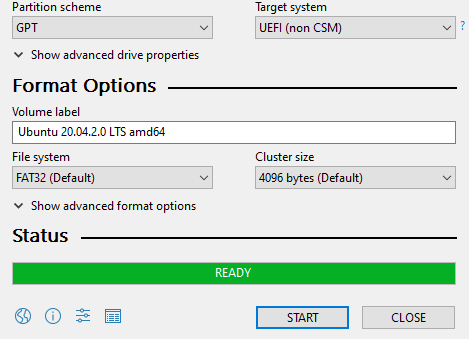
Next, select the partition scheme for your system. We are using GPT and our file system is FAT 32.
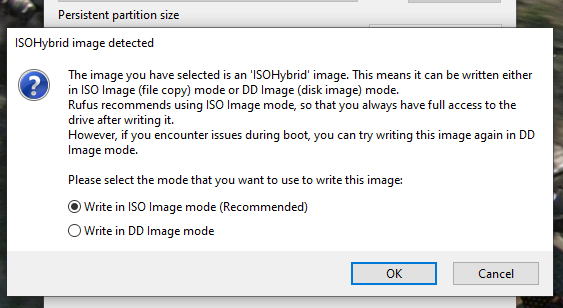
Once you have selected your option, click the Start button to start the boot process. Select the option to write in ISO Image mode on the prompt that appears and click the Okay button.
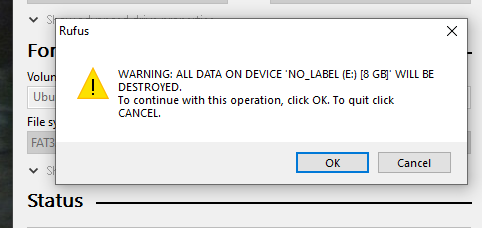
A warning will pop up that you risk deleting all your data. Click on the OK button to erase the disk and create room for installing the bootable disk.
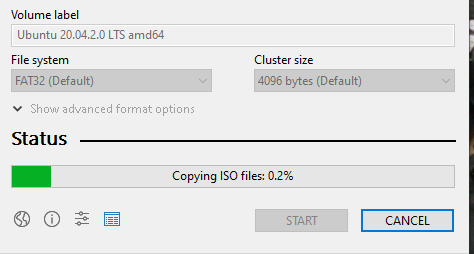
Rufus will start copying the ISO files to your USB and a progress bar will display the percentage.
Once the process completes, your Rufus will appear like the one below which confirms that your Ubuntu bootable USB has been created successfully.
Click the Close button and eject the USB. You can now use it to test or install Ubuntu on your target machine.
2. Using Balena Etcher
If you are not comfortable with using Rufus, you have the option of using Balena Etcher. You can use it with Ubuntu, Windows, or macOS. Besides, it has a simpler process than Rufus. Visit the Balena Etcher website and download the version compatible with your device.
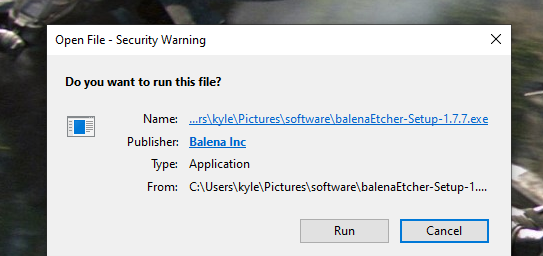
Double-click on the downloaded file to run its installer and click the Run button when you get the security warning.
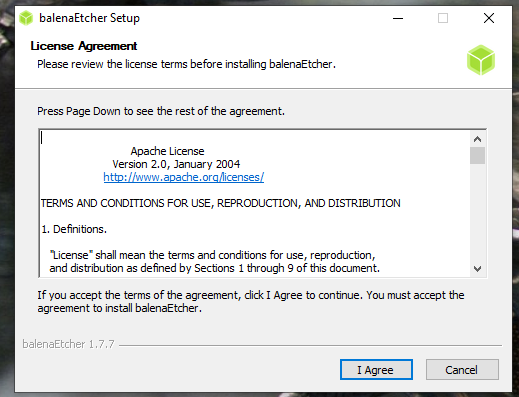
Agree on the license term to continue with the installation by clicking the I Agree button.
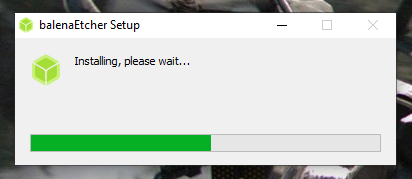
Balena Etcher will start the installation process and a progress bar will display the installation.
Once installed, open the program from your applications. It would appear like in the image below:
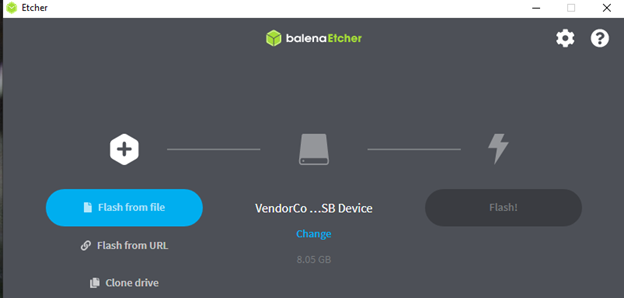
Click the option for Flash from file, which will let you select the downloaded Ubuntu ISO file from your computer. If you have multiple USB drives attached to your computer, click the Change button to select which you prefer to use.
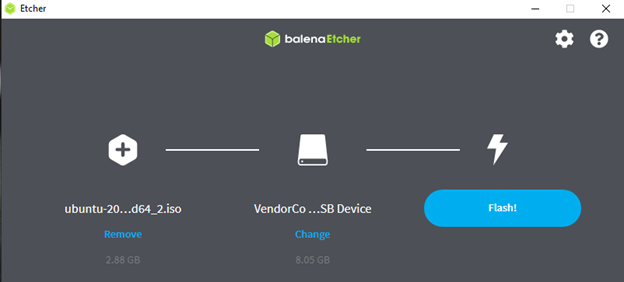
Once you notice your Ubuntu has been loaded in the program, click the flash button to start creating the bootable USB.
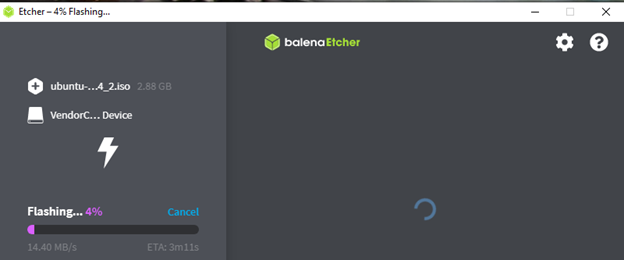
Let the flashing process continue uninterrupted until it gets to 100%
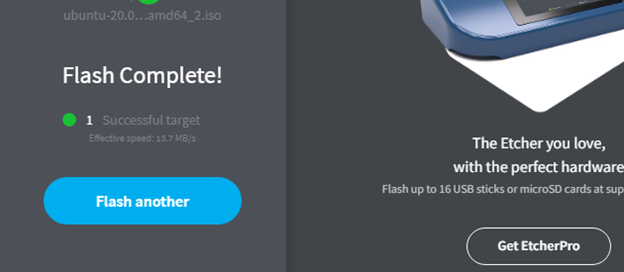
Once the flashing is done, Etcher will validate the flashed ISO file.
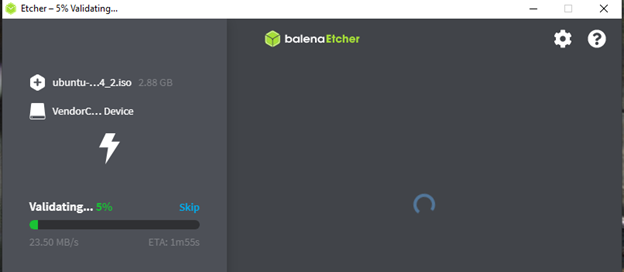
Lastly, you will get a confirmation message that the flash is complete. You now have a bootable USB that you can use to install or test Ubuntu.
Conclusion
To create Ubuntu bootable USB, use the Rufus or Balena Etcher program. Once you have the Ubuntu ISO file and the installer downloaded, the process presented in this post will guide you on how to go about creating your Ubuntu bootable USB.