In this post, we will describe the method to create a tar.gz file in windows
Prerequisite: Install 7-Zip on Windows
By default, Windows uses built-in .zip conform to zip and unzip collection of files. But there are many tools that can be used to create a tar archive file in Windows, so we need to change it to Gzip format. The “.tar” file format is mostly used in Linux operating systems. Therefore, to create a .tar.gz file we need to install the 7-Zip tool on Windows.
To install 7-Zip on Windows, utilize the provided steps.
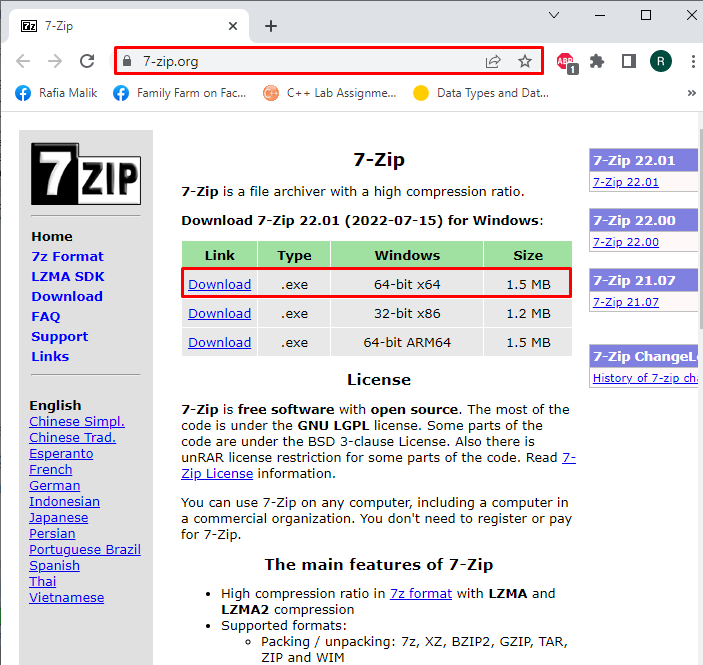
Step 1: Download the 7-Zip Installer
Navigate the below-mentioned link and install the 7-Zip installer according to the system specification. Our system is working 64-bit architecture; therefore, we will go with the 64-bit version:
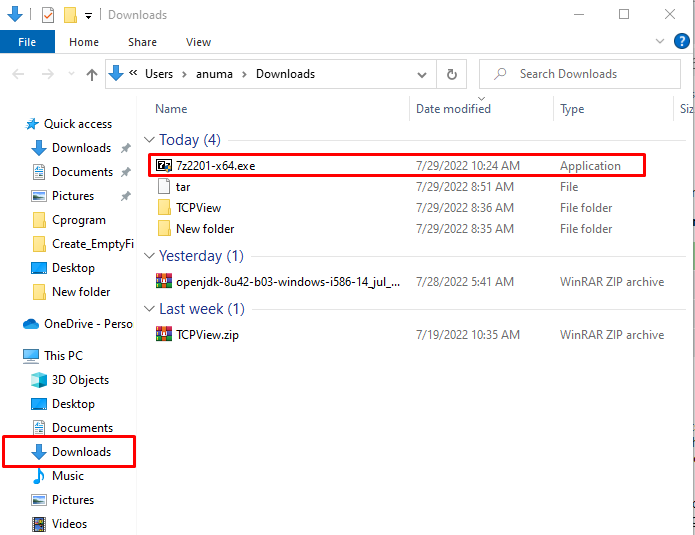
Step 2: Execute the 7-Zip Installer File
From the Downloads folder, double click on the 7-Zip installer to execute it:
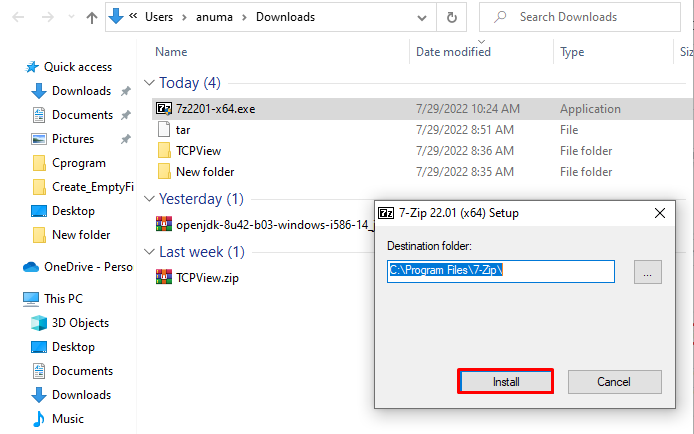
Step 3: Install 7-Zip
Select the 7-Zip installation location and press the “Install” button to install it on Windows:
We have successfully completed the 7-Zip installation on Windows. Hit the “Close” button:
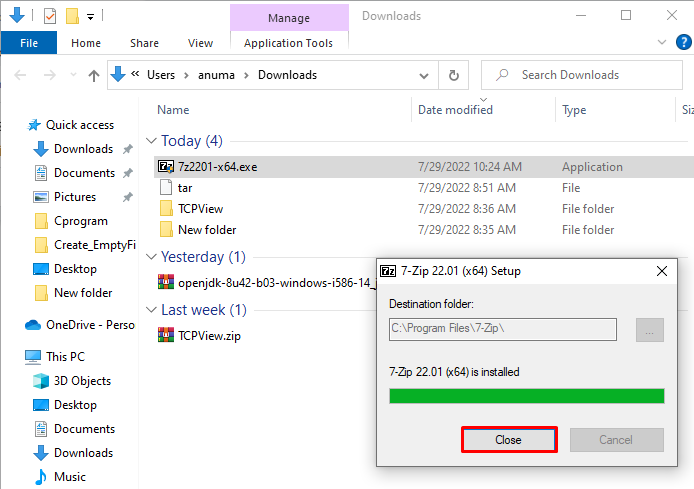
Let’s move ahead to use the 7-zip tool to create a “tar.gz” file in Windows.
How to Create a tar.gz Archive File in Windows?
Tar.gz zip format is mostly used in Unix and Linux-based operating systems. However, we can utilize the “.tar.gz” file format to compress files together in Windows with the help of third-party tools. In this article, we are using the 7-Zip tool to fulfill our purpose:
The below-listed steps will lead you to create a “.tar.gz” zip format file.
Step 1: Zip the Multiple Files in .tar Format
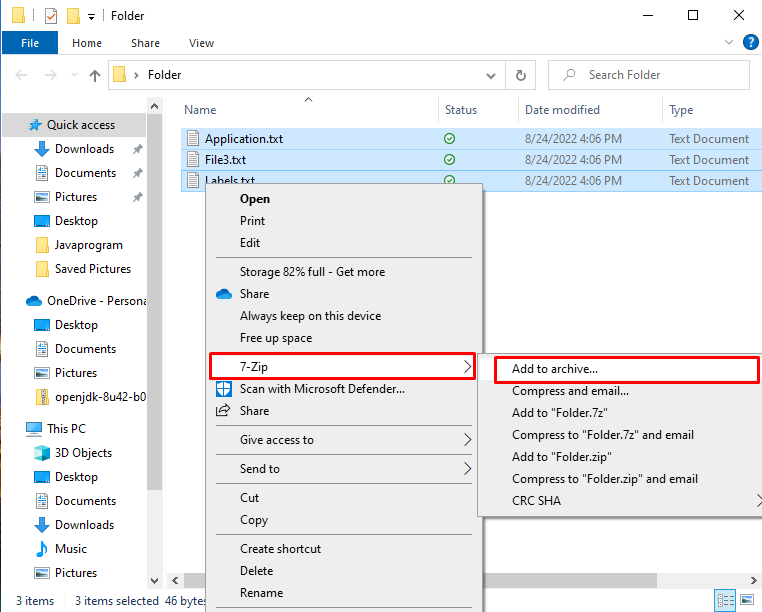
Select the files you want to zip them into a single file. Then, right-click, and move the pointer on the”7-Zip” option from the displayed menu. After that, select the “Add to archive” option:
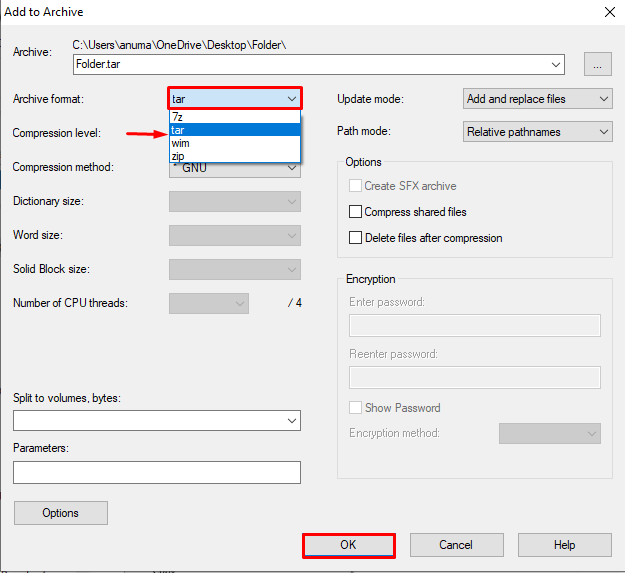
Provide the name of the folder in the Archive menu. Then, select the “tar” format from the “Archive format” drop-down menu and hit the “Ok” button. This will create the .tar zip file:
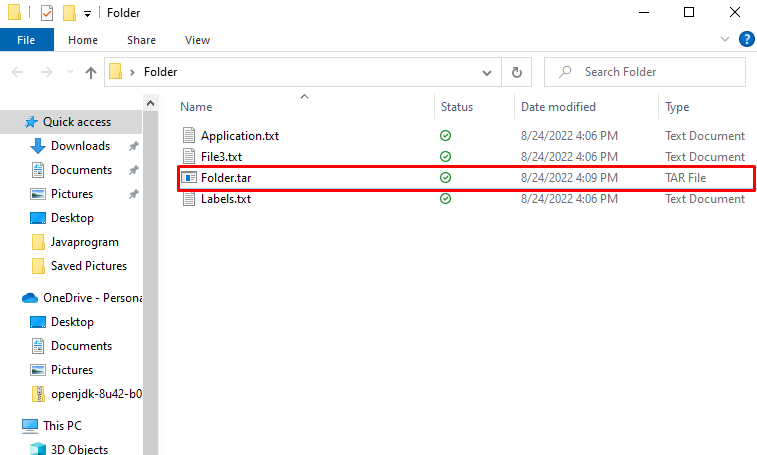
You can see that we have created the “Folder.tar” zip file:
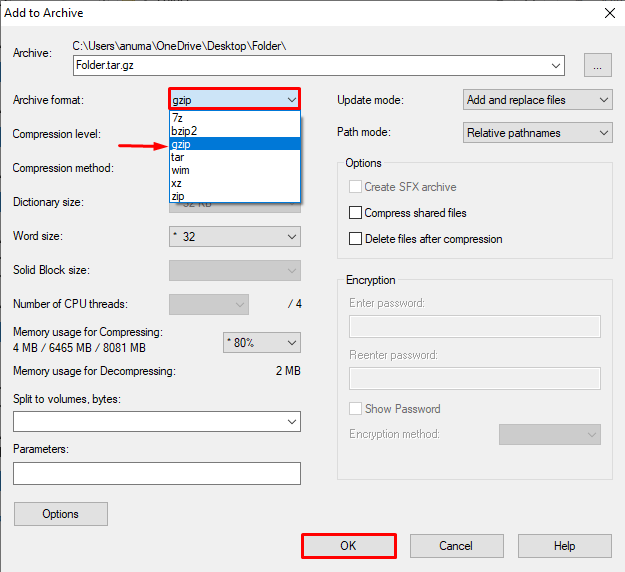
Step 2: Compress the tar File in the “gzip” Format
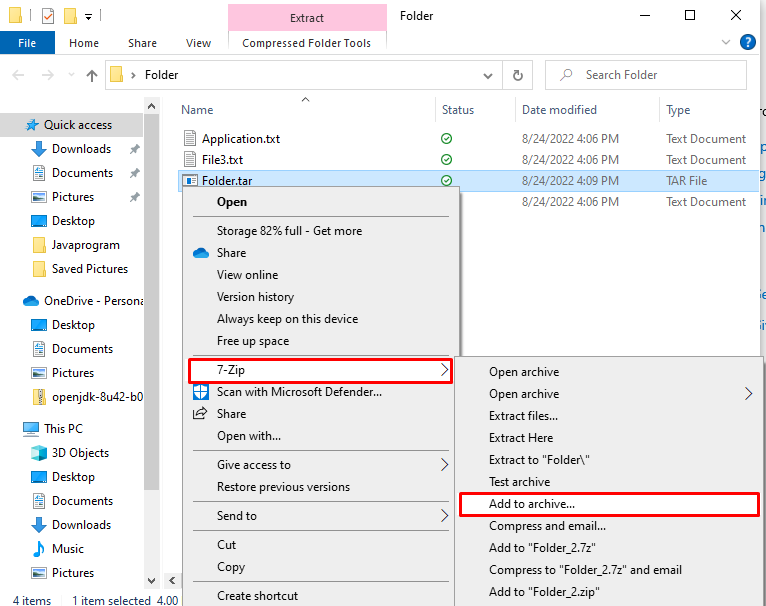
After creating the tar file, again right-click on the tar file, and move the mouse cursor to the “7-Zip” option. Then, select the “Add to archive” option from extended dropdown menu:
After that, select the “gzip” from the “Archive format” drop-down menu and click on the “Ok” button. This will change the simple tar file into a “tar.gz” file and reduces the size of the file:
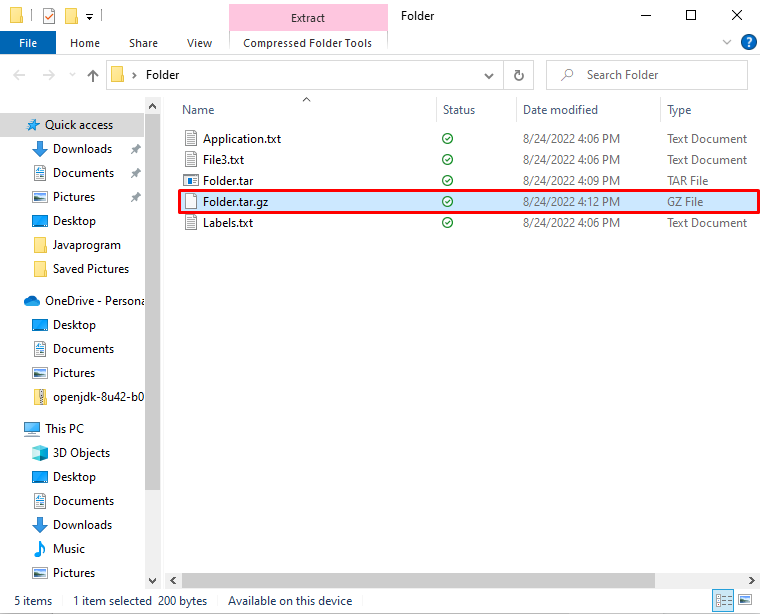
Now, the below input indicates that we have successfully created the tar.gz file in Windows:
That’s all! You have learned to create a “tar.gz” file on windows.
Conclusion
The tar.gz file format is used in Linux as well as Windows. Windows operating system by default uses “zip” format. Therefore, to create a tar.gz file, we have used the 7-Zip tool. It is used to zip and compress files in different formats. After installing the 7-Zip tool, select the files you want to convert to “tar.gz” and choose the archive format as “tar”. After that, you need to choose the “gzip” format from the “Add to Archive” menu to create a “tar.gz” file. This post has demonstrated the method to create a “tar.gz” file in windows.