What Is Amazon Redshift
AWS Redshift is a data warehouse specifically used for data analysis on smaller or larger datasets. It is a managed service by AWS, so you can easily set this up in a short time with just a few clicks. To set up Redshift, you must create the nodes which combine to form a Redshift cluster. A cluster can have a maximum of 128 nodes. Out of which, one node is configured as a master node which can manage all the other nodes and store the queried results. Each node can take up to 128 TB of data to process. Using Redshift, you can query data about ten times faster than regular databases.
Usually, the data which needs to be analyzed is placed in the S3 bucket or other databases. But you can also directly query the data in S3 using the Redshift spectrum. Further, you can also use Kinesis Data Firehose or EC2 instances to write data to your Redshift cluster.
This service is only limited to operating in a single availability zone, but you can take the snapshots of your Redshift cluster and copy them to other zones. This process may also be automated to help in disaster recovery.
In the next section, we will discuss how to create and configure the Redshift cluster on AWS using the AWS management console and command-line interface.
Creating Redshift Cluster Using Console
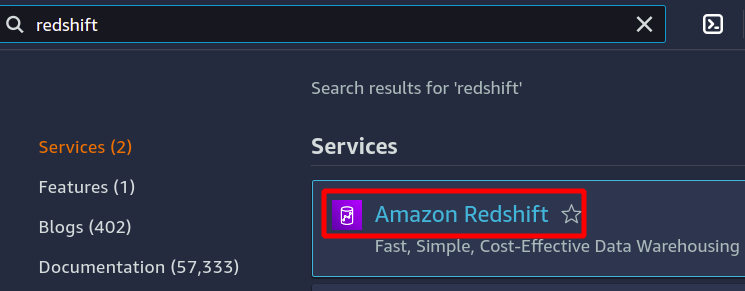
First, log in to your AWS account using AWS credentials and search for Redshift using the top search bar. This will take you to the Redshift console.
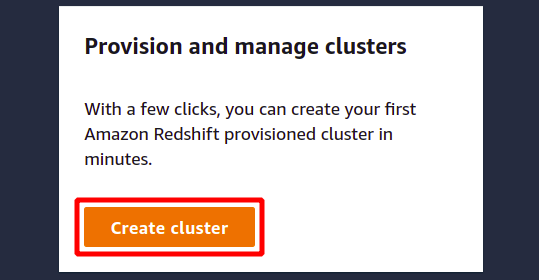
Click on the Create cluster to start creating a new Redshift cluster.
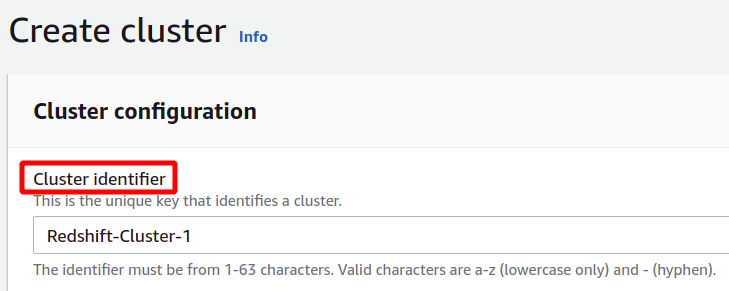
In the configuration section, you need to provide the identifier or name for your Redshift cluster. The name of the Redshift cluster must be unique within the region and can contain from 1 to 63 characters.
After providing the unique cluster identifier, it will ask if you need to choose between production or free tier. To avoid additional costs, we will use the free tier type for this demonstration purposes.
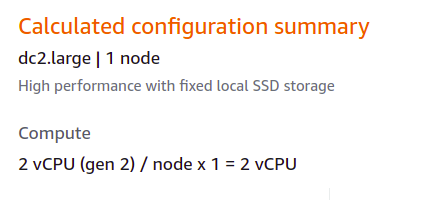
With the free tier type, you get one dc2.large Redshift node with SSD storage types and compute power of 2 vCPUs.
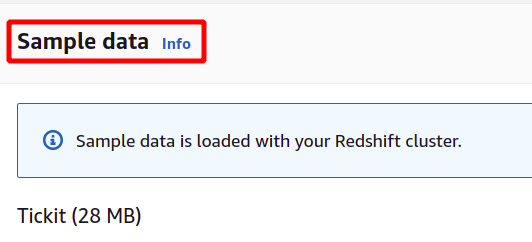
With the free tier option, AWS automatically uploads some sample data to your Redshift cluster to help you learn about AWS Redshift.
The sample data uploaded by AWS is called Tickit and uses a sample database called TICKIT. TICKIT contains individual sample data files: two fact tables and five dimensions.
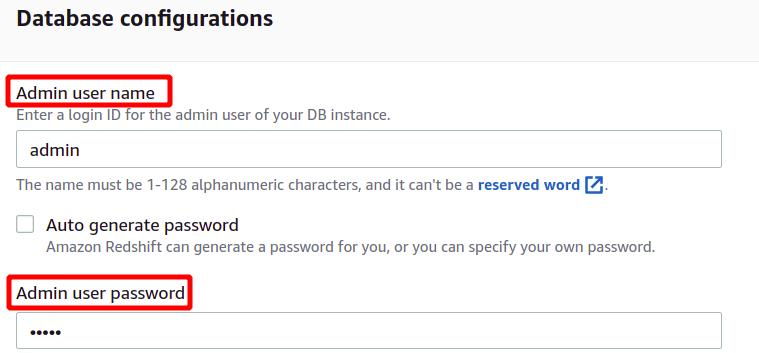
After loading sample data, it will ask for the administrator username and password to authenticate with AWS Redshift securely. You can either set the administrator password by yourself, or it can be auto-generated by clicking on the Auto generate password button.
After providing the administrator username and password, we can create our cluster by clicking on the Create cluster in the bottom-right corner.
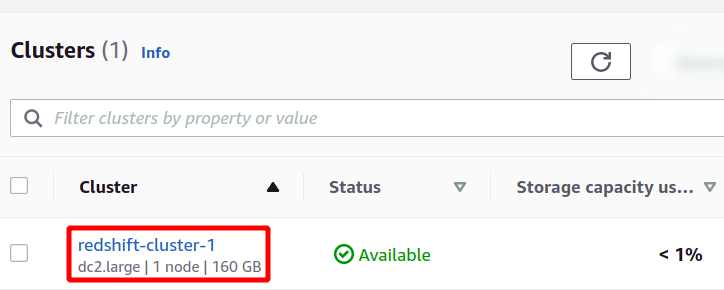
This will create our new Redshift cluster and load the sample data in it. You can see your available clusters in the Redshift console.
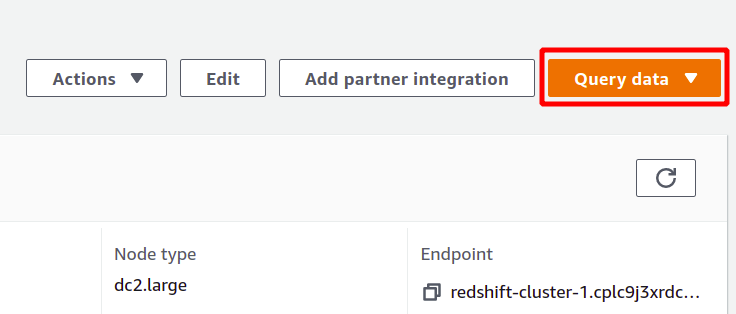
Redshift is some kind of SQL database that can run analytics on datasets and supports SQL-type queries. To run the analysis using the Redshift, select the cluster you want and click on query data to create a new query.
To run the query, you need to connect with some Redshift cluster. To accomplish this, select the option available at the top in the query data section.
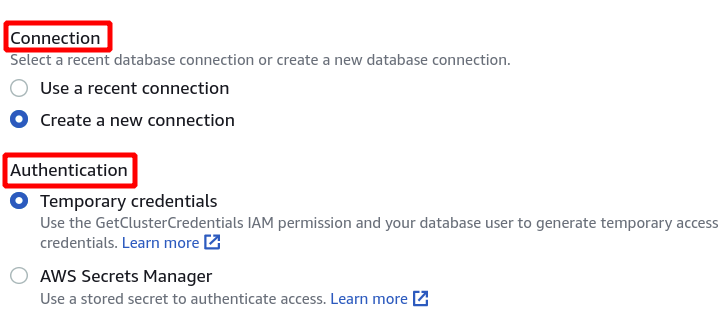
First, you have to select the connection which will be a new connection if you are going to use the Redshift cluster for the first time. We haven’t created any parameter for authentication using the secrets manager, so we will choose temporary credentials.
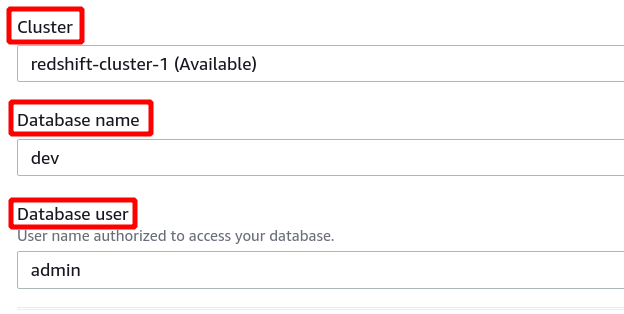
Next, we need to select the Cluster identifier, Database name, and Database user. After that, click on connect in the bottom-right corner.
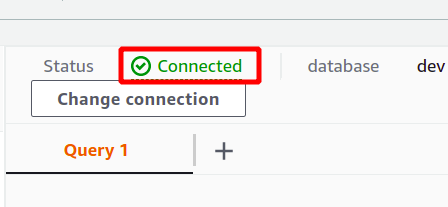
If the connection is established successfully, you can view the “connected” status at the top in the query data section.
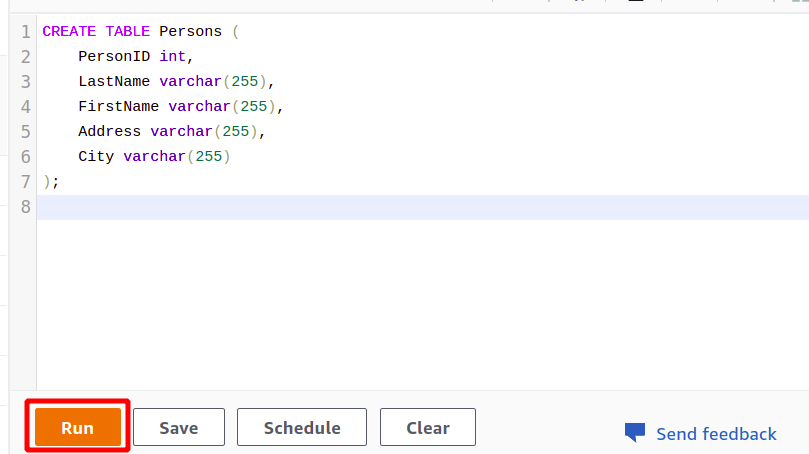
After the successful connection, you can simply write your SQL query using the editor provided. We will create a new table with the title persons and having five attributes. Once your query is complete, you can execute it using the run option at the bottom.
PersonID int,
LastName varchar(255),
FirstName varchar(255),
Address varchar(255),
City varchar(255)
);
When you click on the Run button, it will create a table named Persons with the attributes specified in the query.
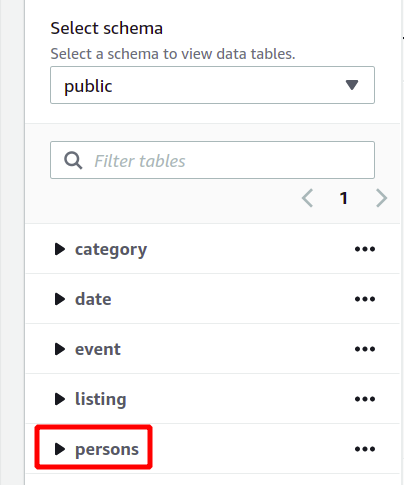
The whole database schema can be seen on the left side in the same section. You can view the newly created table and its attributes here:
So here, we have seen how to create a Redshift cluster and run queries using it in a simple way.
Creating Redshift Cluster Using AWS CLI
Now, we will see how to use the AWS command-line interface to configure a Redshift cluster. Once you get used to the command line and gain some experience, you will find it more satisfactory and convenient than the AWS management console.
First, you need to configure AWS CLI on your system. For the instructions to set up CLI credentials, visit the following article:
https://linuxhint.com/configure-aws-cli-credentials/
To create a new Redshift cluster, you must run the following command using the CLI:
--node-type <node instance type> \
--cluster-type <single/multiple node> \
--number-of-nodes <quantity of nodes> \
--master-username <username> \
--master-user-password < username password> \
--cluster-identifier <cluster name>
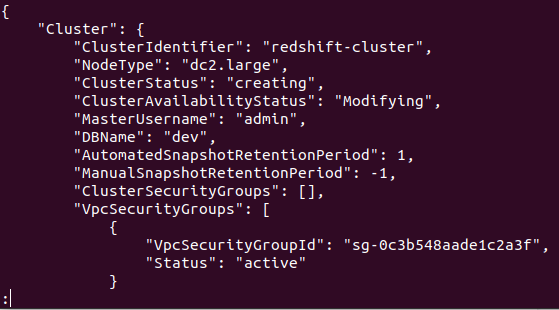
If the cluster is successfully created in your AWS account, you will get a detailed output, as shown in the following screenshot:
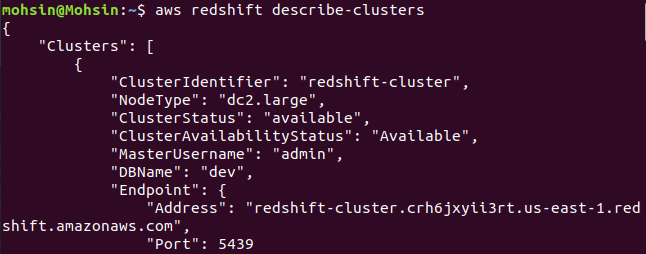
So, your cluster is created and configured. If you want to view all the Redshifts clusters in a particular region, you will need the following command. This will provide you with the details about all the clusters created on your AWS account.
Finally, we have seen how to easily create a Redshift cluster using the AWS CLI.
Conclusion
Amazon Redshift is a fully managed data warehousing service which can be used with other AWS services like S3 buckets, RDS databases, EC2 instances, Kinesis Data Firehose, QuickSight, and many others to produce desired results from the given data. It can provide backups in case of any failure for disaster recovery and has high security using encryption, IAM policies and VPC. So, it is a very secure and reliable service which can analyze large sets of data at a fast pace.

