Types of Load Balancers In AWS
In AWS, you get the following four types of load balancers:
Classic Load Balancer
It works on the transport layer (TCP) and application layer (HTTP). It does not support dynamic port mapping and requires a relationship between the load balancer port and instance port. Now, it is a legacy service and not recommended to use much.
Application Load Balancer
It is the most commonly used load balance that routes the traffic based on the application layer (HTTP/HTTPS). It also supports the dynamic port mapping feature and provides intelligent routing.
Network Load Balancer
The network load balancer uses a flow hash algorithm and operates at the transport layer (TCP), i.e., layer 4 of the OSI model. It can handle more requests than the application load balancer and provides the least latency.
Gateway Load Balancer
It is a load balancer that provides other benefits like network security and firewall. It makes routing decisions on the 3rd OSI layer (Network Layer) and uses the GENEVE protocol on port 6081.
Creating Network Load Balancer Using AWS Management Console
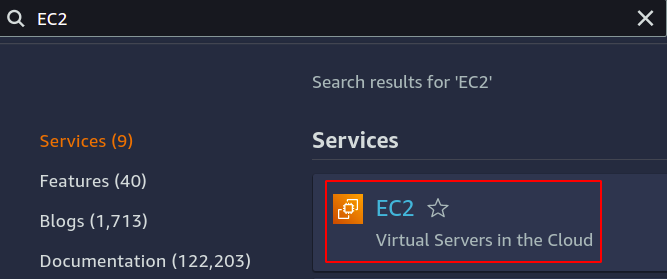
In this article, we will create and configure a network load balancer. The first step is to configure the service over which we want to apply our load balancer. It can either be EC2 instances, lambda functions, IP addresses, or application load balancers. Here, we will choose EC2 instances, so search for EC2 service in the console.
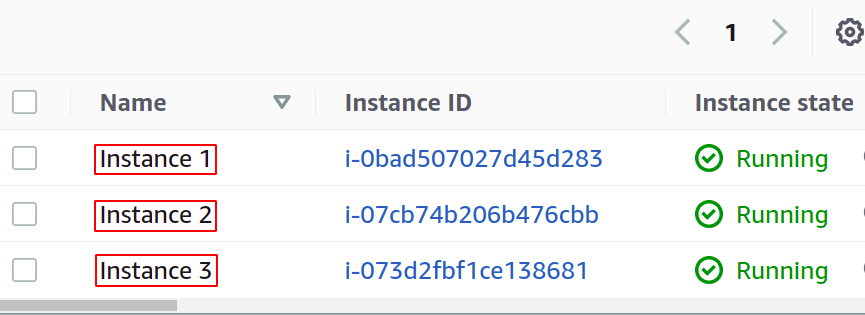
Configure as many instances as you want for your application.
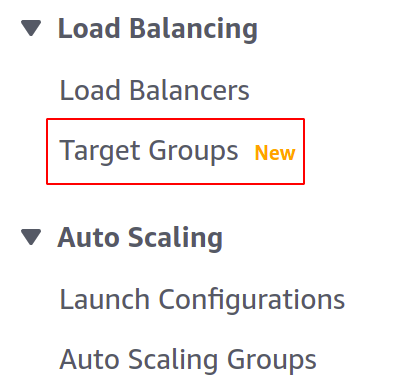
Before creating our load balancer, we need to create a target group. Open the Target Groups console from the left menu in the EC2 section.
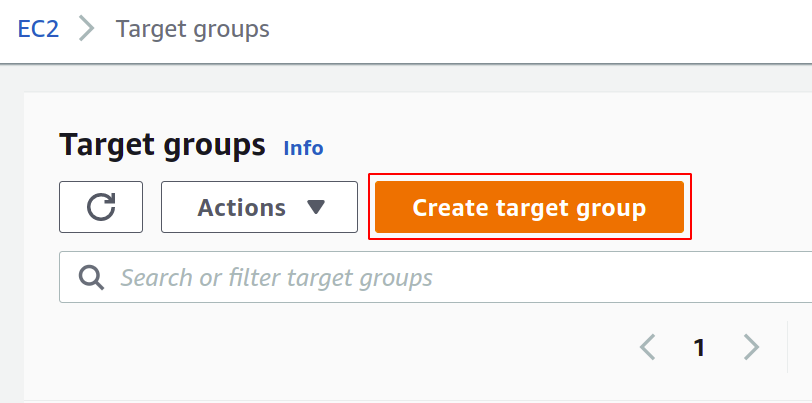
Now, click on create target group to get started.
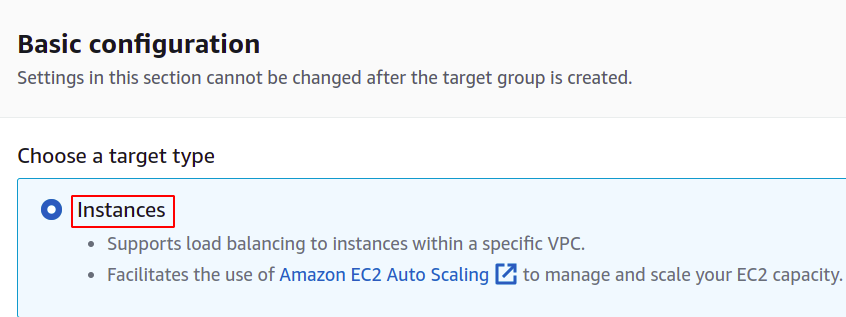
First, you need to choose the service you want to create the target group. These will be the instances in our case:
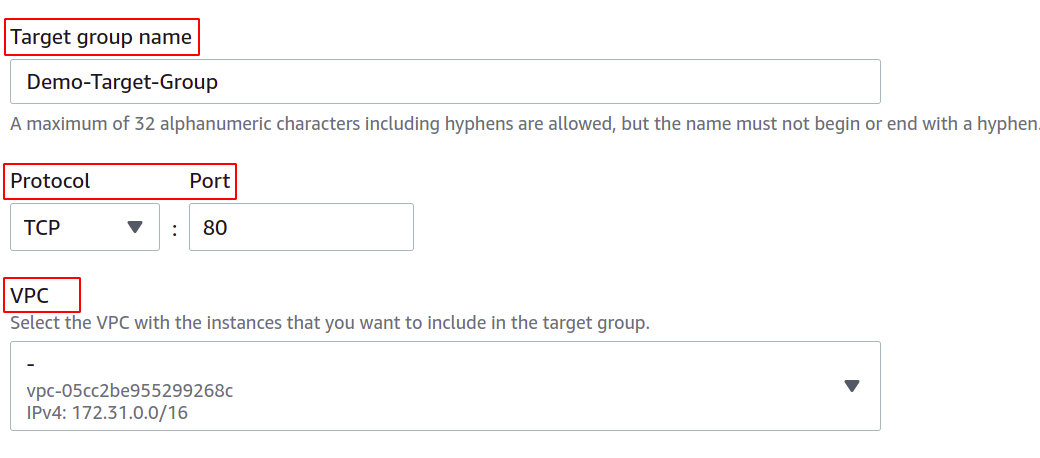
Then, provide the name of your target group, the network protocol, port number, and the VPC (Virtual Private Network) to which your EC2 instances belong.
For a target group that will be used with a network load balancer, the protocol must be a layer 4 protocol like TCP, TLS, UDP, or TCP_UDP as the network load balancer operates at layer 4 of the OSI layer model.
The port here shows the port on which your application is running in the EC2 instances. While configuring your application on multiple EC2 instances with a target group, make sure your application on all EC2 instances is running on the same port. In this demo, our application is running on port 80 of the EC2 instances.
For VPC, you must select the VPC wherein your EC2 instances exist. Otherwise, you can not add the EC2 instances to the target group.
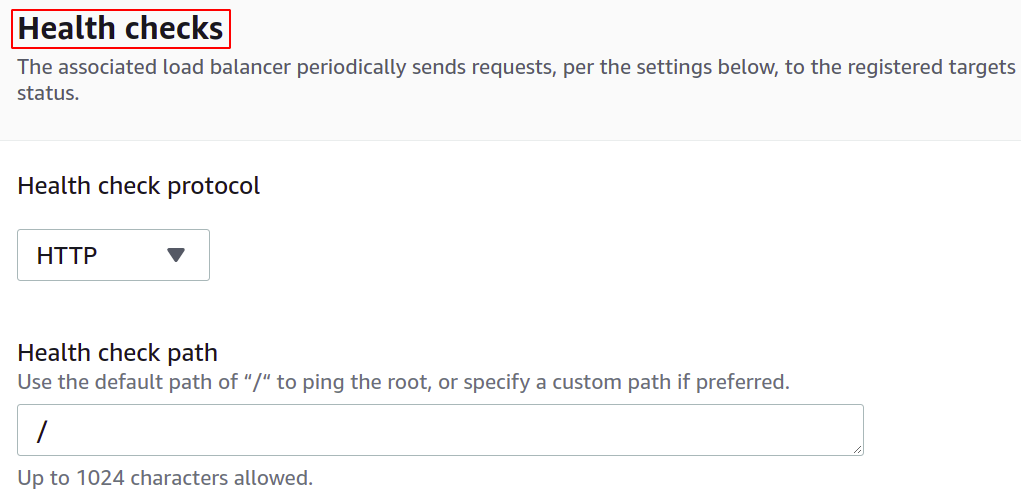
You can also configure the health checks so that if a target goes down, the load balancer will automatically stop sending the network traffic to that target.
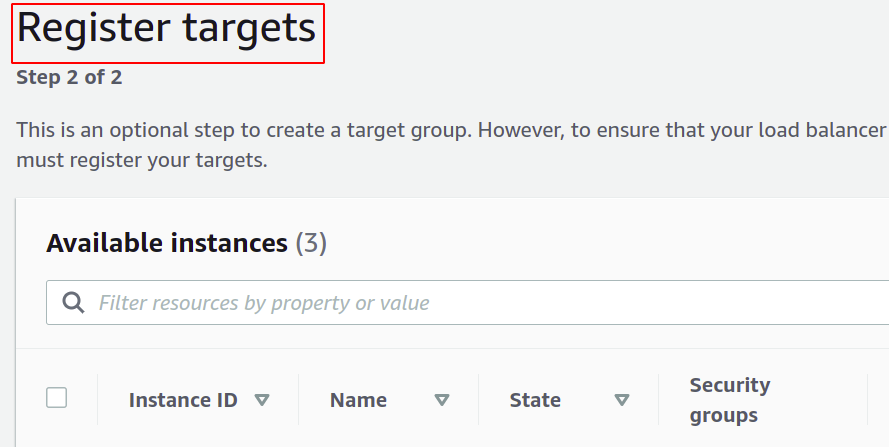
Now, you have to register your instances to your target group. The user requests will be forwarded to the registered targets.
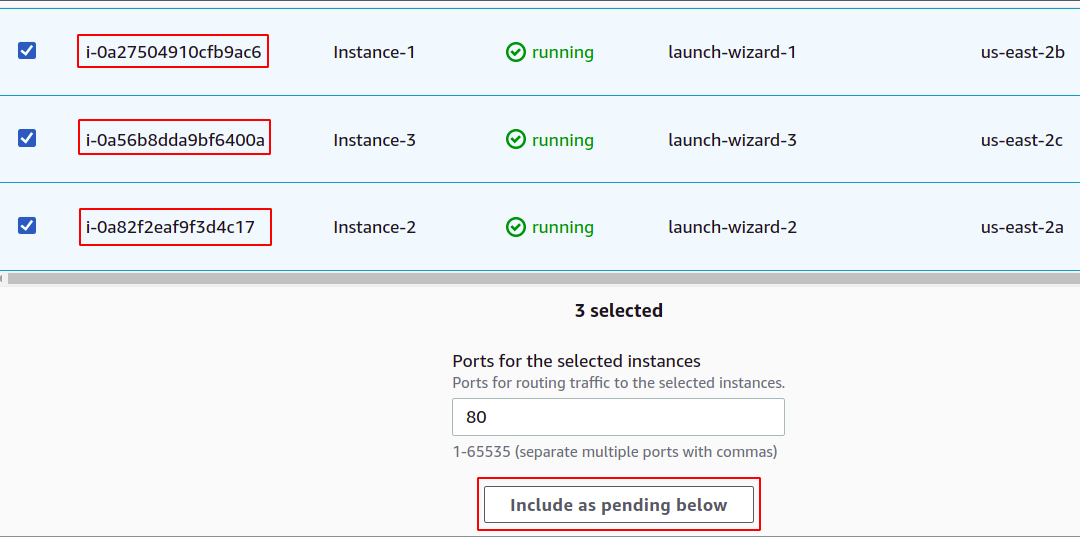
To register the target, simply select those targets or instance in this case and click on “include as pending below”. Here, we have chosen instances belonging to different availability zones to keep our application running even if an AZ goes down.
Finally, click on create target group, and you are ready to go.
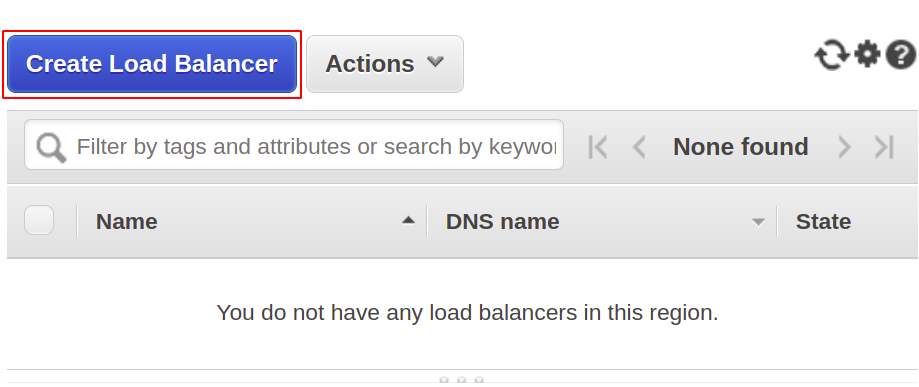
Now, we will create our network load balancer, so open the load balancer section from the menu and click on create the load balancer.
From the following types, select the network load balancer:
First, define the name of your network load balancer in the basic configuration section.
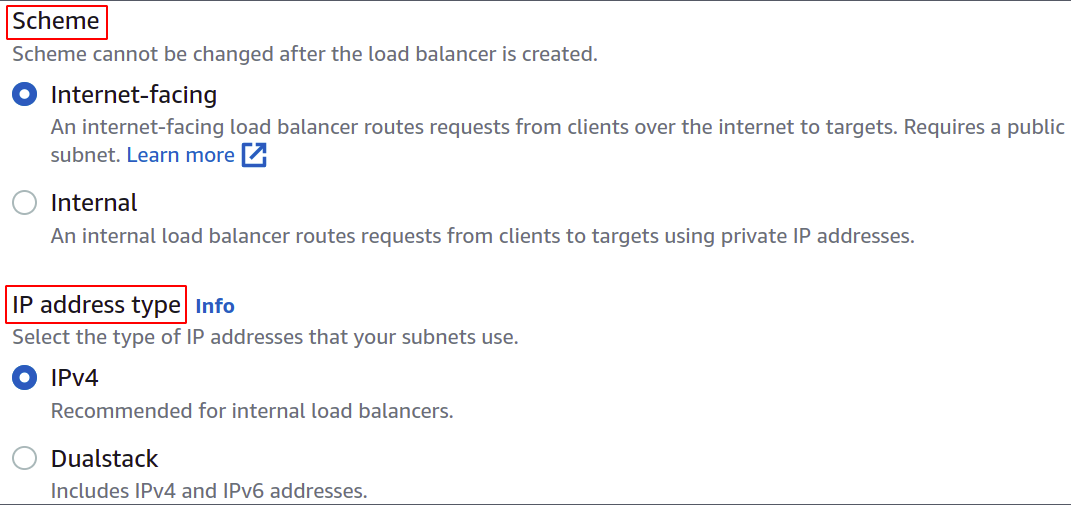
Now, choose the network scheme, i.e., either you want your load balancer to be public or just want to use it in your private network (VPC).
The IP address type defines if your EC2 instances are using IPv4 or IPv6 addresses. If your EC2 instances use only IPv4 addresses, you can select the IPv4 option. Otherwise, select the Dualstack option.
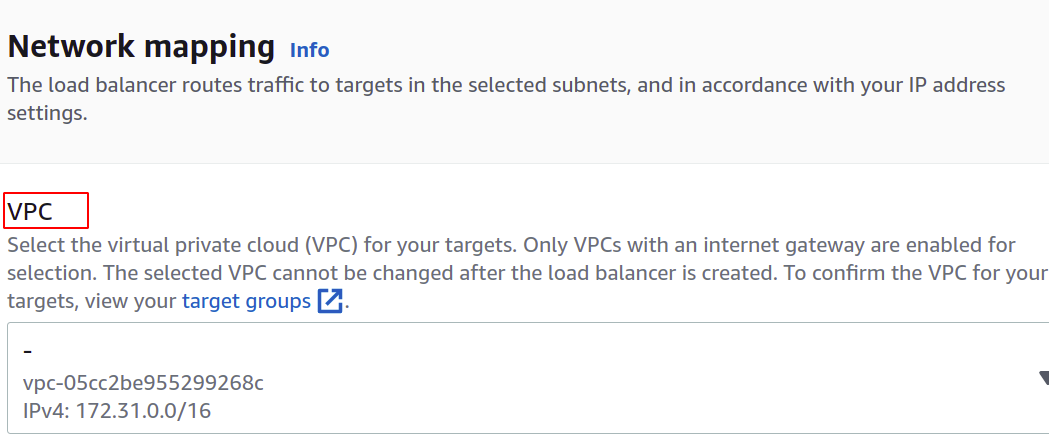
Select the VPC for the load balancer. It must be the same as that of instances and target groups.
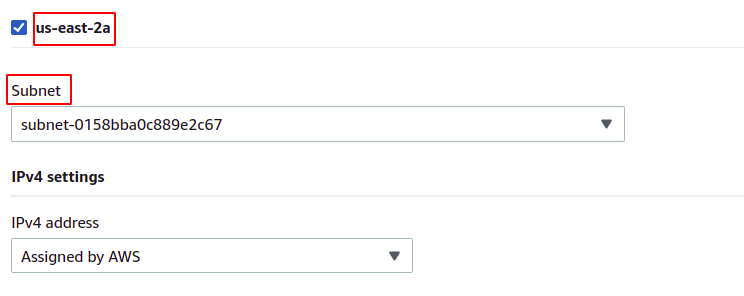
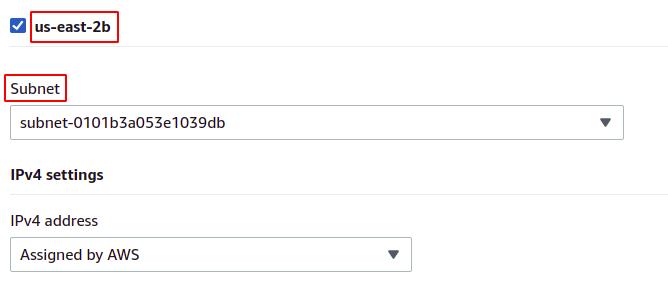
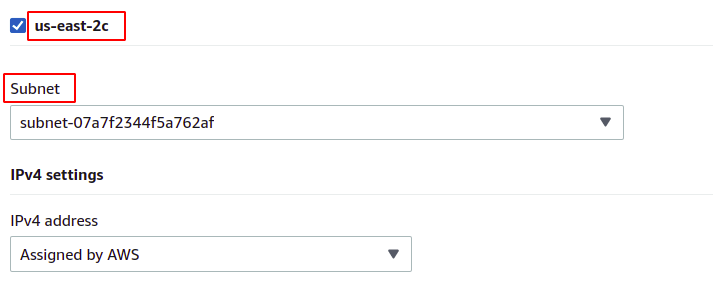
Then, you can select the availability zones and subnets in which your target EC2 instances exist. More availability zones mean the more your applications are highly available. While running your application on more than one EC2 instance, make sure your EC2 instances are running in different availability zones.
As our instances belong to each of the availability zones present in the region, we will select them all with their respective subnets.
us-east-2b
us-east-2c
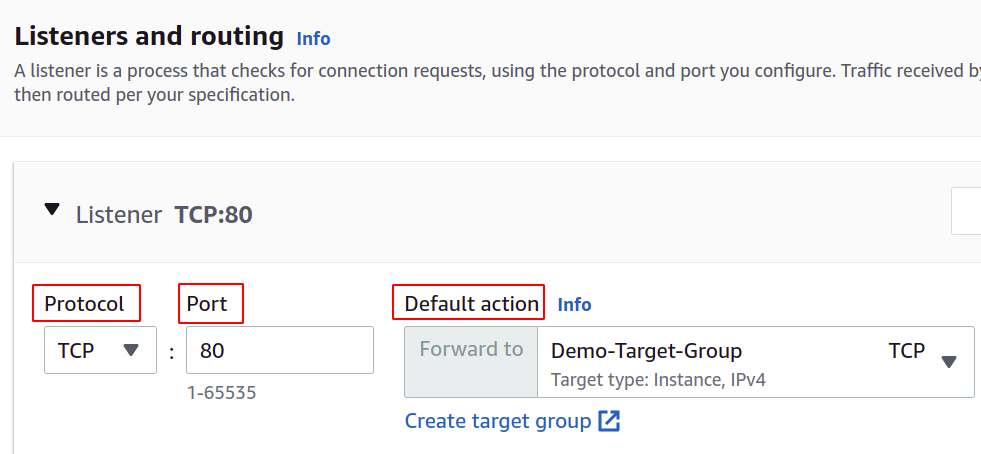
Now, we have to set the network protocol and port, and select our target group for our load balancer. The load balancer will route all the traffic to this target.
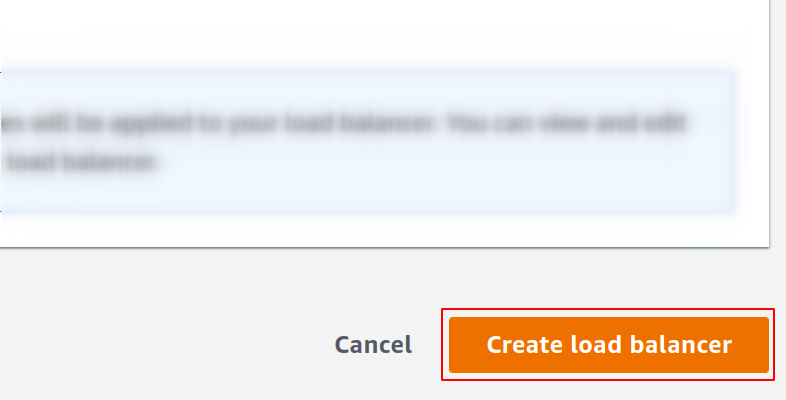
Finally, our configuration is complete. Simply click on the create load balancer in the button right corner, and we are good to go.
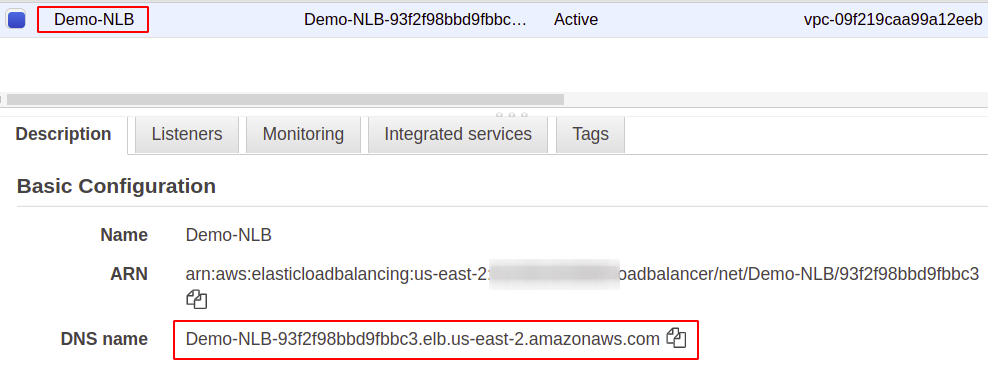
Once configured, you will find an endpoint for your load balancer under the Description section. You will use this endpoint to access your application.
The user requests will be received through the load balancer endpoint, which will route it to the instance configured through the target group. If you try multiple requests, your requests will be fulfilled randomly by any instance.
So, we have successfully created and configured a network load balancer using the AWS management console.
Creating Network Load Balancer Using AWS CLI
AWS console is easy to use and manage services and resources in your account, but most industry professionals prefer the command-line interface. That’s why AWS has come up with the solution of providing CLI for its users, which can be configured on any environment, either Windows, Linux, or Mac. So, let us see how we can create a load balancer using the command-line interface.
So, after you have configured your CLI, simply run the following command to create a network load balancer:
Next, we must create a target group for this network load balancer.
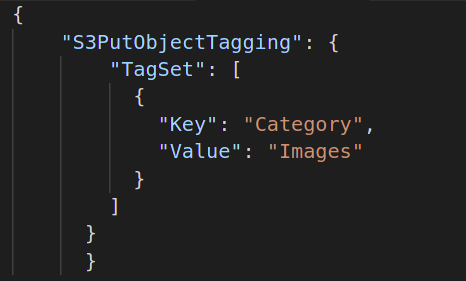
Then, we need to add targets to our target group using the following command:
Finally, as a listener, we will attach our target group to our load balancer.
So, we have successfully created a network load balancer and added a target group as a listener to the load balancer using the AWS command-line interface.
Conclusion
Load balancing is critical for any kind of web application as this helps to provide user gratification by promising availability and good response time. They reduce the downtime by providing necessary health checks, ease the deployment of the autoscaling group, route the traffic to the server providing the least latency and route the traffic to another availability zone in case of system failure. To handle massive requests on our server, we can increase the resources of our instance, such as more CPU, memory, and more network bandwidth. But this can only be achieved to a certain level and will not be successful and suitable in many aspects, such as cost, reliability, and scalability. So definitely, we will have to apply more servers for our application. Just a point to remember is that the AWS Elastic Load Balancer (ELB) is responsible only for routing and distributing the user requests. This will not add or remove servers or instances in your infrastructure. We use AWS Auto Scaling Group (ASG). We hope you found this article helpful. Check the other Linux Hint articles for more tips and tutorials.

