Every user has to be assigned permissions to access the required resources according to his roles and requirements. These permissions can be allowed by directly attaching a permission policy with an IAM user but this is not a good approach from a management point of view. So, a better approach is to create a user group and assign permissions to that group and all the IAM users within the user group will inherit the permissions assigned to the user group and you will not need to manage the permissions individually for each IAM user.
In this blog, we are going to view how we can create an IAM user and User Group in AWS using AWS management console and AWS command line interface.
Creating an IAM user
To create an IAM user on AWS, you can use either the root account or any IAM user account which has permission and access to manage the IAM users. There are following methods for creating an IAM user in AWS.
- Using AWS management console
- Using AWS CLI (command line interface)
Creating IAM User from AWS Management Console
Sign in to your AWS account and in the top search bar, type IAM.
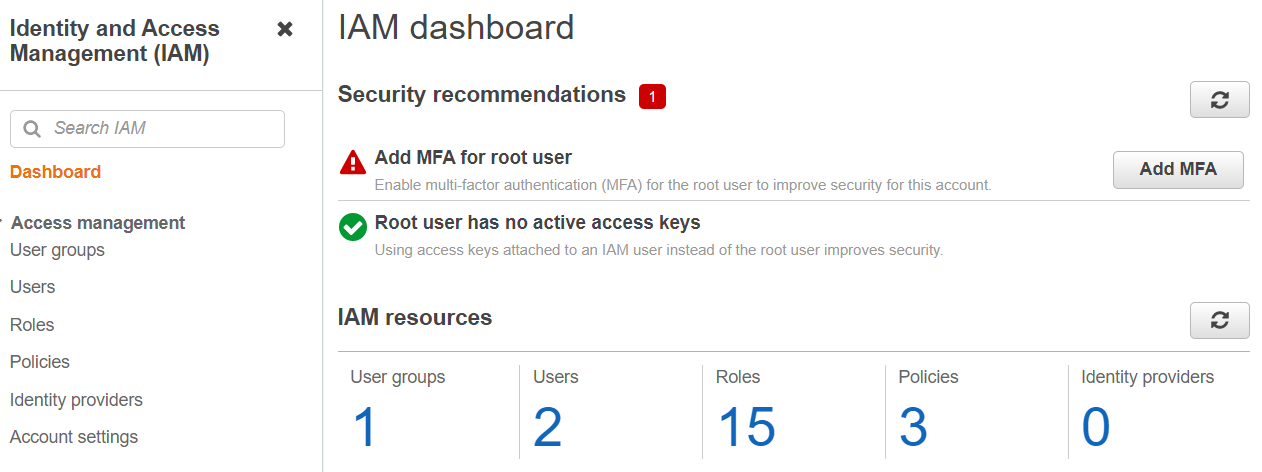
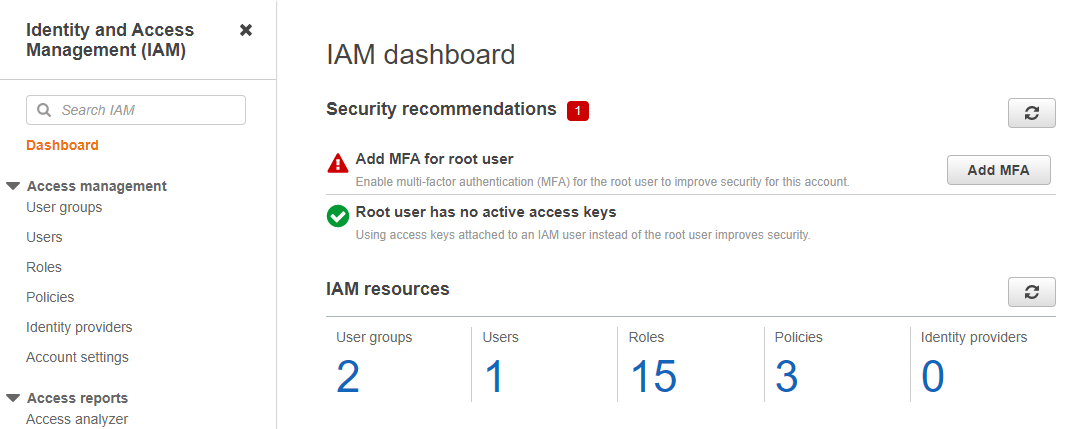
Select the IAM option down the search menu. This will take you to your IAM dashboard.
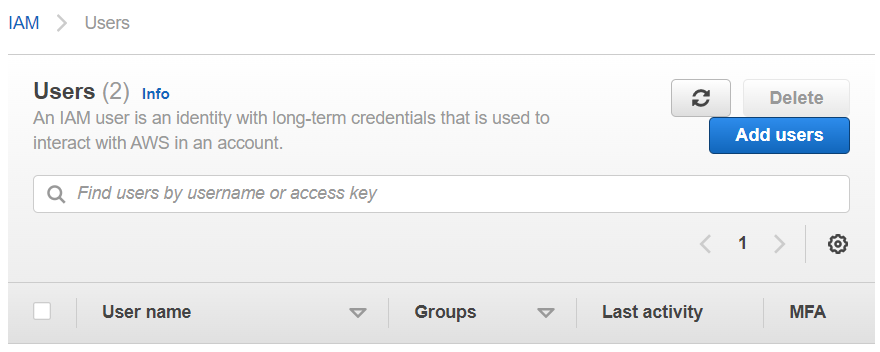
From the left side panel, Click on Users tab where you will find the Add Users option.
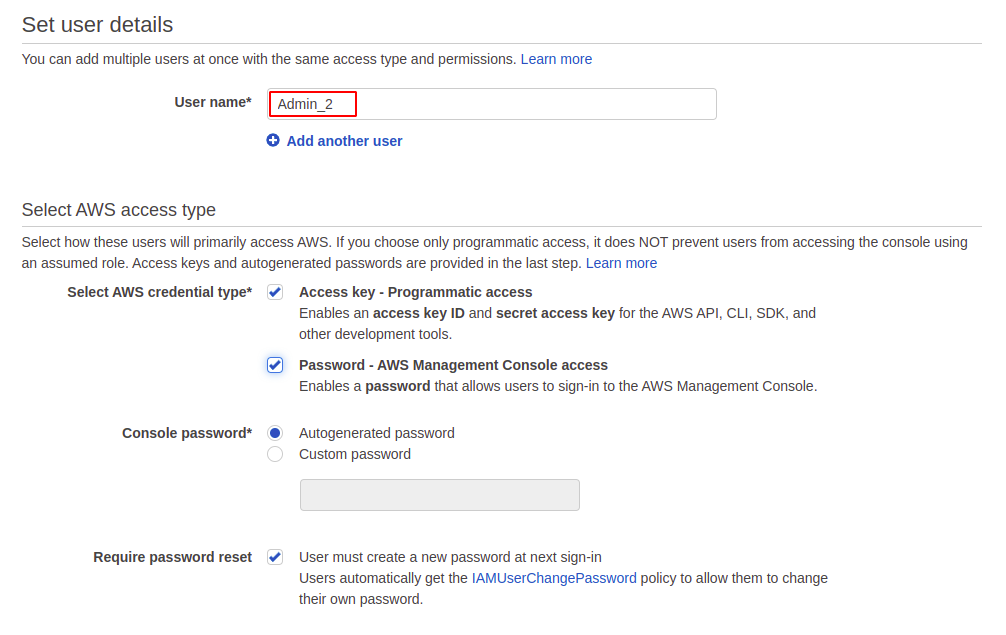
To create a new user, you need to configure multiple settings. First, you need to give a username for an IAM user and choose your login credentials type. For logging in to your user account using the AWS management console, you will need to create a password (you can either auto generate a password or use a custom one) or if you want to access your user account from CLI or SDK, you will need to set up an access key which will provide you the access key ID and a secret access key.
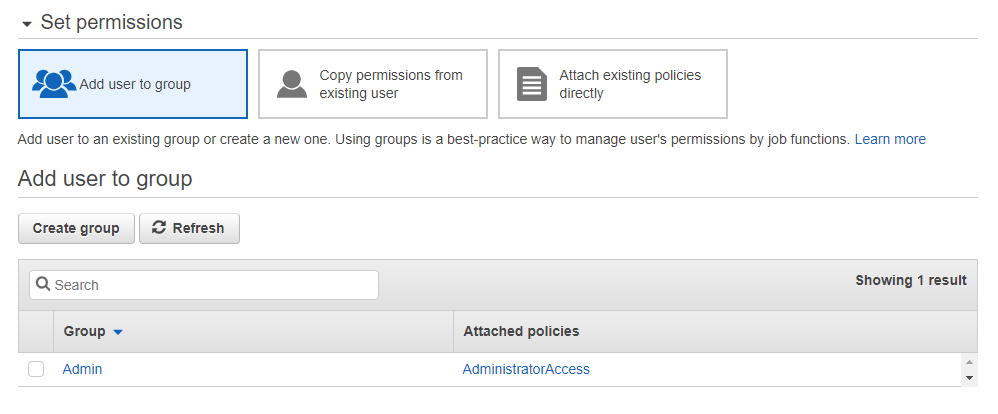
In the next section, you will have to manage the permissions assigned to each IAM user in an AWS account. The better approach to give permissions is to create a user group which we will see in the next section but if you want, you can attach a permission policy directly to an IAM user.
The last step you will find is to add tags which are simple keywords with description to trace all resources in your account related to that keyword. Tags are optional and you may skip them on your choice.
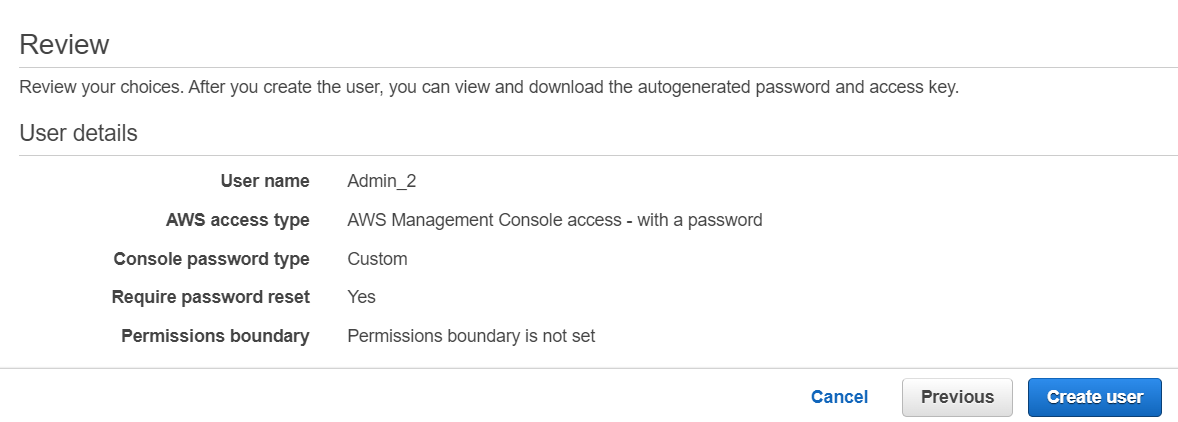
Finally, just review the details you have just given about that user and you are good to go to create an IAM user.
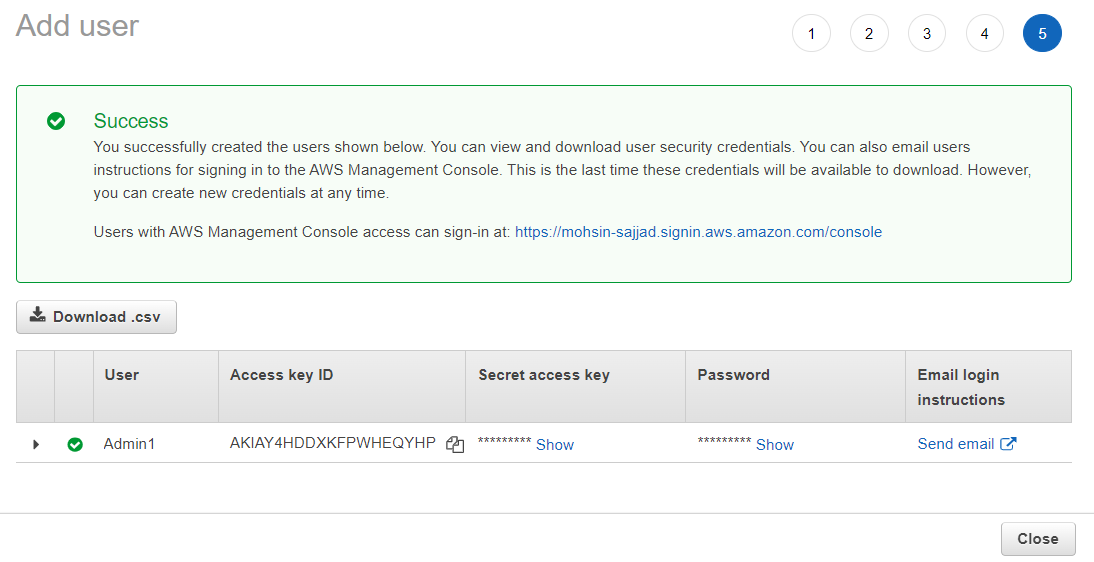
When you click on create user, a new screen will appear where you will be able to download your user credentials in case you have enabled the access key. This is necessary to download this file as this is the only time you can get them otherwise you will have to create new credentials.
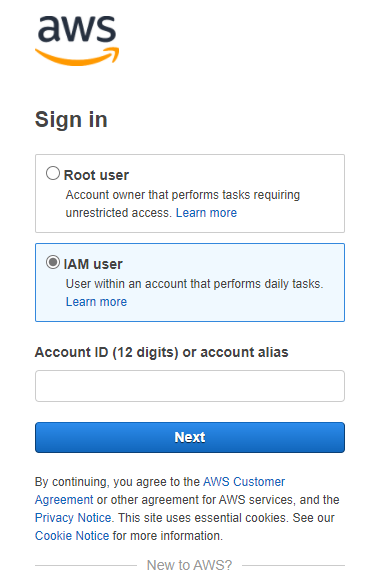
For logging in to your IAM user account using the management console, you just need to enter your account ID, username and password.
Creating IAM User Using CLI (Command Line Interface)
IAM users can be created using the command line interface, and this is the most common method from developers’ point of view who prefer using CLI over management console. For AWS you can set up CLI either on Windows, Mac, Linux or simply you can use AWS cloudshell. First, login to AWS user account using your credentials and to create a new user enter the following command.
The IAM user is created. Now, you need to manage security credentials for your account. To simply set up a user password, run the command:
Finally, you need to manage the permissions to your newly created IAM user. You can either add the user in a group and the user will be granted all the permissions of that group. For this, you need the following command. There will be no output to get.
If you want to directly grant permissions to your IAM user, you can attach a policy with the user, this is called in-line policy. Just instead of group name, you need to provide arn of the policy you want to attach.
So, this is the complete guide to create an IAM user in your AWS account. It may be noticed that at no point we have managed the AWS region or availability zone, this is because IAM user is a global service irrespective of regions.
Creating User Groups
User groups help when you want more than one user with similar permissions, like if you have four developers in your team and you want all of them to have equal access. It also provides easy maintenance of your account as you don’t have to individually look upon each user permissions and you can just see their user group. Moreover, in AWS a user can belong to multiple user groups or even no user group.
Here, we are going to look upon creating a user group with two methods.
- Using AWS management Console
- Using AWS CLI (Command Line Interface)
Creating User Groups from AWS Management Console
To create a user group just login to your AWS account and in the top search bar type IAM.
Select the IAM option down the search menu, this will take you to your IAM dashboard.
From the left side panel, select the User Groups tab. This will take you to your user group management window. Click on Create Group and following are the steps to create a user group.
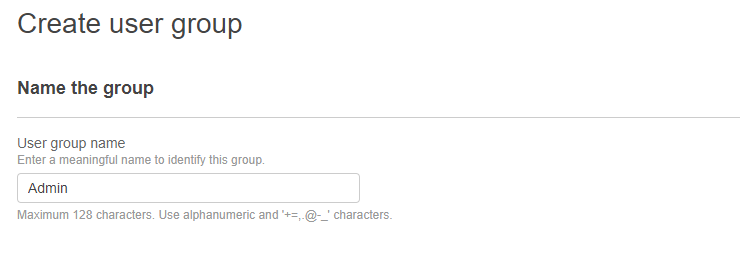
Type the name of the user group.
From the list below, you can select the existing users you want to add to this group. This step is not mandatory as you can also add users in the group later on.
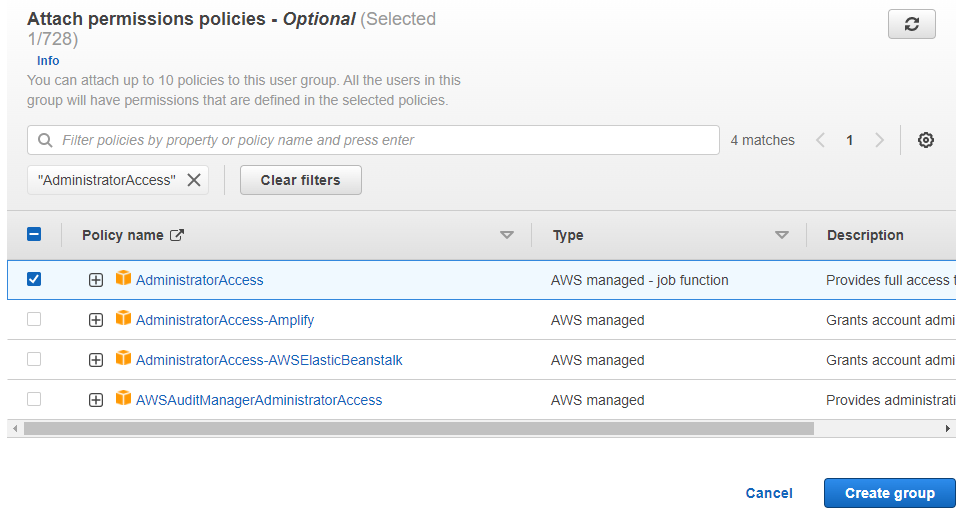
The last and most important step in creating a user group is to attach policies which grant permissions to that group. From the policies list, select those you want to attach to the group and finally just click on create group in the bot<>tom right corner.
Creating User Groups Using CLI (Command Line Interface)
Log in to your AWS command line interface using either Windows, Mac, Linux or Cloudshell. Here, you need to run following command to create a new user group
To add users to your group, simply run the following command on terminal.
Now, finally we just need to attach a policy to our user group. For this run the following command:
So finally, you have created a new user group, attached permission policy to it and have added a user in it. In AWS, user groups are global, so you don’t need to manage any region for this.
Conclusion
Users and User Groups are an important part of AWS infrastructure. Creating multiple users allows organizations to use single cloud infrastructure among many departments and members. On the other hand, user groups help us to manage our users efficiently in our AWS account by providing each user with the permissions he wants to perform his tasks.


