This tutorial will demonstrate how to create a patch from the Git uncommitted changes.
How to Create a Patch From the Uncommitted Changes in Git Working Repository?
To create a patch from uncommitted changes in the Git repository, first, go to the repository, add changes to the staging index and utilize the “git diff –cached > Filename.patch” command.
For a practical guideline, go through the provided procedure.
Step 1: Launch Git Terminal
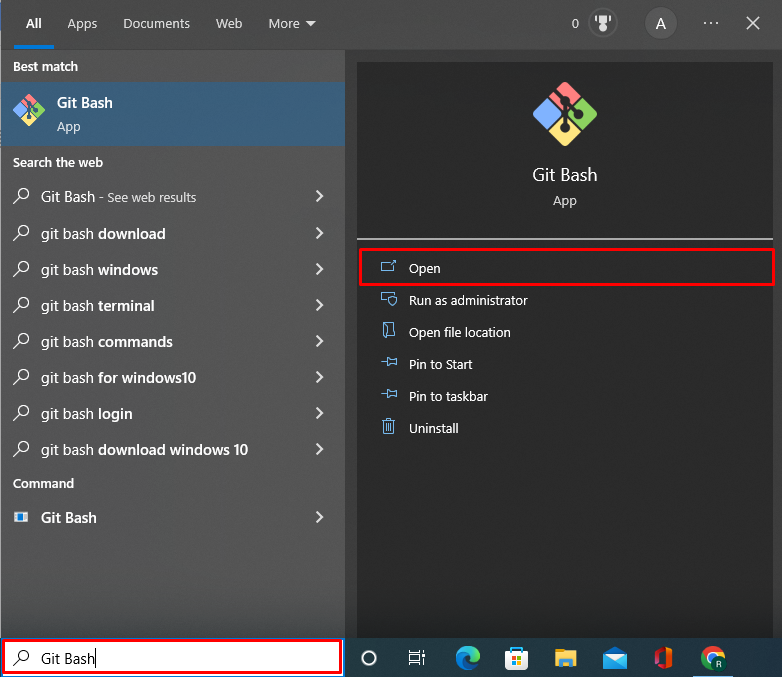
Launch the Git terminal from the Windows “Startup” menu:
Step 2: Go to Git Working Directory
Go to the Git working directory by utilizing the “cd <directory path>” command:
Step 3: Initialize Git Directory
Initialize the Git directory through the provided command:
Step 4: Generate New File
Generate the new file by executing the “touch <File-name>” command:
Step 5: Add Untracked Changes
Next, move the untracked changes to the tracking index through the mentioned command:
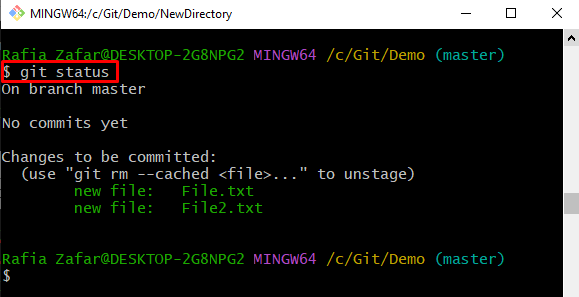
Check the Git status to verify if the changes are added to the staging index or not:
Here, you can see we have successfully added the untracked changes to the staging area:
Step 6: Generate Patch of Uncommitted Changes
In the next step, create the patch of uncommitted staged changes:
In the above command, the “–cached” option is used to create the patch of staged changes. If a user cannot use the “–cached” option, a patch of untracked changes will be created:
Use the “ls” command to view all directories and files of the current repository:
Step 7: Apply Patch
Apply the patch in the same directory to check patch file is working or not:
It can be observed that an error is encountered because it already exists in the working directory:
Step 8: Make New Repository
Let’s make a new directory in which we will apply the recently created patch. For this purpose, utilize the “mkdir <directory-name>” command:
After that, open the new directory or repository using the “cd” command:
Step 9: Apply Patch of Uncommitted Changes
Next, apply the patch into a new directory using the below-provided command:
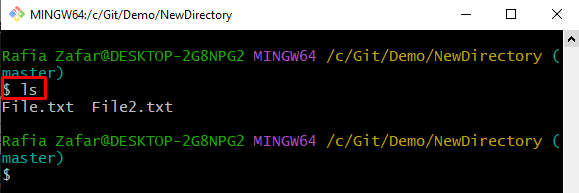
To verify if the patch is applied or not, view the list of all files:
The output indicates that we have successfully applied the patch of uncommitted changes into the new directory:
We have taught you the procedure to create a Git patch from the uncommitted changes.
Conclusion
To create a patch from the Git uncommitted changes, first, open the Git working repository. Create a new file and add it to the tracking index. After that, create a Git patch of tracked uncommitted changes using the “git diff –cached > Patchfile.patch” command. Next, apply the patch to another repository or directory through the “git apply <patch-path>” command. This post demonstrated the method to create a patch from the Git uncommitted changes.


