- Amazon ECR
- Elastic load balancing
- IAM
- Amazon VPC
This article describes the detailed instructions to deploy a Kubernetes cluster (EKS cluster) on AWS.
Create EKS IAM role
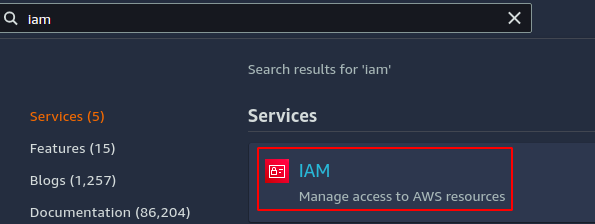
Before creating the EKS cluster, you must have an IAM role created that allows the EKS cluster to use other AWS services on your behalf. From the AWS management console, go to the IAM service.
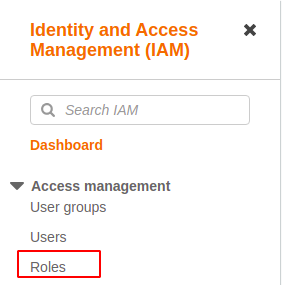
From the left side panel of the IAM console, select the Roles option.
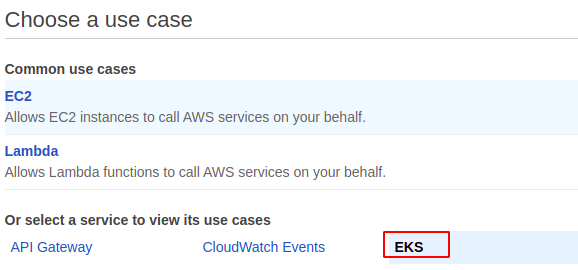
Now on the top right corner of the page, click on the Create role button. It will ask for the permissions that will be granted to the role. Select the AWS service as a trusted entity.

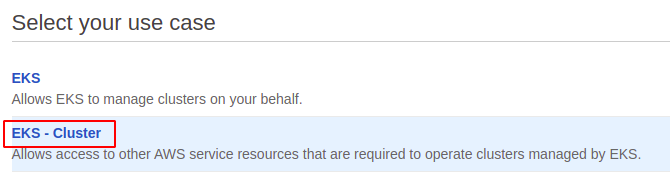
Now from the list of different services, select EKS and then select EKS-Cluster as your use case.
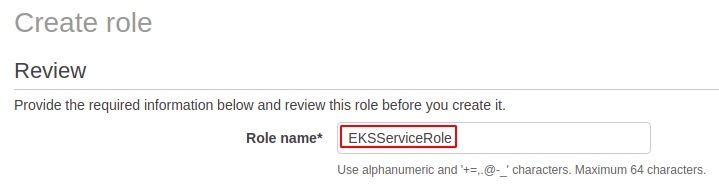
Now click on the Next:Permissions button at the bottom right corner of the page. Skip all the steps and on the last step, enter the role name and click on the create role button to create the IAM role.
VPC configurations
After creating the IAM role for EKS, now configure VPC to run the cluster inside it. AWS recommends using the VPC, which has both public and private subnets. Public subnets for load balancers that balance load across multiple EKS cluster nodes and private subnets for the pods.
AWS default VPC has only public subnets, and you need to create the private subnets by yourself. Visit the following article to learn how a private subnet can be created in a VPC.
https://linuxhint.com/create-a-vpc-on-aws/
Running the EKS cluster in both public and private subnets is not mandatory. You can run the EKS cluster in VPC with only public or only private subnets. We will use default VPC with only public subnets to create the EKS cluster for this demo.
Creating EKS cluster
From the AWS management console, search for the EKS service.

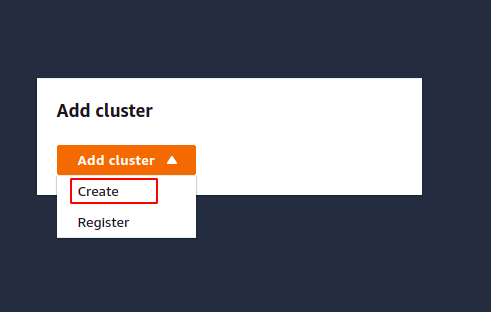
From the EKS console, click on the Add cluster button and then select the Create option from the list to create a new EKS cluster.
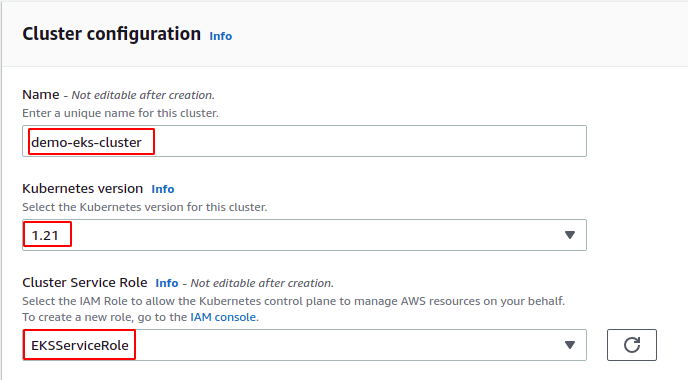
It will open a configuration page for the EKS cluster. The name field asks for the unique name of the EKS cluster in a region. The Kubernetes version is the version of the Kubernetes package. By default, the latest version is selected, and it may differ with time.
The cluster service is the IAM role that grants specific permissions to the EKS cluster that help EKS access the other AWS services on your behalf. Select the newly created IAM role as a cluster service role.
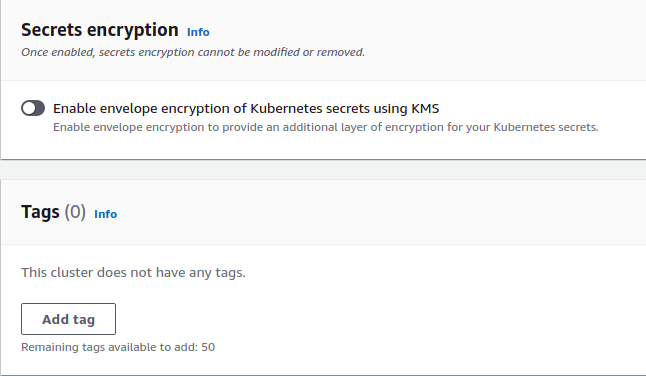
EKS provides configurations to encrypt the secrets used by the EKS cluster using the KMS. In order to encrypt the secrets using KMS, just enable the option in the configurations and then select a KMS key that will be used to encrypt the secrets. For this demo, we will not enable the encryption option.
Tags are used to provide metadata of the cluster, and for this demo, we will not tag the EKS cluster.
Now click on the Next button at the end of the page for further configurations. It will open a page asking for networking for the cluster. Select the VPC in which the EKS cluster will be deployed. You can select the VPC you created; otherwise, use the default VPC.
Select the subnets in which the EKS cluster nodes will be deployed for subnets. For high availability, use the subnets in different availability zones and select a minimum of 2 subnets. For this demo, we will choose 2 public subnets.
The security group controls incoming and outgoing traffic from the EKS cluster and acts as a virtual firewall.
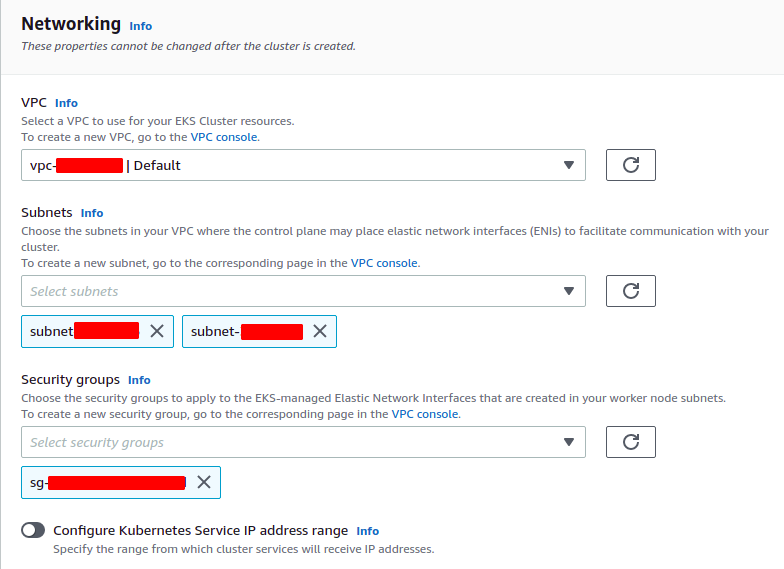
For the cluster endpoint configurations, there are 3 options available. You can make your EKS cluster public, private, or publicly and privately accessible. In case you select a public endpoint, your cluster will be accessible through the public internet. Similarly, for the private endpoint, the cluster will only be accessible within the VPC.
For this demo, we will choose public and private endpoints that make it accessible through the public internet and within the VPC.

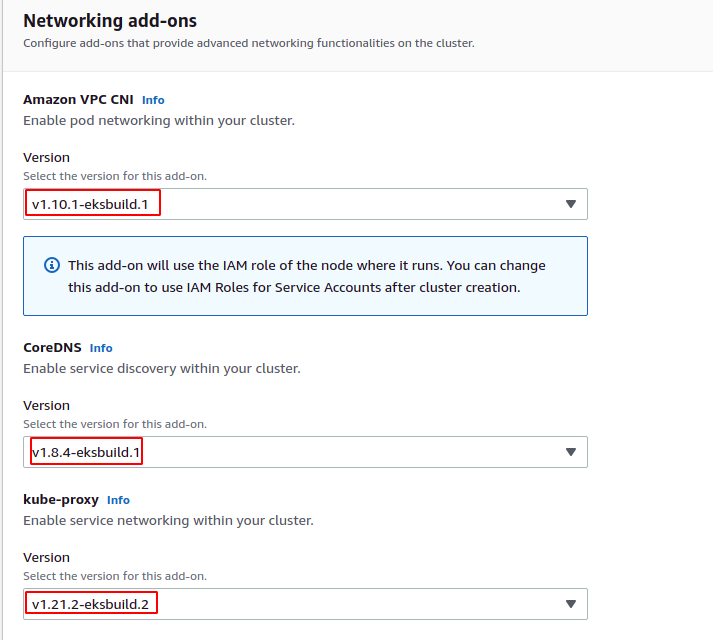
After configuring VPC and subnets, configuring networking add-ons to provide advanced networking configurations on the cluster, select the default options selected by the EKS for this section.
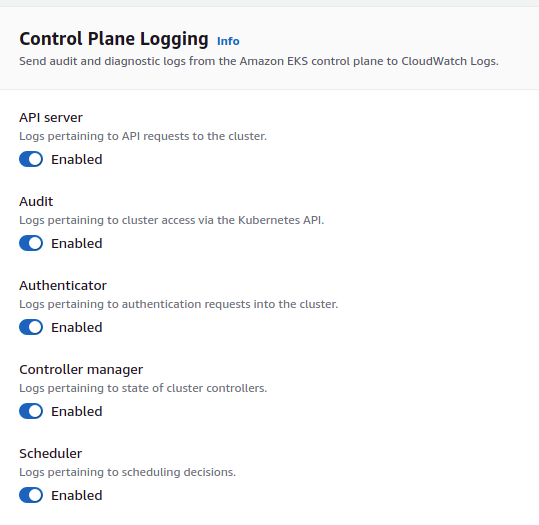
Click on the Next button at the end of the page to move on to the next configuration page. The next page includes configurations related to logging. In this section, you can enable or disable logging for different Kubernetes services. For this demo, we will enable all types of logging.
Click on the Next button to review the cluster configurations. After reviewing the cluster configurations, now click on the Create button to create the EKS cluster. It takes some time to create the EKS cluster. On the console, it will show the status of the cluster.
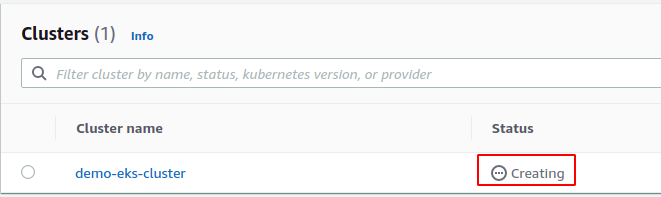
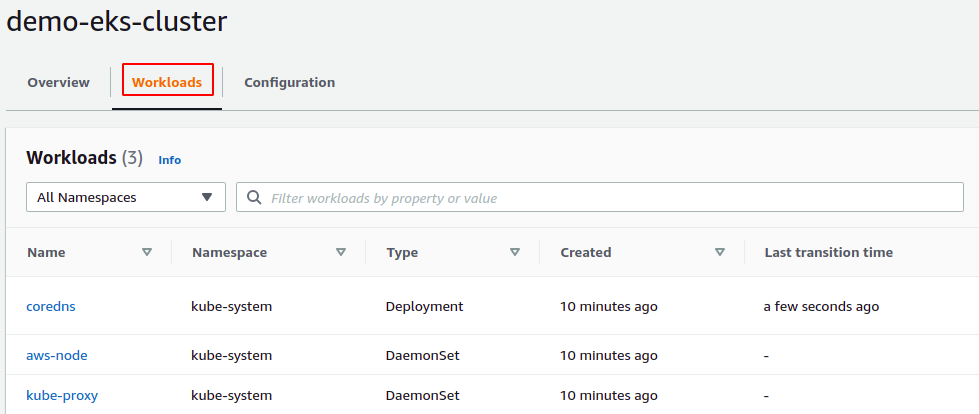
After the EKS cluster status changes from creating to active, click on the cluster and go to the Workloads tab to see the currently running processes on the cluster.
Currently, it is showing the processes running in the control plane as we have not configured any worker node with the cluster.
Now select the configuration tab to see the configurations of the EKS cluster.
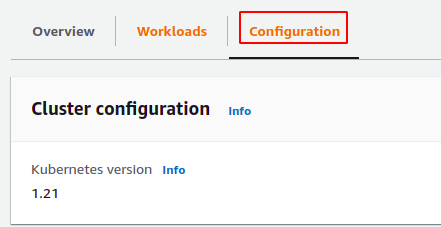
There are different sections for the configurations in the configuration tab where you can see the current configurations and change them according to your requirement.
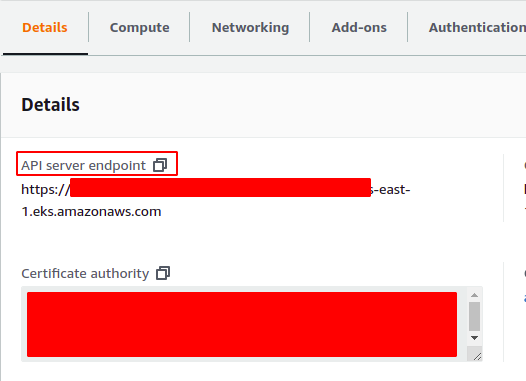
The Details tab displays the API server endpoint and can configure the EKS cluster remotely.
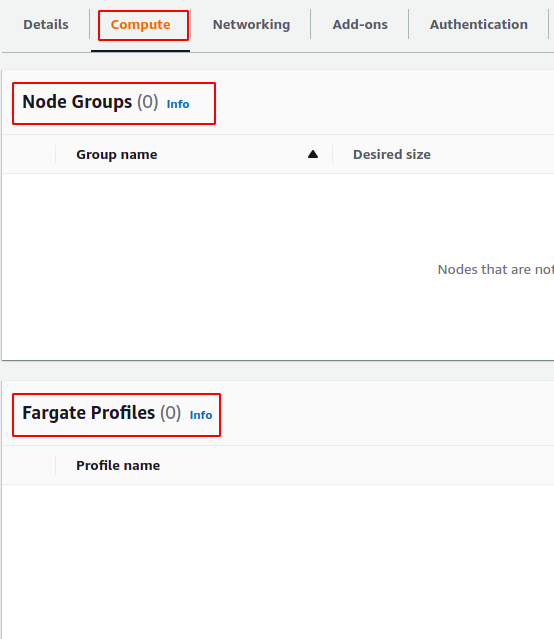
Similarly, you can see all your worker nodes in the compute tab, whether Fargate profile or Node Group. Currently, no compute resource is available as we did not configure any worker node with the EKS cluster.
Conclusion
EKS is a fully managed, highly available, and scalable Kubernetes service provided by AWS. Using EKS, AWS manages the master node and assures you that it will never be down. The master node automatically scales with the increase in load, and hence there will be no downtime. AWS recommends provisioning the EKS cluster in multiple availability zones for high availability. This article describes the step-by-step procedure of creating an EKS cluster across multiple availability zones.