Quick Outline
This post will demonstrate the following:
How to Create a Custom Agent in LangChain
- Installing Frameworks
- Setting OpenAI Environment
- Importing Libraries for Building Tools
- Customizing the Agents
- Configuring Agent Executor
- Testing the Agent
How to Create a Custom Agent in LangChain?
Customized agents are more useful as they can be configured according to an individual’s priorities. Majorly the agents contain the structure for the line of action to complete the process. The user-built agents allow the user to eliminate the unnecessary steps or add the specific ones that are usually not configured. To learn the process of creating a custom agent in LangChain, simply go through the following guide:
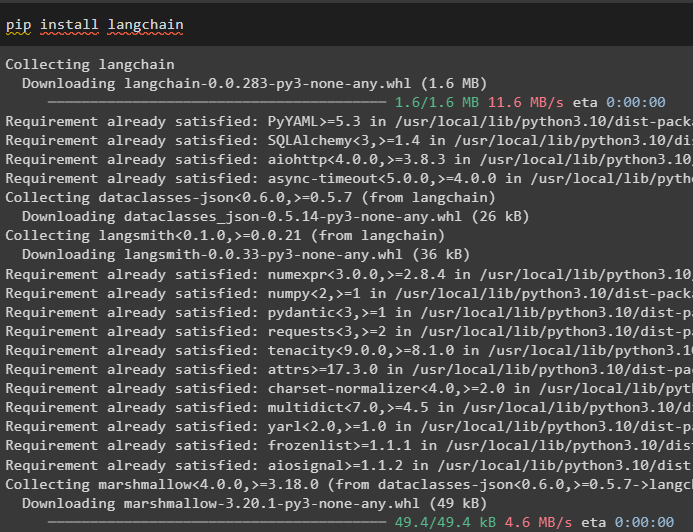
Step 1: Installing Frameworks
Get started with the process by opening the Python Notebook and executing the code for building the agent. The first process is the installation of the LangChain framework using the pip command to get its dependencies:
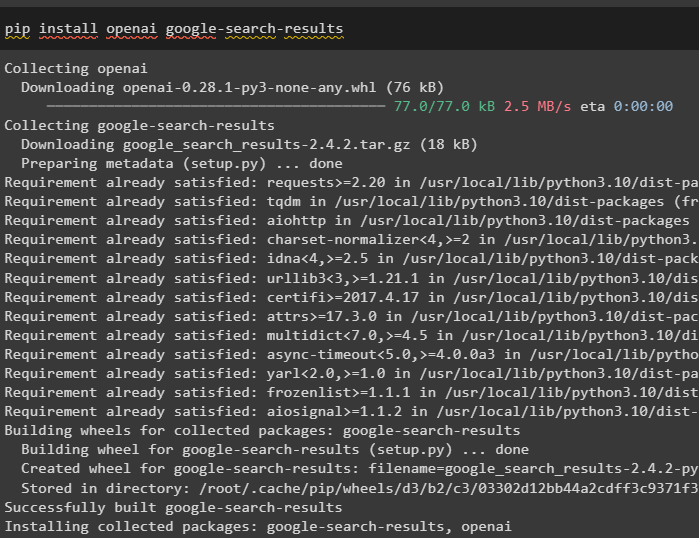
To build the agent that can extract information from the internet, simply install the “google_search_results” module:
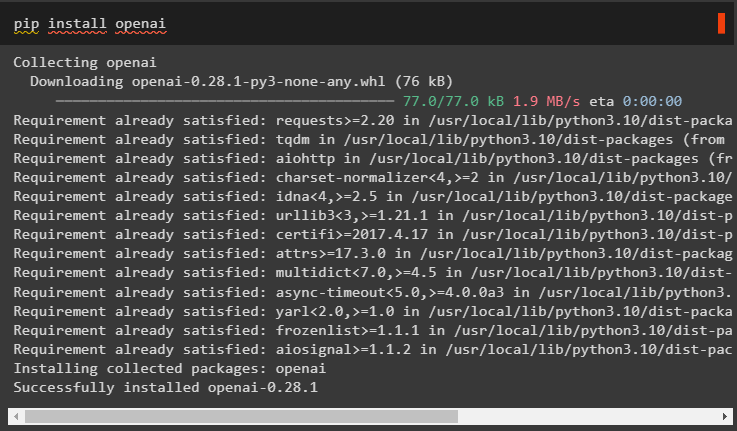
After that, install the OpenAI module that can be used to build the language model or chatbots to be used with the agent:
Step 2: Setting OpenAI Environment
The next step is about setting up the OpenAI and SerpAPi environments by providing their API keys after executing the following code:
import getpass
os.environ["OPENAI_API_KEY"] = getpass.getpass("OpenAI API Key:")
os.environ["SERPAPI_API_KEY"] = getpass.getpass("Serpapi API Key:")
Step 3: Importing Libraries for Building Tools
Use the LangChain dependencies to import libraries like Tool, AgentExecutor, BaseSingleActionAgent, etc. libraries for customizing the agent:
from langchain.llms import OpenAI
from langchain.utilities import SerpAPIWrapper
Set up the tools to configure the agents for searching the data using the SerpAPIWrapper() method with the return_direct parameter. Returning the answer directly means that the agent does not use observation or thought to double-check the answer. It simply searches on the internet and displays the answer from the google on the screen:
tools = [
Tool(
name="Search",
func=search.run,
description="useful for asking question with search tool",
return_direct=True,
)
]
Step 4: Customizing the Agents
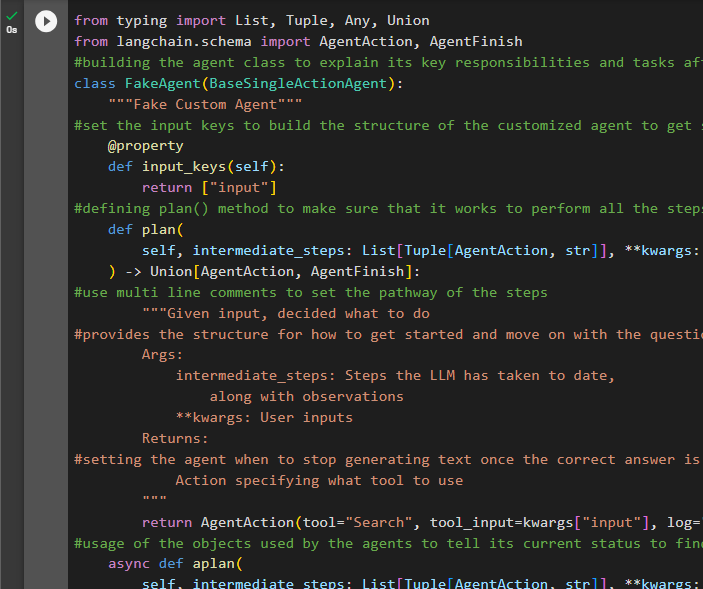
Configure the custom agent to return the AgentAction and AgentFinish objects after running the intermediary steps to fetch the answer. If the AgentFinish is returned, the agent goes back to the user to get the input question. If the agent is using some tool like search to get the answer to the asked question, it returns the AgentAction object:
from langchain.schema import AgentAction, AgentFinish
#building the agent class to explain its key responsibilities and tasks after importing the required libraries
class FakeAgent(BaseSingleActionAgent):
"""Fake Custom Agent"""
#set the input keys to build the structure of the customized agent to get started with the process
@property
def input_keys(self):
return ["input"]
#defining plan() method to make sure that it works to perform all the steps to get the required answer
def plan(
self, intermediate_steps: List[Tuple[AgentAction, str]], **kwargs: Any
) -> Union[AgentAction, AgentFinish]:
#use multi-line comments to set the pathway of the steps
"""Given input, decided what to do
#provides the structure for how to get started and move on with the question with intermediate steps
Args:
intermediate_steps: Steps the LLM has taken to date,
along with observations
**kwargs: User inputs
Returns:
#setting the agent when to stop generating text once the correct answer is found
Action specifying what tool to use
"""
return AgentAction(tool="Search", tool_input=kwargs["input"], log="")
#usage of the objects used by the agents to tell its current status to find where the agent stands
async def aplan(
self, intermediate_steps: List[Tuple[AgentAction, str]], **kwargs: Any
) -> Union[AgentAction, AgentFinish]:
#use multi line comments to set the pathway of the steps
"""Given input, decided what to do
#provides the structure for how to get started and move on with the question with intermediate steps
Args:
intermediate_steps: Steps the LLM has taken to date,
along with observations
**kwargs: User inputs
Returns:
#setting the agent when to stop generating text once the correct answer is found
Action specifying what tool to use
"""
#usage of the objects used by the agents to tell its current status
return AgentAction(tool="Search", tool_input=kwargs["input"], log="")
The code defines “plan()” and “aplan()” methods to set the intermediary steps for using the tool variable as it is set to search for the query. Both of them return the AgentAction or AgentFinish variables to get the next action from the template. The use of async with the aplan() method means that it will be able to multitask if required:
Step 5: Configuring Agent Executor
Once the agent is customized, simply create an agent variable to define it with the FakeAgent() method containing all the configurations:
After that, build the executor for the FakeAgent() method with the agent, tools, and verbose argument to generate the text in a readable format:
agent=agent, tools=tools, verbose=True
)
Step 5: Testing the Agent
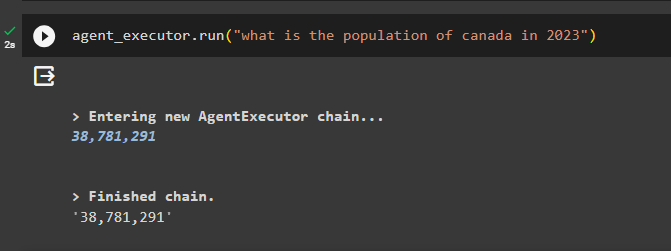
Simply, test the agent by giving the input string in the run() method so the agent can fetch answers from the internet:
The agent has been executed successfully and returned the answer directly after finishing the chain:
That’s all for now.
Conclusion
To learn the process of creating a customized agent in LangChain, install the modules to get dependencies for building the agent. After that, import the required libraries from the installed modules and configure the tools to build the agent. Once the agent is configured, simply design its executor and test it to get the answer from the Google server. This guide has elaborated on the process of creating a custom agent in LangChain.

