This post will provide the method to create a new branch from a previous commit using Git.
How to Create Branch From a Previous Commit Using Git?
To create a new branch from a previous Git commit SHA hash, first, navigate to the local Git repository and show the list of all existing local branches. Next, view the list of the most recent commit SHA hashes and choose one of them. Then, run the “$ git branch <branch-name> <sha-hash>” command to create a new branch. To set the newly created branch as a remote-tracking branch, execute the “$ git push –set-upstream <remote-name> <branch-name>” command.
Let’s move ahead and perform the above-stated instructions!
Step 1: Move to Particular Git Repository
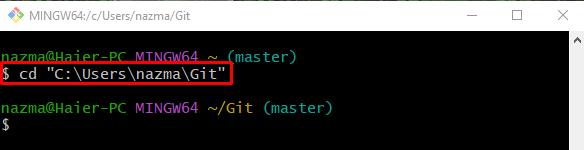
Navigate to the Git local repository using the “cd” command:
Step 2: View List of Existing Local Branches
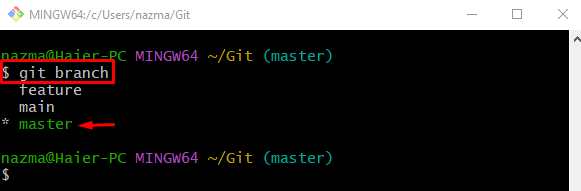
Next, display the list of all existing Git local branches:
According to the below-provided output, the list of local branches is displayed. Here, the asterisk “*” symbol beside the “master” branch indicates that it is the current working branch:
Step 3: View List of Commit Hash References
Now, view the list of the commit hash references by specifying the range according to your desire. Here, we will use the “git log” command with the “–pretty=format: ‘%h’” parameter and specify the range with the “-n” option:
Here, “5” is the number of most recent hash references which we need to display to select one of them:

Step 4: Create Branch With Previous Commit Hash Reference
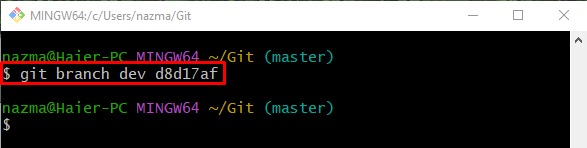
Next, create a new branch using the “git branch” command along with the name and selected hash reference:
Step 5: Verify Newly Created Branch
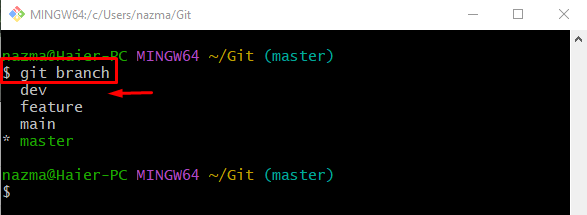
To ensure the existence of the newly created branch, execute the “git branch” command:
It can be seen that the newly created branch is placed in the list of Git local repository branches:
Step 6: Set Newly Created Branch as Tracking Branch
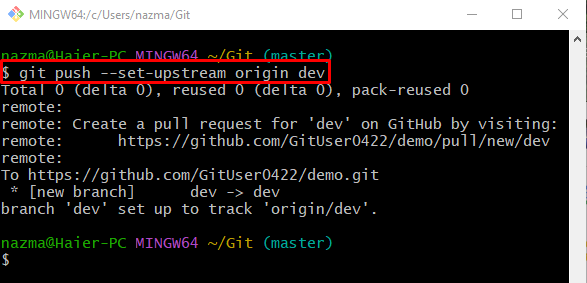
Now, run the “git push” command along with the “–set-upstream” parameter, remote, and branch name to set the newly created branch as a remote tracking branch:
Note: The “–set-upstream” parameter can be utilized when developers need to set any local new or existing branch as the remote-tracking branch for the first time:
Step 7: Switch to Newly Created Branch
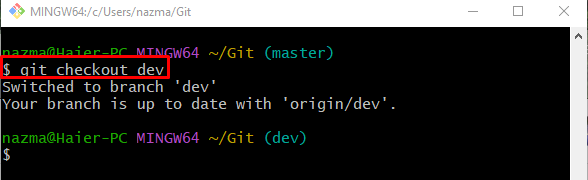
Switch to the newly created branch, and run the “git checkout” command with the branch name:
Step 8: Print SHA Hash of HEAD
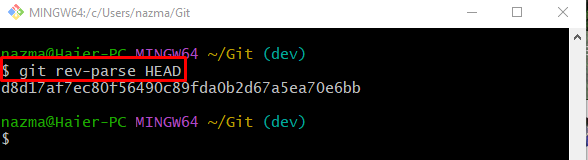
Execute the “git rev-parse” command along with the “HEAD” pointer to view the SHA hash reference of the currently pointing HEAD:
According to the below-provided output, the current SHA hash id is exactly that we used for creating a new branch:
That’s all! We have compiled the method of creating a new branch from a previous commit using Git.
Conclusion
To create a new branch from a previous commit using Git, first, move to the particular local repository and view the list of all existing branches. Display the list of the most recent commit SHA hashes and select one of them. Next, create a new branch by using the “$ git branch <branch-name> <sha-hash>” command. If you want to set the newly created branch as a remote-tracking branch. Execute the “$ git push –set-upstream <remote-name> <branch-name>” command. This post demonstrated the procedure to create a new branch from a previous commit using Git.