In this article, we will show you how to create a bootable USB thumb drive of Chrome OS Flex on Linux so that you can try and install Chrome OS Flex on your computer.
Topic of Contents:
- Downloading Chrome OS Flex Installation Image
- Extracting Chrome OS Flex Installer Archive
- Finding the Device ID of the USB Thumb Drive to be Flashed to Chrome OS Flex
- Flashing the Chrome OS Flex Installation Image to USB Thumb Drive
- Ejecting the USB Thumb Drive Safely
- Conclusion
- References
Downloading Chrome OS Flex Installation Image
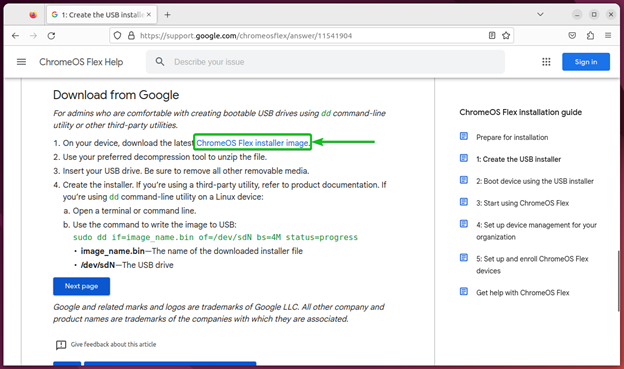
To download the Chrome OS Flex installer image, open a web browser app and visit the link https://support.google.com/chromeosflex/answer/11541904.
Once the page loads, scroll down to the “Download from Google” section and click on “ChromeOS Flex installer image” as marked in the following screenshot:
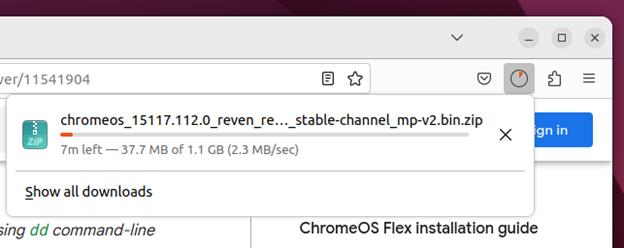
Your web browser should start downloading the Chrome OS Flex installer image archive. It takes a while to complete.
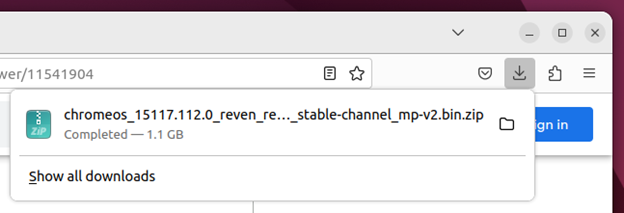
At this point, the Chrome OS Flex installer image archive should be downloaded.
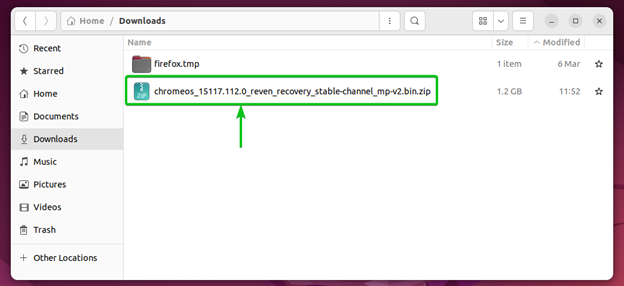
Once downloaded, the Chrome OS Flex installer image archive should be in the ~/Downloads directory of your computer. This directory is usually the default download location of Linux.
Extracting Chrome OS Flex Installer Archive
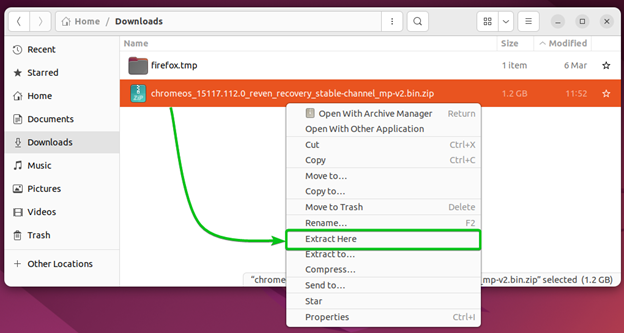
To extract the Chrome OS Flex installer archive, right-click (RMB) on it and click on “Extract Here”.
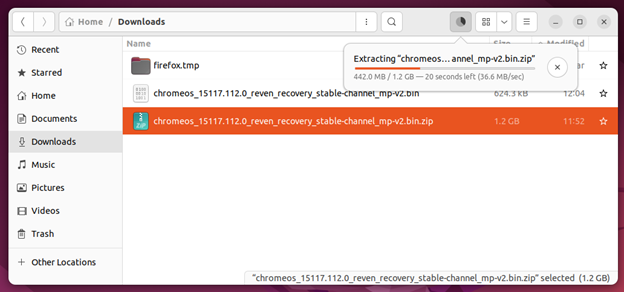
The Chrome OS Flex installer archive is being extracted. It takes a while to complete.
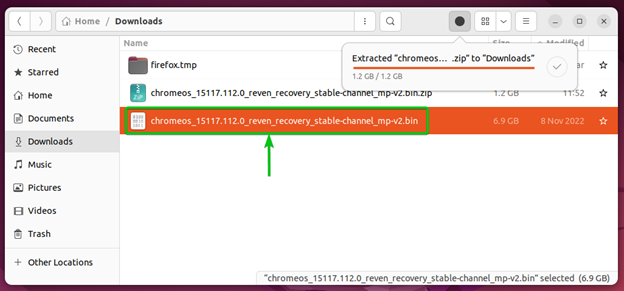
Once the Chrome OS Flex installer archive is extracted, you will find a new “.bin” file in the ~/Downloads directory as marked in the following screenshot. This is the file that you need to flash into your USB thumb drive to boot the Chrome OS Flex from it.
Finding the Device ID of the USB Thumb Drive to be Flashed to Chrome OS Flex
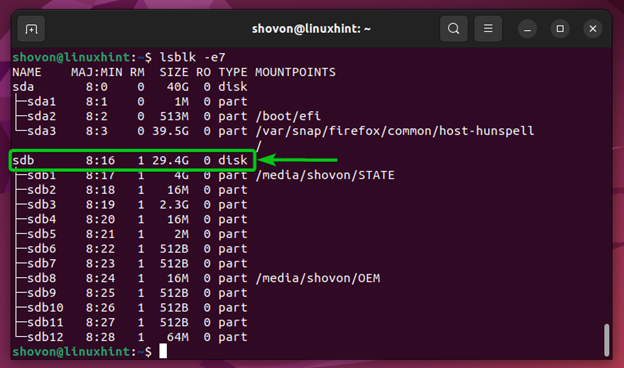
To find the device ID of the USB thumb drive that you want to flash with the Chrome OS Flex installer image, run the following command (from a Terminal app) once before inserting the USB thumb drive into your computer and once after inserting the USB thumb drive into your computer and compare the results:
In our case, the device ID of the USB thumb drive is “sdb”. Remember the device ID since you will need it later. Also, your device ID may not be “sdb”. It could be “sdc”, “sdd”, “sde”, or something else. Make sure to replace “sdb” with your device ID from now on.
Flashing Chrome OS Flex Installation Image to USB Thumb Drive
First, open a Terminal app and navigate to the ~/Downloads directory as follows:
The Chrome OS Flex installer image that you extracted should be in the ~/Downloads directory as marked in the following screenshot:
To flash the Chrome OS Flex installer image into your USB thumb drive, run the following command:
NOTE: Make sure to replace /dev/sdb with the device ID of your USB thumb drive.
The Chrome OS Flex installer image is flashed into your USB thumb drive. It takes a while to complete.
At this point, the Chrome OS Flex installer image should be flashed into your USB thumb drive.
Ejecting the USB Thumb Drive Safely
Now that the Chrome OS Flex installer image is flashed into your USB thumb drive, you can run the following command to safely remove the USB thumb drive from your computer:
NOTE: Make sure to replace /dev/sdb with the device ID of your USB thumb drive.
Now, you can use the USB thumb drive to try and install Chrome OS Flex on your desktop/laptop computers.
Conclusion
We showed you how to download the Chrome OS Flex installer image on Linux. We also showed you how to flash the Chrome OS Flex installer image into a USB thumb drive so that you can use it to try and install Chrome OS Flex on your computer.

