What will we cover?
In this guide we will see how we can provision an AWS RDS db instance using Terraform. Let us first start with the installation of Terraform on Ubuntu 20.04.
Installing Terraform
Hashicorp provides the official Terraform package for Ubuntu/Debian, CentOS/RHEL, Fedora and Amazon Linux. Beside this, it also maintains pre-compiled binary and can also be compiled from source. For this guide we are using the default package provided by the Debian package repository to install Terraform on Ubuntu 20.04.
Step 1. First install gnupg, software-properties-common, and curl packages to verify HashiCorp’s GPG signature and install the required repository:
Step 2. Now add the HashiCorp GPG key using the command:
Step 3. Continue by adding the required repository:
Step 4. Finally, run the update command to add the repository and install Terraform:
Step 5. Verify if Terraform is installed by running the command:
Building AWS RDS Infrastructure using Terraform
Now that we have installed Terraform on our local machine, we can continue our task of working with AWS. As mentioned earlier, Terraform uses several configuration files for provision resources and each of these files must be placed in their respective working folder/directory. Let us create a directory for this purpose:
Step 1. Make a folder to contain your configuration files and change directory to this folder:
Step 2. Make a ‘main.tf’ file that will contain the definition for our infrastructure:
Now put the following configuration inside it:
required_providers {
aws = {
source = "hashicorp/aws"
version = "~> 3.27"
}
}
required_version = ">= 0.14.9"
}
provider "aws" {
region = "us-west-2"
access_key = "your-access-key"
secret_key = "your-secret-key"
}
resource "aws_db_instance" "rds_instance" {
allocated_storage = 20
identifier = "rds-terraform"
storage_type = "gp2"
engine = "mysql"
engine_version = "8.0.27"
instance_class = "db.t2.micro"
name = "your-db-name"
username = "your-db-username"
password = "your-password"
publicly_accessible = true
skip_final_snapshot = true
tags = {
Name = "ExampleRDSServerInstance"
}
}
This file contains the whole configuration to deploy using Terraform, just replace the bolded text with your own configuration details. Let us explore each of the sections used in the above file:
1. terraform: It defines the Terraform settings. The ‘required providers’ defines the provider to be used with the Terraform and the ‘source’ is an optional parameter for hostname, a namespace and the provider type. In above code the source is defined as ‘hashicorp/aws’ which like all providers is installed from the Terraform registry. The above provider points to ‘registry.terraform.io/hashicorp/aws’.
The version attribute defines the version of the provider you want to use.
2. provider: This specifies which cloud platform you are going to interact with (AWS, Azure, GCP etc.). This also controls the region you are deploying your resources and the security credentials for your user.
3. resource: It comprises components that build an infrastructure like databases, storage, network etc. The first string, here “aws_instance“, defines the resource type and the second one defines a custom name you want to use. These two are combined to form a unique ID for this resource, here it is ‘aws_instance.RDS_Instance’. In the same way we can also include machine sizes, disk image names, or VPC IDs.
To validate or verify your configuration use the command:
Initializing the Terraform directory
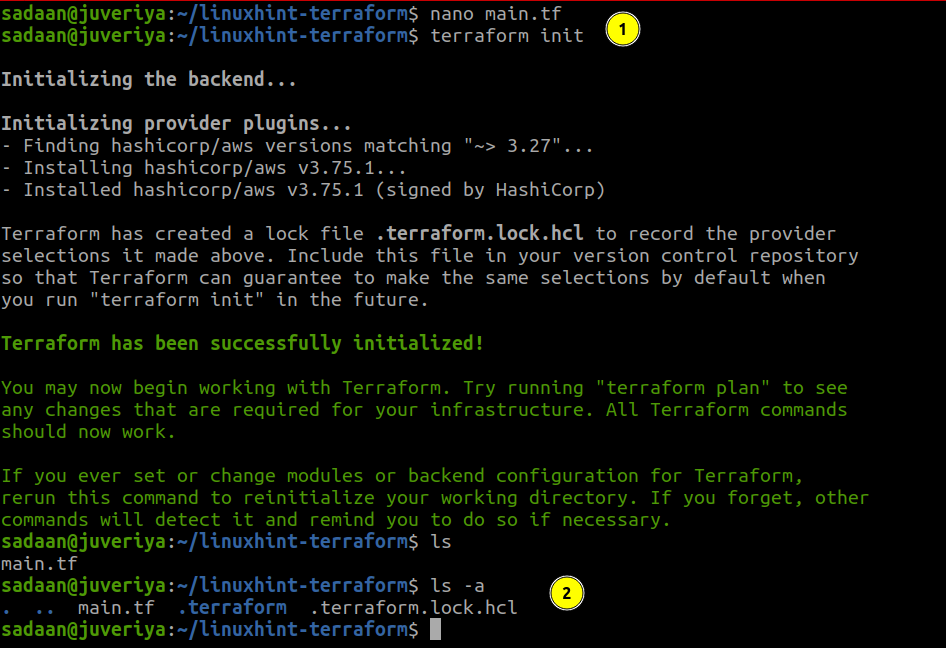
To download and install the provider we defined in our configuration and other files, we need to initialize the directory containing this file:
From the above picture, our init command is successful and there are some new files also created here. There is also one more command ‘terraform plan’, although it is not mandatory to use it, but it has some benefits, for example.:
- You can see the actions Terraform is going to perform.
- It can point out syntactical errors in your configuration files.
Terraform does not mention this command in its documentation, because when you run the ‘terraform apply’ command the same plan will be again presented.
Building the Infrastructure
To build our infrastructure, use the command:
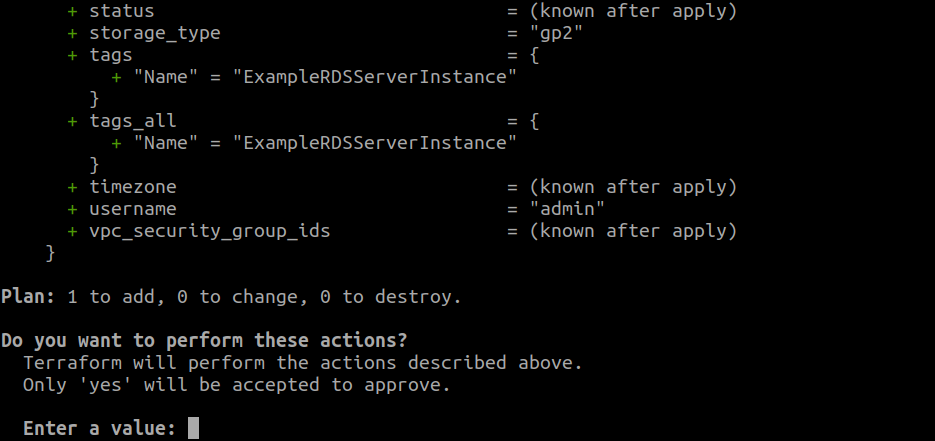
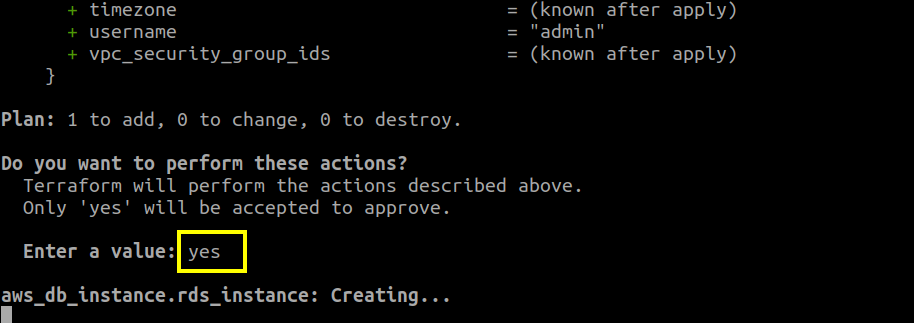
This will first output the execution plan describing the tasks terraform will perform to bring the state of your infrastructure to the one defined in your configuration file. After this it will pause and ask you to confirm the plan to continue. If everything is set as you have desired, then type ‘yes’ to continue:
If you are ready to continue, then type ‘yes’.
It will take some time to complete the process. When this process is complete, the below message will appear:
On your AWS management console, the RDS instance will be listed:
Destroying the Resources
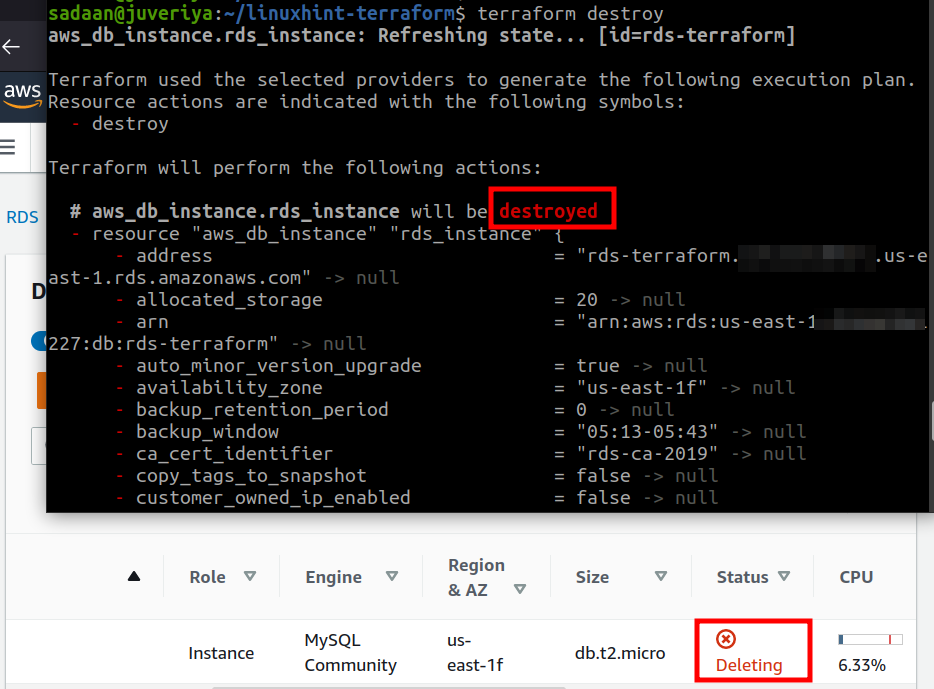
When you have finished and do not longer need the aws resources you created, you can simply delete them by using the command:
Conclusion
In this guide we have learned about provisioning a RDS instance on AWS using Terraform. You can also try configuring an EC2 instance in the same way.


