
In general, when you close an SSH connection, the corresponding remote terminal sessions are also closed. Here comes the Tmux for help as it preserves those sessions when the SSH connection is terminated.
After installing Tmux, you will not find any icon associated with it. It will not appear as a separate application; instead, we will have to invoke it from the Gnome Terminal itself. We will later see how to do this.
Note: In this ‘HowTo’ we have used the ‘Ctrl+b’ as the prefix; if you configured some other prefix, then replace the command with yours’ prefix.
What will we cover?
In this guide, we will learn “How to do copy and paste work with clipboard in Tmux”. We will use Ubuntu 20.04 as the base system for this guide.
Prerequisites
1. Tmux should be installed on your system.
2. Internet connectivity and user account with ‘sudo’ privileges.
Getting Started…
One of the most frequent tasks we do on a system is copying and pasting content. These may be copying commands to terminals, text to a file, or documentation work. However, in the case of Tmux, this is not as simple as pressing ‘Ctrl+c’ and ‘Ctrl+v’, which we usually do on normal text editor-type programs. In Tmux, the copy and paste tasks are somewhat different, and to some extent, it is a complicated one, especially when it comes to working between system clipboard and Tmux buffer.
Copying and Pasting in between the Tmux windows
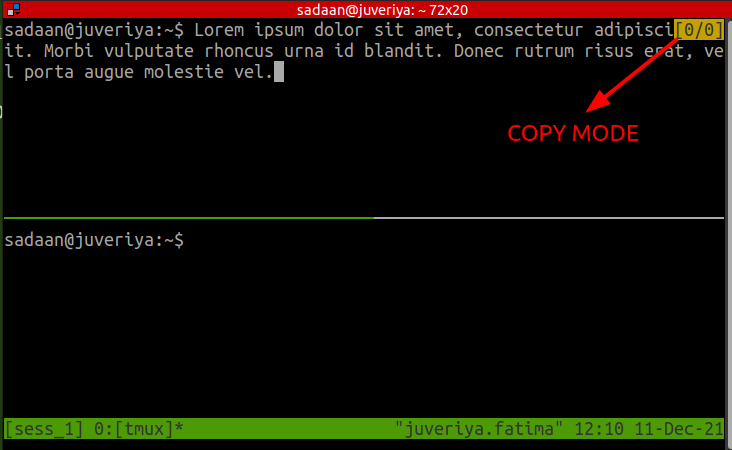
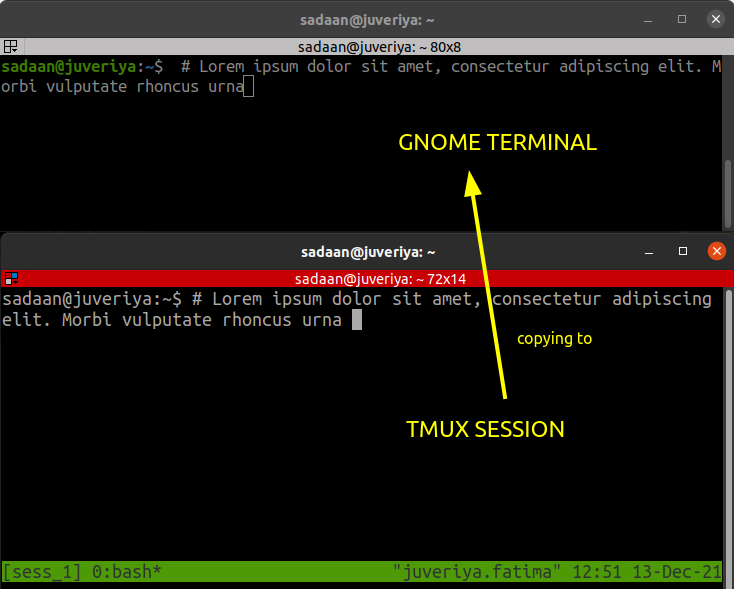
Let us first see how we can do the copy-paste work in-between the Tmux panes and sessions. Suppose we have the following random text on our Tmux window of session sess_1:
“Lorem ipsum dolor sit amet, consectetur adipiscing elit. Morbi vulputate rhoncus urna id blandit. Donec rutrum risus erat, vel porta augue molestie vel. ”
We will copy this text to another: 1) Tmux session 2) Tmux window/ Tmux pane. Below steps will be the same for the above two cases:
Step 1. Press the ‘Prefix’ (‘Ctrl+b) and then press ‘[’ to enter the copy mode.
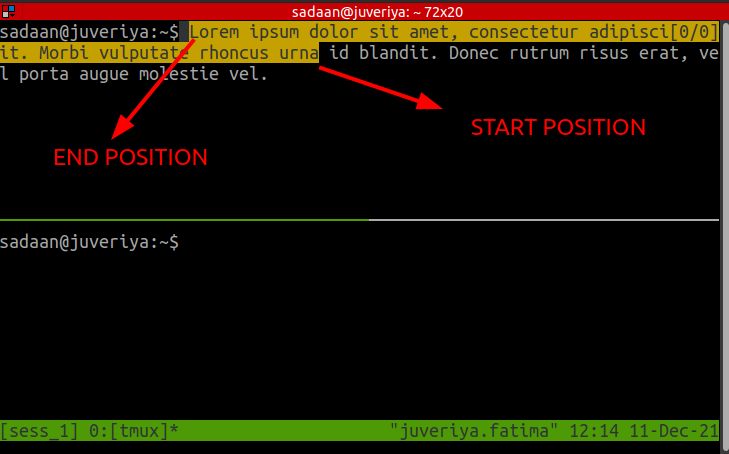
Step 2. Using the arrow keys, locate the position to start copying from. Use the ‘Ctrl+spacebar’ to start copying.
Step 3. Move with the arrow keys to the position of the text you want to copy to. When you have finished selecting the text, press ‘Alt+w’ or ‘Ctrl+w’ to copy the text to a Tmux Buffer.
Step 4. Paste the text to a Tmux pane/window/session using the Prefix (by default, it is ‘Ctrl+b’ ) followed by ‘]’.
Let us take each of the above cases:
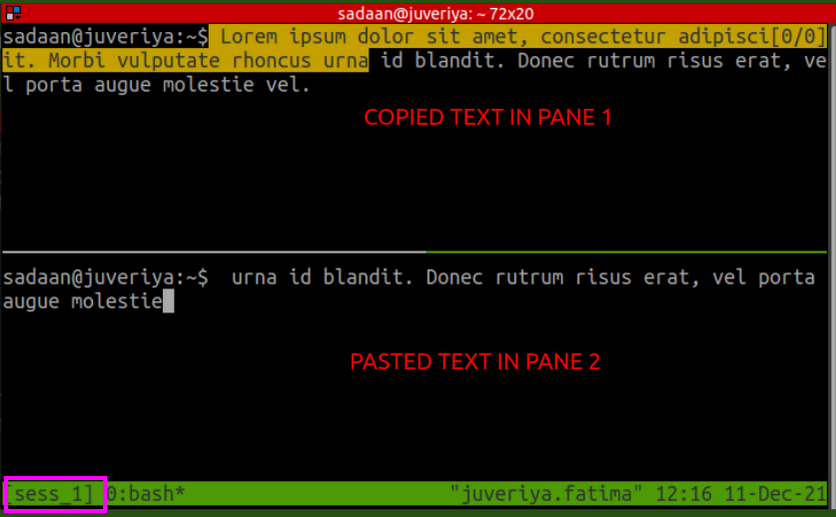
1. Copying to another Tmux pane/window: Here, we are using two panes for our session sess_1.
a) We first enter the copy mode:
b) Select the text to copy with the arrow keys and press ‘Alt+w’ or ‘Ctrl+w’.
c) Copied text is pasted into the second pane of sess_1:
2. Copying to another Tmux session: We have now created another session, sess_2.
We have already copied text from the session sess_1. Using the Prefix key (by default, it is ‘Ctrl+b’) followed by ‘]’, the copied text is pasted from the session the sess_1 to sess_2:

Copying from Tmux buffer to Linux System clipboard
It is very easy to copy the contents from the System clipboard and paste it to a Tmux session using the normal key combination ‘Ctrl+Shift+v’. However, the reverse procedure is not that straightforward.
The text which you copy from the Tmux session is not directly available to paste to the system clipboard. This is where ‘xclip’ comes to the rescue. ‘Xclip’ integrates the Tmux buffers with your Linux clipboard. Now to copy from Tmux session to system clipboard, follow the steps given below:
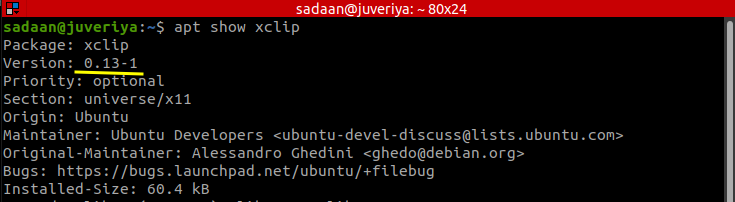
Step 1. To install ‘xclip’ on Ubuntu, use the command:
We have already installed it:
Step 2. We will now customize tmux.conf by adding the below line:
bind C-v run "tmux set-buffer "$(xclip -o -sel clipboard)"; tmux paste-buffer"

The first line makes the ‘prefix’ followed by ‘Ctrl+c’ to capture the current Tmux buffer and feeds this output to ‘xclip’. Now we can paste the copied text from the Tmux clipboard using the system clipboard:
The second line configures the ‘prefix’ followed by ‘Ctrl+v’ to paste text from the system clipboard to a Tmux session, but as stated earlier, it is very easy to copy and paste from the system clipboard to Tmux session (Using Ctrl+Shift+v). So you may not need the second line. If this does not work, then you must add the second line.
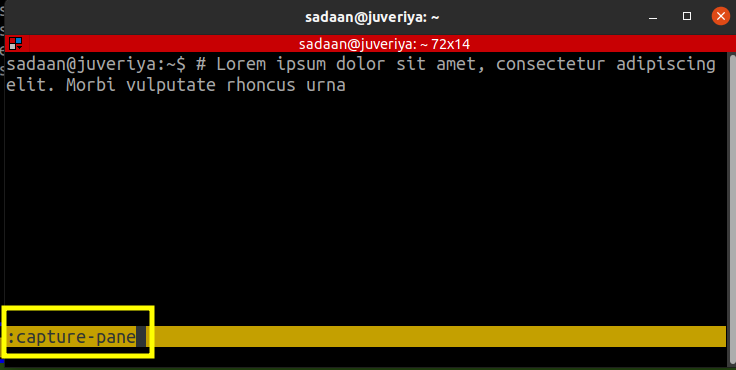
Copying a Pane
We can also copy the visible part of a pane by opening the Tmux command prompt with ‘Prefix’+ ‘:’ and entering the command ‘capture-pane’. The copied pane can then be pasted into the on-focus session.
Buffer Management
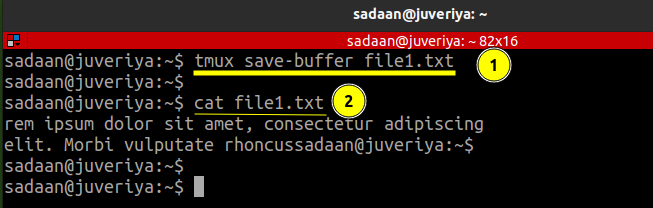
To view the contents of a paste buffer, use the below command inside a Tmux session:

Similarly, we can save this buffer to a text file as shown below:
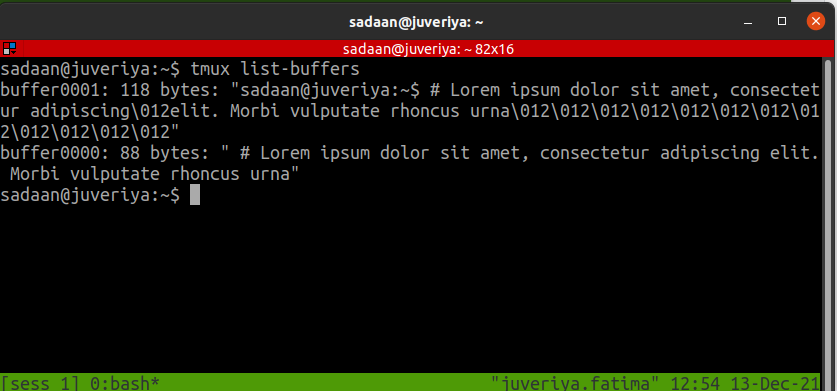
Working with Multiple Paste Buffers
Tmux creates a new paste buffer for every new copying operation. The numbering of buffers starts from the first buffer, which gets the number ‘0’. To view all the buffers, use the command:
The ‘prefix’ followed by ‘]’ keys will paste the buffer ‘0’. To choose which buffer to paste, use the command:

Conclusion
In this guide, we have learned about how to do copy and paste operations with Tmux. A more detailed explanation of various Tmux operations can be found on the Tmux Man pages or on the Github page of Tmux