“PyTorch” is an advanced framework for the development of machine learning models that was originally created by Facebook in 2016. PyTorch is perfectly capable for natural language processing and image analysis models because it can handle all types of data such as “text” or “images” due to its use of “Tensors”. Images are stored in multidimensional tensors in PyTorch with specific values assigned for height, width, and color channels.
In this article, we will show how to make a PyTorch Tensor out of a custom image..
How are Images Stored as Tensors in PyTorch?
Before learning how to convert an image to a PyTorch Tensor, one must know how images are stored as tensors. Tensors are the data structure of choice for images because of their multidimensional nature. Within PyTorch, images are stored in terms of values in these tensors as follows:
- “Black and White” images have no color information and are stored in “2D Tensor” that contain values for its “height” and “width”. Every numerical element of the 2D Tensor corresponds to the “luminosity” of a particular pixel in the image.
- Images in “Color” are stored in 3D Tensors with a separate dimension to account for “color channels”. The common choice for color channels is “RGB”, Red, Green, and Blue.
How to Make a PyTorch Tensor from an Image?
Images have to be converted to Tensors for use in machine learning models. The corresponding metadata allows frameworks such as PyTorch to accurately train and test large sets of data. Showcasing images as Tensors allows for their effective management within convolutional neural networks.
Follow the steps given below to convert an image to a PyTorch Tensor:
Step 1: Begin the Project in Google Colab
Open Google Colaboratory and start a “New Notebook” to commence working as shown below:
Step 2: Install and Import the Required Libraries
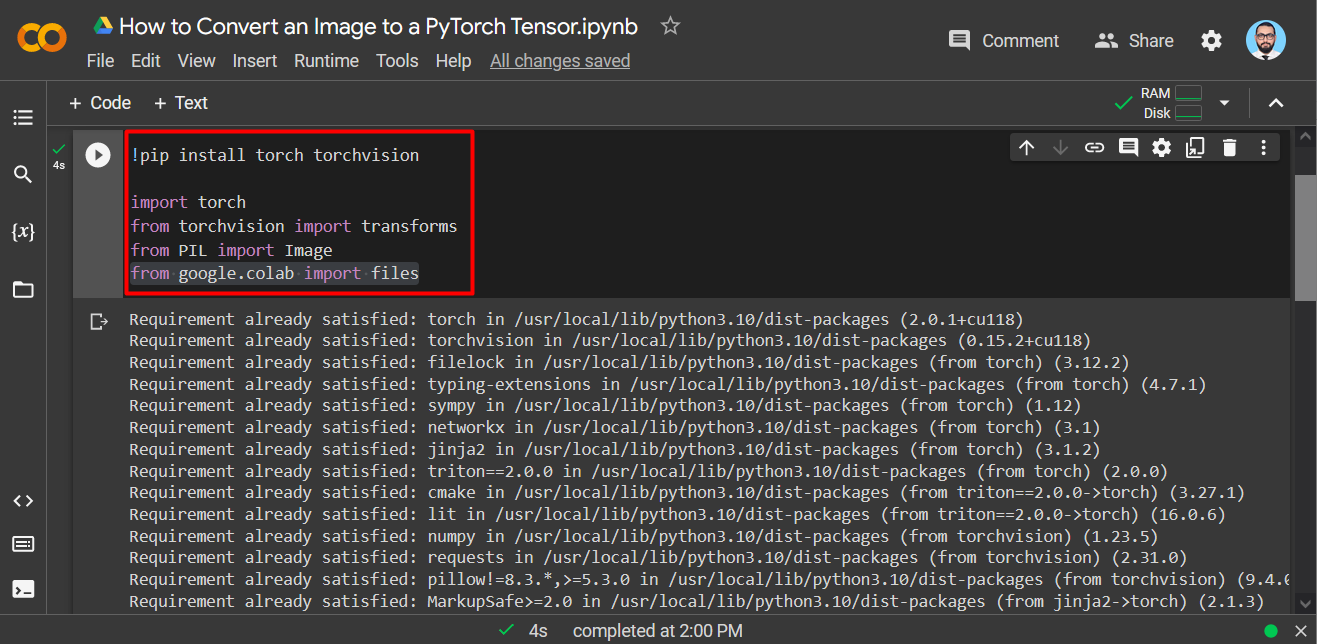
Install the required libraries for PyTorch using the “pip” package installer in Colab. Then, import them into the project using the “import” command as shown:
import torch
from torchvision import transforms
from PIL import Image
from google.colab import files
The following libraries are needed for this project:
- Torch – The fundamental library for the PyTorch.
- Torchvision – Compilation of datasets and Transformations for PyTorch.
- Transforms – Utilized for applying transformations to images.
- PIL – The Python Imaging Library needed for handling images.
- Files – Access local system files in Google Colab.
The output showing the installation and import of the required libraries:
Step 3: Upload Selected Image
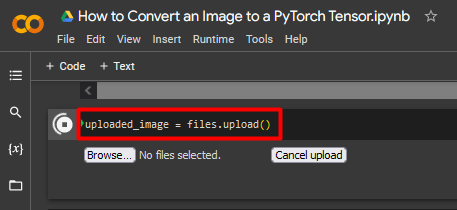
Upload the image to convert to a Tensor using the following “files.upload()” method:
The “upload” prompt is shown below:
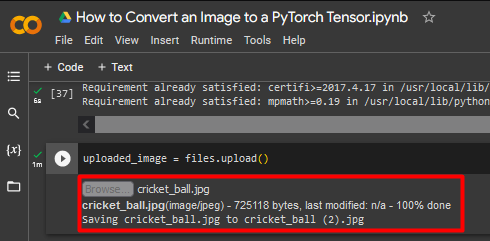
The upload confirmation is shown below:
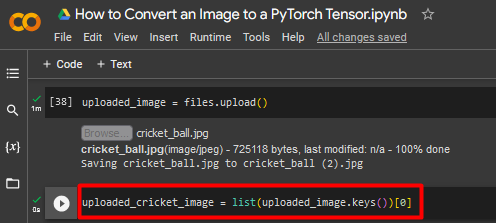
Step 4: Assort the File Name
Use the “list()” method to add a file name to the uploaded image as shown:
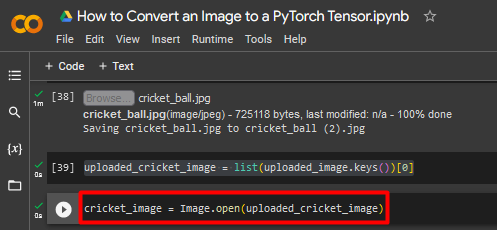
Step 5: Load into the Python Imaging Library
Next, load the image using PIL library:
Step 6: Transform Image to Tensor
Convert the selected image to a tensor by applying a transformation using the “transforms.Compose()” function as shown below:
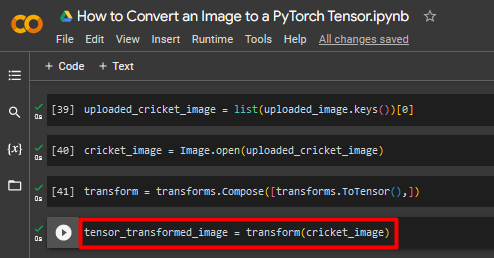
Step 7: Apply the Defined Transformations
Use the “transform()” function to apply the previously defined transformation to the image as shown:
The screenshot showing the applied transformation is given below:
Step 8: Show the Output
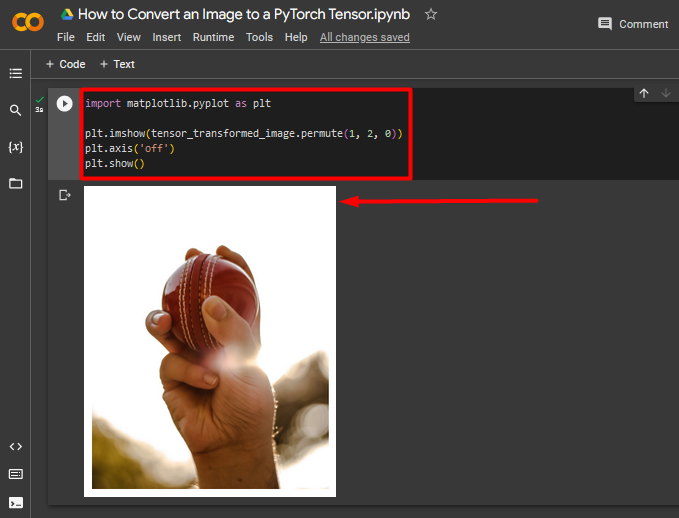
Import the “matplotlib.pyplot” library to show the image tensor as seen below:
plt.imshow(tensor_transformed_image.permute(1, 2, 0))
plt.axis('off')
plt.show()
The final output showcasing the custom image as a PyTorch Tensor:
Note: You can access our Google Colab Notebook at this link.
Pro-Tip
You can also convert images directly from Google Drive instead of uploading a local file from your system. All you need to do is mount drive into colab and allow access.
Success! We have demonstrated how to make a PyTorch Tensor from a custom image.
Conclusion
To convert an image to a PyTorch Tensor, first import the “torch” and “PIL import Image” libraries, Then, upload the file into the Python Imaging Library in Google Colab and transform it into a Tensor. These image files can then be used in the development of machine learning models that are concerned with image analysis. We have just shown how to convert an image from a local system into a PyTorch Tensor.


